You open your refrigerator, spot a mysterious spill, and think, “Ugh, when did that happen?” If this scene sounds familiar, don’t worry. You’re not alone. Many of us struggle to find the easiest way to clean refrigerator shelves without devoting a whole weekend to scrubbing. Good news: you can get those shelves sparkling in less time than you might guess, and the simple methods below can help you tackle everyday messes with minimal fuss.
Keep reading, and you’ll learn how to gather the right supplies, remove sticky spills, and prevent grime from coming back. The key is a routine that fits your life. After all, a fresh, odor-free fridge makes you actually want to reach in for that snack, rather than cringe at the sticky residue underneath it.
See why shelf cleaning matters
You might be thinking: “Can I just wipe up the spills and move on?” That’s partly true — a quick wipe is better than letting gunk pile up for weeks. However, thorough shelf cleaning helps in three ways:
Hygiene. Bacteria thrives in moist environments, and your fridge is no exception. Unseen spills can invite mold or germs that affect your food.
Odor control. If you leave sticky residue, it can develop unpleasant smells. Over time, these smells can even rub off on your groceries.
Longer shelf life. Proper cleaning and maintenance can ensure your shelves don’t develop cracks or other damage that leads to costly replacements.
Just like you wouldn’t leave dirty dishes piled up in the sink, ignoring dirty shelves only drags out your to-do list. By getting familiar with a simple cleaning routine, you’ll keep your fridge feeling fresh and save yourself from bigger messes down the road.
Why a schedule matters
Creating a weekly or monthly shelf-cleaning schedule might sound formal, but it works. When you pencil in this task (even if just in your mental checklist), you’re less likely to forget about small spills or stains. Consistency here is everything. If you try out these methods once, you’ll see how fast and effortless cleaning your refrigerator shelves can become.
Gather your cleaning supplies
Before you start scrubbing, you’ll want to have everything within arm’s reach. Gathering supplies in advance prevents that back-and-forth dash for a missing sponge or cleaner. Plus, you’re less likely to abandon the job halfway if it’s all laid out.
Basic cleaning kit
Mild dish soap or gentle all-purpose cleaner
A non-abrasive sponge or soft-bristle brush
Microfiber cloths or lint-free towels
White vinegar or baking soda (for a natural cleaning option)
A container or bucket of warm water
Optional extras
A spray bottle for an even application of cleaning solution
A plastic scraper or old credit card for caked-on grime
Rubber gloves to keep your hands clean and dry
If you’re the type who likes to be super-prepared, keep a small caddy under your sink with these items for easy reach. That way, a quick cleaning session doesn’t feel like a chore.
Let’s be honest: when you’re rushing, it’s tempting to just yank a shelf halfway out and scrub around the milk jug. But removing everything first will save time (and frustration) in the long run. That’s because when you try to work around containers, you’re more likely to miss hidden spills.
Remove items in sections
You don’t necessarily have to take out all your groceries at once if you’re pressed for time. Instead, remove the items from one shelf, wipe that shelf, and then move up or down. This step-by-step approach helps keep your fridge somewhat organized during the process (so you’re not lining your entire countertop with random items).
Safety tips
If you store meats on a shelf, place them in a cooler or keep them on the countertop for only a short period.
Keep dairy products chilled if your kitchen is warm.
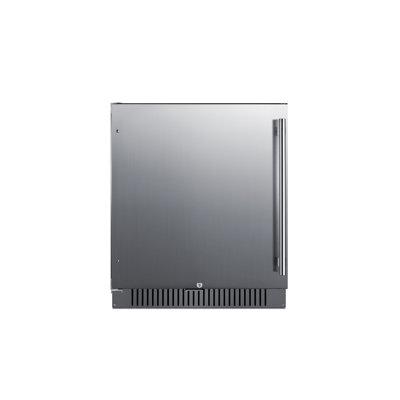
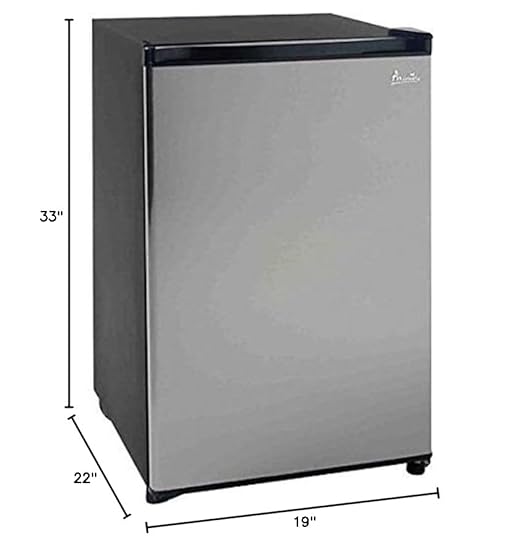
If you own a special unit, like a 24 deep refrigerator, consult the manual if the shelves are extra-large or differently shaped.
Once the fridge is minimally emptied in each section, it’s time to pull out the shelves. This is the most crucial part of the easiest way to clean refrigerator shelves because soaking them loosens dried liquids and food residue.
Gently slide or lift each shelf. Some may have locking mechanisms you need to press or snap.
Place shelves in your sink or tub, making sure they’re supported so they don’t crack. If your sink is small, you can soak the shelves one at a time.
Fill with warm water and add a few drops of dish soap or a splash of mild cleaner.
Handling delicate shelves
Glass shelves can be temperature-sensitive. If you’ve just turned off a cold fridge, avoid placing ice-cold glass in very hot water. Gradually warm them up by adding lukewarm, then warmer water. This helps reduce the risk of cracks.
While the shelves soak, you can turn your attention to the fridge interior. Wipe away the dust and any spills that might have dripped down. This dual-task method ensures no time is wasted.
Tackle the inside walls and supports
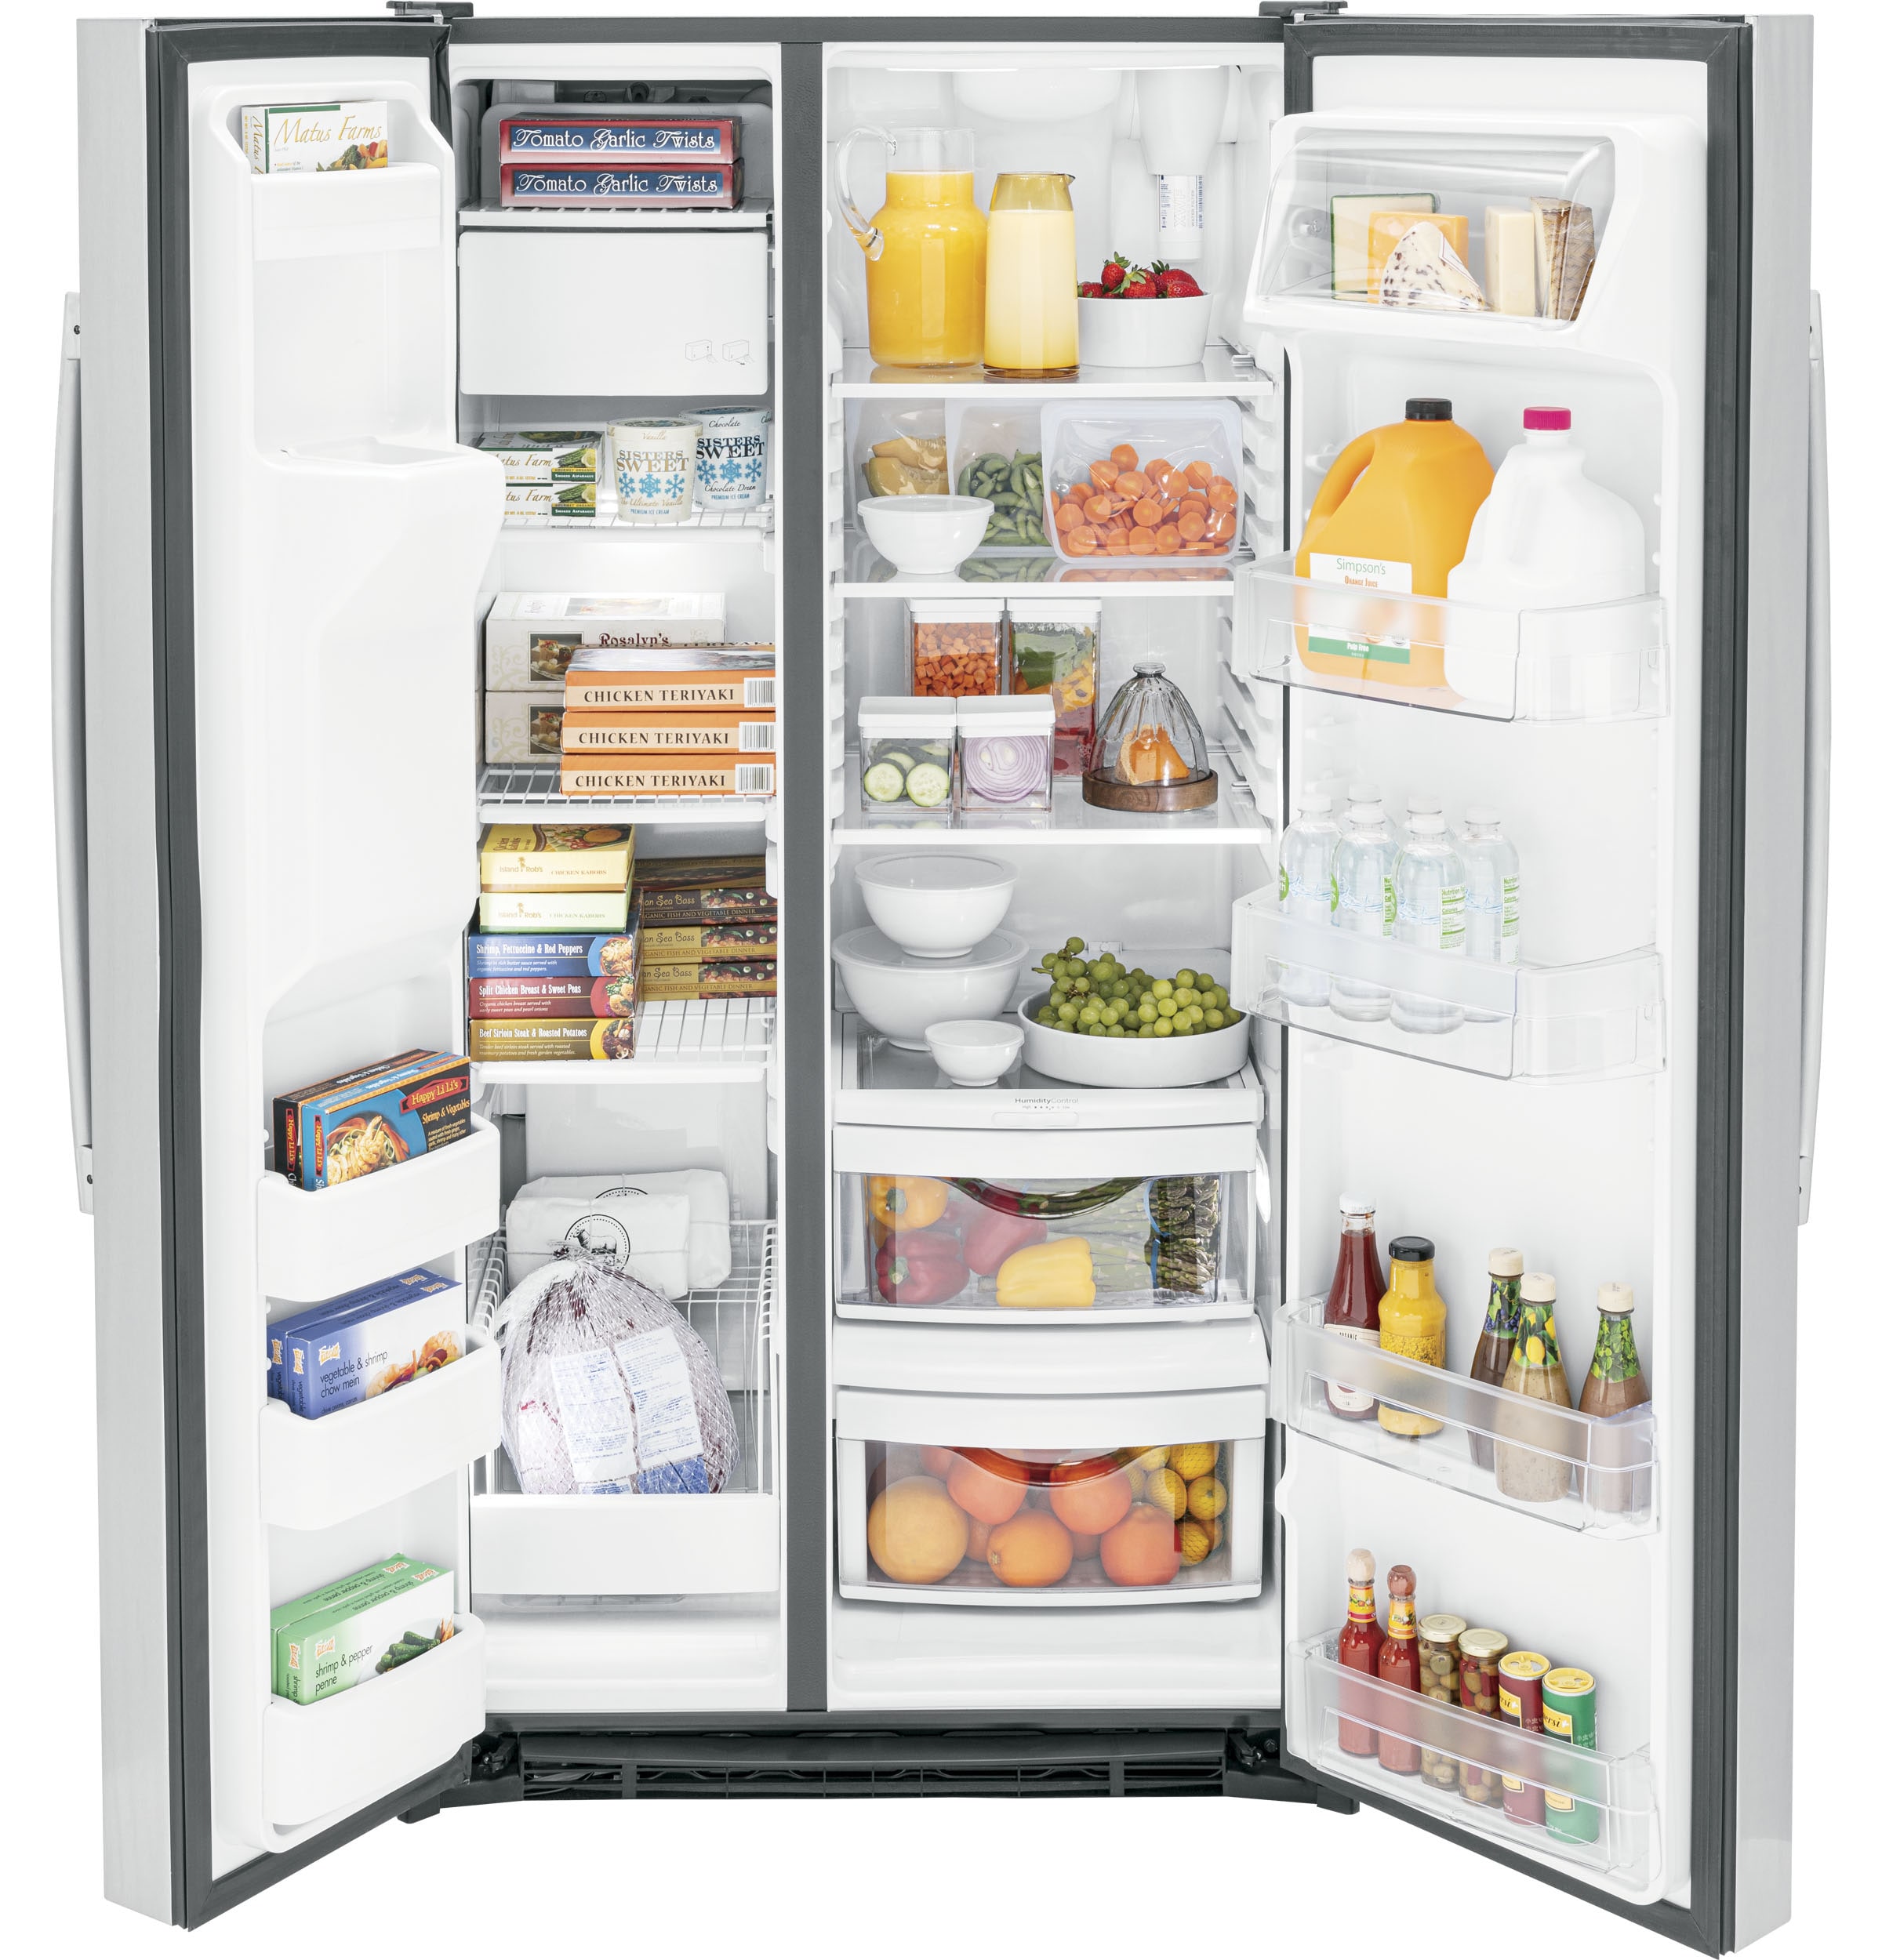
After those shelves are out of the way, you’ll have full access to your fridge’s nooks and crannies. You’d be surprised how much grime can accumulate in corners, around shelf supports, and in door bins.
Simple interior wipe-down
Use warm, soapy water on a sponge or cloth.
Wipe from the top down, so you catch drips as you go.
Pay extra attention to drawer tracks and door gaskets (the rubber seal around the door).
If you find stubborn stains, a splash of white vinegar usually does the trick. Let it soak for a minute, then wipe. This is also a great time to check if your fridge is too cold or too warm. If you’re noticing frost buildup or melted puddles, you might want to explore a deeper cleaning regimen: see more in how to clean your refrigerator from top to bottom if you’re planning a full fridge overhaul.
Now that your fridge’s interior is getting a little sparkle, let’s address those soaked shelves. This is where the magic happens. That dried maple syrup spill from last month? It softens nicely in warm, soapy water.
Step 1: Scrub gently
Use a non-abrasive sponge or brush to lift off softened grime.
Carefully scrub edges and corners, since these are the most overlooked areas.
For caked-on spots, gently use a plastic scraper.
Step 2: Rinse and dry
Rinse each shelf under running water, or wipe with a clean, damp cloth to remove soap residue.
Dry with a microfiber cloth or let them air dry on a dish rack.
Check for any cracks or chips while you dry — better to spot damage now than when it gives out under a gallon of milk.
At this point, your shelves will look almost brand new. The warmth of the water and gentle scrubbing should leave them free from sticky residue.
Everyone has a cleaning preference. Some folks reach for the all-purpose spray, others love the smell (or lack thereof) of homemade cleaners. Both can work wonders if you’ve played your cards right so far.
There’s no rule against mixing methods (just do so safely). A splash of vinegar in warm, soapy water can enhance the cleaning power without introducing harsh fumes. And if you do have a favorite store-bought cleaner, no problem — as long as it’s fridge-safe and free from strong bleach or ammonia that can leave residues or smells.
Sometimes you’ll encounter truly stubborn stains: a spilled gravy jar that dried up, or perhaps a mystery sauce lurking beneath the veggie drawer. Here’s how to handle those moments.
Let tough spots soak
Dip a cloth in warm, soapy water.
Press it against the stain for at least a minute.
Wipe or gently scrub once it’s softened.
Use baking soda paste
Mix baking soda with a little water to form a thick paste.
Apply it to the stain, let it sit for five to ten minutes.
Scrub gently with a sponge or soft brush.
Tackle lingering odors
Place a bowl of baking soda inside the fridge for a day, or
Try an open box of activated charcoal in a corner of the fridge.
While this might seem extra, it can make all the difference in overall freshness. After all, nobody wants to open the door for a snack and get hit with an off-putting smell.
Prevent future messes
Cleaning the fridge shelves once is great, but you can reduce the workload in the future by setting up a few maintenance habits. Think of it like tidying up a desk before it gets overwhelmed by clutter.
Quick daily or weekly habits
Wipe up spills immediately. The longer they sit, the harder they become to clean.
Store your sauces and condiments in labeled containers to prevent drips.
Consider using mats or liners that you can remove and wash separately.
Organizer tips
Use clear bins to group items by category: dairy, veggies, leftovers, etc.
Keep shelves uncluttered, so air circulates well. This helps maintain an even temperature.
If you rely on your freezer a lot for storage, look into creative solutions like a cubes freezer tray: cyber monday sale for portioning out sauces or stocks. That reduces messy spills in the fridge.
One more tip: the door shelves often hold drinks and condiments. Keep an eye on expiration dates, and toss or recycle items you’re no longer using. That clears up space and reduces accidental leaks.
You might give your fridge a thorough wipe-down once in a while, like with spring cleaning or before hosting a big holiday party. During these deep-clean sessions, remove everything at once to access every inch of the interior.
Special focus points
Door seals: Wipe them with soapy water or vinegar, then dry thoroughly.
Condenser coils: If your fridge’s coils are exposed on the back or bottom, vacuum the dust.
Drain pan: Some fridges have a drip pan underneath. Check and clean it if accessible.
For a full-scale regimen, you can explore how to clean your refrigerator from top to bottom. It covers those beyond-the-basics tasks when you have the time to do a truly in-depth clean.
Occasionally, no amount of scrubbing can fix a shelf that’s deeply stained, cracked, or compromised. If you notice large cracks, you might need a replacement to avoid accidents. Food-laden shelves can crack further and cause spills that lead to bigger headaches.
Where to get replacements
Manufacturer: Many brands sell replacement shelves or trays on their website.
Appliance part stores: Local or online, they often have shelf replacements in stock.
Gently used resales: If your fridge is older, you can sometimes find matching shelves through secondhand appliance shops or online marketplaces.
Since safety is crucial, a shelf that’s on the verge of breaking is never worth risking. Keep an eye out for signs of wear, and you’ll prevent bigger problems.
Frequently asked questions
You might still have a few loose ends in mind. Let’s answer some common questions about the easiest way to clean refrigerator shelves and keep them in top shape.
Can I use bleach on refrigerator shelves?
While bleach can sanitize, it can also leave behind a strong smell and potentially damage shelf surfaces if not diluted properly. A mild cleaner or simple vinegar-and-soap combo is usually sufficient. If you do use bleach on tough stains, rinse thoroughly and let it air out.
Should I remove the drawers, too?
Absolutely. Drawers can hide spills, especially under the far corners. Remove them and wash them with warm, soapy water as part of your routine. If the shelf above the drawer leaks, your drawer may need a good soak just like the shelves.
How often should I deep clean?
Aim for a light cleanup every week or two (wipe up spills, check for expired items), plus a deep clean every three months. Adjust this based on how often you cook. A busy family fridge might need more frequent attention, while a single-person household can stretch it out a bit longer.
Now that you’ve learned how to remove shelves, soak them properly, and handle tough stains, you can probably tell that the easiest way to clean refrigerator shelves is to break it down into manageable steps. By consistently following these tips, you’ll make the job quicker over time since you won’t be battling layers of old spills and sticky spots.
It’s also worth noting that if you’re in the market for specialized additions or different appliances, a few resources might pique your interest. Maybe you’ve been thinking about upgrading or reorganizing. In that case, check out offers like beer fridge offers if you regularly host get-togethers, or consider exploring a best freezerless refrigerator for keto diet if you barely store frozen items.
Final thoughts
Refrigerator upkeep might not be glamorous, but it’s a simple routine that saves you from hassles like lingering smells or spoiled food. The good news is that once you build a habit, you’ll find that cleaning those shelves rarely takes more than a quick soak, a little scrub, and a fast wipe-down. You’ll also notice your groceries look and smell fresher, meaning you’re less likely to toss perfectly good food because of mysterious fridge odors.
So the next time you open your fridge, do a quick check. If there’s a small spill, wipe it now rather than later. If you spot an aging sauce bottle, recycle it before it leaks. Those tiny steps, done regularly, make a huge difference. Good luck with your next cleaning session, and here’s to a fridge that’s always fresh and ready for whatever treats you plan to store! Feel free to share any of your personal cleaning shortcuts. You never know — your tip might become someone else’s go-to trick for gleaming shelves.
Free tool
Refrigerator Water Filter Finder
Free interactive tool from Fridge.com — get a quick answer while you read.