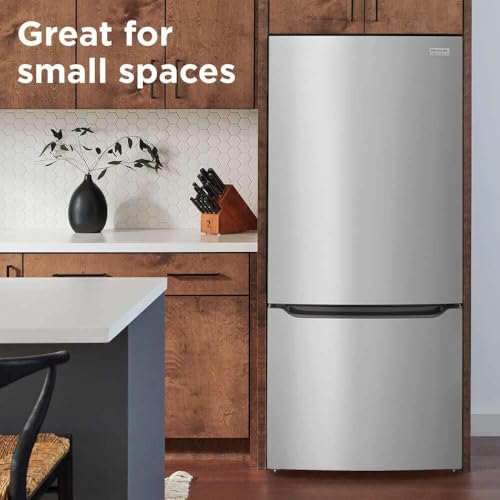
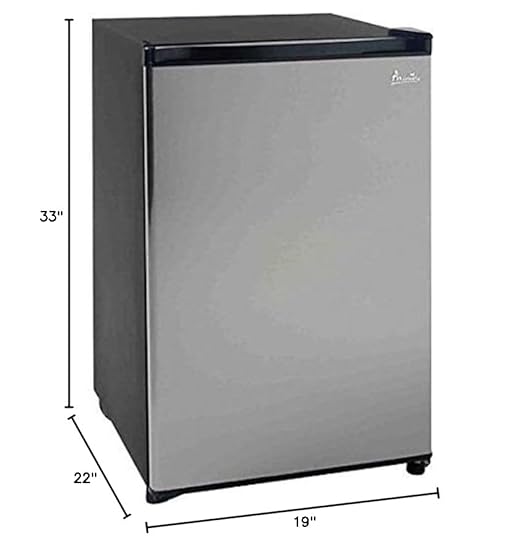
If you’ve ever craved homemade pickles but thought the process would be too time-consuming or complicated, easy refrigerator dill pickles might just change your mind. These quick pickles let you skip the fuss of canning while still delivering that crisp, tangy flavor you love. All it takes is fresh cucumbers, a few simple ingredients from your pantry, and of course, your trusty fridge to help the pickles develop their signature zing. Whether you keep a standard fridge in your kitchen, a compact unit in an RV, or multiple refrigerators for large family gatherings, you’ll find that refrigerator dill pickles fit perfectly into your routine. In this guide, you’ll learn exactly how to make them, store them, and even experiment with fun flavor variations.
What are refrigerator dill pickles?
Refrigerator dill pickles are cucumbers soaked in a simple brine and kept chilled rather than going through a traditional canning process. While conventional canning involves sterilizing jars and sealing them in boiling water to create a vacuum seal, these pickles primarily depend on your refrigerator’s cold environment to stay fresh. The result is a quicker path to snack-worthy dills without the extra steps.
How they differ from canned pickles
They are not shelf-stable, so they must remain in the fridge.
You can experiment with your brine, adding or subtracting flavors at will.
The crispness often rivals or exceeds many store-bought jarred pickles.
Why they are popular
Quick preparation: You can enjoy your first batch in as little as 24 hours.
Fresh taste: The cucumbers retain a bright flavor, enhanced by the cold curing process.
Healthier options: You control the salt, sugar, and other additives.
Traditional canning can be intimidating. You need to sterilize equipment, ensure jars have perfect seals, and monitor boiling times. Refrigerator pickles skip those steps. Instead, you’ll:
Stir together a simple brine.
Pour it over sliced cucumbers.
Store everything in airtight containers in your fridge until you’re ready to enjoy.
It’s a process that can fit comfortably into a busy schedule, whether you’re a dorm-dwelling student with just a mini fridge or a seasoned home cook looking to stock up a larger fridge for family gatherings. You’ll spend less time worrying about air bubbles or seal integrity and more time savoring the flavor of your homemade dill pickles.
Perfect for any setting
Offices: Easily prep a jar at your desk for a tangy afternoon snack.
Although dill pickles seem pretty straightforward, a few elements work together to create that classic taste. Here’s what you (and your fridge) will need:
Cucumbers
Choose small, firm cucumbers with thin skins like Kirby, Persian, or pickling cucumbers. They stay crisper and have fewer seeds. If slicing a standard cucumber, remove any tough skin or large seeds.
Fresh dill
Dill is the cornerstone of your brine. You can use dill fronds, stems, or even dill seeds. Look for bright green dill that isn’t wilted. The fresher the herb, the more vibrant your pickles will taste.
Vinegar
White distilled vinegar is common, but apple cider vinegar adds a subtle sweetness. If you’re feeling creative, you can experiment with different kinds of vinegar in separate jars.
Seasonings
Most recipes call for garlic, peppercorns, and sometimes onion slices or mustard seeds. Adjust these to suit your taste buds. That’s the beauty of refrigerator pickles: you’re in charge of what goes into the jar.
Salt
Pickling salt is ideal, but kosher salt also works. Avoid table salt that contains anti-caking agents, as these can cloud your brine.
Step-by-step guide
Making your own easy refrigerator dill pickles is straightforward. Start by setting up a clean workspace, washing your cucumbers thoroughly, and prepping your containers. You can use mason jars or any sealed container. Make sure they’re properly cleaned to extend the shelf life of your pickles.
Slice the cucumbers
You can cut them into spears or coins. Spears are ideal for snacking, while coins are great for sandwiches and burgers.
Prepare the brine
Combine equal parts water and vinegar in a saucepan. For a standard one-quart jar, start with a cup of water and a cup of vinegar.
Add salt. A tablespoon of pickling salt is typical for a one-quart batch, but adjust to your taste.
Toss in your choice of flavorings: garlic, peppercorns, mustard seeds, onion slices, and a sprig of fresh dill.
Bring the mixture to a bare simmer, just until the salt dissolves.
Pack the jars
Place more fresh dill at the bottom of each jar for added flavor.
Add the cucumber slices.
If you love garlic, slip an extra clove on top.
Pour the brine and cool
Gently pour the warm brine into the jars. Leave a little room at the top for the pickles to expand.
Let the jars cool on the counter until they’re no longer hot to the touch.
Seal and refrigerate
Tightly seal your jar.
Slide it into your fridge and wait at least 24 hours. The cucumbers need time to absorb the flavors.
Taste test
After a day, open the jar, take a bite, and see if the flavor is fully developed. If not, wait another day or two.
Once you’re happy with the taste, keep your pickles chilled until you’re ready to enjoy them all.
Helpful tips for first-timers
If you want a sweeter taste, stir in a tablespoon or two of sugar or honey into the brine.
For spicy pickles, add chili flakes or sliced jalapenos.
Label and date your jars so you can track how long they’ve been curing.
Refrigerator dill pickles can stay crisp for several weeks, but you’ll get the best flavor if you follow a few extra guidelines:
Start with cold cucumbers
Keep your cucumbers in the fridge overnight before you begin. The colder they are, the crisper they’ll remain, especially once the brine is added.
Use fresh herbs and spices
Dill or garlic that’s past its prime can alter the taste. The advantage of a “no canning” approach is the emphasis on freshness. You’ll notice the difference in every crunchy bite.
Maintain cold temperatures
While you won’t freeze your pickles, storing them at a consistently cool temperature is essential. If you have multiple fridges, choose one you open less frequently to reduce temperature fluctuations. If you’re not sure about optimal settings, you might find some useful tips in the right temperature for your freezer. Even though it focuses on freezers, it offers insight into how consistent cold helps preserve foods effectively.
If you entertain frequently in your home or run a cafeteria, having jars of homemade pickles on hand can spice up a meal in seconds. They’re a fantastic counterpoint to rich dishes like grilled cheese sandwiches or fried chicken. Plus, guests often appreciate the personal touch of homemade condiments—they make even a simple lunch feel more special.
Although these pickles simplify the preservation process, proper storage still matters. Here’s how to ensure your refrigerator dill pickles stay fresh and flavorful:
Keep them sealed
Use airtight containers or jars with snug lids to protect your brine from off-odors in the fridge.
Don’t shake too vigorously
A gentle swirl is fine if the contents settle, but avoid shaking them hard, which could bruise the cucumbers.
Place jars in a stable spot
Keep them in a cooler section of the fridge, not the door, which sees more fluctuation in temperature. This is especially important if someone in your household frequently peeks into the fridge for snacks.
If you occasionally upgrade or change out your fridge, check out what size refrigerator for 4 people for insights on balancing capacity needs.
Monitor for signs of spoilage
If your pickles develop an off smell or discoloration, it’s best to discard them. But with the right steps, this is unlikely to occur for weeks (or longer).
Frequently asked questions
Below are some common questions that might come up as you start experimenting with your new favorite fridge project.
Can I reuse the brine?
Technically, you can reuse brine once, but the flavor will dilute with each new batch of cucumbers. Moreover, each batch might carry microorganisms, so a fresh brine is usually recommended for best results and longevity.
How long do they last?
Most people find refrigerator dill pickles taste great for 3 to 4 weeks. Some even keep them for up to two months, though the cucumbers will lose a bit of crunch over time.
Do I have to use dill?
It’s not mandatory. If you skip dill, you’ll just have a different flavor profile, maybe closer to a sour or bread-and-butter pickle if you increase the sugar. Feel free to get creative with other herbs and spices, like rosemary, thyme, or chili flakes.
Are there any unique twists to try?
Lots. Some people add slices of red onion or jalapenos for an extra kick. You can even tuck in a bay leaf, star anise, or extra peppercorns to see how the flavors evolve. The only limit is your taste buds and the size of your fridge.
Easy refrigerator dill pickles are proof that delicious, homemade recipes don’t need to be complicated. With minimal prep and a cold spot in your fridge, you can create mouthwatering pickles you’ll be proud to serve at gatherings, lunch breaks, or late-night snacking sessions. The best part is that every jar is customizable, so you can dial in the flavors that make you happiest. Plus, you’ll never need to rely on store-bought pickles again—your fridge becomes a full-fledged pickling station.
Now that you’re ready to whip up your first batch, gather your cucumbers, grab some fresh dill, and enjoy the satisfaction of making your very own easy refrigerator dill pickles. Give yourself a day or two for the flavors to develop, then reward your patience with that unmistakable crunch and tang. After you see how convenient and tasty these pickles can be, you might find yourself looking for new ways to experiment. Who knows—this could be the start of a homemade condiment obsession that draws you back to your fridge every day. Bon appétit!
Free tool
Refrigerator Rebate Finder
Free interactive tool from Fridge.com — get a quick answer while you read.