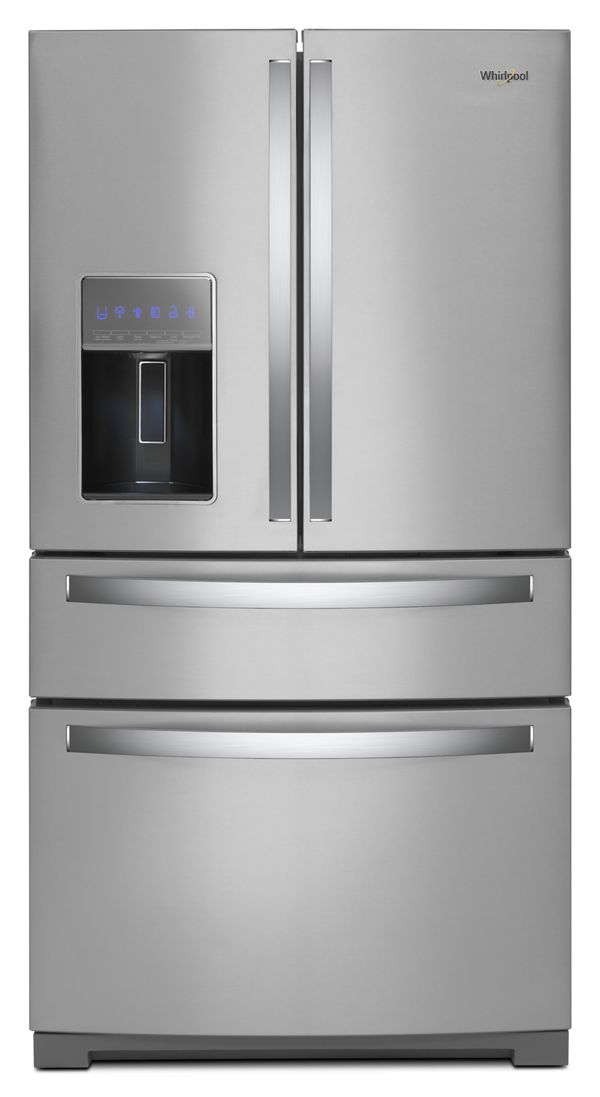
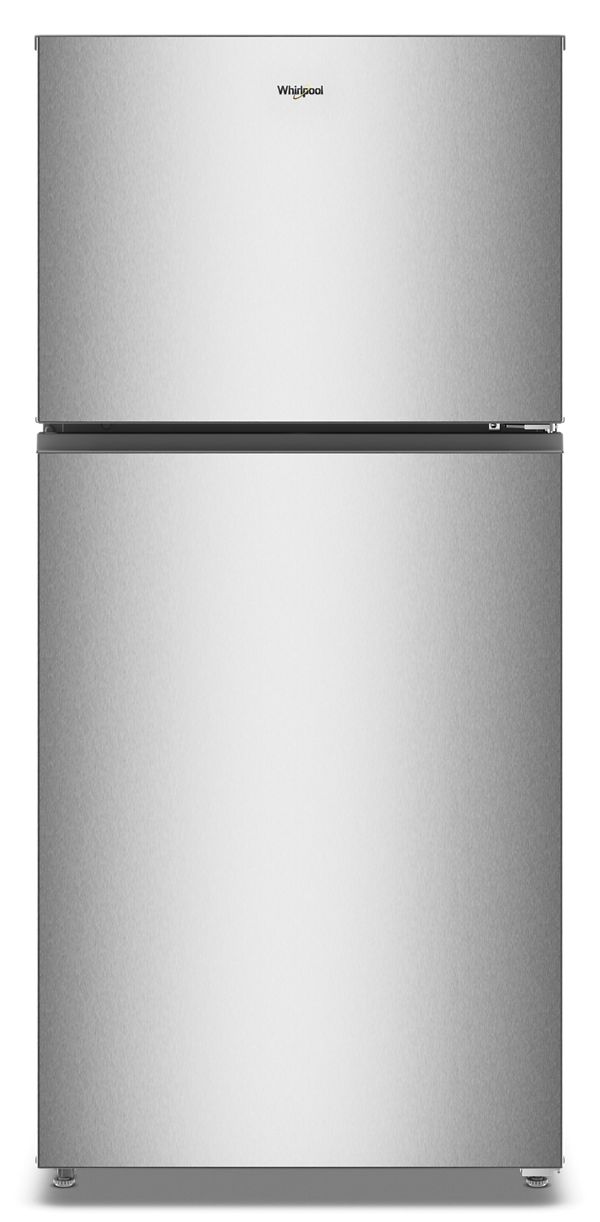
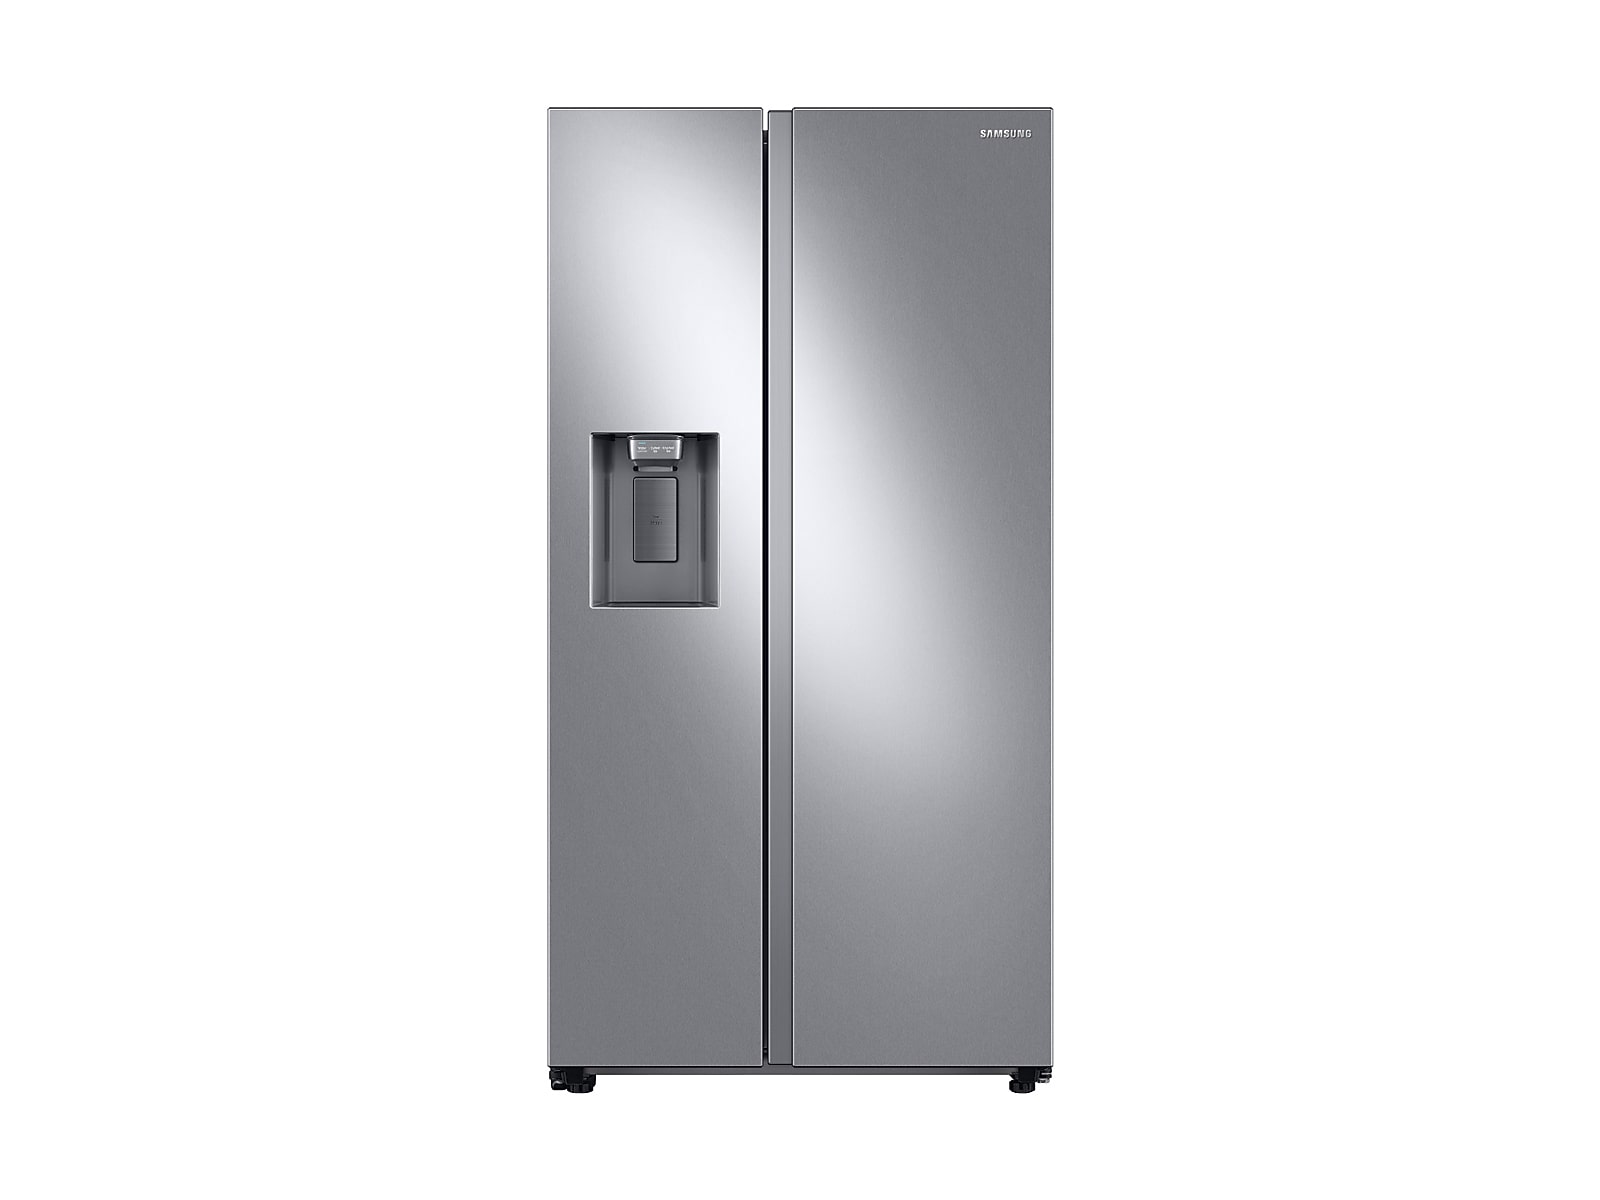
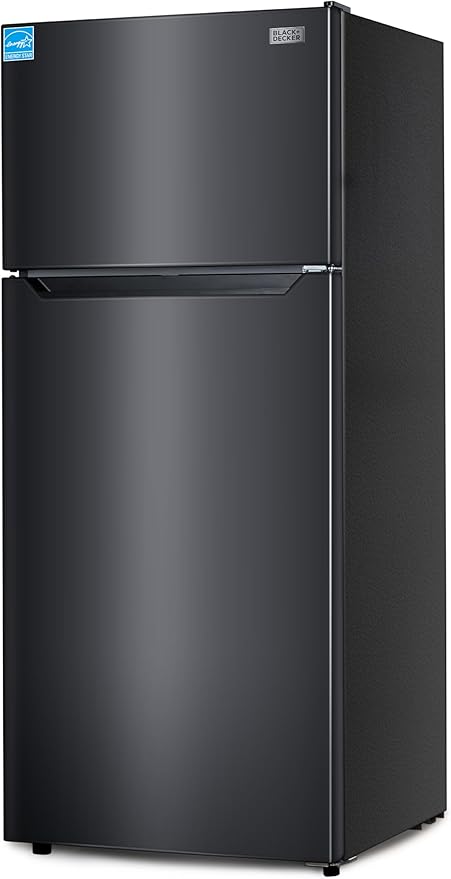
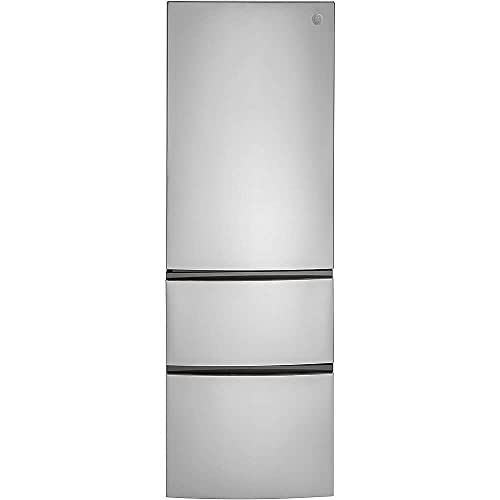
Pair it with other eco-friendly steps, like choosing appliances with Energy Star ratings or setting your thermostat to an optimal level (around 37°F for the fridge, 0°F for the freezer).
By following these steps, you’re taking solid care of one of the most important appliances in your home.
You may be curious why cleaning your refrigerator’s condenser coils is so important.
Just remember any perishable food inside should stay cold if you keep the doors closed and work reasonably quickly.
If you’ve ever wondered “how do you clean the condenser coils on the back of a refrigerator?”, you’re not alone. Many homeowners have no idea these coils even exist, let alone that they need regular attention. Think of your refrigerator coils like the lungs of your fridge. They help release heat so your groceries stay cool and fresh. When coils are caked with dust, dirt, and pet hair, your fridge has to work harder—like running a marathon with weights strapped to your legs.
Cleaning these coils regularly can extend your fridge’s lifespan, lower your energy bills, and reduce the risk of unwanted breakdowns. It’s a simple task, but it’s also one that people tend to skip. By the end of this guide, you’ll know exactly what you need to do, which tools to grab, and how often to tackle the job. Let’s dive in so you can keep your refrigerator humming happily in the background.
Below, we’ll explore the steps in detail. We’ll look at safety measures, potential pitfalls, and best practices for quick but thorough coil maintenance. And if you’re thinking ahead to a new fridge, you might also want to check out resources like the best counter depth refrigerator guide to stay informed. For now, let’s focus on those coils.
Understand why cleaning matters
You may be curious why cleaning your refrigerator’s condenser coils is so important. The short answer: electrical safety, fridge efficiency, and cost savings. Dust acts like a blanket, insulating the coils and preventing them from efficiently dispersing heat. As a result, the compressor (the main workhorse that cools your fridge) is forced to run longer and hotter.
Ever noticed your fridge cycling on and off more than usual? Dirty coils could be the culprit. Over time, that unnecessary cycling can strain components and lead to expensive repairs. Plus, a compressor that’s constantly struggling can spike your energy usage, leaving you with higher bills. Cleaning is the simplest fix.
Greater efficiency: Clean coils let heat escape quickly, so your fridge uses less power.
Reduced wear: The compressor won’t overwork, so internal parts stay healthy longer.
Lower bills: That reduced energy consumption adds up month after month.
You might not see the buildup of dust, but it’s there—especially if you share your home with pets. Hair clings to coil edges, forming dust bunnies bigger than you’d expect. Think of it like leaving a blanket over a radiator, preventing heat from escaping. Your goal is to peel off that “blanket” of grime.
Prepare your workstation
Before you get started, gather a few basic supplies. You don’t need fancy gear, but having the right tools on hand will streamline the process. Here’s a quick checklist:
A vacuum cleaner with a hose attachment
A refrigerator coil brush (often sold as a “coil cleaning brush”)
A flashlight or a well-lit environment
Gloves (optional, but they can keep your hands clean)
A simple face mask if you’re sensitive to dust
Next, it’s smart to clear the area behind or under your refrigerator. Since you’ll be moving the appliance slightly to reach the coils, remove small items that might get in your way. It’s also wise to mop or sweep the floor area behind the fridge before you start, so you’re not pushing it into a pile of crumbs—nobody wants to grind leftover cereal underfoot.
When you’re all set, check the space around your fridge. Is there enough room to lay the vacuum and brush on the floor without tripping? Having an organized workspace makes the task faster and safer. You’ll avoid banging your elbows or stretching awkwardly in a cramped space.
Safety first. Before you start poking around the back of your fridge, go ahead and unplug it. You can either reach behind the refrigerator if your cord is accessible, or switch off the circuit breaker if the plug is tricky to reach. Why bother?
Prevent electrical mishaps: You’ll be working near electrical components and dust, and that’s not a combo you want under power.
Protect your fridge: If you jostle something or cause a short circuit, you could harm the appliance.
Avoid accidental fan spin: Some fridge fans may still move even if the door is open, so unplugging ensures no moving parts catch your brush or fingers.
Once you’ve pulled the plug, let the fridge sit idle for a moment. It’s good practice to let any stored charge dissipate. Plus, if you’re tackling other tasks—like wiping down the exterior or rearranging the shelves—this is a great time to do that. Just remember any perishable food inside should stay cold if you keep the doors closed and work reasonably quickly.
Now that your fridge is safely unplugged, it’s time to find those condenser coils. Depending on your model, the placement can vary:
Back of the fridge: If your condenser coils are behind the unit, you’ll usually see them snaking in a grid pattern.
Bottom front grille: Some modern fridges tuck coils underneath, accessible by removing a small front panel or grille.
Since we’re focusing on cleaning coils on the back, you’ll generally need to pull the fridge away from the wall. Take it slow. You don’t want to drag or yank, especially if you have hardwood floors. Many fridges have small wheels at the bottom, so try to roll it gently forward. Grab that flashlight to get a clear view of the coils.
You might notice a few other components back there too, like the compressor (a black tank-like cylinder) and maybe some wiring. Don’t worry, you’re primarily concerned with the metal coil tubing usually shaped in loops. The amount of dust on there might surprise you.
Check for extra covers
Some refrigerators include an additional back panel. If that’s the case, it may be held in place by a few screws or plastic clips. Unscrew or unclip carefully. Keep these fasteners in a small bowl or zipped bag so they don’t vanish under your fridge. With the panel removed, you should have an even clearer path to the condenser coils.
Your first sweep should involve a vacuum. Using the hose attachment, gently run the nozzle along the coil fins to suck up loose dust and hair. Why vacuum first? It’s a simple way to remove surface layer debris without swirling everything into the air like a mini dust storm.
Move steadily: Avoid pressing too hard on the coils. They can bend if you’re too forceful.
Focus on corners: Dust collects heavily in tight corners and along the edges where the coils meet the fridge’s body.
Check behind any brackets: Sometimes, plastic brackets can trap little pockets of buildup.
If you see compacted dirt that just won’t let go, don’t stress. You’ll tackle that in the next step with your coil brush. For now, it’s about clearing as much loose material as possible. Also, be sure to vacuum the floor area behind the fridge. There’s no sense in letting that settled dust end up right back on the coils after you push the fridge into place again.
Try different attachments
If you have a vacuum cleaner with multiple attachments, experiment a bit. A crevice tool is often narrower and can get in between coil rows more effectively. If you don’t have one, a smaller brush attachment can also help, especially if it has soft bristles. Just move slowly to avoid pushing dust deeper.
Brush away stubborn grime
Next comes the coil brush, a slender tool designed to fit between the coil gaps. It’s usually flexible or semi-flexible, so you can navigate around corners. The big advantage here is mechanical agitation—you’ll loosen any dust that’s clinging for dear life.
Insert the brush: Slide it gently between each coil row and twist slightly to dislodge debris.
Pull out dust: The brush might come out looking like a dusty caterpillar. Shake or wipe it off before going in for another pass.
Work methodically: Tackle a couple of rows, clean your brush, then move on. This prevents transferring junk from one row to another.
Consider wearing a simple face mask for this step if you’re sensitive. Dust might puff out in little clouds. It’s like ruffling an old rug. If you feel any coil tubes shift, pause and check if something came loose. Normally, these coils are firmly in place, but older fridges or heavy buildup can make them slightly more delicate.
Use air if needed
For extremely stubborn gunk, a can of compressed air or an air compressor (set to low pressure) can help blast out the crevices. Just be careful not to blow the debris deeper into other fridge components. Short, controlled bursts directed outward usually do the trick.
By this point, you’ve vacuumed most of the dist and brushed away the rest. It’s time for a brief inspection before you restore power. Did you notice any bent fins? If you see coil fins that are knocked out of shape, you can carefully straighten them with a fin comb or even gentle finger pressure. Don’t apply too much force.
Double-check connections: Make sure no wiring or harnesses were accidentally dislodged.
Remove leftover dust: If you spot any clingy dust near the fan or compressor, vacuum again.
Now, replace any back panel or grille you removed. Then, carefully push the fridge back into position. Be gentle, or you’ll end up scraping floors or kinking lines. Finally, plug the fridge back in or switch on the breaker. Listen for the usual hum. You might hear the compressor kick on as it rebalances the internal temperature. Give it a few hours to stabilize. If you like, verify the temperature with a fridge thermometer to confirm it’s running smoothly.
Keep an eye on performance
After a full coil cleaning, you might notice your fridge sounds quieter, or it cycles less frequently. That’s a good sign. Over the next few days, keep track of any unusual noises or smells. If you see water leakage or the fridge not cooling properly, investigate further or consult a technician.
Now that you’ve tackled a thorough cleaning job, you’ll want to keep those coils in tip-top shape going forward. Wondering how often you should repeat this chore? Every six months is a great general guideline, especially if you live with pets or in a dusty environment. If you have multiple furry friends that shed a lot, consider checking the coils quarterly.
Between deep cleanings, you can do quick spot checks:
Shine a flashlight behind or under the fridge.
If you see major dust buildup, break out the vacuum again.
These quick peeks ensure you never let several years’ worth of fuzz accumulate. Trust me, your energy bill and your fridge will thank you for it. The more regularly you clean, the easier each session becomes.
Sometimes, cleaning alone may not solve all your cooling woes. If your fridge continues to perform poorly, you can run through a quick checklist of possible issues:
Symptom
Possible Cause
Next Step
Fridge runs constantly, never shuts off
Coils still dirty, or fan not working
Re-check coils, verify fan movement
Warm fridge interior
Blocked airflow, faulty compressor
Clear vents, consider a professional check
Loud rattling or buzzing sounds
Fan hitting debris, loose coil bracket
Secure brackets, vacuum fan area
Water leakage/condensation
Drain line clogged, door gasket failing
Clean drain line, inspect door seal
This table helps you spot if your coil cleaning might not be the only fix needed. If you’ve just cleaned coils and something is still amiss, try to pinpoint the root cause. A wonky thermostat or blocked vent could also reduce efficiency. If in doubt, contact a qualified technician.
Even though coil cleaning is usually a do-it-yourself task, there are times you might need backup. For instance, if your fridge rattles persistently or if you see any exposed wiring you’re not sure about, err on the side of caution.
Calling a professional might be the safest route if:
You can’t locate the coils (some designs hide them in tricky spots).
You suspect major electrical or mechanical damage.
You’re unsure how to straighten badly bent coil fins without causing leaks.
Professionals also have specialized tools, like fin combs in different sizes or heavy-duty vacuums. They can sometimes spot early signs of trouble that aren’t obvious to the rest of us. One quick tip: Before calling a pro, some folks like to check out pages like what should you do when you get a new refrigerator? to explore upgrade possibilities just in case a major fix isn’t worth it.
Extra care for unique setups
Not all refrigerators are standard boxes with a coil grille on the back. If you have a fancy wine fridge or a beverage cooler under your counter, the process can be similar but might require different access points. Some beverage coolers also run dual cooling circuits. If you’re curious about that design, a resource like which beverage fridge runs dual independent cooling circuits? might be helpful.
In tight spaces, you may need a smaller brush or a slim vacuum attachment. Also, consider taking extra steps to protect delicate floor surfaces, like placing a furniture pad under each fridge foot to ensure minimal friction when pulling it out.
Check integrated appliances
If your fridge is integrated into cabinetry, you won’t have as much room to maneuver. In such cases, read your user manual carefully for instructions on how to access the coils behind decorative panels. You may even need a second person to help you carefully slide the fridge out without scratching cabinets.
Besides prolonging your fridge’s life, clean coils also directly benefit your wallet. According to some energy experts, a fridge with dirty coils can use significantly more electricity over time. While the exact figures vary by model, you can notice real savings if you’re diligent. That extra 5-10% in efficiency might not sound like a lot in a single month, but over a year or five, it adds up.
Picture the cost of a single fridge repair call or the expense of replacing a major component. Cleaning coils is practically free if you already own a vacuum and a brush. It’s a bit of sweat equity that pays you back in lower bills and improved performance. Use that saved money for something more fun, like a pizza night, instead of throwing it away on wasted energy.
Refrigerators aren’t just about convenience, they also have an environmental impact. When a fridge struggles with clogged coils, it draws more power from the grid. That can lead to a bigger carbon footprint, something we’d all like to minimize.
By doing this regular maintenance, you’re effectively reducing wasted energy. Pair it with other eco-friendly steps, like choosing appliances with Energy Star ratings or setting your thermostat to an optimal level (around 37°F for the fridge, 0°F for the freezer). You’ll be doing your part to keep both your bills and your carbon footprint as small as possible.
Another underrated aspect of coil cleanliness is the space around your fridge. If your fridge is crammed tightly between cabinets and a wall, it can’t breathe properly. Check your user manual for the recommended clearance—some advise two inches or more of space behind and on the sides.
If you can, shift your fridge slightly to give it better airflow. This reduces the amount of heat that gets trapped. And as a bonus, it also means dust buildup will take longer to accumulate on or around the coils.
Watch for other airflow obstructions
Sometimes, we forget about random items perched on top of the fridge. Large boxes, pots, or even small appliances can block heat from escaping. Removing them might help air circulate and reduce the need for frequent coil cleaning. Just keep an eye on safety—toppling items can become a hazard if you open or close the door too quickly.
Frequently asked questions
Even after you’ve walked through all these steps, certain nuances can still pop up. Here are a few common questions people ask:
“Do I need special cleaning solutions?”
No, usually a vacuum and brush are all you need. If you encounter sticky grime, a damp cloth (well wrung out) can help. Avoid harsh chemicals that might corrode metal.
“Can I just sweep behind the fridge?”
Sweeping behind your fridge is great for general housekeeping, but it won’t remove debris caught in the fins. You need a more direct approach with a vacuum or brush.
“What if I can’t move my fridge at all?”
In cases where the fridge is built-in or extremely heavy, consider professional help. They have specialized tools—and muscle—to handle immovable appliances safely.
“Will cleaning coils fix leaks?”
Cleaning coils is unlikely to fix a fluid leak. If your fridge is leaking water or refrigerant, that’s a separate issue requiring a repair or gasket replacement.
Like many household chores, a consistent, small effort can prevent big headaches later. If you incorporate coil maintenance into your spring or fall cleaning schedule, it becomes second nature. Add a calendar reminder on your phone or an old-school note on your noticeboard—whatever helps you remember.
You might also want to read up on general refrigerator upkeep. For instance, if your fridge is acting oddly, how to determine the value of a used fridge might offer clues about whether your unit is worth investing in or replacing. Each fridge has its quirks, so the more you know, the better you can care for it.
Summary
Cleaning your refrigerator’s condenser coils might feel like a small, hidden chore, but it can produce big benefits. You’ll save on electricity, potentially avoid costly repairs, and help your fridge run more smoothly. Here’s the simple process to remember:
Unplug the fridge for safety.
Pull the appliance away from the wall to expose the coils on the back.
Vacuum the dust and debris with a hose attachment.
Use a coil brush to loosen any stuck-on grime.
Vacuum again to catch any loose dirt.
Push the fridge back and reconnect power.
Monitor performance and repeat every six months.
By following these steps, you’re taking solid care of one of the most important appliances in your home. You’ll likely notice quieter operation, more efficient cooling, and maybe even a slight drop in your utility bill. Plus, you’ll help your fridge live a longer life. Who can complain about that?
Thanks for sticking with me through this guide, and I hope you’re feeling confident and ready to refresh those coils. If you have any lingering questions or if you discover tips that make the job even easier, feel free to share them. It’s all about learning from each other—like friends chatting over a cup of coffee, except we’re talking about fridge coil dust. Happy cleaning!
From Fridge.com research
Figures below come from data Fridge.com builds and maintains. Each links to the record behind it.
Fridge.com Energy Index, built on U.S. EPA and DOE ENERGY STAR records
Across 5,455 ENERGY STAR certified refrigerators and freezers from 263 brands, median use is 360 kWh per year.