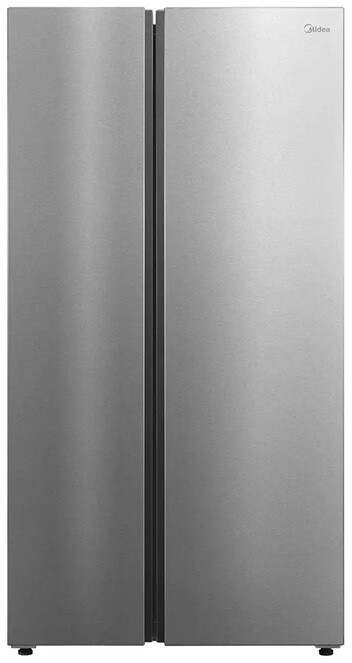
If you’ve ever savored a perfectly aged steak and wondered how restaurants achieve that nutty, concentrated flavor, you’re looking at the magic of dry aging. A dry age meat fridge—or dry-aging refrigerator—is designed to mimic the conditions of a traditional aging room, creating a controlled environment where air flows steadily over the meat, moisture gently evaporates, and natural enzymes break down muscle tissue. The result is a depth of flavor and tenderness you simply can’t get from vacuum-sealed wet aging.
In a home or small commercial setting, a dedicated dry age fridge gives you the power to experiment with cuts, aging times, and even seasoning profiles. Whether you’re a chef in a high-volume kitchen, a home cook who loves gathering friends for dinner parties, or a family that wants restaurant-quality steaks every weekend, understanding the fundamentals of dry aging is step one toward culinary excellence.
How dry aging works
Air circulation: Fans maintain gentle airflow so moisture evaporates evenly, forming a protective crust on the meat
Temperature control: Ideal range sits between 34°F and 38°F, slowing bacterial growth while allowing enzymatic tenderization
Humidity management: Keeping relative humidity around 75–85% prevents excessive meat drying or surface mold
Time factor: Aging can range from 14 days for mild flavor boosts to 60+ days for bold, beefy intensity
Why dedicated fridges matter
A standard kitchen refrigerator simply can’t maintain consistent airflow or precise humidity, and cross-contamination risk spikes when aging alongside your leftovers. A dry-aging cabinet or fridge isolates your meat, filters incoming air, and often uses UV or charcoal filters to neutralize unwanted spores. This specialized setup means you can age with confidence rather than worry about spoilage or off-flavors.
Benefits of dry aging
Dry aging isn’t just a fancy restaurant trick—there are real, tangible benefits for anyone who enjoys high-quality meat.
Intensified flavor
As moisture evaporates, the beef’s flavor compounds concentrate. That means richer steak notes, hints of nuttiness, and a complexity you can’t replicate with marinades alone.
Enhanced tenderness
Proteolytic enzymes—naturally present in the meat—break down connective tissues over time, giving you a fork-tender bite even on cuts you might normally braise.
Reduced waste
Longer aging under the right conditions can actually extend the edible life of your meat. Once you master trimming away the exterior crust, you’ll find more delicious interior than you might expect.
Culinary creativity
A dry age fridge opens doors beyond beef. You can age game birds, pork loins, or even experiment with charcuterie and specialty cheeses. It’s a playground for home chefs and professionals alike.
Shelf stability for smaller kitchens
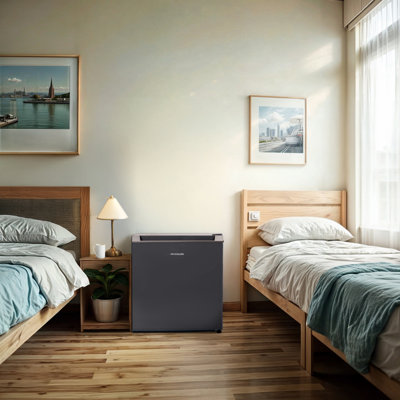
If you live in a studio apartment or dorm room and don’t want to tie up prime fridge space, a compact dry aging unit works perfectly. You get top-tier aging without giving up room for your lunch leftovers.
Even with the best gear, you might run into snags. Here’s how to tackle them.
Temperature fluctuations
Symptoms: Meat aging too fast or too slow
Causes: Faulty thermostat, frequent door openings, poor sealing
Fixes: Recalibrate thermostat, limit door swings, replace gaskets
Excess humidity or dryness
Symptoms: Mold growth, overly hard crust, or shriveled meat
Causes: Malfunctioning humidistat, blocked airflow, incorrect door seal
Fixes: Clean vents, swap out filters, adjust humidifier pads or airflow settings
Off odors or mold
Symptoms: Unpleasant smells, fuzzy white or green patches
Causes: Airborne spores, organic debris in fridge, expired filter
Fixes: Remove affected meat, deep clean interior, replace filter cartridges
If you notice frost or ice forming on cooling coils, follow our quick defrost tips in how to remove ice from the freezer quickly. Regular defrosting keeps airflow steady and prevents temperature swings.
Exploring creative uses
A dry age meat fridge isn’t limited to beef. Once you get the hang of controlling your microclimate, you can branch out.
Aging cheese and charcuterie
Hard cheeses like cheddar or gouda develop deeper flavor
Homemade salami and prosciutto benefit from steady temps and airflow
Use dedicated shelves or drawers to avoid cross-contamination
Ripening fruit and vegetables
Avocados, mangoes, and pears can ripen evenly under controlled humidity
Tomatoes stored too cold lose flavor, so reserve this for firmer stone fruits
Fermented goods and kombucha
Glass bottles of kombucha or kefir age consistently without risk of spoilage
You’ll appreciate the transparent door as you watch cultures bloom
Once you’ve mastered the basics, these tips help you get even more from your dry aging unit.
Smart monitoring and alerts
Wi-Fi enabled models integrate with home automation for easy oversight
Set up email or SMS alerts for temperature or humidity deviations
Energy-saving strategies
Keep the unit mostly full—thermal mass reduces compressor cycles
Clean condenser coils on the back or bottom every six months
Opt for LED interior lights that emit less heat
Upgrading filters and accessories
Swap in activated carbon charcoal pads for odor control
Add digital hygro-thermometers as redundant checks
Invest in stainless steel wire racks for better airflow and durability
Wrapping up dry aging
A dry age meat fridge transforms the way you approach meat, unlocking flavors and textures that rival top steakhouses. Whether you’re setting up your first countertop unit in a studio apartment or upgrading to a commercial-grade cabinet for your restaurant, the principles remain the same: precise temperature, mindful humidity, and consistent air circulation.
As you gain experience, you’ll learn how different cuts, aging times, and even seasoning methods influence the end result. And don’t stop at beef—experiment with charcuterie, cheese, and fruits to discover all the creative possibilities your dry-aging fridge offers.
Now that you know how to choose, set up, maintain, and troubleshoot your unit, it’s time to start your first aging run. Gather a few choice cuts, calibrate your fridge, and get ready to taste the difference that patient, controlled dry aging makes. Your next gathering of friends, family, or fellow foodies is about to get a serious upgrade. Enjoy every bite.
Free tool
Extended Warranty Break-Even Calculator
Free interactive tool from Fridge.com — get a quick answer while you read.