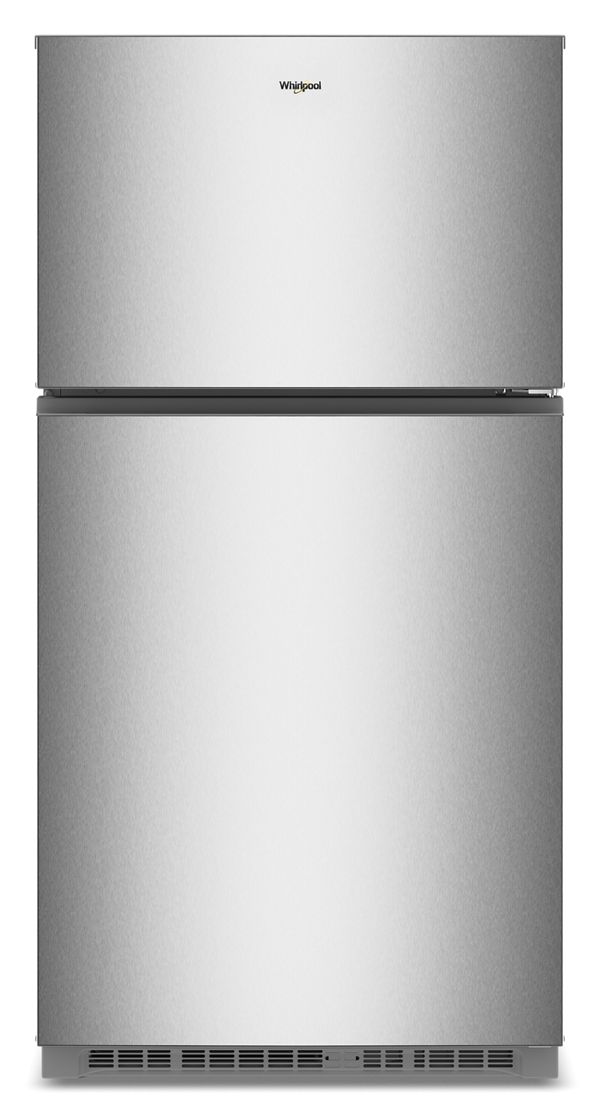
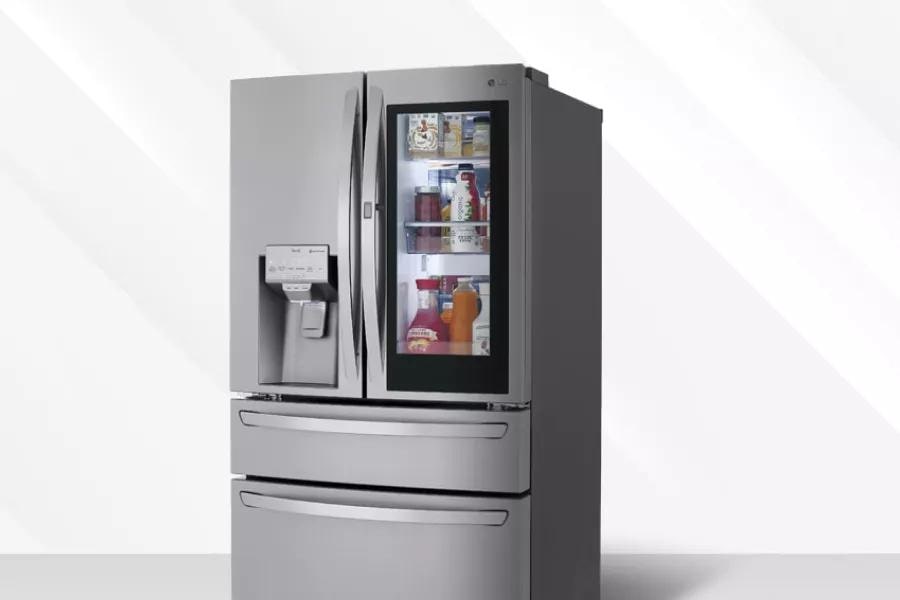
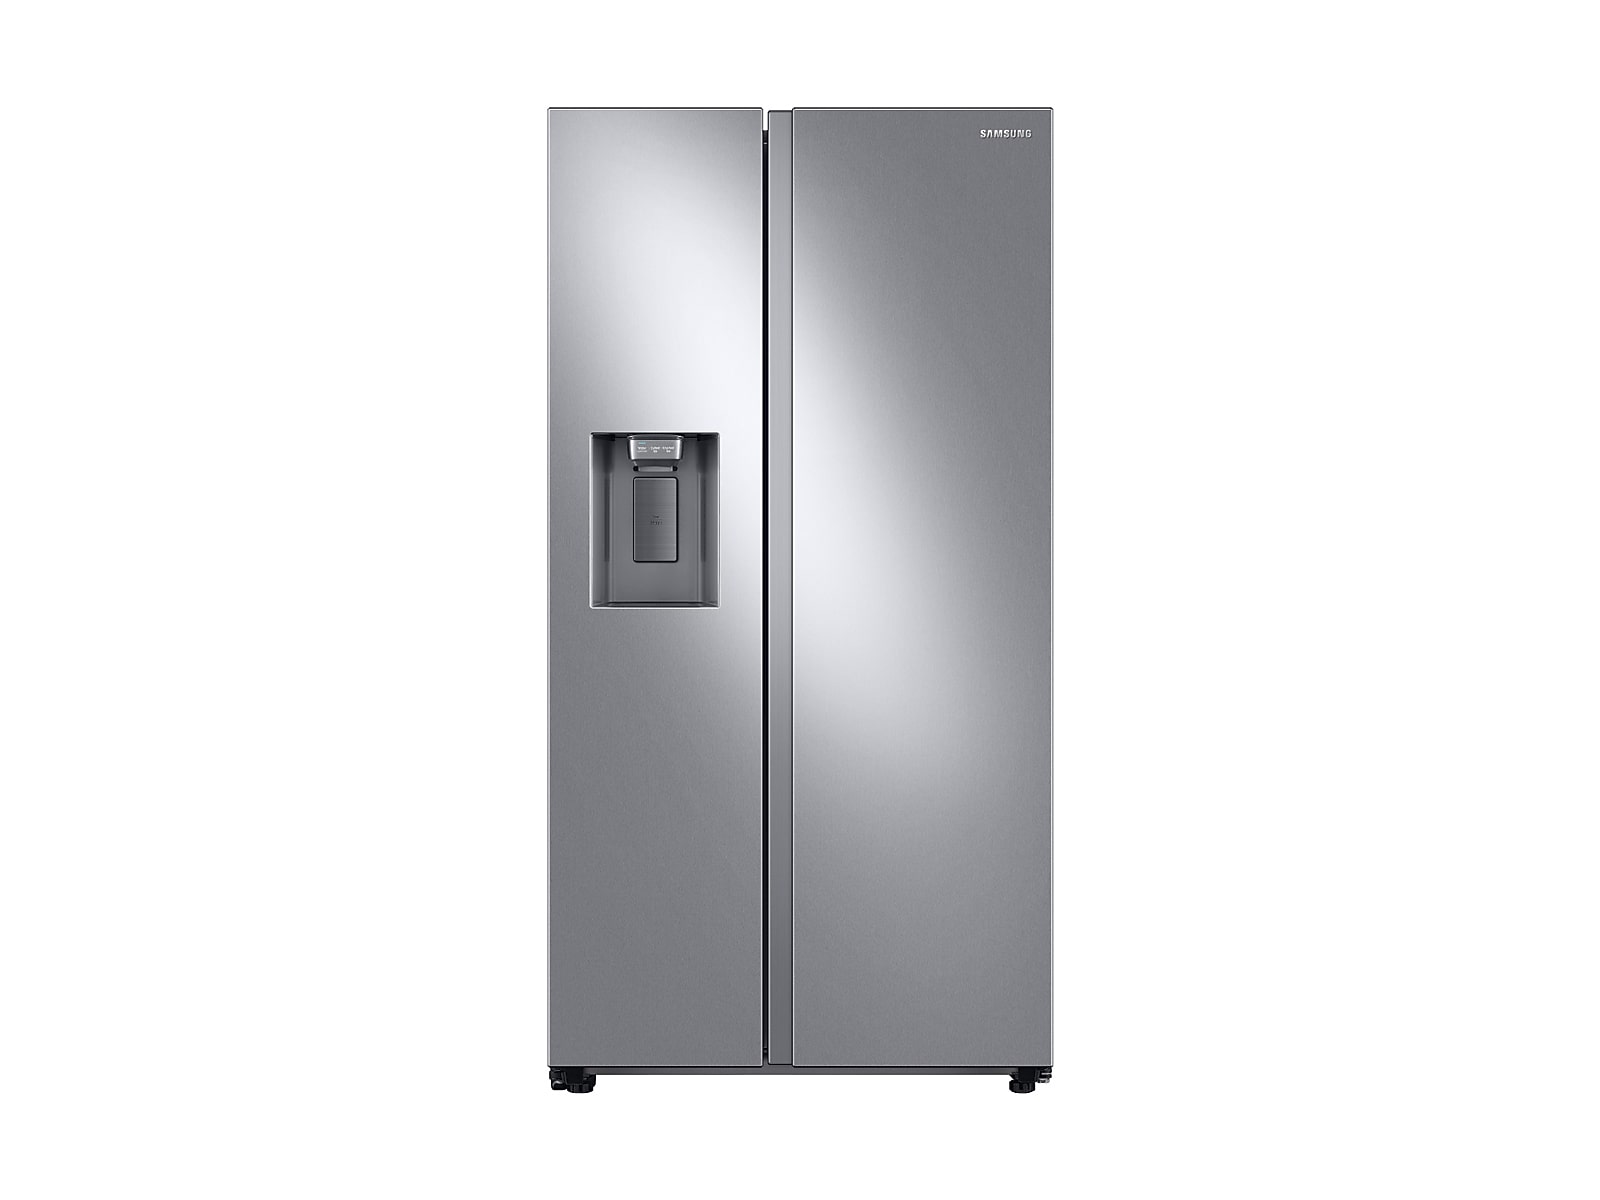
Whether you’re a home cook or a professional chef, a dry aged beef fridge can take your steaks to the next level. In this guide you’ll learn what makes these specialized refrigerators different, how to pick the best model for your kitchen, and tips for aging, maintaining, and troubleshooting your dry aging setup. By the end, you’ll feel confident turning raw cuts into perfectly aged, flavor-packed steaks right in your own space.
Understand dry aged fridge
Dry aged beef fridges differ from standard refrigerators in three key ways: precise temperature control, regulated humidity, and optimal airflow. Together these factors create a micro-climate where enzymes break down muscle fibers and concentrate flavors without spoiling the meat.
What is dry aging
Dry aging is the process of storing beef at low temperatures (typically 34–38°F) and moderate humidity (around 75%) for anywhere from 14 to 60 days. During that time moisture evaporates from the muscle, the meat’s natural enzymes tenderize the fibers, and a protective crust forms on the exterior. You trim away the crust before cooking to reveal the dark, richly flavored interior.
Why use a dedicated fridge
You might be wondering, “Can’t I just age beef in my regular fridge?” You could, but most home refrigerators fluctuate in temperature and humidity, and they lack proper air circulation. That leads to inconsistent aging, uneven drying, and potential spoilage. A dry aging fridge maintains a steady environment so you get predictable results every time, whether you’re a parent storing baby food or a kegerator owner chilling craft beer alongside your steaks.
Choose the right fridge
Picking the perfect dry aged beef fridge involves balancing size, features, and budget. Understanding your space and needs will help you make a smart choice.
Commercial vs home models
Commercial units tend to be larger, faster at recovering temperature after door openings, and built for continuous heavy use. They’re ideal for cafeterias, restaurants, and large families who entertain often.
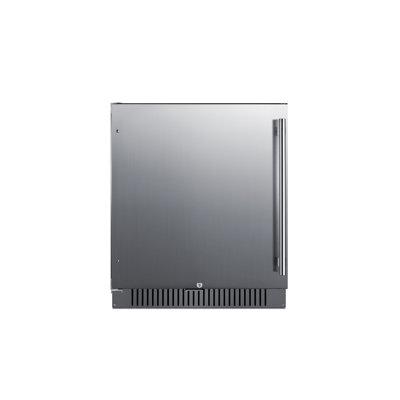
Home models are compact, quieter, and often more affordable. They fit under a counter in studio apartments, dorm rooms, or garages. If you only plan to age one or two sides at a time, a home model is usually sufficient.
Built-in vs freestanding
Built-in units integrate seamlessly with kitchen cabinetry, giving you a sleek look. If you’re remodeling your kitchen or adding to an existing setup, check out exclusive built in refrigerators: sale for style options. Freestanding fridges are more flexible—you can tuck them into a corner or move them between locations, like between your home kitchen and outdoor grill station.
Size and capacity
Consider how many cuts you want to age at once. A small 3.3 cu ft undercounter model holds 2–3 slabs, while a 10–12 cu ft unit can handle half a beef loin or multiple racks. Here’s a quick comparison:
Unit type
Capacity
Footprint
Ideal for
Undercounter (3–5 ft³)
2–4 cuts
15–20 in wide
Small apartments, dorm rooms
Mid-size (6–10 ft³)
5–8 cuts
24–30 in wide
Home kitchens, garages
Full-size (11–18 ft³)
10+ cuts
30–36 in wide
Restaurants, large families
Budget considerations
Prices range from around $800 for entry-level home units to $5,000+ for commercial setups. Don’t forget to factor in shipping, installation (especially for built-in models), and any accessories like wire racks or specialty cutting tools.
Proper setup ensures optimal aging conditions and consistent results.
Optimal temperature range
Keep the fridge between 34°F and 38°F. Too low and the enzymes that tenderize meat slow down, too high and spoilage bacteria can grow. Many units let you fine-tune down to a single degree. Use a calibrated digital probe thermometer to verify.
Humidity control
Aim for 70–80% relative humidity. Lower humidity accelerates weight loss and can overdry the meat, while higher humidity risks mold and spoilage. Models with built-in humidifiers or water trays help maintain steady levels. For a DIY boost, place a shallow pan of water on the bottom shelf and refill as needed.
Airflow and ventilation
Consistent air movement prevents pockets of stagnant air that can cause uneven drying or off-odors. Choose a fridge with rear or front vents and a small circulating fan. Make sure vents aren’t blocked by excessive meat or pantry items.
UV and ozone features
Some fridges include UV-C lights or ozone generators to inhibit microbial growth on the meat surface. These features add a layer of safety, especially if you age beef for longer than 30 days. If your unit lacks them, manually inspect the crust and trim any discolored spots before cooking. For a home-scale setup, explore dry aging fridge for home for models with integrated UV options.
Getting the right cut and prepping it properly sets you up for success.
Selecting the right cut
Look for large subprimals like ribeye or strip loin. These cuts have ample fat marbling and a uniform shape that fosters even drying. Avoid tenderloins—they’re smaller, leaner, and can dry out too quickly.
Trimming and wrapping
Pat the cut dry with paper towels to remove surface moisture.
Leave the fat cap and bone intact to protect the meat during aging.
Place the cut on a stainless steel or plastic rack to allow 360-degree airflow. Avoid wooden boards, they can harbor bacteria.
45–60 days: intense umami, chewy crust you trim away
Monitoring progress
Check your beef every 7–10 days. Look for a dry outer crust and minimal off-odors. A slight earthy scent is normal, but anything sour or ammonia-like means it’s time to cut losses and toss that batch.
Routine care keeps your dry aging environment safe and consistent.
Regular cleaning routine
Unplug or turn off the unit before cleaning.
Remove all racks, pans, and shelves.
Wipe interior walls with a mild detergent solution, then rinse.
Sanitize with a food-safe spray, let air dry completely.
Clean or replace drip trays and pans weekly.
Checking sensors and fans
Inspect temperature and humidity probes for condensation or buildup. Gently clean with a soft cloth. Make sure fans spin freely and vents are clear of debris.
Replacing filters
If your fridge includes air filters, swap them according to manufacturer guidelines—usually every 3–6 months. A clogged filter can reduce airflow and affect aging consistency.
Troubleshoot common issues
Even the best setups can run into hiccups. Here’s how to diagnose and fix them quickly.
Excess moisture
Symptom: inner walls have heavy condensation and meat crust feels soggy
Cause: humidity too high or frequent door openings
Fix: lower humidity setting, limit door ajar time, add baking soda to absorb moisture
Off odors
Symptom: sour or ammonia smell during inspection
Cause: bacterial overgrowth or expired batch
Fix: discard the current cut, disinfect the interior, let the unit air out before restarting your next aging cycle
Uneven temperatures
Symptom: some steaks age slower or show different crust textures
Cause: blocked vents or faulty thermostat
Fix: rearrange cuts for even airflow, calibrate or replace the thermostat, consult service manual
Once your beef has reached the ideal age, it’s time to prep and cook.
Trimming and slicing
Remove the entire crust with a sharp knife, cutting about ¼–½ inch deep.
Slice against the grain in 1–1.5 inch thick steaks for best tenderness.
Cooking tips
Searing method
Pat steaks dry, season simply with salt and pepper, then sear in a hot cast iron skillet with a bit of oil. Sear 1–2 minutes per side, then rest.
Oven finishing
After searing, transfer to a 375°F oven until internal temperature reaches 125°F for medium-rare. Rest under foil for 5–10 minutes before serving.
Serving suggestions
Pair your slices with simple sides: roasted potatoes, grilled vegetables, or a fresh salad. A bold red wine or a robust craft beer can stand up to the intense flavors of dry aged beef.