Serving aged beef
When your beef has reached the ideal age—usually 30 to 45 days—it’s time to trim and slice.
Dry aging relies on a steady temperature—typically between 34°F and 38°F—and a humidity range of roughly 75 percent to 85 percent.
Today’s compact aging units range from 20 to 100 pounds of meat capacity, making them ideal for home kitchens, small restaurants, or even outdoor entertaining areas.
Beef aging can transform a simple cut into a tender, deeply flavorful masterpiece—and nothing helps you master that process quite like the right beef aging fridge. Whether you’re a home cook curious about dry aging, a chef outfitting a commercial kitchen, or a weekend grill master perfecting your steaks, having a temperature-and-humidity-controlled environment is key. In this guide you’ll learn what makes an aging fridge different from your everyday refrigerator, how to pick the right unit, and all the steps you need to age beef at home safely and deliciously.
By the end of this article you’ll feel confident choosing and using an aging fridge that fits your space—be it a garage, studio apartment, or commercial prep area—and you’ll know how to maintain ideal conditions, troubleshoot any hiccups, and serve up restaurant-quality aged beef for family, friends, or paying guests.
Understanding beef aging
Dry aging and wet aging are the two main methods you’ll encounter. In wet aging you keep vacuum-sealed meat in a standard fridge, letting natural enzymes break down muscle fibers over a week or two. Dry aging, on the other hand, requires exposing unwrapped beef to cool, controlled air. That process concentrates flavor, creates that signature nutty aroma, and yields a buttery texture you won’t get from wet aging.
Dry aging relies on a steady temperature—typically between 34°F and 38°F—and a humidity range of roughly 75 percent to 85 percent. Too dry and your meat will shrivel and waste; too humid and you risk spoilage. A beef aging fridge is built to maintain those conditions with precision. Features like low-flow fans, specialty filters to prevent unwanted mold, and sometimes UV lighting help keep your meat safe while it develops flavor.
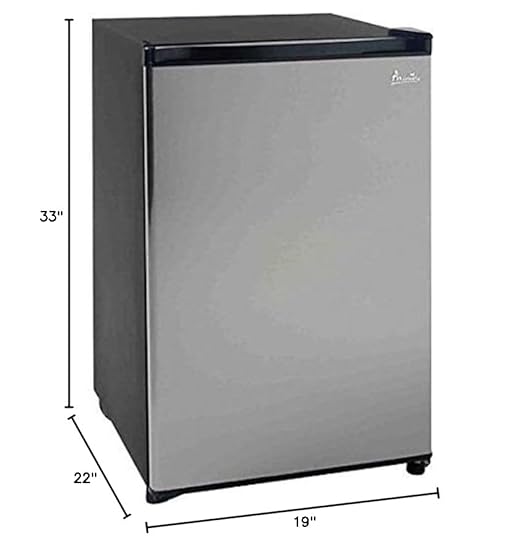
You don’t need a full-size commercial cabinet to get started. Today’s compact aging units range from 20 to 100 pounds of meat capacity, making them ideal for home kitchens, small restaurants, or even outdoor entertaining areas. Before you invest, think about how much beef you’ll age at once, where you’ll store the fridge, and whether you want additional features like adjustable shelving, touch-screen controls, or a glass door to admire those prime cuts in action.
Choosing your fridge
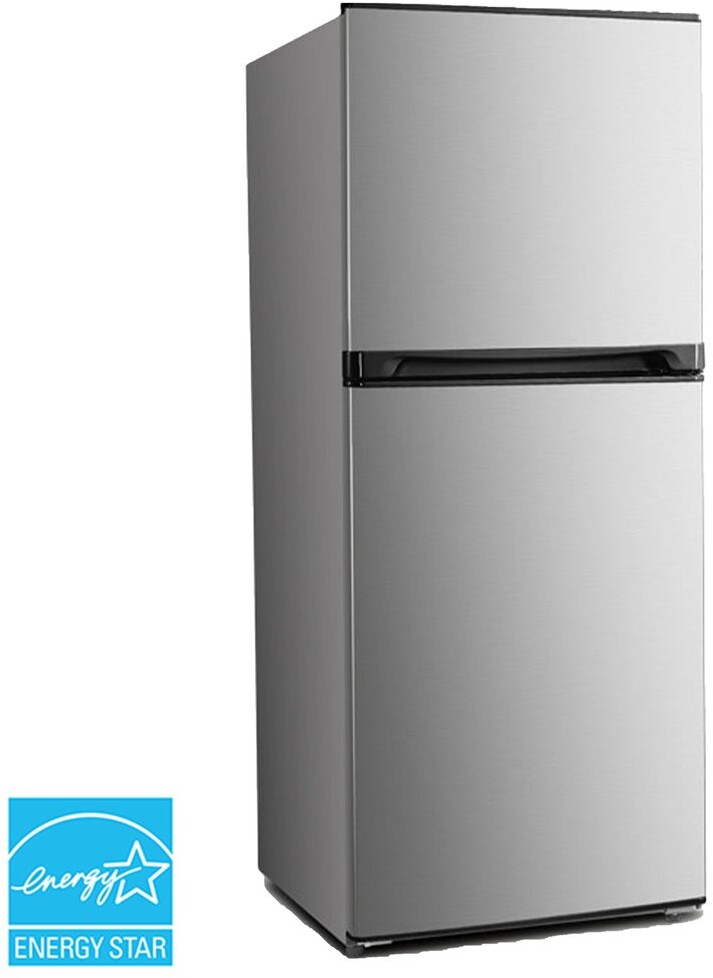
When you shop for a dedicated aging fridge you’ll see two main categories: purpose-built dry aging machines and conversion kits that turn a standard refrigerator into an aging chamber. Dedicated units come calibrated from the factory with precise temperature and humidity controls, plus carbon or stainless-steel wool filters to minimize odors. They often include stainless interiors for hygiene and glass doors so you can monitor your meat without opening the door.
Conversion kits use a regular fridge—sometimes even a drawer refrigerators—and swap out the thermostat, add a humidifier or dehumidifier, and install a humidity/temperature controller. Kits are budget-friendly, but you’ll need to ensure your fridge seals tightly and runs reliably at low temperatures. Make sure you have room to install any extra sensors or fans.
Size matters too. If you plan to age multiple roasts or whole primals, look for at least 40–50 pounds of capacity. For weekend use or family dinners, smaller 20–30 pound units can be more space-efficient. Also check door swing and clearance requirements, especially if you’re squeezing the fridge between cabinets or in a basement corner.
Lighting and visibility are more than cosmetic. An LED interior helps you inspect for clean edges and healthy mold development. If you’re serious about presentation, consider a model with adjustable LED strips shining down each shelf—learn more about lighting options in which freezer lighting covers every shelf corner brightly?.
Preparing meat properly
Your beef aging journey starts with selecting top-quality cuts. Look for USDA Prime or high-grade grass-fed beef with ample marbling. Popular choices include ribeye, strip loin, and whole subprimals like sirloin and tenderloin. Avoid pre-trimmed steaks; you want the outer fat cap and bone in place to protect the meat during aging.
Before you load the fridge, pat the whole primal dry with paper towels. You’re not wrapping these cuts—air flow is essential. Place each piece on a wire rack, fat side up, so air circulates completely. Space out the racks to prevent crowding; overloading can create cold spots and uneven aging.
If you’re wet aging, pack vacuum-sealed portions in the fridge for up to two weeks. For dry aging, plan for at least 21 days to develop deep flavor, though some home chefs go as long as 45 or 60 days. Keep a log of your start date and target end date so you can track progress.
Adjusting temperature settings
Consistent temperature control is nonnegotiable. Aim for 34°F to 38°F. Set your beef aging fridge’s thermostat to 36°F as a sweet spot. Many aging fridges include digital controllers with ±0.5°F accuracy. If yours doesn’t, plug in a standalone probe thermometer to double-check readings.
Avoid rapid temperature swings when you open the door. Each time you crack it, warm air rushes in and bumps up the internal temperature. Try grouping tasks—load all meat at once, then resist opening the door until you need to remove the next cut. Some fridges offer a “view” window so you can check without letting cold air escape.
During power outages or maintenance, you’ll need contingency plans. Keep frozen gel packs on hand to place in the unit if the power is out for more than an hour. A backup generator or power supply can safeguard longer outages. Remember that a few degrees above target can speed up bacterial growth, so monitor closely.
Controlling humidity levels
Dry aging depends on moisture balance. At around 80 percent relative humidity meat will lose moisture slowly enough to concentrate flavor without drying out irreversibly. Too high humidity can lead to surface slime or spoilage; too low and your beef will develop thick crusts.
Modern aging fridges use either a built-in humidifier/dehumidifier or moisture exchangers like silica packs and replaceable filters. An external hygrometer gives you a real-time read on humidity inside the cabinet. Calibrate your hygrometer regularly, placing it in a sealed bag with a damp sponge for a few hours to see if its readings differ from known humidity solutions.
If humidity dips below 70 percent, add a pan of water or use a small ultrasonic humidifier rated for food-safe environments. If it spikes above 90 percent, remove water sources and ensure the dehumidifier or fan is running. Many pros use salt blocks on a tray; salt naturally draws moisture and can help stabilize readings.
Monitoring the aging process
Patience is part of the craft. Check your aging beef at least once every 3–5 days. You’re looking for a uniform, dry-but-not-wet surface. A light coating of white or gray mold is normal—it protects the meat and contributes to flavor. Avoid green or black mold, which indicates spoilage.
Keep a simple journal. Note date, weight, humidity, and temperature each time you inspect. Weigh your cuts every week to measure moisture loss; typical shrinkage runs 10 percent to 15 percent over a 30-day dry age. Tracking weight helps you plan portions and cost per steak.
If you see brownish slime or unpleasant odors, you may have a contamination issue. Remove affected pieces immediately and clean the fridge per the Cleaning your refrigerator section below. Consistency is everything—small fluctuations in air flow or cleanliness can have big impacts over weeks.
Serving aged beef
When your beef has reached the ideal age—usually 30 to 45 days—it’s time to trim and slice. You’ll need a sharp boning knife and a clean cutting board. Remove the hardened outer crust, discarding dried meat and fat. What’s inside should be rosy, juicy, and deeply fragrant.
Portion your steaks to 1½ to 2 inches thick. Let them rest at room temperature for 30 minutes before cooking to ensure even heat penetration. For cooking, high direct heat—whether on a grill, cast-iron pan, or broiler—sears the exterior and locks in juices. Season simply with salt and pepper, letting the beef’s natural flavors shine.
Leftover aged beef slices beautifully into carpaccio or can be cubed for stews. Because the aging process intensifies protein breakdown, these cuts can be more forgiving in slow-cooked applications too.
Cleaning your refrigerator
Maintaining hygiene in your beef aging fridge keeps every batch safe. Aim for a routine wipe-down every two weeks and a deep clean every month or after any contamination event. Start by removing all meat and racks. Unplug the unit and let it warm slightly to make cleaning easier.
Use a mild dish soap solution and a soft cloth to scrub interior walls and shelves. Rinse with clean water and wipe dry. Sanitize with a food-grade sanitizer or a 1 tablespoon bleach per gallon of water solution, then air-dry with the door open. Don’t forget seals and gaskets; mold loves to hide in creases.
For tough spills or sticky spots, check out best ways to clean up messy fridge spills for targeted tips. Replace any carbon filters or silica packs per the manufacturer’s schedule. Before you reload meat, run the fridge empty for a few hours to ensure temperature and humidity stabilize.
Troubleshooting common issues
Even with a top-tier unit, you may face hiccups. Here are quick fixes for frequent problems:
Over-drying: If cuts are shrinking faster than expected, boost humidity by adding a pan of water or replacing desiccant packs.
Unwanted odors: Clean surfaces, swap out filters, and run an activated charcoal sachet inside the fridge for 24 hours.
Temperature drift: Check door seals, verify your thermometer, and inspect fan operation. Replace any faulty parts immediately.
Mold anomalies: Healthy mold is white or gray. If you spot green, black, or red molds, discard affected zones and deep clean the unit.
A simple maintenance checklist helps:
Inspect door seal monthly
Calibrate thermometer quarterly
Change filters every 6 months
Clean interior on schedule
Ensuring food safety
Aging beef involves controlled microbial action, so you must stay vigilant. Always start with USDA-inspected meat and follow local health department guidelines. Keep raw aging areas separate from other food prep zones to minimize cross-contamination.
Use a digital food thermometer to verify cold chain integrity when moving meat in and out. Discard any beef that has been above 41°F for more than two hours cumulatively. Label each cut with start date, weight, and “use by” target date to avoid accidental over-aging.
When you trim the aged exterior, sanitize your knife and board between cuts to prevent transfer of surface microorganisms. Store trimmed meat in sealed containers for up to 5 days in your regular fridge if you’re not cooking immediately.
Flavor pairing tips
Aged beef’s concentrated umami and nutty notes call for complementary beverages and sides. Bold red wines like Cabernet Sauvignon or Malbec stand up to the beef’s intensity—consider storing your favorites in a dedicated wine cellar. For beer lovers, choose a robust porter or imperial stout to highlight the caramelized crust.
On the plate, keep sides simple: roasted root vegetables, garlic mashed potatoes, or a crisp green salad with a citrus vinaigrette cut through richness beautifully. If you prefer sauces, a red wine demi-glace or mushroom ragout adds depth without overpowering the steak’s natural flavors.
Experiment with finishing salts—smoked sea salt, truffle salt, or Maldon flakes—sprinkled just before serving. A compound butter flavored with garlic, herbs, or blue cheese can melt into the hot steak for an extra touch of indulgence.
With the right beef aging fridge and these guidelines, you’ll transform everyday steaks into culinary highlights that impress at dinner parties, elevate your restaurant menu, or simply delight your family’s Sunday supper. Enjoy the process, take notes, and savor every bite of the rich, tender results you create.