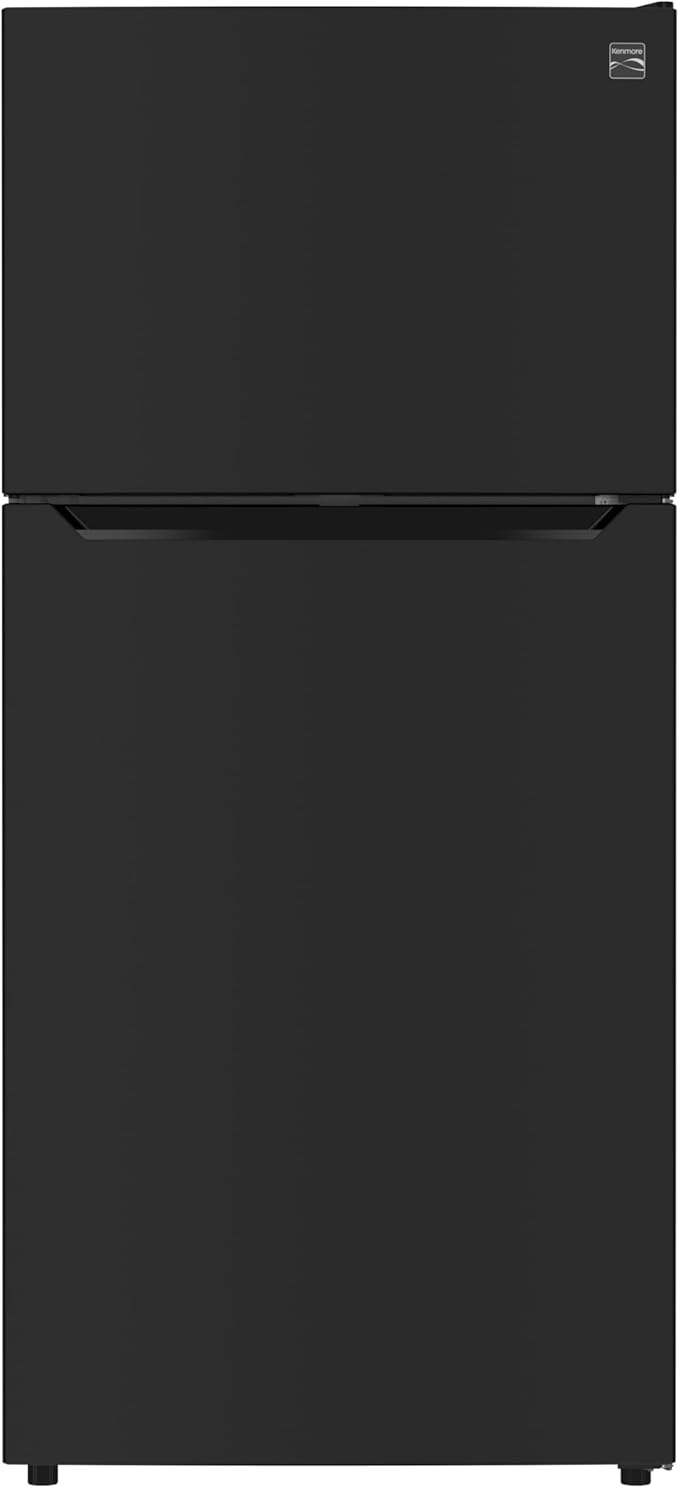
If you’re curious about unlocking bolder beef flavors at home, a dry aging beef refrigerator is your best bet. Dry aging is the process of letting prime beef cuts rest in a controlled environment for weeks, developing tenderness and concentration of taste. Unlike wet aging, which relies on vacuum sealing, dry aging exposes meat to precise temperature, humidity, and airflow conditions. That exposure creates a firm, flavorful crust outside while enzymes break down proteins inside, resulting in steaks that taste richer and feel more tender.
You’ll often find dry aging in upscale steakhouses and commercial meat lockers, but with the right dry aging beef refrigerator you can replicate those results in your kitchen, garage, or even an RV. Whether you’re a home cook who wants to impress friends, a craft beer enthusiast pairing local brews with aged ribeyes, or a small café owner looking to elevate your menu, understanding the fundamentals of dry aging sets you up for success.
What is dry aging?
Dry aging is a time-honored technique that dates back centuries. It involves:
Exposing unpackaged beef to a controlled environment
Maintaining temperatures between 32°F and 38°F
Keeping relative humidity around 75 percent
Ensuring steady, gentle airflow across the meat
Over a period of anywhere from 14 to 60 days, moisture evaporates from the meat’s surface, concentrating its natural flavors. Meanwhile, natural enzymes break down muscle fibers, creating that sought-after melt-in-your-mouth texture. The outer layer forms a protective crust that you trim off before cooking, revealing the deeply flavored interior.
Benefits of dry aging
When you commit to dry aging beef in a dedicated refrigerator, you tap into several advantages:
You might wonder, can’t you just set your freezer on “meat” and call it a day? The short answer is no. A dedicated dry aging beef refrigerator gives you precise control that standard fridges or freezers lack. Here’s what makes a specialty unit worth the investment.
Precise temperature and humidity control
A regular fridge cycles between cold and warmer phases, which can harm meat aging. Dry aging refrigerators keep temperature within a narrow band, typically 34°F to 38°F. Humidity sensors and built-in humidifiers stabilize moisture levels to prevent excessive drying or surface spoilage.
Proper airflow and filtration
Even airflow is critical to form the protective crust and avoid pockets of mold. Purpose-built units use fans and air-filter systems that circulate air gently yet uniformly. HEPA or activated-carbon filters reduce airborne contaminants, so you get clean, consistent aging conditions each time.
UV light and antimicrobial protection
Some dry aging refrigerators include UV lamps or silver-ion grids to minimize microbial growth on the meat’s surface. These features help you age beef longer with less risk of unwanted bacteria or mold beyond the natural crust.
With more models on the market, selecting a fridge that fits your space, budget, and cooking goals can feel daunting. Focus on these key factors to narrow the field.
Capacity and size
First, think about how much meat you want to age at once. A countertop unit holding 20 to 30 pounds might suit a home cook, while commercial chefs may need floor-standing fridges with 100+ pound capacity. Measure your kitchen or storage area carefully to ensure proper clearance for airflow around the unit.
Cooling system types
Compressor-based cooling delivers rapid temperature drops and works well in hot environments
Thermoelectric systems run quieter and use less vibration, though they may struggle with high ambient temperatures
Decide whether energy efficiency and noise levels or raw cooling power matter more to you.
Material and build quality
Look for stainless steel interiors and sturdy door seals. Insulated glass windows let you monitor progress without opening the door. Solid construction prevents temperature swings, extending the life of your appliance.
Advanced features and controls
Higher-end models may include:
Digital touchscreens with programmable presets
Remote monitoring via smartphone apps
Adjustable shelving and hanging racks
Integrated hygrometers and data logs
List your must-have features early so you don’t overspend on extras you’ll never use.
Setting up your dry aging refrigerator
Once your unit arrives, a careful setup ensures you hit ideal conditions from day one. Follow these steps before loading meat.
Initial cleaning and sanitation
Unpack the fridge and wipe down all surfaces with a mild, food-safe cleaner
Sanitize with a vinegar-and-water solution or USDA-approved disinfectant
Rinse thoroughly and let air dry completely
This removes manufacturing residues and any airborne dust that could affect meat quality.
Adjusting settings for ideal conditions
Set temperature between 34°F and 38°F
Program humidity to around 75 percent
If available, activate UV or antimicrobial cycles
Let the fridge run empty for at least 24 hours to verify stability. Use a stand-alone thermometer and hygrometer to cross-check readings.
Arranging racks and trays
Position stainless steel racks or wire shelves so air can circulate 360 degrees around each cut. Some fridges include hanging hooks for primal cuts; others favor flat trays. Make sure your largest beef pieces fit without touching walls.
Adding a water reservoir or humidifier
If your model requires manual humidity adjustment, fill the reservoir with distilled water. Change it weekly to prevent bacterial growth. Automated systems manage this step for you but check water levels regularly.
With your refrigerator dialed in, you’re ready to turn raw beef into restaurant-quality steaks. Here’s the process from start to finish.
Selecting and prepping your beef
Aim for prime or choice grade beef with good marbling, such as ribeye, strip loin, or sirloin. Trim away excess fat if you prefer leaner aged cuts, but leave a uniform fat cap to protect the meat. Pat dry with paper towels to remove surface moisture before aging.
Monitoring temperature and humidity
Check readings daily, especially during the first week. Small fluctuations are normal, but wide swings can lead to uneven aging or spoilage. Most fridges beep or notify you if conditions drift outside preset ranges.
Tracking time and quality
Decide on an aging window based on taste and texture preferences:
14 to 21 days for mild enhancement and tenderness
28 to 35 days for more pronounced nutty, buttery notes
40+ days for the boldest, most concentrated flavor
Keep a simple aging log to record start dates, humidity, and temperature trends. Add tasting notes after you sample a steak so you can refine timing next time.
Trimming and portioning aged beef
After your chosen aging period:
Remove meat and trim off the hardened outer crust, discarding dried edges
Slice into steaks or roasts according to desired thickness
Vacuum seal steaks you won’t cook immediately or wrap in butcher paper
Trim quickly and keep meat cold to preserve quality.
Storing and cooking aged cuts
Store trimmed steaks in the fridge for up to three days or freeze for longer storage. When you’re ready to cook, bring steaks to room temperature, season simply with salt and pepper, then sear on high heat and finish in the oven. You’ll notice a depth of flavor and tenderness that sets dry aged beef apart.
Regular maintenance keeps your refrigerator running smoothly and prevents off-flavors that could affect future batches.
Routine cleaning schedule
Wipe down interior surfaces weekly with a damp cloth and food-safe cleaner
Empty and refill water reservoirs or humidifier trays
Inspect door gaskets for debris or mold buildup
Deep cleaning and defrosting
Every three to six months:
Turn off and unplug the unit
Remove all racks, trays, and accessories
Let frost build-up melt or defrost according to manufacturer instructions
Clean interior walls, floor, and ceiling thoroughly
Restart and re-calibrate before reloading meat
Filter replacement and inspection
If your fridge uses HEPA or carbon filters, replace them per the manufacturer’s guidelines. Clogged filters reduce airflow and can lead to hotspots or uneven aging.
Even the best equipment can misbehave from time to time. Here’s how to diagnose and fix frequent hiccups.
Excessive moisture or mold beyond crust
Cause: humidity set too high or poor airflow
Fix: lower humidity by 5 percent, rearrange racks for better circulation, clean any visible mold with vinegar solution
Fridge temperature fluctuations
Cause: faulty thermostat, door left ajar, blocked vents
Fix: check door seals, clear obstructions, test with an external thermometer, call service if thermostat malfunctions
Off odors or flavors
Cause: drip pan contamination, old food residue, poor cleaning
Fix: empty drip tray regularly, deep-clean interior, sanitize racks and accessories
Equipment malfunctions
Cause: power surges, compressor failure, fan blockages
Fix: inspect power cord, reset breaker, clear fan intake vents, contact authorized service technician if problem persists
Tips for best results
A few extra strategies help you get the most from your dry aging setup.
Choose high-quality beef cuts
Invest in USDA prime or choice grade, ideally from reputable local butchers. Well-marbled beef ages more evenly and yields superior flavor.
Use salt and seasoning wisely
Resist heavy marinades before aging. Lightly salt cuts just before cooking to enhance natural taste, not mask it.
Rotate and inspect regularly
Check your aging log and visually inspect meat weekly. Look for uniform crust formation and trim any small mold spots immediately.
Plan cooking methods
Dry aged beef shines with simple, high-heat preparations. Grilling, pan-searing, or broiling lets you taste those concentrated flavors without distraction.
Dry aging beef in your own specialized refrigerator transforms everyday steaks into gourmet experiences. By controlling temperature, humidity, and airflow, you’ll achieve consistent, restaurant-quality results whether you’re a home cook, chef, or cafeteria manager.
Key takeaways
Dry aging concentrates flavor and tenderizes beef through natural enzyme activity
Dedicated dry aging refrigerators offer precise environment control you can’t get from standard fridges
Proper setup, monitoring, and maintenance are critical for safety and quality
Tracking time, trim practices, and cooking methods ensures you enjoy the best possible steak
Compare refrigerator prices on Fridge.com
Ready to take your steak game to the next level?Compare current prices and specifications on Fridge.com, then buy from the retailer you choose; delivery, installation and warranty terms are the retailer’s.
Frequently Asked Questions
Dry aging is a time-honored technique that dates back centuries. It involves:. Exposing unpackaged beef to a controlled environment. Maintaining temperatures between 32°F and 38°F. Keeping relative humidity around 75 percent. Ensuring steady, gentle airflow across the meat. Over a period of anywhere from 14 to 60 days, moisture evaporates from the meat’s surface, concentrating its natural flavors. Meanwhile, natural enzymes break down muscle fibers, creating that sought-after melt-in-your-mouth texture. The outer layer forms a protective crust that you trim off before cooking, revealing the deeply flavored interior.