Vintage fridge picture frame DIY is a fun way to add personality to your kitchen, dorm room, or office space. With a few simple materials and a dash of creativity, you can transform an ordinary refrigerator door into a nostalgic focal point. Whether you’re a home cook looking to jazz up your workspace or a craft beer enthusiast wanting a stylish display for your latest brew labels, this project is for you.
Consider vintage style benefits
Embracing a retro aesthetic is more than a nod to nostalgia. A vintage fridge picture frame DIY blends form and function, turning your appliance into a conversation starter. You might already love the look of a 1960 refrigerator reproduction, or you may be hunting for genuine mid-century finds. Either way, framing photos or art on your fridge door gives you a chance to customize on the cheap and update seasonally—no expensive hardware required.
- Unique décor piece: Forget generic magnets—this frame highlights photos, postcards, or prints in style.
- Easy seasonal swap: Change out images for holidays, events, or your favorite coffee shop menu.
- Conversation starter: Guests will ask where you found such a charming display.
- Budget friendly: Most supplies cost under $20, especially if you repurpose thrifted frames.
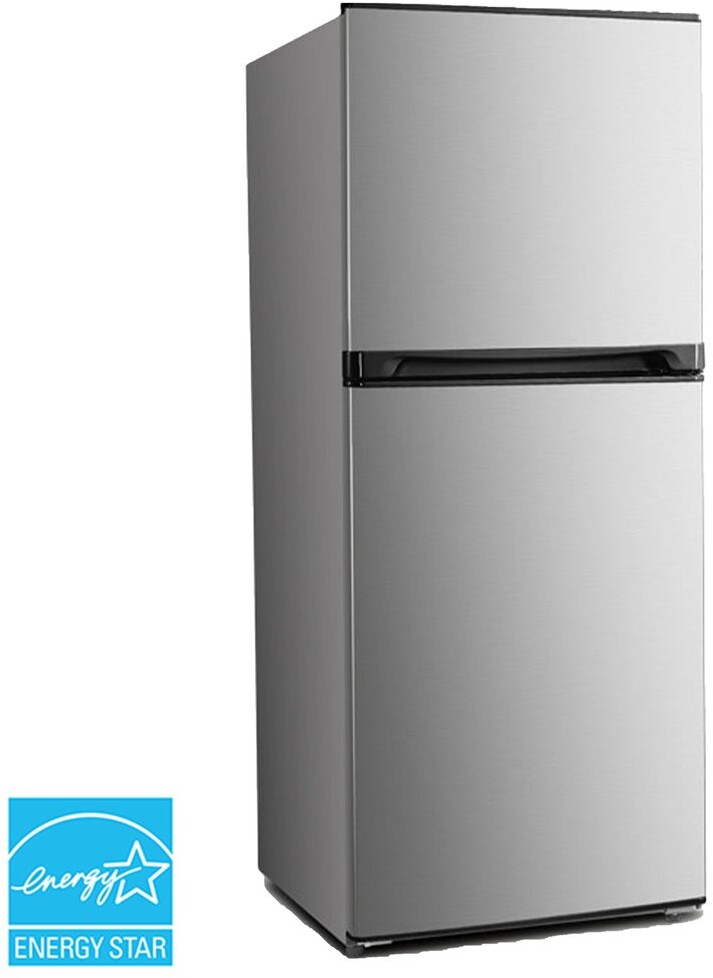
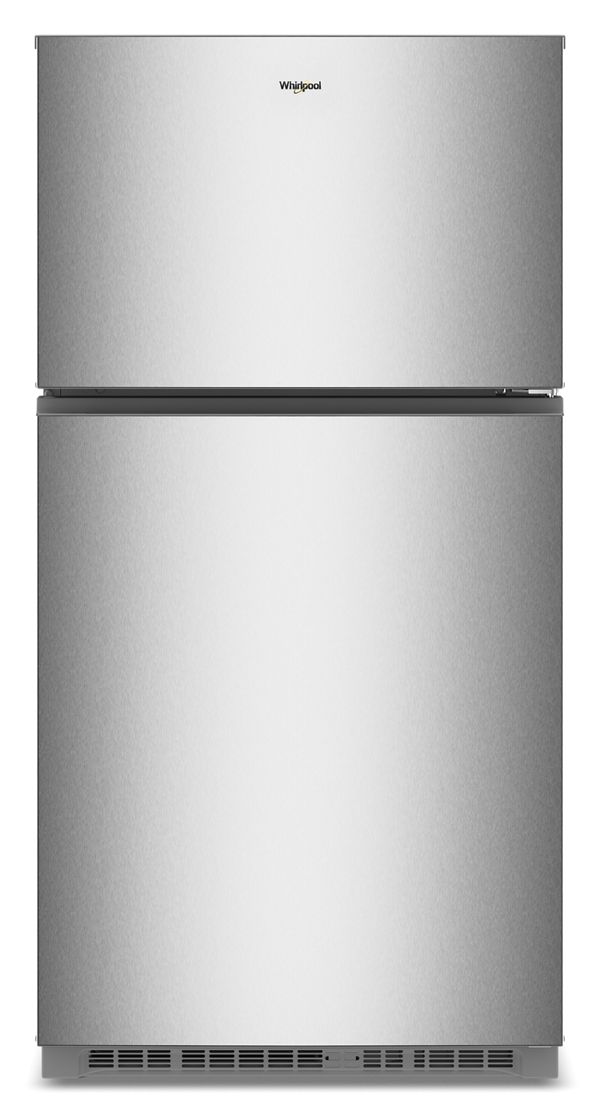
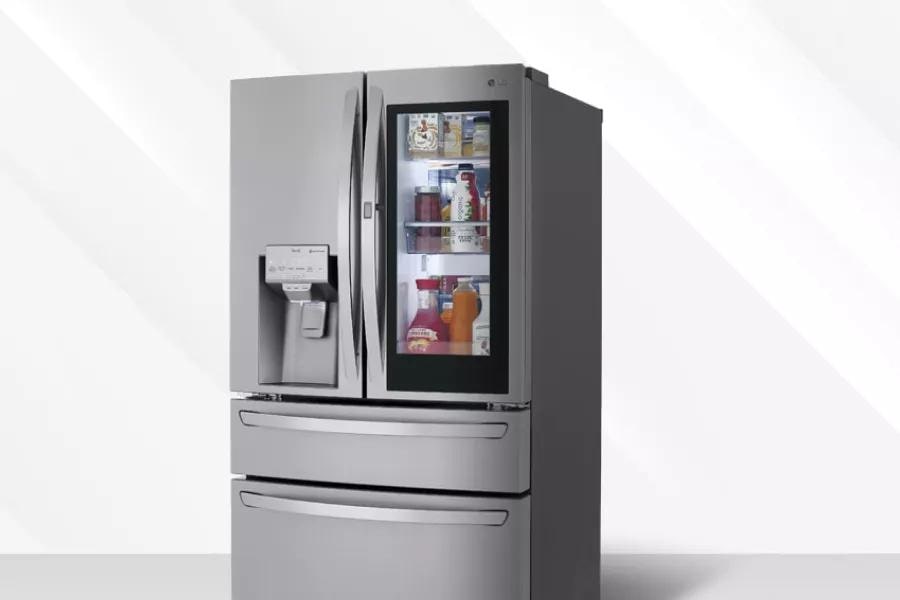
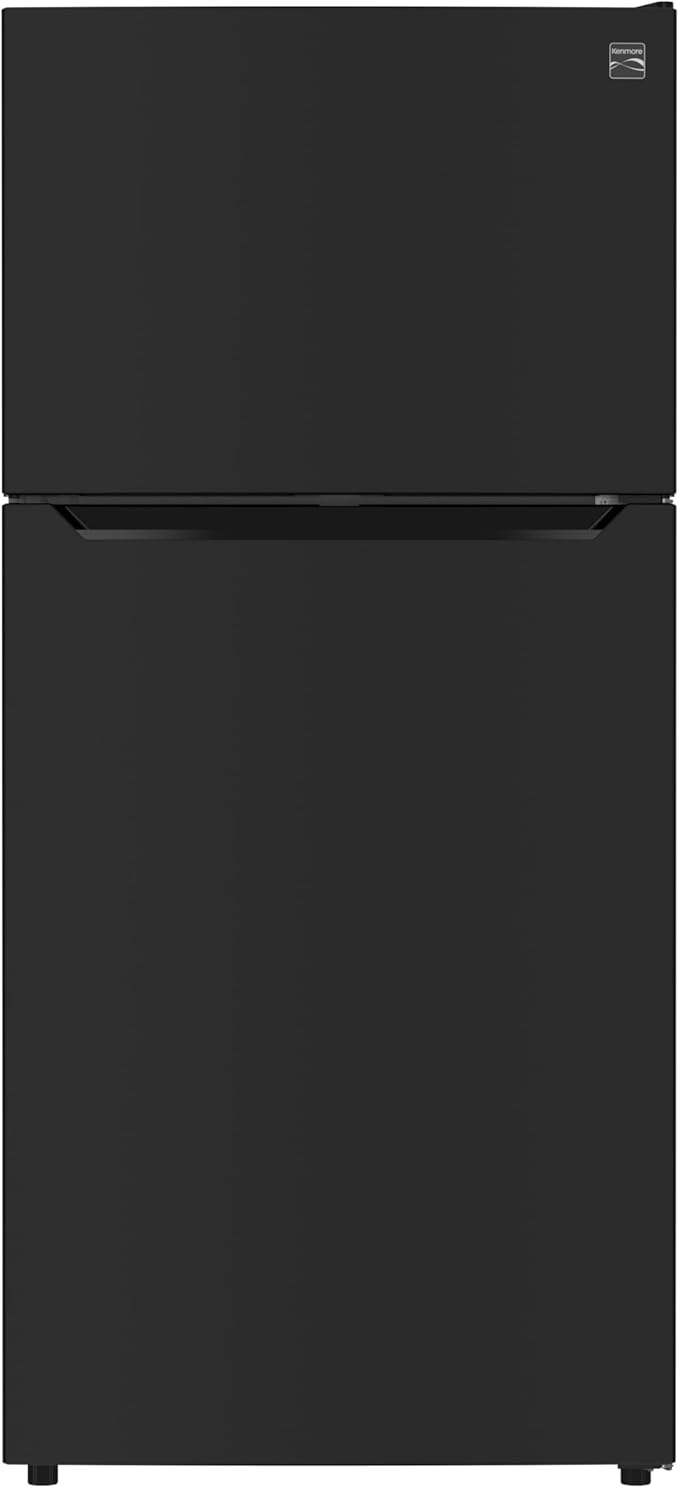
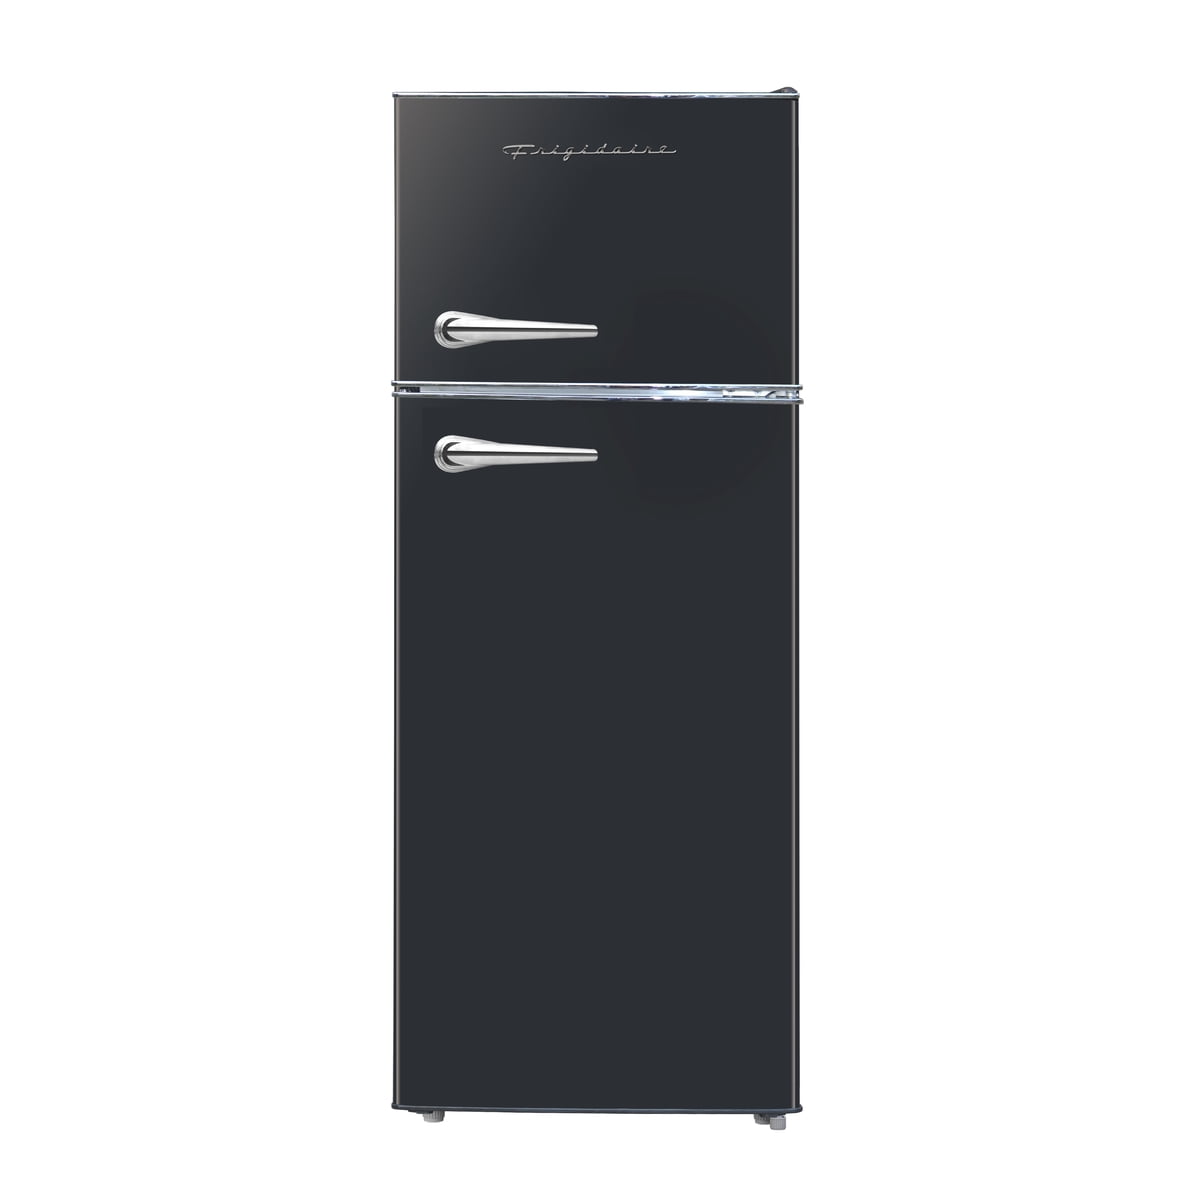
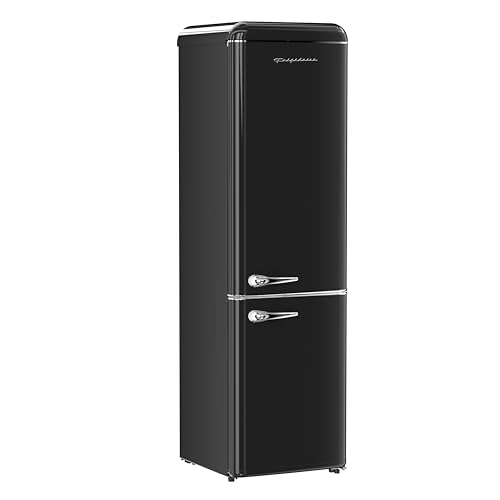
If you’re curious about picking a fridge that complements your new frame, read about the pros and cons of a retro fridge. You’ll find tips on finishes, sizes, and energy ratings to match your décor dreams.
Gather your materials
Before you start, lay out everything you’ll need. Many items you can salvage from around the house, or pick up at a local hardware store. Here’s what to gather:
- A picture frame (metal or wood, with removable glass)
- Strong refrigerator magnets (strips, discs, or custom shapes)
- Adhesive mounting tape or Velcro strips (rated for refrigerator use)
- Sandpaper (120–220 grit)
- Primer and paint (optional color update)
- Ruler and pencil
- Utility knife or craft knife
- Protective gloves and drop cloth
Optional extras:
- Washi tape or decorative tape
- Small clothespins or binder clips
- Decorative decals or stickers
- Chalkboard paint and chalk (for erasable notes)
Prepare the frame
Remove glass and backing
Start by carefully taking out the glass, backing board, and any hardware from the frame. Lay these aside—you can reuse the glass or backing for another craft.Sand and smooth
If your frame has rough edges, use 120-grit sandpaper to knock off major blemishes, then finish with 220-grit for a smooth surface. Wipe away dust with a dry cloth.Apply primer and paint (optional)
Want a fresh pop of color? Use a spray primer compatible with your frame material. Once dry, apply two light coats of enamel or acrylic spray paint. Allow each coat to dry fully, following manufacturer instructions.Seal the finish
For extra durability, add a clear acrylic sealer. This helps protect against scuffs when you swap photos or handle the frame.
Customize your fridge art
Now the fun begins. Your frame is prepped, and you’ve chosen the perfect place on your fridge door. Consider these creative ideas:
Create a photo collage
- Reprint vintage fridge ads or retro magazine covers for an authentic feel.
- Rotate personal photos: family snapshots, pet portraits, or travel mementos.
- Use craft paper in complementary tones as matting behind your images.
Add decorative accents
- Frame edges: apply washi tape along the inside lip for a striped or polka-dot border.
- Inside the frame: stick small decals or stickers in the corners—think tiny pineapples or kitchen utensils.
- Chalkboard element: paint a thin strip of chalkboard paint at the bottom of the frame for grocery lists or meal planning notes.
Display menus or recipes
- Print favorite recipe cards in vintage typewriter font.
- Clip them inside using mini binder clips or clothespins for easy updates.
- Switch to seasonal menus—pumpkin spice latte recipes in fall, fresh herb cocktails in summer.
Consider a themed gallery
- Craft beer labels: show off local breweries you love, arranged neatly.
- Holiday greetings: display vintage holiday postcards or your own festive photos.
- Travel map: use a map as the backing and pin photos or ticket stubs from each destination.

Attach frame to fridge
Magnetic mounting options
- Full-frame magnets: attach strips of magnetic tape to the back edges of your frame. Available in various widths and strengths.
- Disc magnets: place four to six strong disc magnets (neodymium recommended) at key points for maximum hold.
- Magnetic clips: use heavy-duty magnetic clips that both secure and act as decorative accents.
Adhesive strips
- Velcro strips: metal-safe Velcro pairs securely and allows easy removal for swapping art.
- Removable mounting tape: choose a brand rated for refrigerators, ensuring it won’t peel paint when removed.
- Command strips: a popular choice, but confirm they’re labeled as safe for metal and cold surfaces.
Table 1. Comparison of mounting options
| Mounting type | Holding strength | Removability | Cost per pair |
|---|---|---|---|
| Magnetic tape | Medium | High | $3–$5 |
| Neodymium discs | High | Medium | $6–$10 |
| Velcro strips | Medium–high | High | $4–$7 |
| Removable tape | Medium | High (surface safe) | $5–$8 |
Test for stability
After attaching, give your frame a gentle tug. If it shifts or slides, add more magnets or switch to a stronger option. You want peace of mind that your photos stay put when opening and closing the fridge.


Maintain your fridge frame
Keep your display looking fresh with a few simple habits:
- Dust and wipe: monthly wipe-down with a damp cloth removes fingerprints and dust.
- Rotate content: swapping art every few weeks prevents fading and reinvigorates your décor.
- Check adhesive: seasonal temperature changes can weaken tapes. Inspect strips and replace as needed.
- Tighten magnets: if you used screws or clips, ensure they stay snug on your frame.
If you ever run into issues—like peeling edges, sliding frames, or discoloration—address them quickly. Sand and repaint scratched areas, swap out tired magnets, or reapply fresh adhesive strips.
Showcase your creation
Once your vintage fridge picture frame is secure, step back and admire. Here are a few display tips:
- Grouped gallery: position two or three frames of varying sizes for a curated look.
- Highlight corner space: fridge door corners often get overlooked—make them pop with a frame collage.
- Coordinate fridge accessories: match your frame colors with your favorite fridge magnets or appliance knobs.
- Seasonal switch-up: store extra prints in a portfolio and swap for birthdays, holidays, or back-to-school themes.
If you love decking out your fridge, don’t stop here. Check out even more fridge inspiration and gear on Fridge.com, including a wide selection of fridges for sale to pair perfectly with your new artwork.
You’ve just given your appliance a personality makeover, and it didn’t cost a fortune. Now every time you reach for a snack or a cold drink, you’ll get a little boost of style and nostalgia. Happy framing, and enjoy your vintage-inspired kitchen upgrade!