Have you ever found yourself with a stack of fresh pita bread that you just can’t finish before it starts to go stale? If so, you’re certainly not alone. In fact, many home cooks wonder how to store pita bread in the freezer properly so they can enjoy it later without losing that pillowy, soft texture. Freezing can be your go-to method to keep extra pitas tasty for weeks, even months, but only if you do it right.
This article will walk you through every step of the process. Think of it like having a friend coach you in the kitchen, offering simple tips and insider tricks to avoid soggy spots or crumbly edges. By the end, you’ll have a practical plan for saving both money and that fresh-out-of-the-oven goodness. Ready to dive in?
Discover pita bread basics
What makes pita special
Pita bread stands out for its light, airy interior and slightly chewy crust. Traditionally, it’s baked at high temperatures so the dough puffs into a pocket that’s perfect for stuffing with hearty fillings. Because of its flat, round shape, pita is also easy to slice into wedges for dipping in hummus or tzatziki. If you’re a fan of Middle Eastern food or even just love a quick sandwich wrap, pita bread probably plays a starring role in your meals.
Another plus is pita’s versatility. You can load it up with meat, fish, veggies, or even sweet ingredients like bananas and honey. That said, it does have a knack for drying out when not stored carefully. Most loaves stay good on your counter for only a day or two before they start losing their fresh feel. After that, you’ll want to think about refrigeration or freezing to slow down the aging process.
Why freeze pita bread
You might be wondering why freezing is the way to go. Sure, storing your bread in a standard kitchen fridge can keep it for a short time, but that approach often dries out the bread quickly. Pita bread has a high surface area compared to its thickness, so any exposure to air can gradually pull out its moisture. The freezer, on the other hand, locks that moisture in and pauses the staling process.
Freezing is also convenient. Let’s say you’ve bought a large pack of pitas for a family feast or a gathering with friends. It’s rare that you’ll polish off all of them in a single sitting. By freezing the extras, you prevent waste and ensure you always have bread ready for last-minute lunches or unexpected guests. The trick is sealing it properly so that when you thaw it later, the bread still has that fluffy charm.
Before you move into freezing mode, gather your supplies. The container you use matters, because poor packaging leads to ice crystals and off flavors. Below are some popular options:
Resealable freezer bags: These come in various sizes. Look for the ones designed specifically for the freezer, as they’re thicker and more puncture-resistant.
Airtight plastic containers: Great if you want to avoid plastic bags. Just ensure the container is truly airtight and fits neatly inside your freezer.
Heavy-duty aluminum foil or parchment paper: These materials are often used to wrap each piece of pita before placing it in a bag or container.
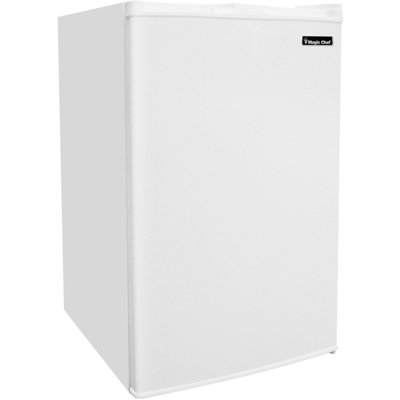
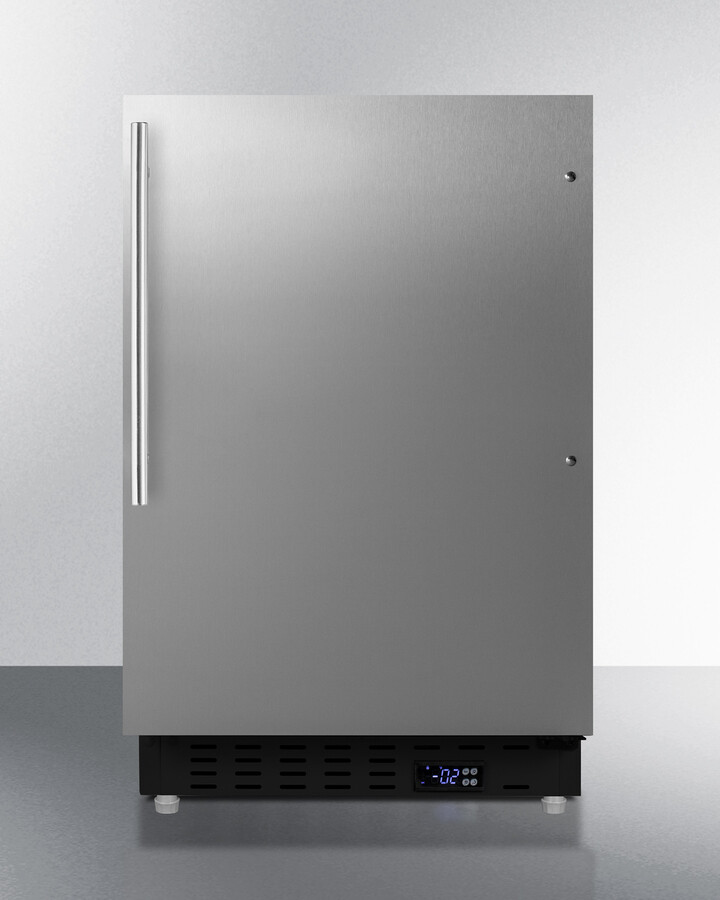
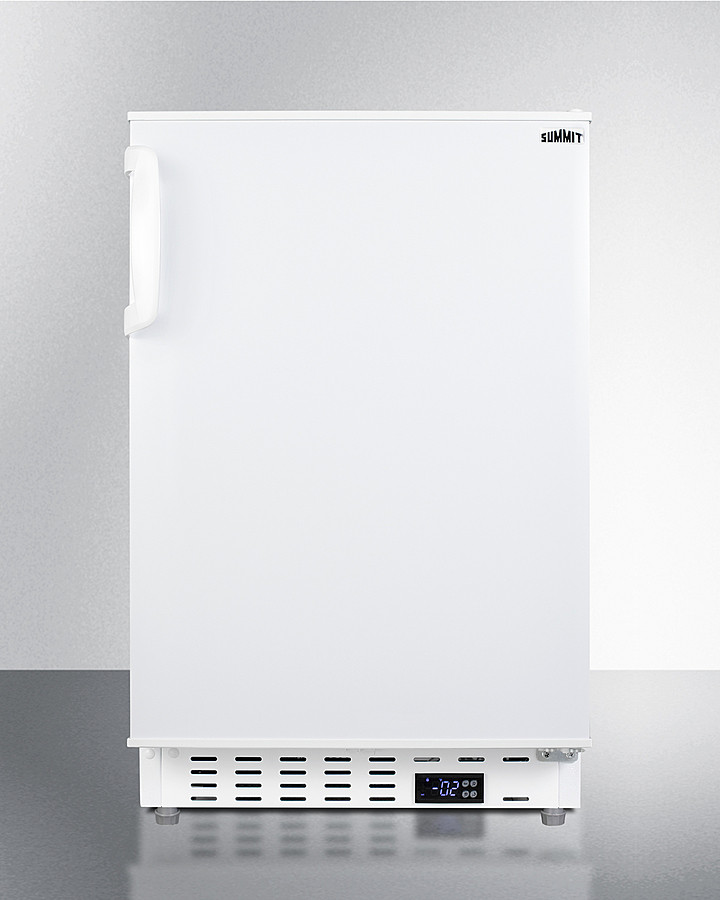
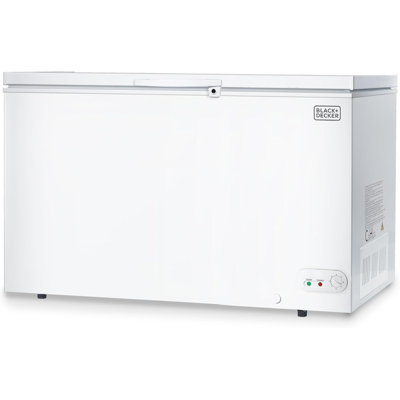
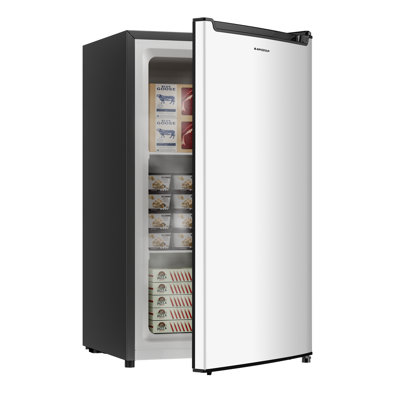
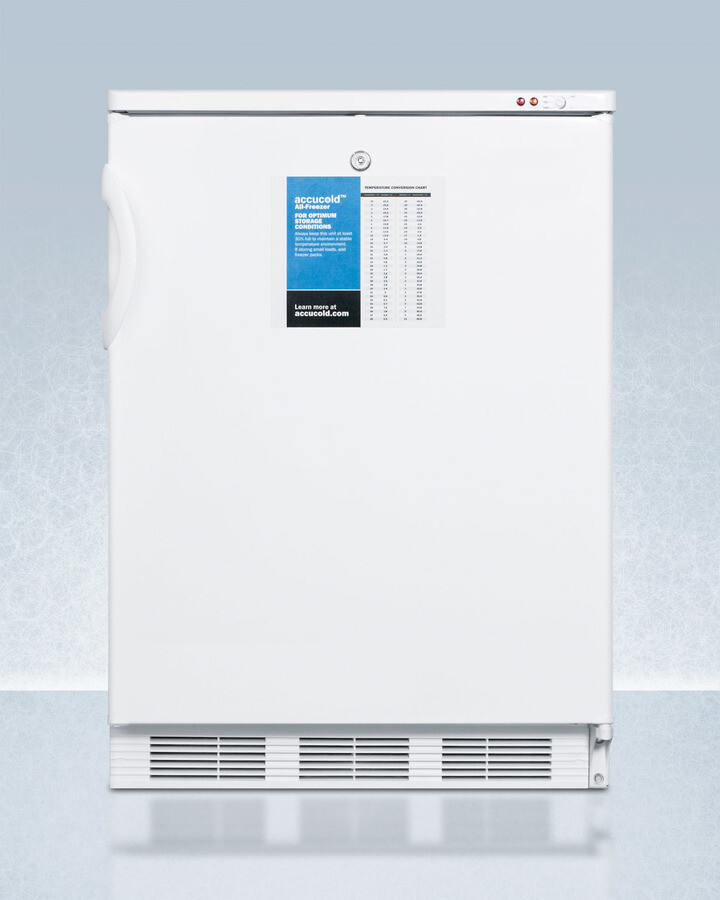
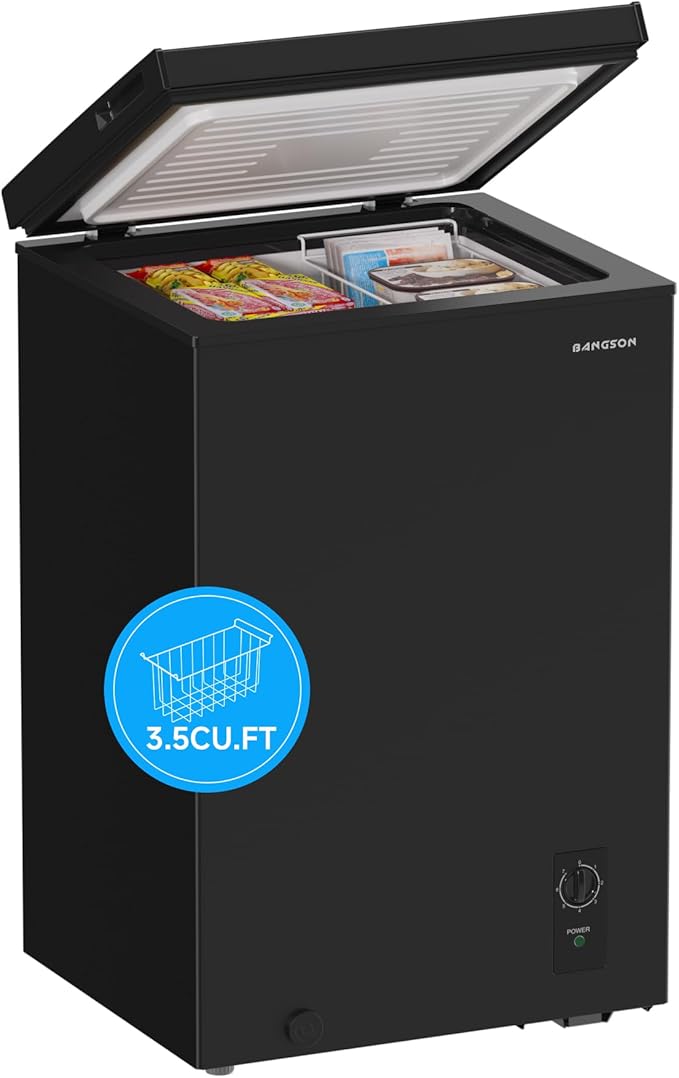
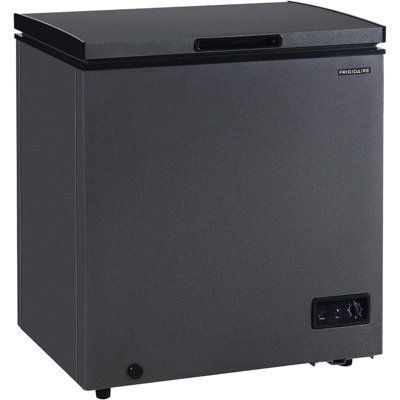
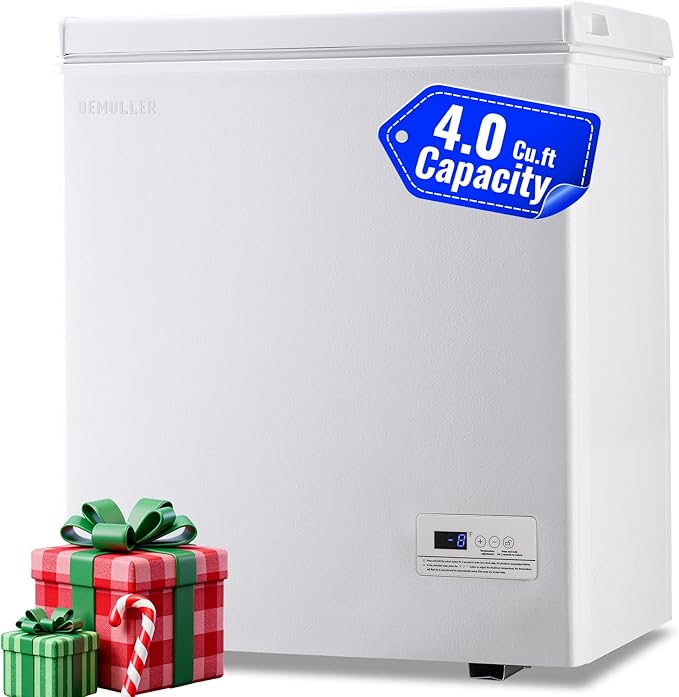
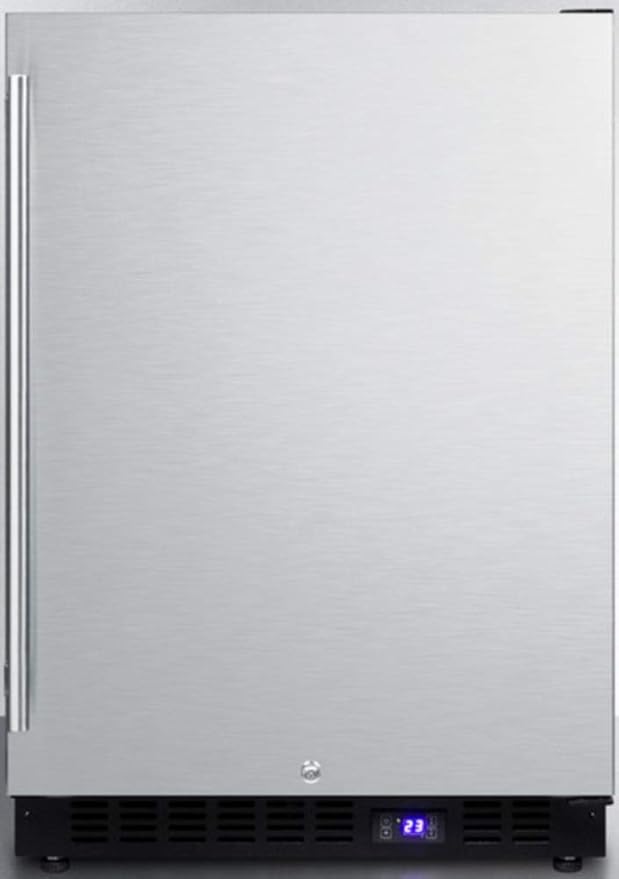
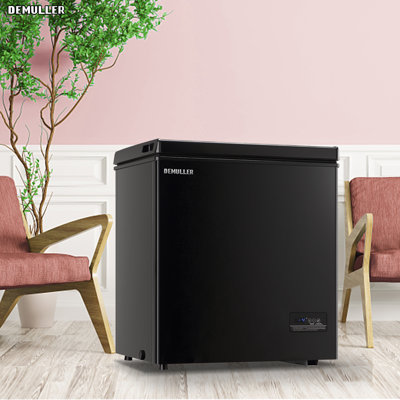
If you have the luxury of extra space, you might consider a kitchen appliances deep freezer. It can maintain lower temperatures more consistently than a standard unit, which helps preserve the taste and texture of everything from pita bread to frozen veggies.
Pre-freezing checks
Before sealing anything, check the bread for freshness. Your pitas should be cool (never freeze warm bread) and free of any visible mold spots. If you did a big batch of homemade pita, let them cool on a wire rack until they’re at room temperature. Freezing bread that’s even slightly warm can create condensation inside your packaging, leading to soggy spots or ice crystals.
This is also a good time to label your bags or containers with the current date. You’ll want a clear timeline for how long your pita bread has been in cold storage. In general, frozen pita remains at its best taste for up to three months, though many people keep it for longer without major problems.
Freeze your pita bread
Step-by-step procedure
Separate or stack: If you have multiple pieces, decide whether you want to stack them or separate each piece individually. Separating might require more packaging but makes it easier to thaw just a few pitas at a time.
Wrap tightly: Each pita (or small stack) should be wrapped in parchment paper or aluminum foil. This prevents them from sticking together once frozen.
Use a freezer bag or container: Slip your wrapped pitas into a freezer bag or airtight container. Squeeze out as much air as possible if you’re using a bag.
Final label: Write the date and “pita bread” on the outside. Place the bag or container in the coldest part of your freezer.
Try to stack the bread so it sits flat. That way, you prevent any warped shapes once the bread hardens. A neat, organized layout makes it easier to find and thaw your pita later, too.
Wrapping techniques explained
Wrapping can feel a little tedious, but it’s a key step in preventing freezer burn. If you’re new to it, think of the process as gift-wrapping your food. Fold edges carefully to ensure there aren’t gaps where air can creep in.
Parchment paper method: Place one piece of pita on the paper and fold it so the bread is fully enclosed. Use tape if needed to hold the paper in place before sliding everything into a resealable freezer bag.
Foil method: This is perfect for preventing any light from hitting the bread and helps lock in freshness. Just cover your pita snugly, pressing the foil lightly around the edges. Then place your foil-wrapped bread into a larger bag so it’s double-wrapped.
Both methods work well. Often, it boils down to personal preference or what you already have on hand. If you’re storing separate portions for an on-the-go lunch, individual wraps are best. But if you plan to thaw a larger batch all at once, stacking a few pitas together in a single wrap can be more space-efficient.
When the time comes to enjoy your pita again, how you thaw it matters almost as much as how you froze it. To preserve quality, it’s best to thaw pitas slowly in the fridge. Simply remove as many pieces as you need from the freezer, unwrap them, and place them on a plate. Let them rest in your refrigerator for several hours or overnight. This gentle approach keeps the moisture locked in.
For a quicker thaw, you can leave pita on the counter at room temperature for about 30 minutes. The risk here is uneven thawing or slight changes in texture. If you’re in a big hurry, microwaving on a low or defrost setting for short intervals works. However, be careful: too much heat can result in chewy or tough spots.
How to warm and serve
Once thawed, most people like to warm pita bread before eating. You can use:
A skillet: Lightly brush a pan with oil, set it on medium heat, and warm each side for a minute or two.
An oven or toaster oven: Wrap the thawed pita in aluminum foil to maintain softness. Bake at 350°F for about 5 minutes.
A microwave: This is the quickest option. Place a pita on a microwave-safe plate, cover it with a damp paper towel, and heat for 10 to 20 seconds. The paper towel helps it stay moist.
Experiment to see which method suits your taste. A quick skillet warm-up gives the bread a nice toasty finish, while the microwave keeps it extra soft. Keep an eye on the timing until you find that perfect heating balance.
Portion control is all about freezing just the amount you plan to eat within a certain time. Small household? Freeze pitas in sets of two or three. Large family or business scenario? Go for bigger stacks so you’re not repeatedly opening and closing multiple containers. This reduces the risk of introducing moisture or air pockets each time you grab bread from the freezer.
Rotation matters too. Use the older packages first. If you freeze a new batch, place it behind the older ones so you naturally go through your stock in the correct order. This applies to everything in your freezer, really, not just pita. Organizing by date ensures you don’t wind up with a lonely, freezer-burned bag that’s been hiding at the back for half a year.
Short-term fridge storage
Sometimes you only need to store pita for a day or two. In that case, the fridge is an option—but be warned, it can dry out your bread if not handled carefully. Keep pita in a zip-top bag or airtight container, ideally with a small piece of paper towel to absorb any extra condensation. The paper towel helps ward off sogginess without robbing the bread of all its moisture.
If you find yourself using the fridge more often than the freezer, consider adjusting your grocery-shopping habits. Buying smaller quantities more frequently might save you the hassle of dealing with stale bread. Still, freezing remains the gold standard for ultimate freshness if you’re planning to keep pita around for longer than a few days.
Solve typical freezer problems
Dry or stale pita
Let’s say you followed the steps, but your thawed pita comes out tasting drier than you’d like. Don’t panic. It might be an easy fix. Sometimes a quick spritz of water or a light brush of olive oil before warming can refresh the bread. Place the slightly moistened pita in a skillet or oven, and let that moisture steam the bread back to life.
It’s also worth looking at how you wrapped it earlier. A loose seal can cause water molecules inside the bread to evaporate more readily, leading to dryness after thawing. Next time, double-check your wrapping technique and see if the results improve.
Freezer burn issues
Freezer burn shows up as frosty white patches or discolored spots on food. In bread, it can create an odd flavor and tough texture. If you notice it on your pita, you can try trimming off the affected area, but if it’s widespread, the loaf might be beyond rescue.
Freezer burn occurs when air reaches the food surface during storage. Solutions include using thicker, higher-quality freezer bags, removing excess air, or double-wrapping items that tend to be fragile. If you want to keep track of whether other foods can withstand the cold, you might find it interesting to look at can baked beans be frozen?. Understanding how different foods behave in a Fridge Refrigerator Freezer setup helps you refine your freezing techniques, even beyond pita.
Keeping pita bread on hand is a lifesaver when you need an easy wrap, a quick pizza crust, or a hearty side for dinner. While it’s tempting to toss extra pitas into a random freezer bag and hope for the best, it pays off to take a few extra steps in advance. By wrapping properly, labeling accurately, and thawing gently, you ensure that your frozen pita emerges surprisingly close to its just-baked condition.
Whether you’re running a busy family kitchen, planning big dinner parties, or just wanting small portions around for a quick lunch, storing pita in the freezer is a skill worth mastering. If you have the space, investing in additional freezer capacity, such as a kitchen appliances deep freezer, can make the process simpler. And if you spot any freezer burn, remember to investigate your sealing methods so you can prevent that dryness next time.
In short, a good freezer routine can save you money, reduce food waste, and keep your mealtimes interesting. Now that you know the ropes, you can freeze, thaw, and reheat confidently. Got a favorite pita filling or a question about freezer methods? Feel free to tinker with your approach, explore new ways to enjoy your thawed pitas, and share your experiences with friends or family. This is one of those kitchen skills that only gets better the more you practice. Enjoy your next pita without the pressure of a ticking freshness clock!
Free tool
Food Storage Calculator
Free interactive tool from Fridge.com — get a quick answer while you read.