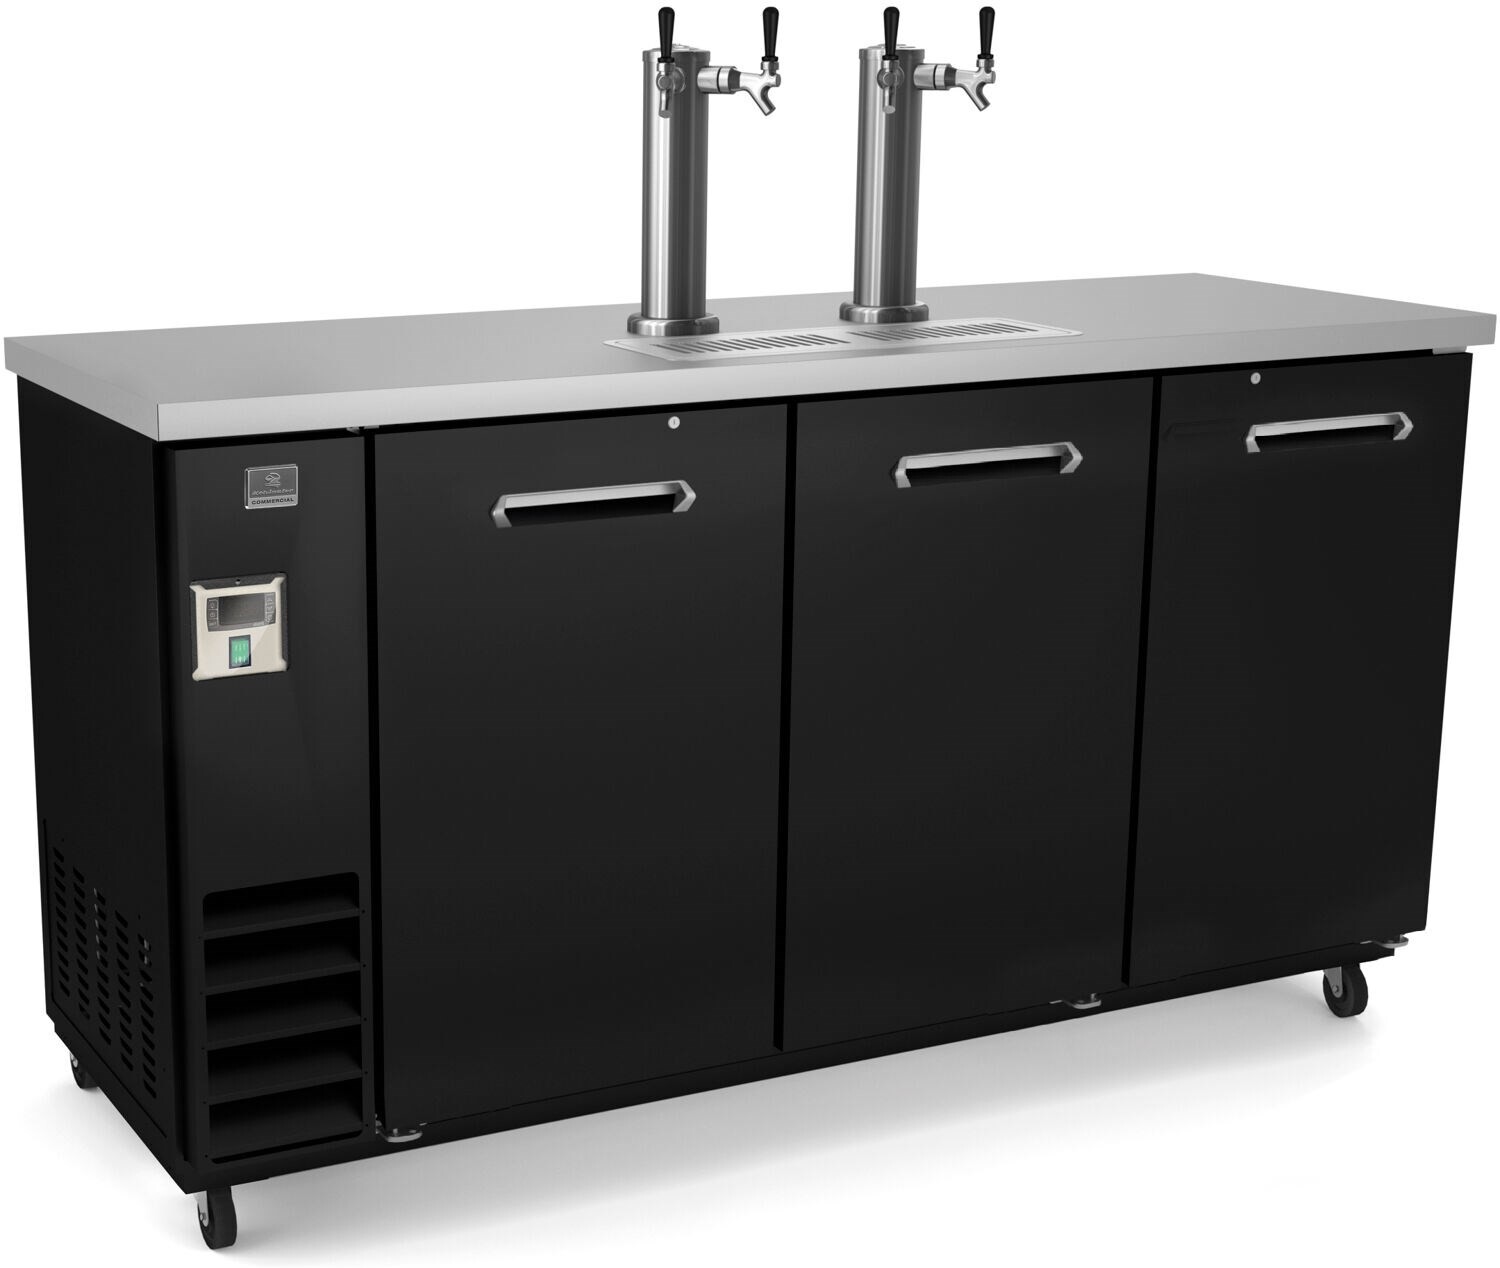
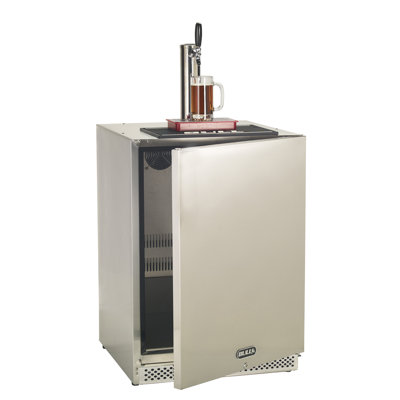
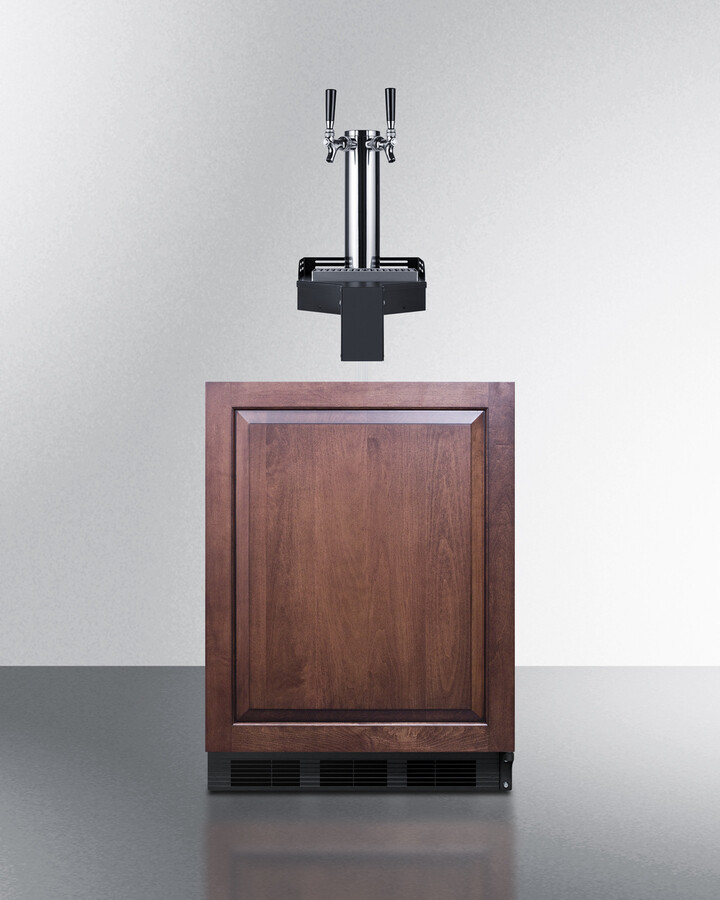
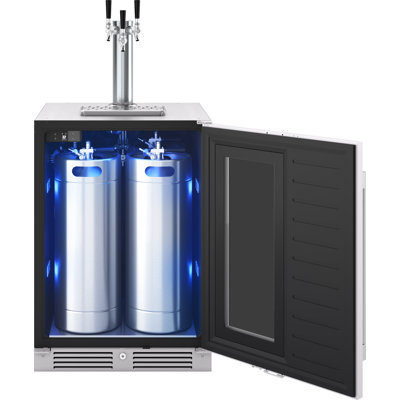
If you’ve ever wondered, which gasket heater prevents lid freeze over efficiently? You’re in the right place. Whether you’re running a busy commercial kitchen, entertaining friends at home, or hauling a kegerator on your next RV trip, frost buildup around the door seal can turn your fridge or freezer into a time sink. In this guide, you’ll learn why lid freeze over happens, how different gasket heaters work, and which options deliver the best performance for your specific setup.
Understand gasket heater benefits
When ice accumulates around your door gasket, it not only creates a poor seal but also forces your compressor to work harder, driving up energy costs. By installing a strategic gasket heater, you’ll maintain a tight seal, reduce frost buildup, and keep your appliance running smoothly. Let’s explore the key advantages.
What causes lid freeze over
- Temperature differential: Warm, humid air meets cold surfaces near the seal, condensing and freezing.
- Frequent door openings: Each time you open the door, moist air floods in, leading to frost around the gasket.
- Poor insulation: Older or budget fridges and freezers may lack adequate thermal barriers near the door.
- Damaged or misaligned gaskets: Gaps let in moisture, which then freezes on contact with cold metal or plastic.
How gasket heater works
A gasket heater wraps around or embeds in the door seal to gently warm the immediate area. That warmth prevents condensation from turning into ice. You’ll typically find an electric resistance element—often in the form of a heater strip, cable, or pad—powered by your appliance’s wiring or a low-voltage transformer. By maintaining the gasket at just a few degrees above freezing, frost never has the chance to build up.
Key points:
- Power draw: Most gasket heaters consume between 5 and 20 watts—minimal compared to compressors.
- Temperature control: Some models include thermostats or self-regulating elements to avoid overheating.
- Placement: Proper positioning around the door frame is critical for full coverage and consistent performance.
- Durability: Look for water-resistant, UV-stable materials if your fridge lives in a garage or outdoors.
Compare heater options
Not all gasket heaters are created equal. Here’s a closer look at four popular types, along with their pros and cons.
Electric strip heaters
Electric strip heaters are slim metal or ceramic elements encased in a durable sheath and mounted along the gasket edge.
- Pros
- Easy retrofit on most fridges and freezers
- Uniform heat distribution
- Available in adjustable lengths
- Cons
- Requires precise alignment to avoid hot spots
- May need external thermostat for temperature control
- Installation can be tricky in tight door frames
Silicone band heaters
Silicone band heaters wrap around the inner door frame, delivering gentle, consistent warmth through a flexible silicone jacket.
- Pros
- Flexible design molds to irregular shapes
- Water-resistant and suitable for damp environments
- Quick installation with adhesive backing
- Cons
- Slightly higher power draw than simple strips
- Adhesive can degrade over time in high-humidity settings
- Limited to smooth surfaces for proper adhesion
Self-regulating cable heaters
These cables automatically adjust output based on ambient temperature—drawing more power when it’s cold and less as the gasket warms up.
- Pros
- Integrated self-regulation prevents overheating
- Ideal for environments with wide temperature swings
- Durable and low maintenance
- Cons
- Bulkier than strip or band heaters
- Requires careful routing to ensure full coverage
- Higher initial cost than basic strips
Infrared gasket heaters
Infrared emitters target the seal area without direct contact, using radiant heat to inhibit frost.
- Pros
- No physical attachment to gasket reduces wear
- Rapid heating response
- Works well in busy kitchens with frequent openings
- Cons
- More expensive technology
- May require a separate control module
- Limited field of effective radiation—must be precisely aimed
| Heater type | Wattage range | Self-regulating | Installation difficulty | Ideal use cases | Approximate cost |
|---|---|---|---|---|---|
| Electric strip | 5–10 W | No | Medium | Residential, light commercial | $15–$30 |
| Silicone band | 8–15 W | No | Easy | Garages, outdoor fridges | $25–$40 |
| Self-regulating cable | 10–20 W | Yes | Medium | RVs, variable climates | $30–$60 |
| Infrared emitter | 15–25 W | Optional | Hard | High-traffic kitchens, labs | $50–$100 |
Choose the right heater
Selecting the best gasket heater means matching specs to your appliance, usage patterns, and environment.
Match your appliance
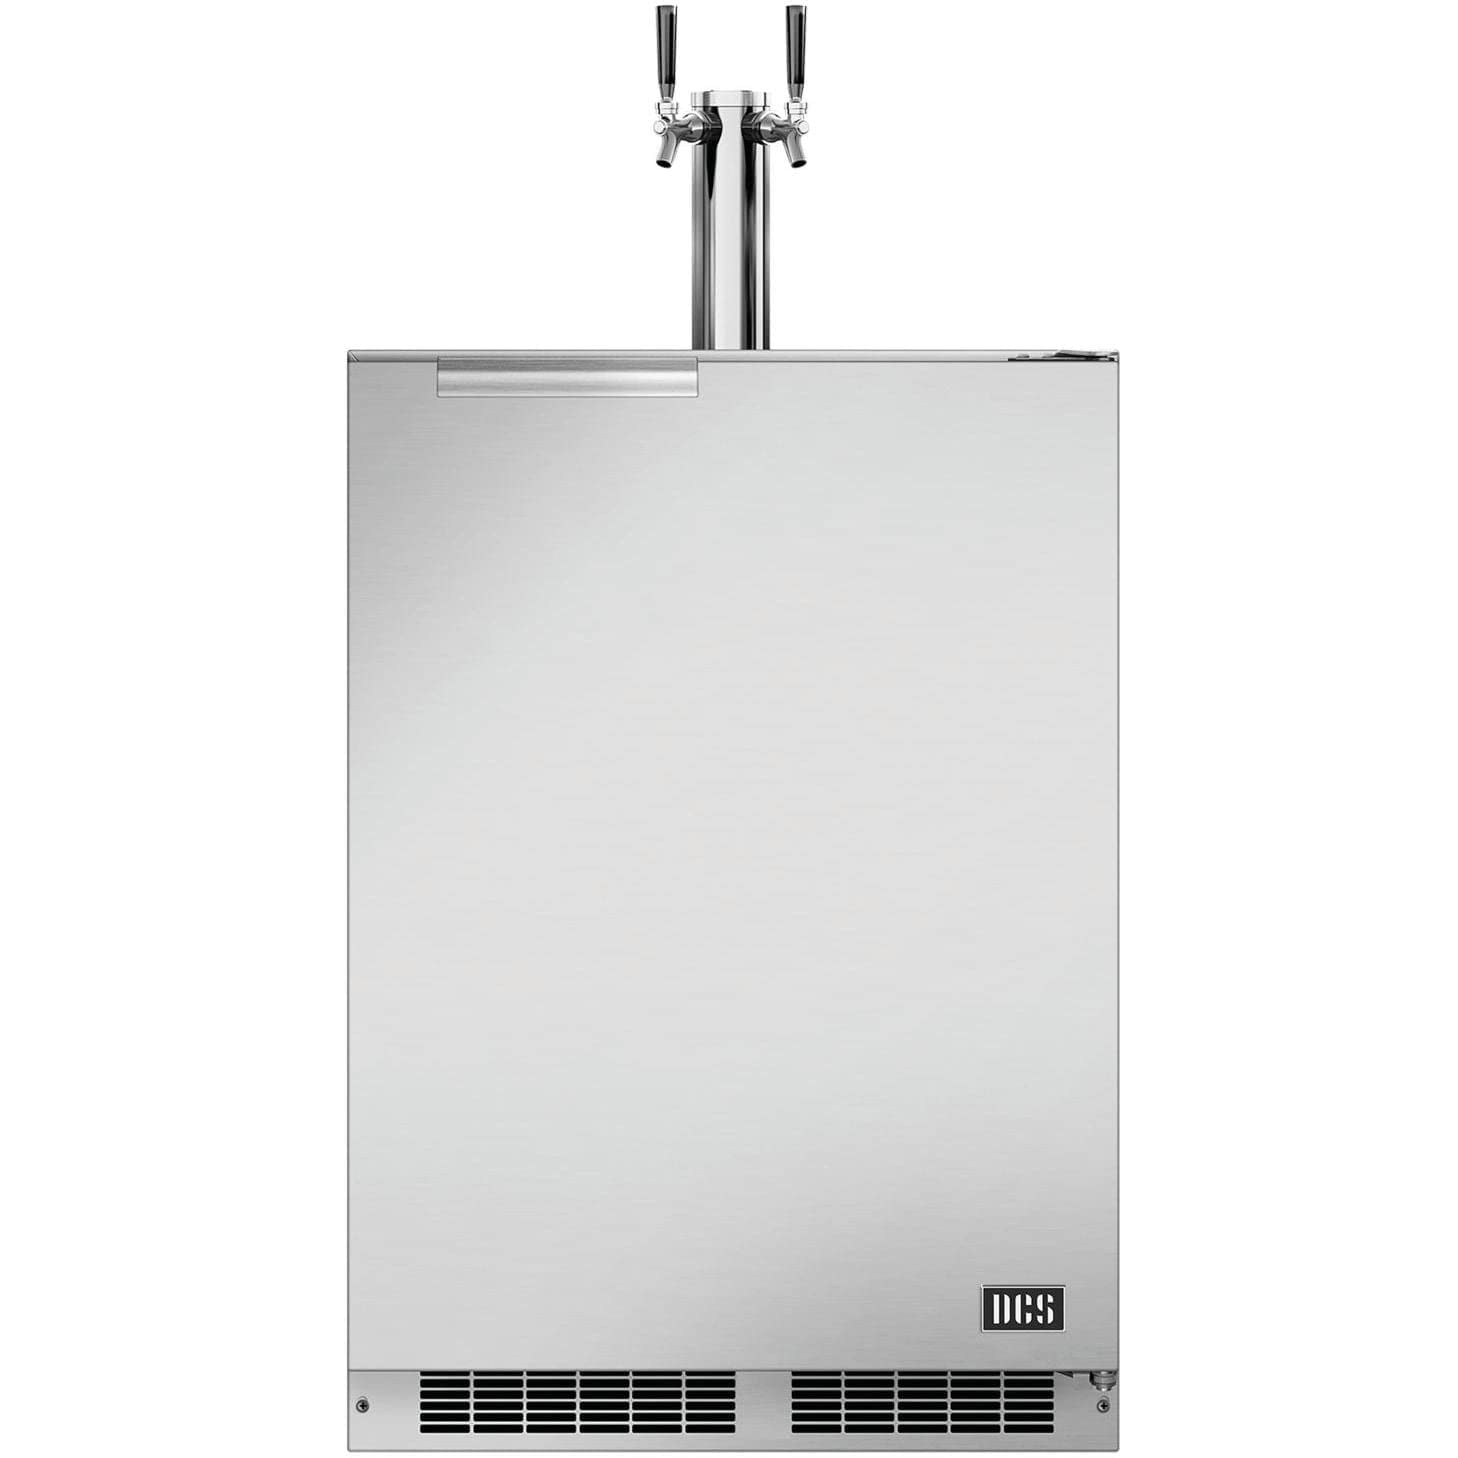
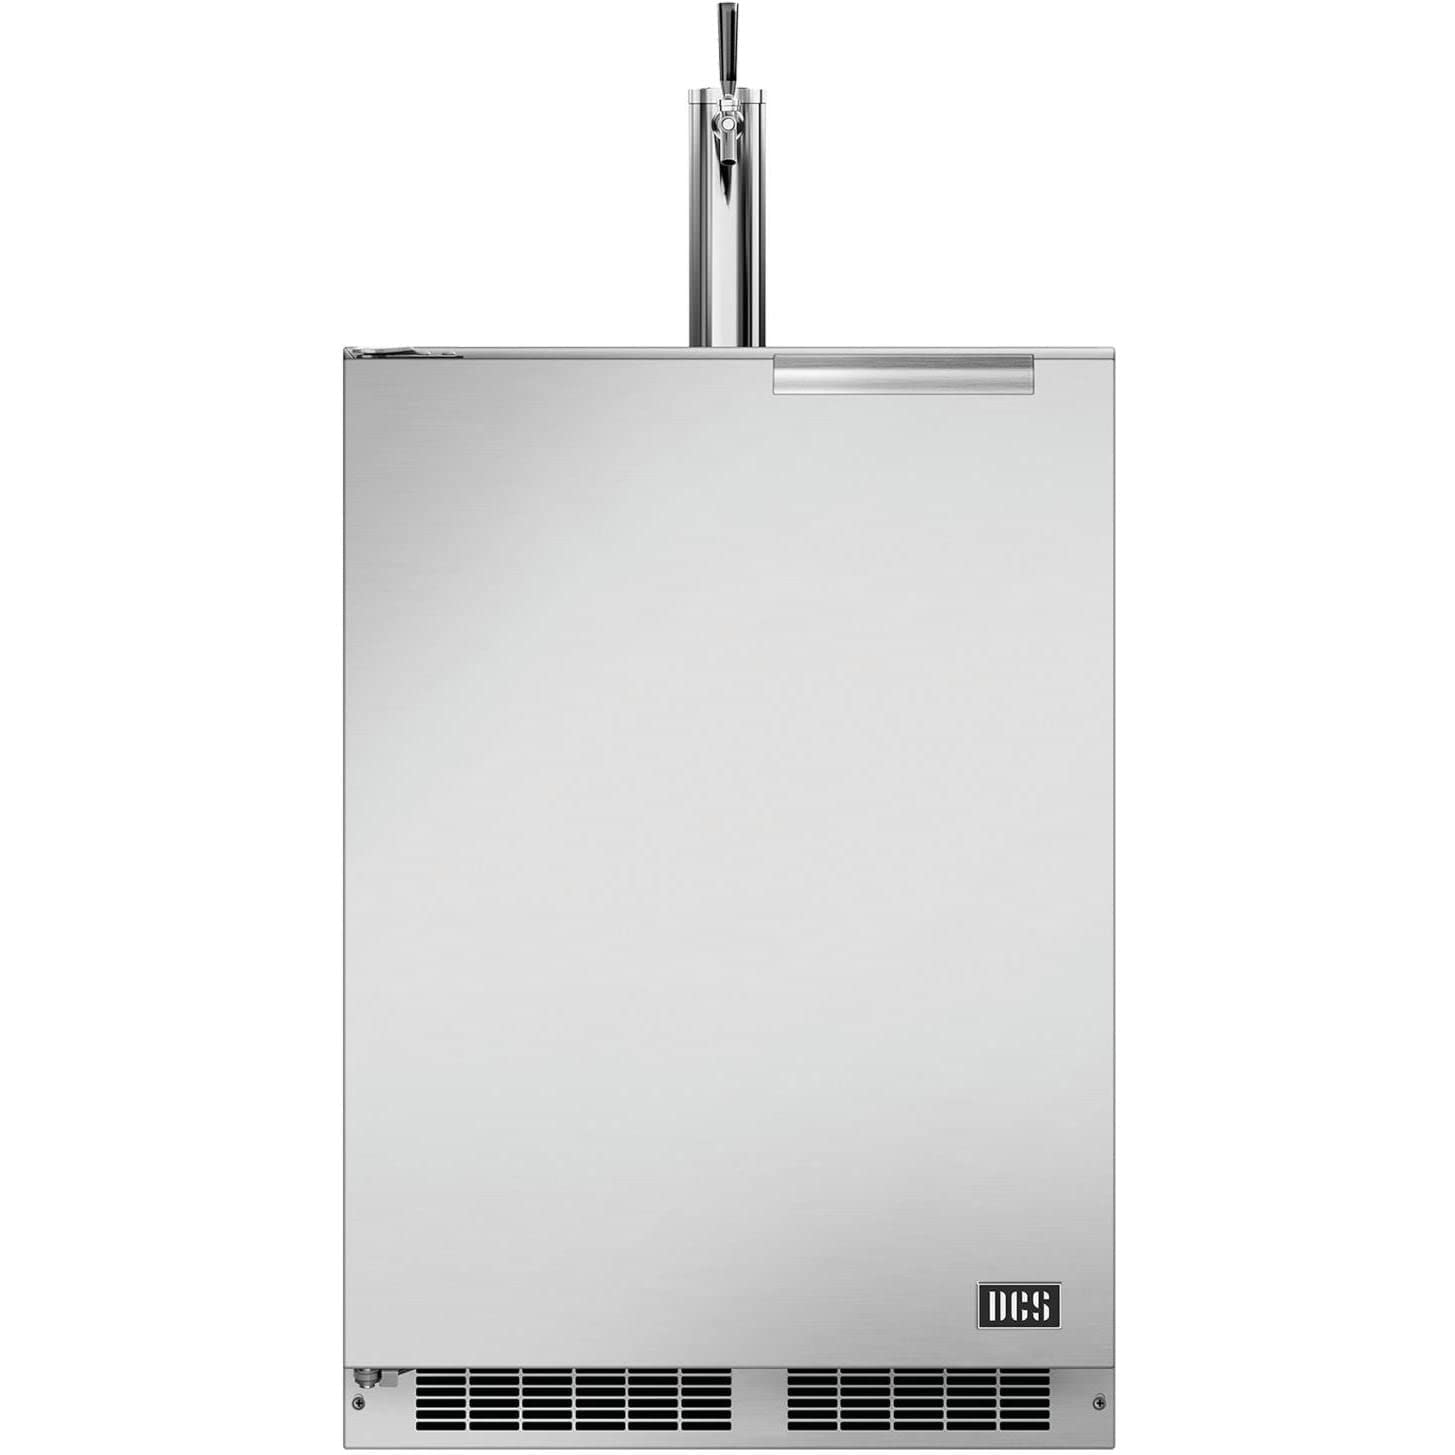
- Door type: Top-freezer, side-by-side, chest freezer, kegerator, built-in fridge—each has unique gasket shapes.
- Available space: Chest freezers often have thicker flanges, while counter-depth refrigerators have slim profiles. If you own a best condo counter depth refrigerator, measure the frame carefully.
- Electrical access: Some fridges lack spare wiring harnesses—plan whether you need an external transformer or can tap into existing circuits.
Consider power supply
- Voltage compatibility: Most gasket heaters run on standard 120 V AC, but some self-regulating cables or infrared units work on 12–24 V DC, useful for off-grid or RV applications.
- Power draw: Verify that your circuit can handle the extra 10–20 W without tripping breakers, especially if your fridge shares a dedicated line with other appliances.
Evaluate usage scenarios
- Residential kitchens: Occasional door openings mean basic strip or silicone band heaters often suffice.
- Commercial kitchens and cafeterias: High-traffic setups benefit from self-regulating or infrared heaters that adapt to frequent cycles—consider pairing with your cafeteria refrigeration system.
- Outdoor or garage use: Exposure to humidity and temperature swings calls for waterproof, rugged designs like silicone band heaters or self-regulating cables.
Assess environmental factors
- Humidity levels: High moisture environments accelerate frost buildup—lean toward self-regulating options for consistent performance.
- Temperature extremes: If your fridge lives in an unheated garage or workshop, choose a heater rated for low-temperature operation.
- Mobility: For RV trips or dorm rooms, compact, low-power solutions minimize impact on battery or shared outlets.
Install gasket heater correctly
Proper installation is essential for reliable frost prevention. Follow these steps to get it right.
Gather tools and materials
- Gasket heater kit (strip, band, cable, or emitter)
- Adhesive pads or mounting clips (usually included)
- Insulating tape or zip ties
- Screwdriver set or nut driver
- Wire strippers and connectors (if tapping into fridge wiring)
- Measuring tape and marker
Step-by-step installation
Prepare the gasket
- Unplug the appliance and allow it to defrost completely.
- Clean the gasket area with mild detergent, removing all debris, grease, and old adhesive.
- Dry the frame thoroughly to ensure proper adhesion.
Attach the heater
- Lay out the heater element around the door frame to confirm fit and routing.
- Secure with adhesive backing or mounting clips at 4–6 inch intervals.
- Avoid overlapping or sharp bends—strain relief prevents early failure.
Connect to power
- Identify an unused circuit inside the fridge or freezer wiring harness.
- Use wire strippers to expose conductor ends, and connect using proper connectors or solder and heat-shrink tubing.
- If required, mount an external transformer or controller in a ventilated area near the compressor.
Test and adjust
- Plug the appliance back in and allow the gasket to warm for 10–15 minutes.
- Inspect the seal: there should be a uniform, faint warmth—no hot spots.
- Close the door and check for gaps or leaks under paper slips; adjust heater routing if needed.
Maintain heater performance
Even the best gasket heater needs occasional TLC to keep you frost-free.
Perform regular inspections
- Monthly check: Look for loose clips, damaged insulation, or adhesive failure.
- Seasonal maintenance: Before extreme summer or winter, verify wiring integrity and element continuity.
Clean gasket and heater
- Follow how to clean your fridge inside and out to remove grime that can trap moisture.
- Gently wipe heater surfaces with a damp cloth—avoid abrasive cleaners or sharp tools.
Troubleshoot common issues
- No heat: Test with a multimeter for continuity; replace element if open-circuit.
- Uneven heating: Realign clips and ensure no gaps in coverage.
- Overheating: Check for blocked vents, replace adhesive if it has hardened, and verify thermostat settings if equipped.
Maximize energy efficiency
A well-tuned gasket heater saves you money and reduces wear on your compressor.
Optimize temperature settings
- Keep fridge temperatures at 37–40°F and freezer at 0–5°F to minimize frost potential.
- Adjust heater thermostats—if available—so they only kick in when gasket temps drop near 32°F.
- Learn more about fine-tuning in our fridge temperature regulation and adjustment guide.
Use timers and controllers
- Programmable outlets or smart plugs let you disable the heater during long door-closed periods (like overnight in dry basements).
- Integrate with home automation to sync with peak off-peak energy rates.
Seal any air leaks
- Inspect door alignment and hinge tension; a misaligned door invites warm air.
- Replace worn gaskets promptly—heater performance drops if the seal has gaps.
- Consider supplemental insulation kits for older models to bolster thermal barriers.
Wrap up recommendations
Preventing lid freeze over comes down to choosing the right gasket heater, installing it properly, and keeping it well maintained. For most home cooks, a basic electric strip or silicone band heater delivers efficient frost control without high costs. In commercial or high-humidity environments, self-regulating cables and infrared units shine with adaptive output and durability. Whatever your setup—RV, dorm room, garage, or professional kitchen—matching heater type, power supply, and installation technique ensures you’ll maintain a tight seal and energy-efficient operation.
Remember, you’re not just fighting frost, you’re protecting food quality, cutting energy bills, and extending the life of your appliance. Armed with these insights, you can confidently answer the question: which gasket heater prevents lid freeze over efficiently? and select the solution that fits your life and budget. Happy sealing!