If you’ve ever unpacked a bag of leafy greens only to find them soggy days later, you’re not alone. What moisture vent toggles humidity inside fridge produce drawer? It’s a simple slider or dial tucked on the drawer face but its impact on freshness is huge. Get this setting right and your herbs, lettuce, and peppers stay crisp far longer. Get it wrong and moisture either escapes too fast or builds up and causes early spoilage.
Adjusting that little vent can feel like guesswork if you’ve never paid attention. You might notice labels like “high” or “low” humidity—but what does that really mean for carrots versus apples? Understanding the vent’s purpose turns guesswork into precision, so you treat every type of produce exactly as it prefers.
In this guide you’ll learn how humidity control works in your fridge’s produce drawer, where to find the vent, how the airflow mechanism operates, and which setting to use for various fruits and veggies. We’ll also cover cleaning, troubleshooting sticky or broken vents, and bonus tips to squeeze every day of life out of your groceries. Let’s dive in.
Understanding humidity control
Fruits and vegetables are living tissues that respire even after harvest, releasing water vapor and gases. That moisture can either stay in the drawer to maintain a humid microclimate or escape into the main compartment where the overall fridge humidity is lower. Too much humidity leads to condensation, mold, and slimy leaves, while too little causes wilting, shriveling, and dried-out edges.
High-humidity environments suit most leafy greens and moisture-hungry veggies. They thrive when air exchange is minimized and water vapor stays around them. Low-humidity conditions work better for produce that releases ethylene gas or is prone to rot when wet. By toggling the vent, you’re effectively choosing how much of that vapor should linger inside the drawer.
Manufacturers build this feature to give you a simple control over a complex balance of temperature, moisture, and gas composition. Even if your fridge door opens dozens of times a day, the produce drawer can maintain its own microclimate when sealed properly. Think of it as a tiny greenhouse designed to slow down natural degradation processes.
Once you see how moisture and airflow interact, you’ll begin to treat that slider like the crucial knob it really is. Instead of tossing limp herbs after two days, you’ll have crisp basil a full week later. Best of all, mastering this one setting can cut down on food waste and save you money during weekly shopping trips.
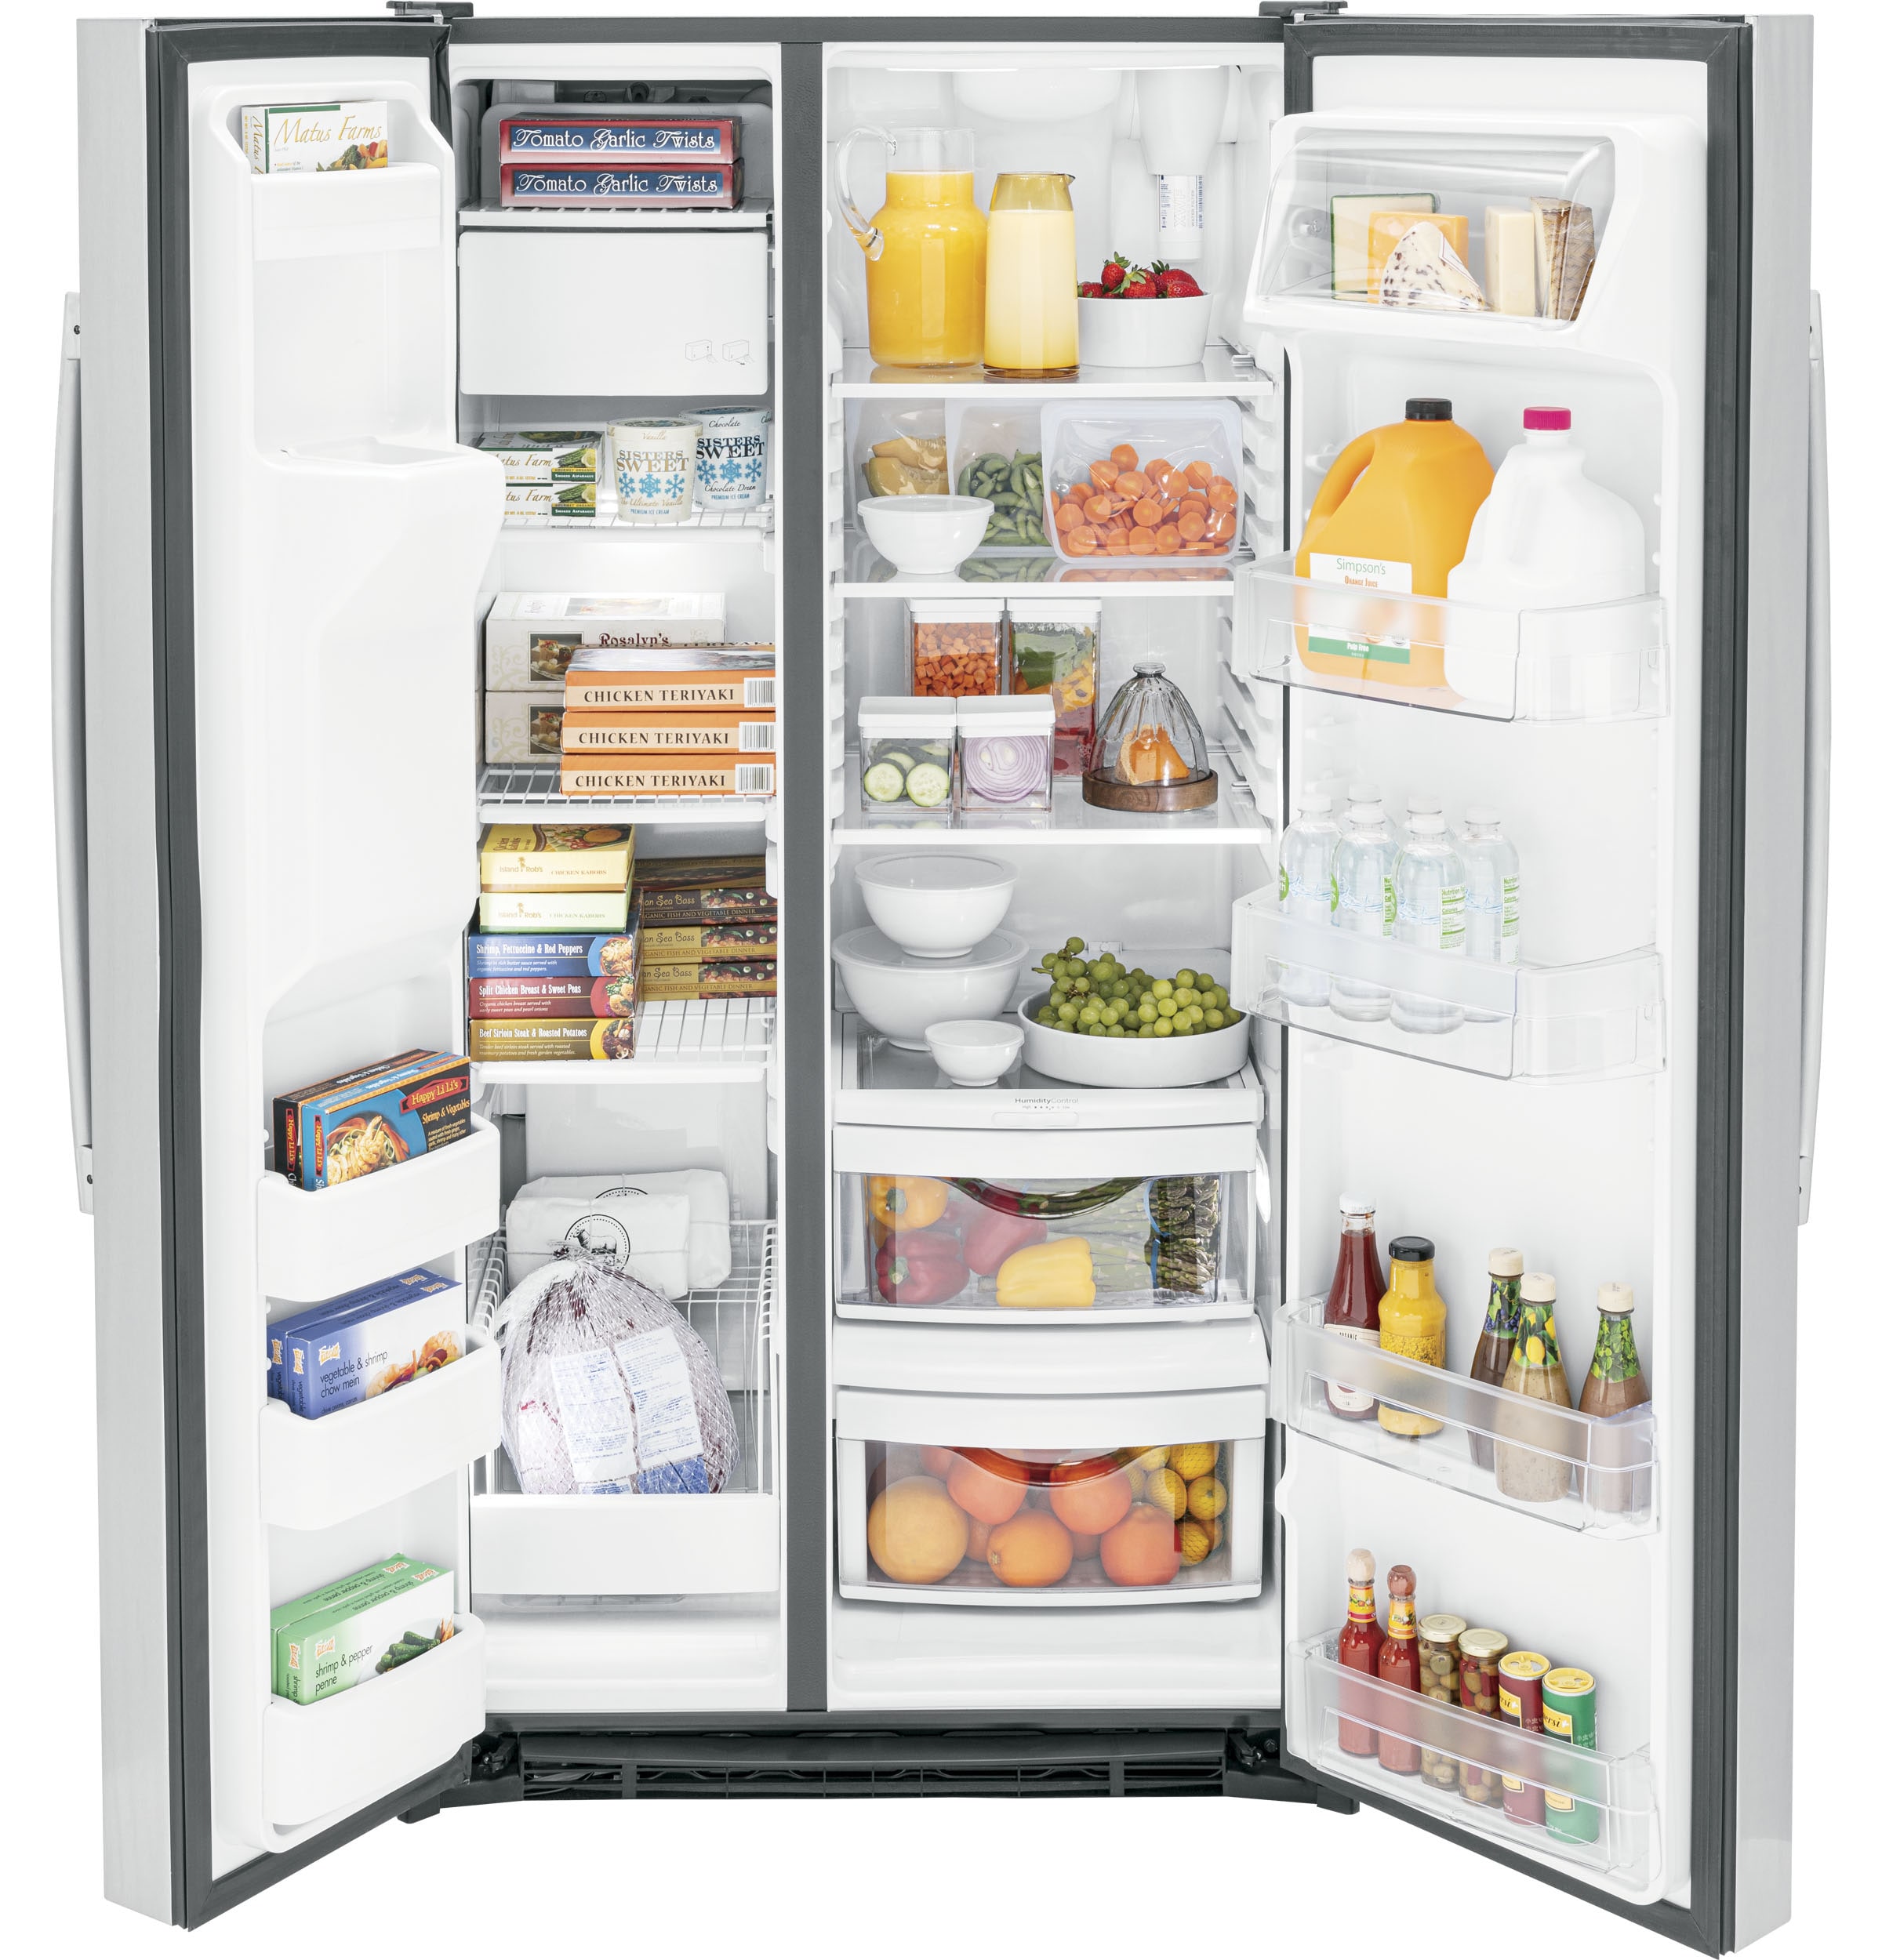
Your first step is finding the vent. In most modern refrigerators with a bottom-mounted crisper drawer you’ll spot a small slider on the front or side of the bin. It often sits flush and might be labeled with water-drop or leafy-green icons to denote humidity levels.
On some models the vent is integrated into the drawer face as a circular dial that you turn to “open” or “close.” Others use a sliding tab that clicks into two or three positions. If your fridge manual still hides in a drawer, it likely shows a diagram of the crisper drawer and vent mechanism—keep it handy the first time you experiment.
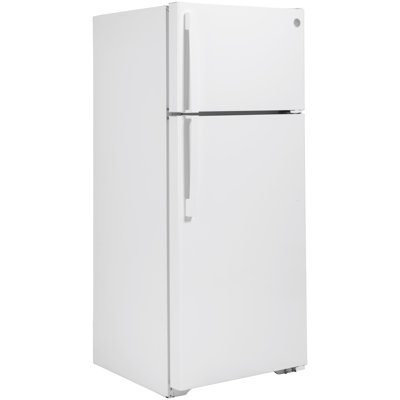
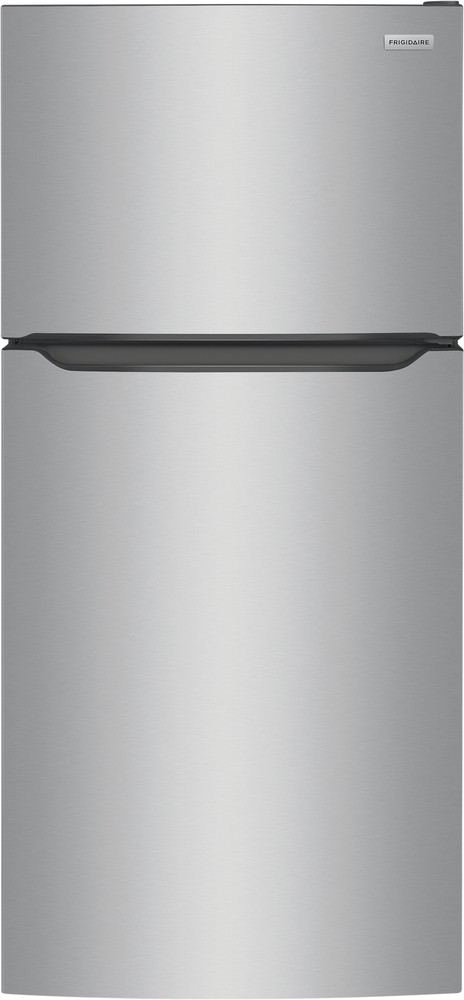
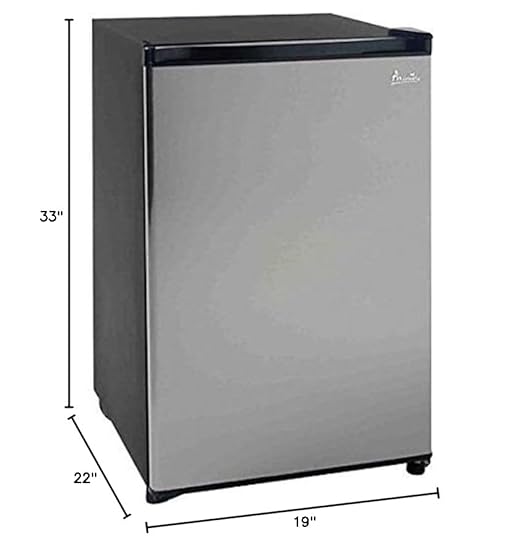
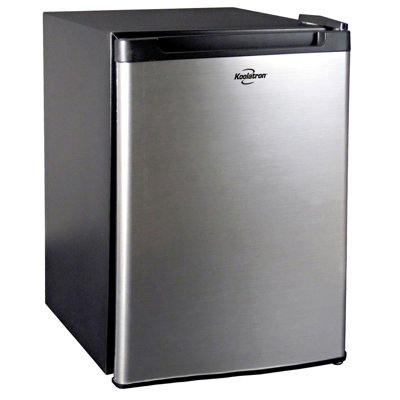
Top-mount freezers and under-counter beverage centers rarely have humidity controls, so you won’t find anything adjustable if you’re using a drawer refrigerator in a bar setup or RV. But any dedicated produce bin in a full-size kitchen fridge almost always includes this feature—just look for that little handle or dial.
If you can’t spot it at first glance, pull the drawer halfway and trace the plastic frame. The vent assembly is often set into the back or side wall of the bin, with tiny slits or holes that align when you slide it. Give the slider a gentle nudge and notice how the airflow channel opens or closes—once you see it, you’ll never miss it again.
How the vent works
When the vent is open, the drawer interior exchanges air freely with the rest of the fridge cavity. That tends to lower the humidity level inside the drawer toward whatever the overall fridge humidity sits at—usually around 30–50 percent. Ethylene gas and excess moisture pass through, which helps crisp apples, peppers, and eggplants that don’t like a wet environment.
Closing the vent creates a near-sealed drawer. Your fresh herbs, asparagus, broccoli, and leafy greens emit moisture through respiration and transpiration. With the pathway blocked, that vapor builds up around the produce, often resulting in 85–95 percent relative humidity. The lush environment slows down moisture loss from the produce itself.
The mechanism is purely passive—there’s no sensor or motor involved. You’re simply adjusting how much air can escape. That makes it extremely energy-efficient. The fridge compressor and fan do the heavy lifting for temperature control, and the crisper vent just fine-tunes humidity.
If you peek inside a closed-drawer scenario you might see droplets collecting on the bin walls. A little condensation is normal. It tells you the humidity is high. If you see large puddles or dripping water, it’s a sign the drawer is too full or the door isn’t sealing properly, and you should open the vent or adjust the contents.
Your next move is matching vent position to what you store. Most refrigerators give you two primary settings—high humidity (vent closed) and low humidity (vent open). Some offer a middle position that’s handy for delicate produce like berries or tomatoes.
High humidity mode
Slide the vent to the closed icon or push the dial toward the water-drop symbol. You’re aiming for a mini greenhouse inside the drawer. This setting is best when you want to keep veggies crisp and prevent wilting.
Leafy greens (lettuce, spinach, Swiss chard)
Fresh herbs (basil, parsley, cilantro)
Broccoli and cauliflower
Cucumbers and celery
Low humidity mode
Open the vent fully so the drawer breathes with the rest of the fridge. That lets moisture escape, reducing the risk of rot from trapped water. Use this for produce that gives off a lot of gas or ages faster in a steamy environment.
Apples, pears, and peaches
Berries (strawberries, raspberries)
Mushrooms
Onions and garlic
When produce emits ethylene gas—an aging hormone—you want it to diffuse away rather than build up around other fruits and veggies. The low-humidity setting handles that nicely.
Even with the vent in the right position, everyday use introduces variables. Overcrowding the drawer blocks airflow inside, so rotate your produce weekly to prevent cold spots or humid pockets. Make sure to dry items before stowing them—wet lettuce or damp packaging can puddle and lead to sliminess.
Every month or so remove the drawer completely and give it a quick wipe. If you’ve ever dealt with a leaked berry or a crushed tomato, you know how sticky the bin floor can get. For a step-by-step cleanup routine check out best ways to clean up messy fridge spills. A clean bin ensures that when you close the vent, you’re trapping pure moisture from your produce—not old drips.
Inspect the vent track for debris—bits of carrot or lettuce can jam the slider if you’re not careful. A soft cloth dampened with mild soap and water is usually enough. Rinse thoroughly and dry the vent path before snapping the drawer back into place.
Lastly, keep an eye on the gasket around the main fridge door. If it leaks cold air, your fridge will struggle to maintain both temperature and humidity settings. Worn gaskets often cause condensation issues inside the crisper drawer, so replace them promptly if you notice gaps.
Troubleshooting vent issues
Vent slider stuck
Sometimes the vent refuses to budge because food particles or sticky residue have lodged in the track. If you’ve already wiped the bin floor, pull the drawer out completely and look for hidden crumbs along the vent frame. A cotton swab dipped in a vinegar solution can loosen gunk without harming the plastic.
If the slider is cracked or broken, you can often order a replacement part from the fridge manufacturer. Model numbers are usually printed on a sticker inside the main compartment. Swap in the new vent assembly—most clip in or screw in place easily—and you’re back in control.
Inconsistent humidity
Maybe you set the vent correctly but still find soggy lettuce or shriveled carrots. Check two things: door seal and temperature. If your fridge sits above 40°F, the crisper drawer can’t build real humidity no matter how you set the vent. Most refrigerators recommend a 34–38°F range for produce sections.
Also consider where you’re storing other items. A half-opened carton of milk can drip moisture, while a drafty egg tray above the drawer can blow cold dry air through any gaps. Aim for a balanced load—avoid stashing steaming leftovers right next to your crisper bin.
No vent at all
If your fridge model doesn’t have a humidity vent—common on some compact units—use alternative methods. Place a folded paper towel under leafy greens to absorb excess moisture, or store ethylene-sensitive items in perforated bags to mimic a low-humidity environment. While not as precise, these hacks bridge the gap until you upgrade to a unit with dedicated humidity control.
Beyond vent settings, a few smart habits keep your fruits and vegetables tasting their best. First, store similar items together so you can set the vent once and forget it. Pick a drawer for leafy greens and a separate bin for gas-emitting items like apples and tomatoes. If you need extra drawers consider a drawer refrigerator in a kitchen island or home bar.
Second, use clear, breathable containers for delicate items like cut melon or snapped asparagus. They let you see what’s inside without opening the drawer constantly. And remember, every time you slide the drawer out you let the humidity escape—minimize door openings by grouping your produce logically.
Third, rotate your stash. Place older items in front so you grab those first. A simple soap-box trick—pair each bagged bunch with its sealing clip turned toward you—helps you spot what’s dipping toward its use-by date. You’ll reduce waste and save money.
Vent position
Humidity level
Ideal for
Quick tip
Closed
High (85–95%)
Leafy greens, herbs, broccoli, cucumbers
Gently dry produce before storing, wipe bin monthly
Open
Low (30–50%)
Apples, pears, mushrooms, onions
Use ventilated bags for berries, rotate weekly
Half open
Moderate
Berries, tomatoes, grapes
Check daily, remove any spoiled pieces immediately
Finally, remember that even perfect humidity can’t fix spoiled produce. Inspect your groceries as soon as you unpack them. Discard or cook any bruised or moldy pieces right away to keep the rest healthy. And if you’re craving a crisp Caesar salad midweek, our Caesar salad storage tips for the fridge article can save you from limp lettuce disappointments.
Mastering that humble moisture vent is one of the easiest ways to extend the life of your grocery haul. You’ll toss less, spend less, and enjoy fresher flavors all week long. So next time someone asks, “What moisture vent toggles humidity inside fridge produce drawer?”, you’ll not only know the answer—you’ll have perfected its use.
Now go ahead and slide that vent to “high” for your greens and “open” for your apples. Your fridge—and your taste buds—will thank you.