Do people reverse their fridge doors? If you’ve ever walked into your kitchen and thought, “It would be so much easier if the fridge door swung the other way?”, you’re in good company. Reversing fridge doors is a surprisingly common trick for optimizing kitchen flow, whether you’re cooking in a packed commercial kitchen or grabbing a snack in your dorm room. In this guide, you’ll learn why people reverse their fridge doors, explore your options, and get a clear, casual walkthrough to flip that hinge with confidence.
Explore door swing options
Before you grab a screwdriver, it helps to understand the basic ways a fridge door can swing. Designers build most modern refrigerators with reversible hinges so you can choose whether the door opens to the left or right. That simple change can transform how you reach for ingredients, clear traffic space, or even how you entertain.

Common door configurations
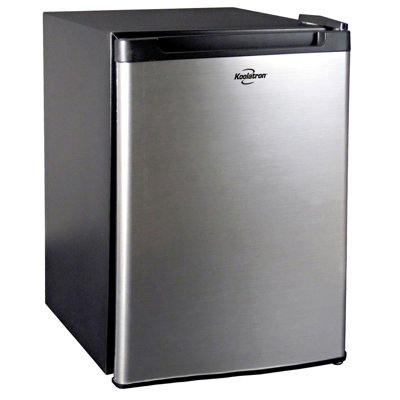
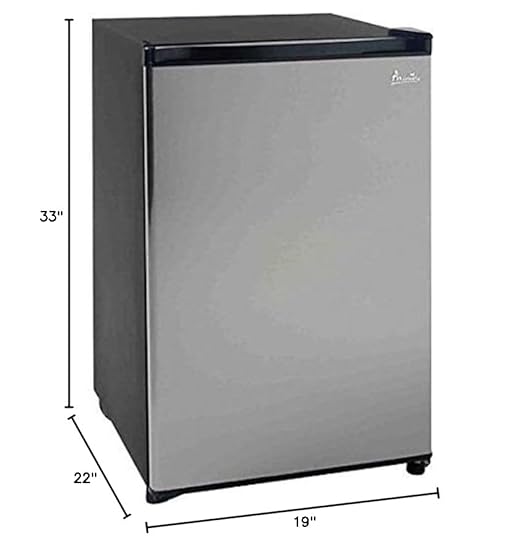
- Single-door refrigerators: A single door swings on one set of hinges
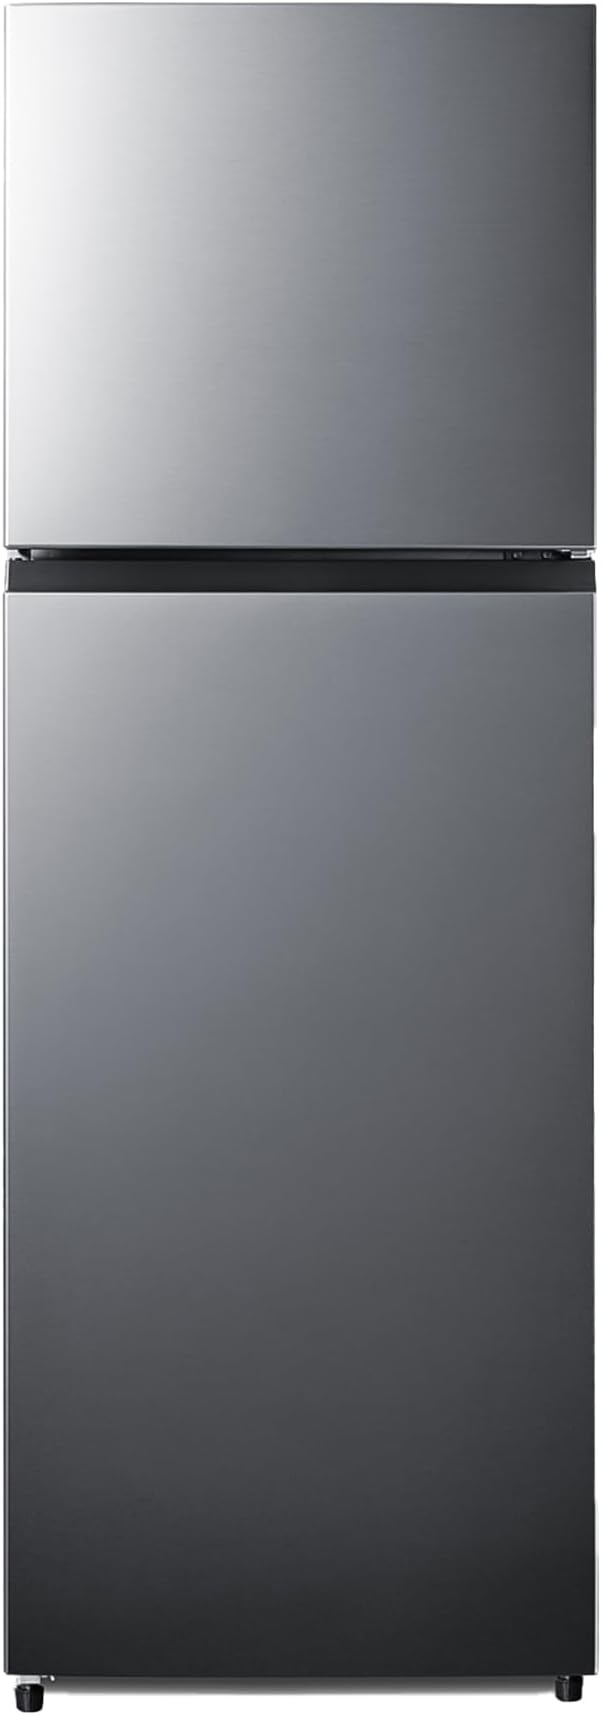
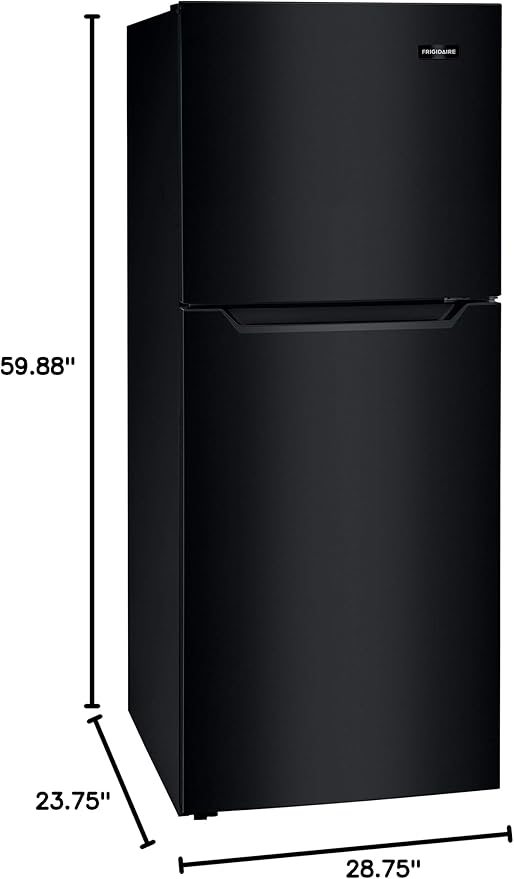
- Top-freezer models: The main fridge door usually opens opposite the smaller freezer door
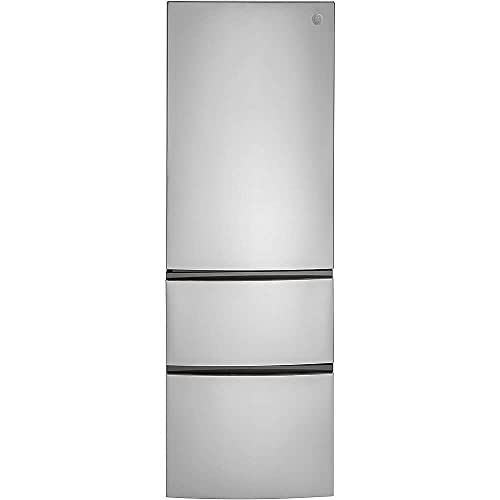
- Bottom-freezer models: You open the fridge on top, then swing the lower freezer door
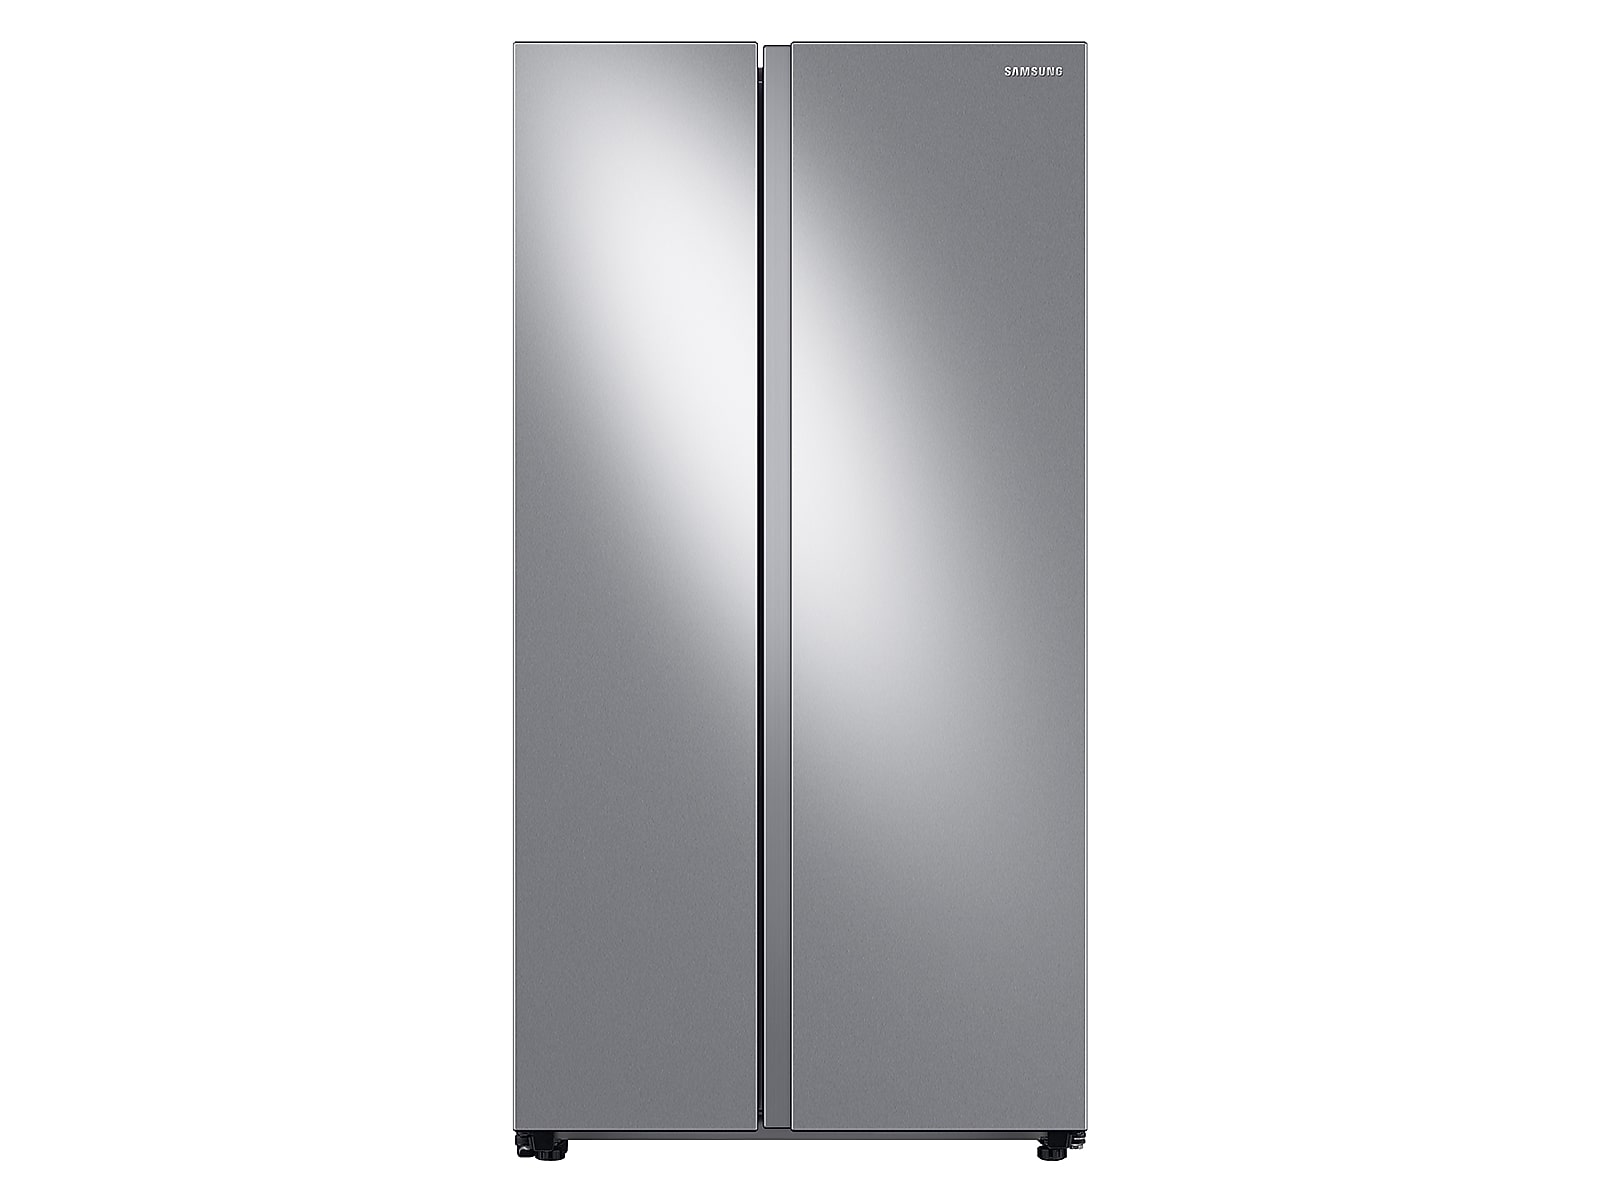
- Side-by-side units: Two doors split vertically; sometimes each side can be reversed
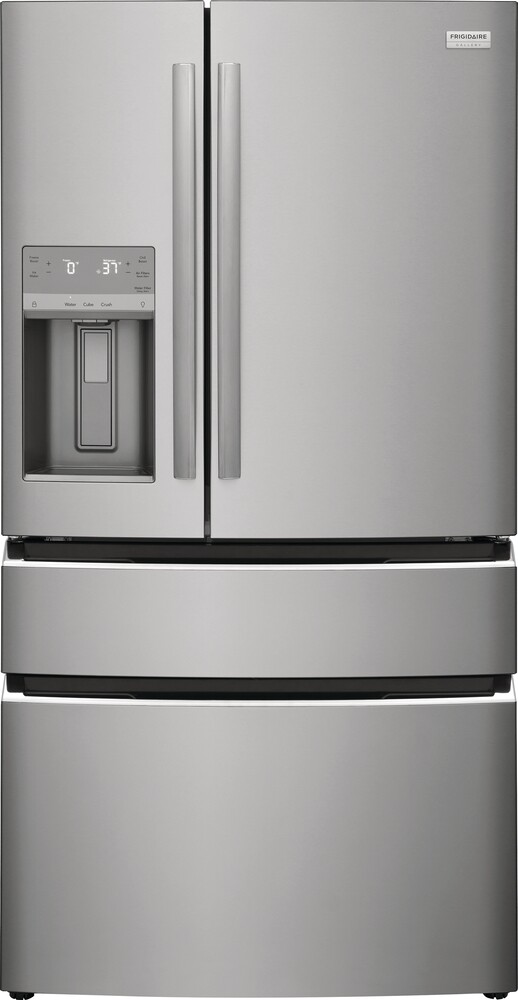
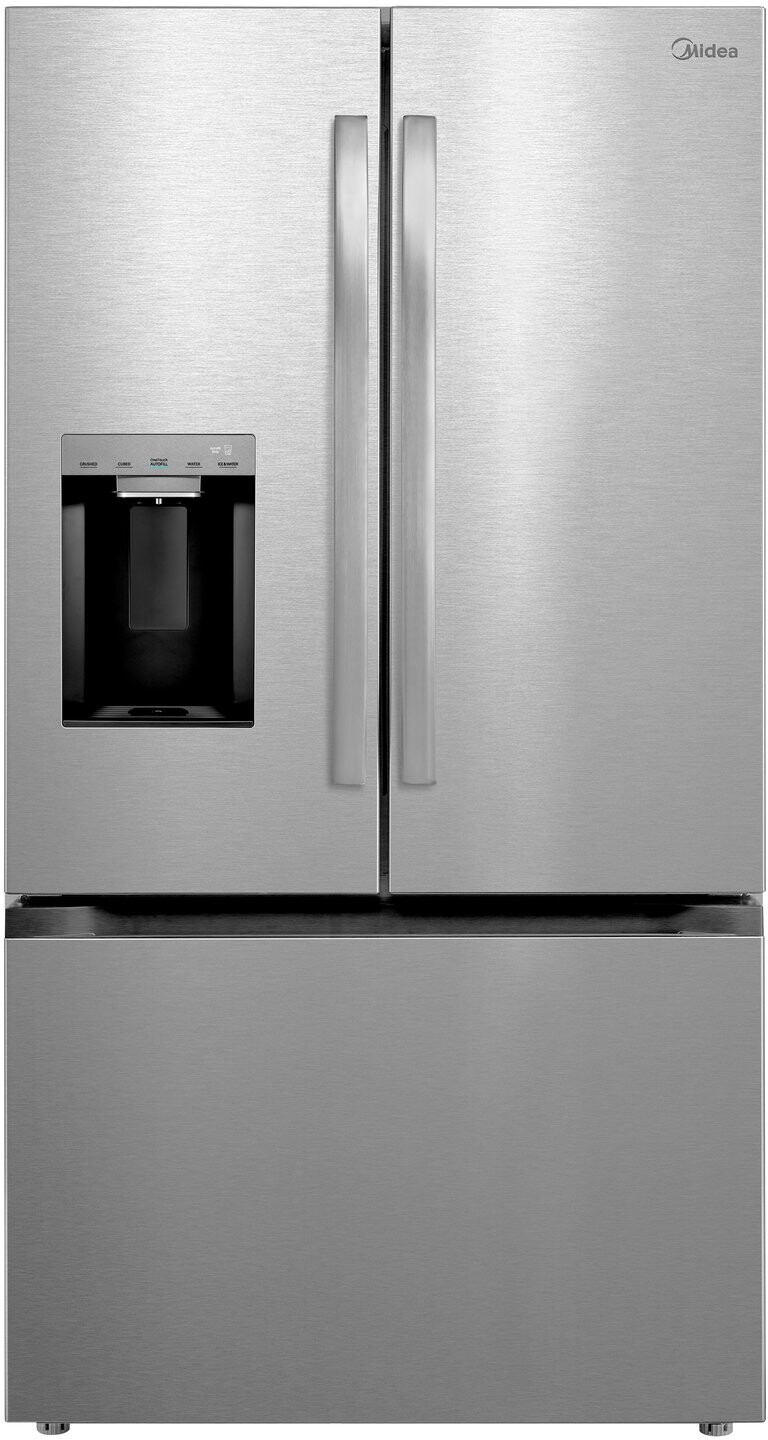
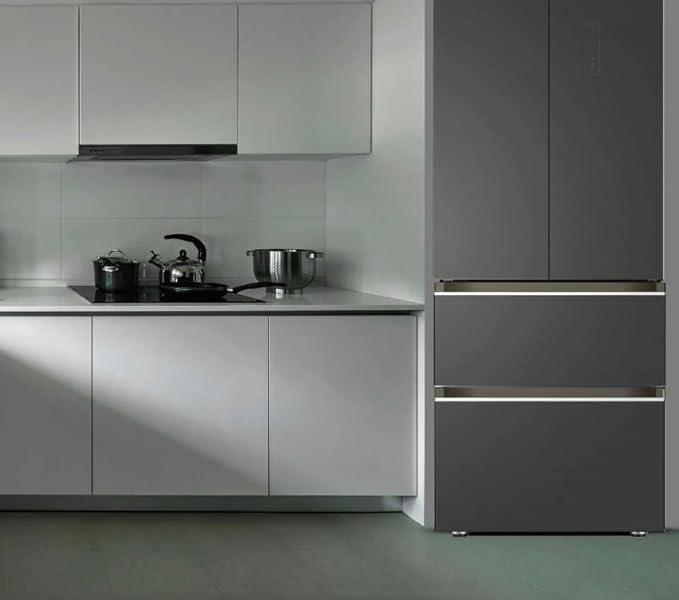
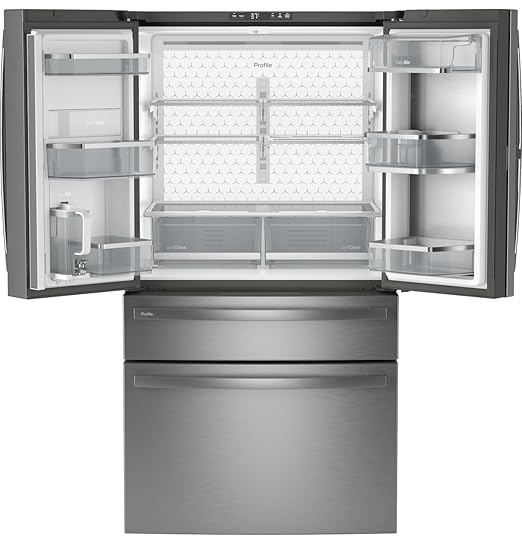
- French-door fridges: Dual upper doors open outward—learn more about layout and capacity in what fits in a french door refrigerator?
Built-in vs freestanding units
If you have a built-in refrigerator, your hinge options may differ from a freestanding model. Built-ins often sit flush with cabinetry and might require special hinge kits. For competitive pricing on reversible, high-end built-in units, check out exclusive built in refrigerators: sale.

Discover reversal benefits
Swapping your fridge door swing isn’t just a novelty—there are real perks when you tailor the hinge side to your space and habits.
Better workflow and access
Imagine prepping a meal on your left counter, but the fridge door blocks your workspace whenever you open it. By reversing the hinge, you can keep the door clear of your prep zone and maintain a smooth work triangle between sink, stove, and fridge.
Space optimization
In tight kitchens or narrow galley layouts, an awkwardly swinging fridge door can hit walls or cabinets. Flipping the hinge can free up that precious clearance, making room for guests or giving you elbow space while you cook.
Aesthetic flexibility
Whether you’re staging a home for sale or simply love a symmetrical look, reversing the door can help your fridge blend seamlessly into your design. It’s an easy upgrade that matches your fridge to your kitchen’s natural flow.
Prepare for door reversal
A bit of prep goes a long way toward a smooth hinge swap. Gather your tools, clear the area, and get familiar with your fridge’s specific requirements.
Check manufacturer instructions
Most fridge makers include a reversible-hinge guide in the user manual. If you can’t find yours, look online for your model number—this ensures you follow any model-specific steps and don’t void your warranty.
Gather necessary tools
At minimum, you’ll need:
- A Phillips and flathead screwdriver
- A socket wrench set
- A putty knife or thin pry tool
- A towel or soft pad to protect the floor
- Optional: replacement hinge covers or trim pieces
Inspect your fridge model
Look on both sides of your fridge for pre-drilled hinge holes. If you see matching holes and plastic plugs, your model is designed for easy reversal. If not, you might need to drill new holes or consult a pro—more on that later.
Reverse your fridge door
Ready for the main event? Follow these steps to swap your door hinge safely and effectively.
Remove and swap hinges
- Unplug the fridge and open the door fully
- Support the door on a towel or have a helper hold it steady
- Remove the top hinge cover, then unscrew the hinge from the cabinet
- Lift the door off the bottom hinge pin, then set it aside carefully
- Attach the bottom hinge pin to the opposite side
- Position the door on the new bottom pin, then secure the top hinge in the mirrored holes
Adjust gaskets and seals
Once the door is hung, check the rubber gasket:
- Pull the gasket out gently at each corner
- Rotate or reposition it so it seals snugly on the new hinge side
- Warm the gasket with a hair dryer on low to help it conform, if needed
Reinstall handles and accessories
Don’t forget to swap your door handles, water dispenser fittings, and any interior shelves or trays that attach to the door. Keep all screws and parts organized in a small container so nothing gets lost.
Solve common door issues
Even with careful work, you might run into a few hiccups. Here’s how to troubleshoot the most frequent snags.
Misaligned door swing
If the door sags or doesn’t close completely:
- Loosen the hinge screws slightly, adjust the door position, then retighten
- Check that the bottom hinge pin is fully seated in its bracket
- Ensure the fridge is level front to back and side to side
Gasket leaks and drafts
A gap in the seal can let cold air escape:
- Inspect the gasket for tears or debris—clean it with warm, soapy water
- Press the gasket firmly into its channel along the full perimeter
- Replace the gasket if it’s cracked or permanently deformed
Alarm or sensor misfires
Switching hinges moves the door-open sensor and alarm connections. If the door alarm goes off unexpectedly, review your model’s wiring diagram or refer to what door alarm silences temporarily for stocking? for sensor reset tips.
Choose professional help
Some scenarios call for expert hands instead of a DIY approach.
When DIY isn’t enough
- No pre-drilled holes on the opposite side
- Integrated water or ice dispenser plumbing that would need rerouting
- Smart-fridge wiring and sensor setups that void warranties if tampered with
Finding qualified technicians
If you decide to go pro:
- Contact the fridge manufacturer for certified service partners
- Compare quotes from appliance repair specialists in your area
- Confirm the technician has experience with hinge reversal to avoid delays or damage
Maintain reversed doors
After all that effort, you’ll want your newly reversed door to perform flawlessly for years.
Periodic hinge lubrication
Every six months, apply a drop of food-safe silicone lubricant to each hinge pin to keep the door swinging smoothly.
Seal cleaning and replacement
Wipe the gasket monthly with a mild cleaner to prevent mold and ensure a tight seal. Plan to replace worn gaskets every 3–5 years.
Testing alarm and sensors
Open and close the door several times to verify that the alarm and any interior sensors respond correctly. If your fridge has a stocking-mode feature, test that as well to prevent false alerts.
Keep the momentum
Reversing your fridge door is one of the simplest yet most impactful tweaks you can make—especially if you’re fighting for elbow room in a cramped kitchen or tailoring a refrigerator for a specific space, from an RV to a commercial setup. You’ll find that a small hinge swap can lead to smoother workflows, fewer door dings, and a better fit for your daily routine.
Now that you know how to reverse your fridge door and troubleshoot common issues, it’s over to you. Grab your tools, plan your approach, and reclaim that kitchen space—your ideal fridge layout is just a hinge flip away.