Most hinge manufacturers list the maximum weight capacity—always choose a hinge with a rating at least 20% above your lid’s actual weight, so you avoid sagging or premature wear.
With three locking positions—typically around 30–45 degrees, 90 degrees, and fully open—the lid can pause securely at angles that match how you work.
If you’re on the go, an RV fridge might use a friction hinge that lets you set the door in multiple positions without extra hardware.
This can be especially helpful in busy restaurants, cafeterias or family homes where multiple hands are reaching for contents at once.
When you’re asking “which lid hinge supports three locking positions?”, you’re tapping into a key piece of hardware that can transform how you use your freezer, refrigerator or cooler. A lid hinge is the pivot point that connects your appliance’s lid to its body, allowing it to open, close and stay put at set angles. While it might seem like a small detail, the right hinge can keep your lid from slamming shut, hold it open when you’re loading or unloading items, and give you hands-free convenience during busy cooking or entertaining sessions.
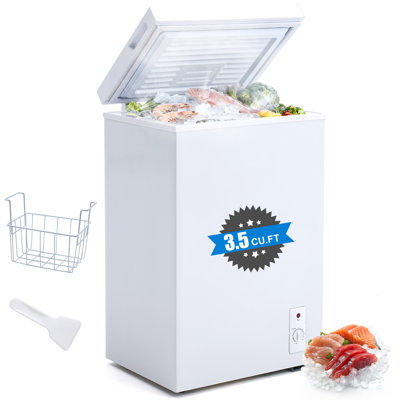
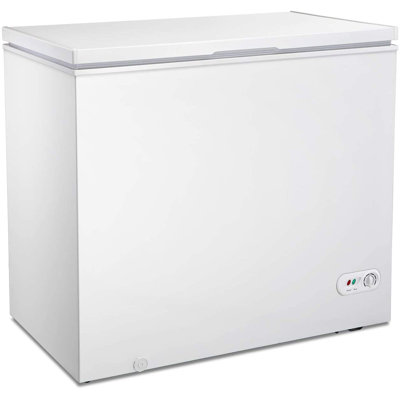
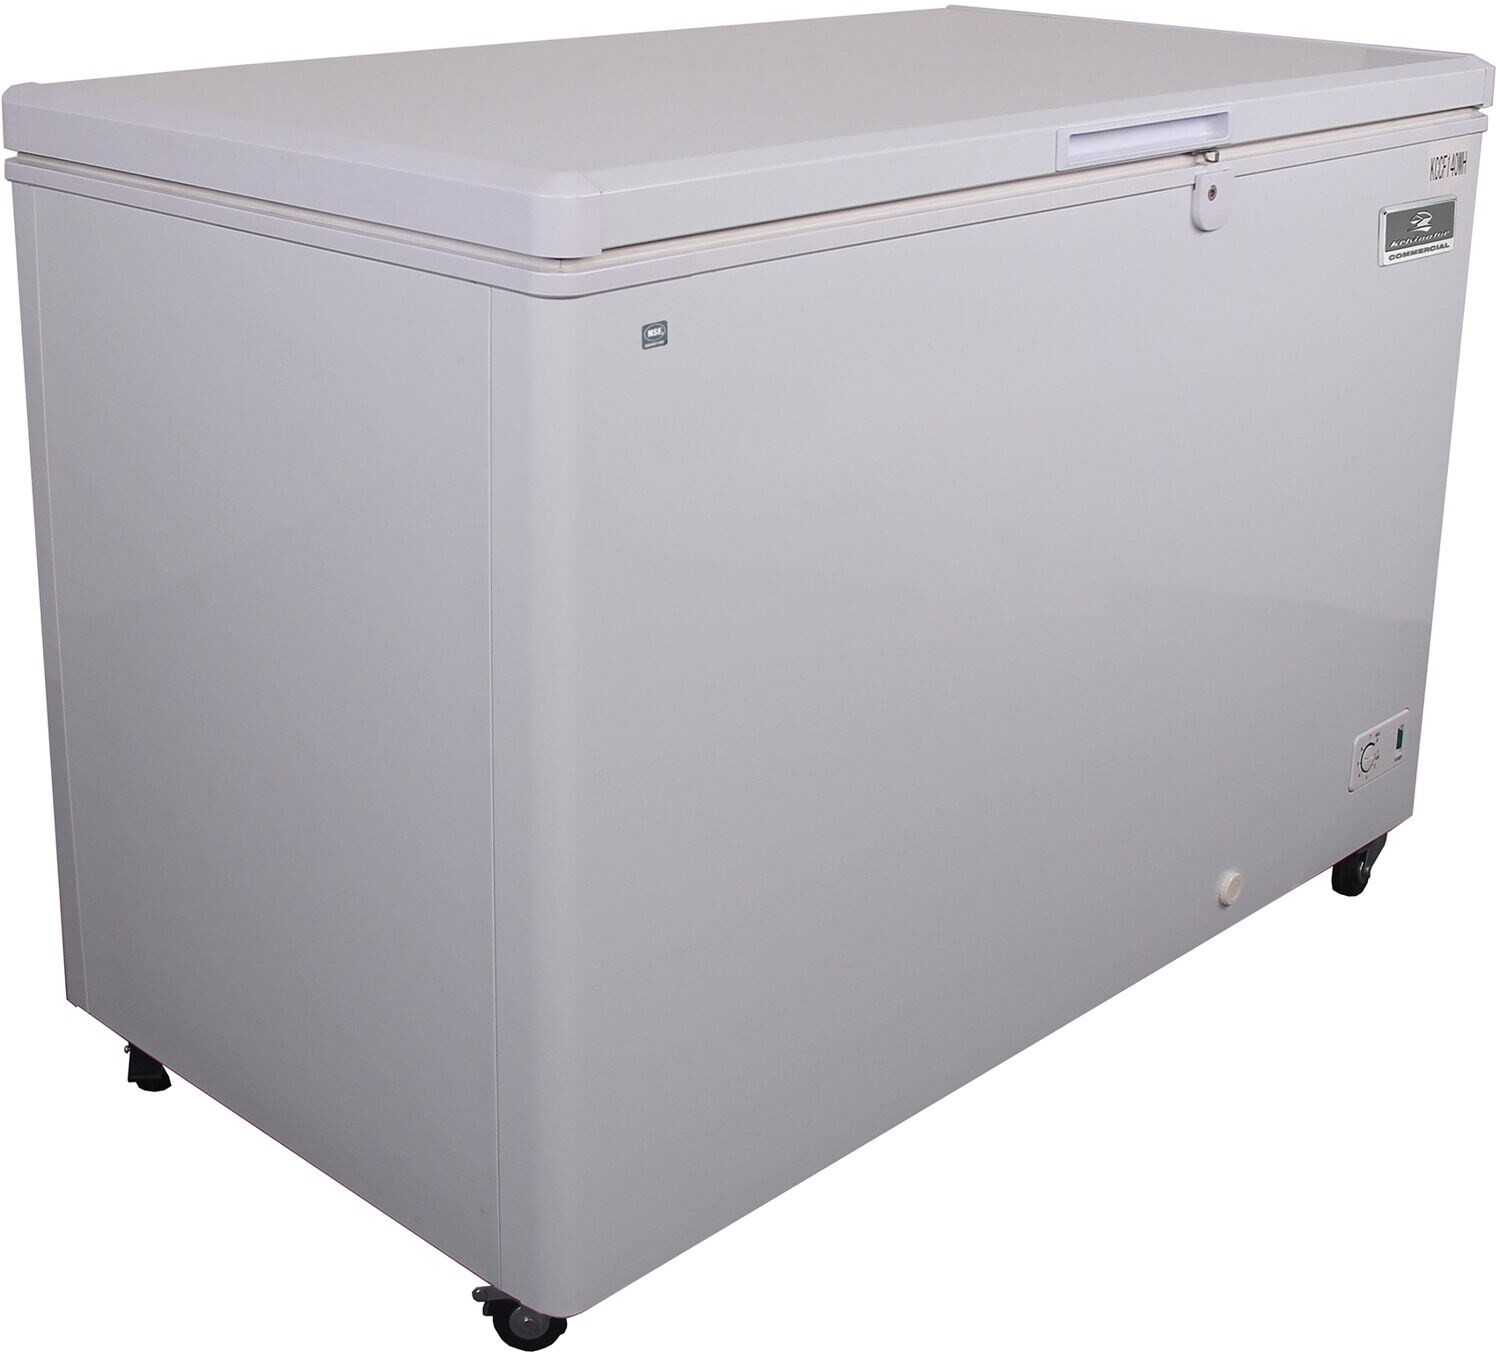
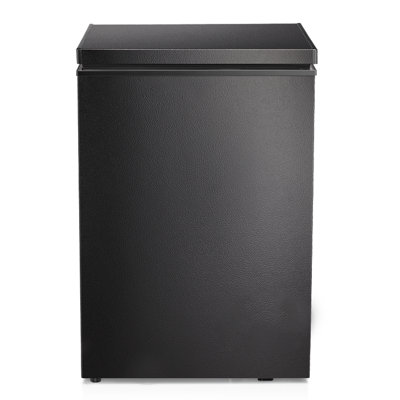
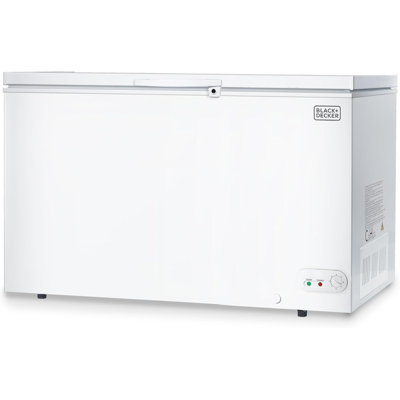
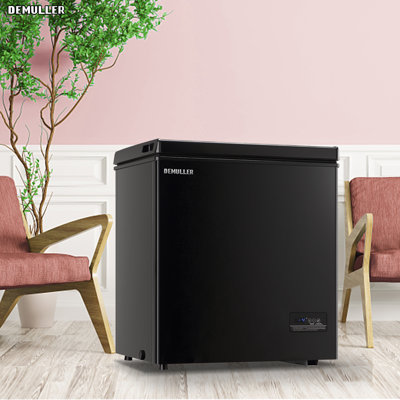
Lid hinges come in a variety of styles and materials, each designed for specific applications. In a commercial kitchen you might find heavy-duty stainless steel hinges that endure constant use and resist corrosion from humidity. At home, a chest freezer hinge with a built-in three-position lock can hold your lid at 45, 90 or 135 degrees, making it easier to load large trays of homemade meals or a party-worth of ice cream tubs. If you’re on the go, an RV fridge might use a friction hinge that lets you set the door in multiple positions without extra hardware.
The locking positions in a hinge refer to the preset angles where the hinge mechanically “clicks” or holds firmly. A basic two-position hinge might only lock in the fully closed or fully open position, which can mean the lid flops if you need it halfway up. A three-position hinge adds a midpoint detent, giving you more flexibility to stop the lid at a convenient height. This feature can be a game-changer when you’re prepping meals for large gatherings, filling coolers for an outdoor adventure or grabbing a cold brew from your kegerator.
Beyond simply pivoting the lid, high-quality hinges play a role in heat retention and energy efficiency. A snug hinge alignment ensures an even seal, reducing cold air loss and helping your freezer maintain consistent internal temperatures. Over time, a worn-out or misaligned hinge can create gaps, forcing your appliance to work harder and increasing your electricity bill. That’s why, whether you’re outfitting a large commercial chest freezer or a compact dorm-room fridge, it pays to pay attention to the hinge.
Another factor to consider is the hinge material and finish. Stainless steel hinges offer outstanding corrosion resistance and a sleek look that complements stainless appliances. Powder-coated or painted hinges blend seamlessly with colored exteriors in residential kitchens or home bars. If you’re navigating tight spaces, such as an RV kitchen, you’ll want a low-profile hinge that won’t catch on nearby cabinets or countertops.
Finally, some hinges are designed to absorb shock, preventing the lid from slamming even if you let go abruptly. This can be especially helpful in busy restaurants, cafeterias or family homes where multiple hands are reaching for contents at once. No matter how heavy your lid or how frequently you open it, the right hinge ensures smooth operation, safety and convenience. Now that you have a solid grounding in the basics, let’s look at the specific perks of having three locking positions.
Benefits of three locks
When you upgrade to a three-position hinge, you unlock a new level of flexibility and control over your freezer or fridge lid. Gone are the days of wrestling with a floppy lid that feels like it’s going to slam down or fall forward whenever you let go. With three locking positions—typically around 30–45 degrees, 90 degrees, and fully open—the lid can pause securely at angles that match how you work.
One big advantage is hands-free loading and unloading. Imagine you’re restocking a chest freezer with bulky containers for meal prep or grabbing a case of craft beers for game day. With a mid-angle lock, the lid doesn’t fall back onto your arms or require you to hold it up while you shift items around. Even if your hands are occupied with ingredients or storage bins, you can rely on the hinge to keep the lid in place.
Another benefit is improved safety. A lid that suddenly swings open or slams shut can cause pinched fingers or damage nearby items. By contrast, a three-position hinge absorbs some of that momentum, ensuring a smoother, more controlled movement. This is especially important in environments like commercial kitchens or family homes with kids, where a rogue lid could lead to an accident.
Beyond convenience and safety, three locks can contribute to energy efficiency. When the lid stays open at a convenient angle, you’re less likely to leave it fully open while searching for what you need. That minimizes cold air loss and helps your appliance maintain its set temperature. If you’re curious about latch mechanisms that seal without effort, you might also check out which freezer latch seals firmly without effort? to pair with your hinge upgrade.
If you’re on the move—loading gear into an ice chest for a camping trip, or navigating winding roads in an RV—you’ll appreciate how a three-position hinge keeps the lid secure at every stop and start. No jarring bangs to wake the kids or shatter containers, and no need to rig up makeshift props to hold the lid open. For kegerator owners pouring pints at an outdoor event, that mid-lock can mean the difference between a smooth pour and a spilled beer.
Compared to two-lock hinges or friction-only designs, these three-position hinges strike a balance between strength and adjustability. They’re sturdy enough to support heavy lids but offer more stopping points for precise control. If you’ve ever wondered, “Why don’t more lid hinges stay put where I need them?”, the answer often comes down to one thing: detents, little notches or spring-loaded catches inside the hinge that grab at set points. Once you feel that satisfying “click” at your chosen angle, you’ll wonder how you ever managed without it.
Exploring hinge types
Not all three-position hinges work the same way. Depending on your application, such as a commercial freezer, home chest fridge or portable cooler, you might find detent hinges, friction hinges or gas strut based hinges. Each mechanism offers unique strengths and considerations. Let’s break them down so you can match the right style to your needs.
Detent hinges
Detent hinges are the most common choice for three locking positions. They rely on built-in spring detents or ball bearings that snap into notches at predefined angles. When you open the lid, the detent mechanism grabs at each point—often near 30–45 degrees, 90 degrees and full open—holding it in place until you apply more force to move beyond that notch.
Pros of detent hinges:
Precise locking: You get consistent “click” feedback at each position.
No external hardware: The mechanism is built into the hinge.
Durable design: High-quality detent hinges can handle thousands of cycles.
Cons to consider:
Wear over time: Heavy use can wear down detent notches, reducing grip.
Noise: Some detent hinges produce a slight click or snap that can be audible.
Installation alignment: You need to mount them accurately to ensure detents line up correctly.
Detent hinges work well for chest freezers, commercial display cases and beverage refrigerators where predictable lock points are a must.
Friction hinges
Friction hinges use a pin-and-bushing system or adjustable screws to create resistance, allowing the lid to stay put at virtually any angle—not just three fixed points. While not true “three-position” hinges, many friction hinges include preset detents that give you semi-fixed stops along with infinite angle support.
Advantages of friction hinges:
Infinite positioning: Stop the lid wherever you like, not just three points.
Smooth motion: No snapping sound, great for quiet environments.
Adjustable tension: Tighten or loosen the hinge to match different lid weights.
Drawbacks to keep in mind:
Adjustment drift: If not tightened properly, the hinge can loosen over time.
Limited high-weight support: Very heavy lids might overcome the friction grip.
More visible hardware: Some models include external tension screws that alter the look.
Friction hinges are popular in RV refrigerators, under-counter wine coolers and portable ice chests where flexibility trumps fixed stops.
Gas strut hinges
Gas strut hinges, or gas springs, combine a gas-filled cylinder with a pivoting mount, providing lift assistance, smooth opening and controlled closing. While these hinges don’t always lock at exactly three points, you can find hybrid models with integrated detents or locking levers that offer preset stops.
Perks of gas strut hinges:
Assisted lift: Reduces the effort needed to open heavy lids.
Soft close: The lid descends gently even if you lower it quickly.
High capacity: Ideal for large, heavy lids like commercial chest freezers.
Potential limitations:
Higher cost: Gas strut hinges tend to be pricier than mechanical detent hinges.
Complexity: More components mean more potential failure points.
Temperature sensitivity: Gas springs can lose pressure in extreme cold, affecting performance.
Gas strut based hinges shine in professional kitchens, large-scale freezer installations and premium home setups, where smooth operation and lift support justify the extra investment.
Choosing between these hinge types comes down to your priorities. If you value precise, repeatable stops and robust performance in a high-traffic environment, detent hinges are a safe bet. If you want smooth, silent operation and the freedom to pause at any angle, friction hinges give you that flexibility. For those handling very heavy lids or seeking a premium feel, gas strut hinges offer lift assistance and soft-closing action with the option to add detents for three locking positions.
Now that you know how different hinge mechanisms work, let’s explore how to pick the right three-position hinge for your setup. You’ll need to balance factors like lid weight, usage frequency, environment and aesthetic. Here are the key considerations:
Assess weight capacity
Start by checking your lid’s weight and dimensions. A lightweight cooler lid might only need a small friction hinge, while a heavy stainless steel chest freezer lid demands a hinge rated for 30–50 pounds or more. Most hinge manufacturers list the maximum weight capacity—always choose a hinge with a rating at least 20% above your lid’s actual weight, so you avoid sagging or premature wear.
Tip:
If you can’t find the lid weight in specs, use a luggage scale or enlist a helper to hold the hinge side while you lift the other end. Better safe than guessing.
For unusually shaped or oversized lids, consider two hinges per side or heavy-duty gas strut models that distribute load evenly.
Evaluate usage scenarios
How often and where you use the appliance matters. Are you running a busy commercial kitchen, or is the freezer tucked away in a home garage? Will it live outdoors on a patio for summer BBQs, or travel in an RV? Here’s how different scenarios influence your hinge choice:
High-frequency use: Go with stainless steel detent hinges rated for thousands of cycles.
Indoor home use: Powder-coated detent or friction hinges can offer a balance of performance and style.
Mobile applications: Friction hinges with adjustable tension suit RVs and portable coolers.
Heavy lids: Gas struts or hybrid gas-determinant hinges reduce strain and add lift support.
Consider environmental factors
Temperature extremes, moisture and exposure to chemicals can affect hinge performance. In a restaurant walk-in or outdoor freezer, you’ll need corrosion-resistant materials like marine-grade stainless steel or sealed bearings. If your freezer sits in a humid basement or ski cabin, look for hinges with protective coatings and sealed moving parts to prevent rust.
Match style and finish
Finally, think about how the hinge will look. A polished hinge can complement a stainless fridge or modern kegerator, while black powder-coated models hide wear and dirt in a busy commercial setting. If you’re aiming for a vintage or industrial aesthetic, brass or bronze finishes can add character. However, don’t sacrifice material quality for style—always prioritize function over form when it comes to door support.
By assessing lid weight, usage patterns, environment and style, you’ll narrow the field to a handful of hinges perfectly suited for your fridge or freezer. In the next section we’ll compare specific models to help you decide which one ticks all your boxes.
Comparing hinge models
With a clear idea of what you need, let’s look at three popular three-position hinges that cover a range of applications and budgets. The following comparison highlights each model’s mechanism, lock angles, weight capacity, material, price range and ideal use cases.
Model
Mechanism
Lock angles
Weight capacity
Material/finish
Price range
Best applications
SoftHold Pro 3-Pos
Detent
45°, 90°, 135°
Up to 30 lbs
Stainless steel
$25–$35
Home freezers, small chest fridges
TriLock Ultra
Friction + detent
Approx. 30°, 80°, 120° + infinite
Up to 25 lbs
Powder-coated steel
$30–$45
RV fridges, portable ice chests
GasLock Lift assist
Gas strut + detent
40°, 90°, 140°
Up to 50 lbs
Black powder-coated
$45–$60
Commercial freezers, heavy lids
Variation in lock angles and capacity allows you to match a hinge to tasks as diverse as storing homemade baby food, operating a kegerator during backyard parties, or stocking ingredients for meal-prep. For instance, SoftHold Pro 3-Pos delivers precise detent stops in a compact stainless package—perfect for residential chest freezers where corrosion resistance and clean aesthetics matter.
TriLock Ultra stands out if you want the flexibility to pause the lid at any angle plus three mechanical locks for added security. It’s a favorite among RV owners and tailgaters, offering a quiet operation and easy tension adjustment to compensate for varying lid weights. Meanwhile, GasLock Lift assist adds gas strut power to handle heavy, oversized lids found in commercial kitchens, cafeterias or premium home setups.
If none of these models aligns perfectly with your specs, consider custom hinge kits or adjustable hybrid options. Many hardware suppliers and appliance parts stores offer universal hinges with interchangeable detents and tension controls—letting you fine-tune the lock angles to 30°, 60° and 135°, or any combination you prefer. With a little DIY spirit, you can upgrade most freezer and refrigerator lids to a three-position hinge without replacing the entire lid assembly.
Before ordering, double-check the hinge dimensions, mounting hole patterns and user reviews to ensure you get the best fit and performance. For seasonal deals and bundle offers, you can also shop deep freezers: best prices.
Installing three-position hinges
Replacing or upgrading your lid hinge may seem daunting, but with the right tools and a clear process you can handle it in an afternoon. This step-by-step guide takes you from gathering supplies to testing the final install. Always consult your hinge’s manufacturer instructions for model-specific details.
Gather your tools
Before you start, make sure you have:
New three-position hinge kit (including hinge plates, screws and detent inserts)
Screwdrivers (Phillips and flathead)
Cordless drill with drill bits (match the screw size)
Socket wrench set or nut driver (if your hinge uses bolts)
Measuring tape or ruler
Pencil or marker for marking hole positions
Level to ensure alignment
Safety glasses and gloves
Having everything on hand streamlines the process and keeps you from running back to the toolbox mid-job.
Step-by-step installation
Follow these steps to install your new hinge. If you’re working on a heavy lid, especially in a chest freezer, consider enlisting a helper to hold it steady.
Remove the old hinge
Fully open the lid and support it (use a clamp-on support rod or have a partner hold it).
Locate the hinge screws or bolts on both the lid and the body.
Using the appropriate screwdriver or socket wrench, remove the fasteners one side at a time.
If the lid shifts dangerously, pause and reposition your support before proceeding.
Once both sides are free, gently lift the lid off its hinge mounts and set it aside on a padded surface.
Position the new hinge
Compare your new hinge plates to the originals, noting hole spacing and orientation.
On the lid, align the hinge plate so the holes match or center it according to manufacturer guidelines.
Mark the drill points with a pencil if the new hinge holes don’t line up exactly.
Drill pilot holes at the marked spots—this prevents wood splitting or metal warping.
Repeat the alignment and marking process on the freezer body or counter frame.
Secure and test
Attach the hinge plate to the lid with the provided screws, tightening snugly but not so much that you strip the threads.
Mount the mating hinge half to the body, using a level to ensure the lid will sit square.
Gently lower the lid onto the hinge, reusing any alignment pins or locating pegs.
Test the hinge by lifting the lid slowly, checking for locks at each of the three positions.
If the hinge feels too tight or too loose, adjust the tension screws or swap in different detent inserts if available.
Fully open and close the lid several times to ensure smooth operation and that the detents engage crisply.
Pro tips and common pitfalls
Pre-test the hinge before final mounting by loosely installing one screw and trial-fitting it to the body. This helps you verify hole placement without committing fully.
Never overtighten the screws. Stripped threads can lead to a loose hinge that undermines the locking mechanism.
Keep an eye on gap uniformity. If the lid tilts or sits off-center, you may need to shim the hinge plate or adjust the mounting holes slightly.
Use a thread-locking compound on fasteners in high-vibration environments, like mobile RV applications, to prevent screws from backing out.
If your hinge kit includes nylon or polymer detent bushings, avoid lubricating them with oil-based products, which can degrade plastics. Instead, use a dry graphite or PTFE spray.
Testing with different loads
After installation, load the lid with typical items—ice, meal prep containers, beverages—and test each locking position under real-world weight. A hinge that clicks under no load may slip when the lid carries a full freezer basket. If you notice slipping, try increasing the detent tension, using heavier-duty springs or upgrading to a gas strut assisted model.
On the flip side, if you hear grinding or feel catch points outside the three locking positions, you may need to realign the hinge halves or clean away debris from the detent mechanism. Always refer to your hinge manual for troubleshooting specific to that model.
Now that your new hinge is in place and working smoothly, let’s go over how to keep it in tip-top shape for years of service.
Like any moving part, your three-position hinge benefits from regular TLC. A little maintenance goes a long way toward preserving those crisp detent clicks, smooth motion and secure locks.
Regular cleaning tips
Dust, dirt or food particles can accumulate around the hinge, especially in kitchens or outdoor environments. To clean:
Wipe the hinge area with a damp cloth at least once a month.
Use a soft brush or compressed air to dislodge debris from detent notches or friction surfaces.
If you notice sticky residue (from spills or grease), clean with a mild soap solution and dry thoroughly.
Avoid harsh solvents or steel wool, which can scratch finishes and compromise corrosion resistance.
Lubrication practices
Lubrication keeps the hinge moving smoothly and protects against rust. Choose your lubricant carefully based on hinge type:
Detent hinges: Apply a small amount of dry graphite or PTFE (Teflon) spray to the detent notches. Wipe away excess to prevent dust attraction.
Friction hinges: Use a light machine oil or silicone spray on the pivot pin for even friction control.
Gas strut hinges: These are typically self-lubricating. Just keep the cylinder clean and wipe it down gently—avoid oil that could deteriorate seals.
Perform lubrication every six months or more often if you notice squeaks or stiffness.
Troubleshooting common issues
If you run into trouble with your hinge, here are quick fixes for everyday hiccups:
Symptom: Lid won’t lock in mid position
Cause: Detent spring worn or misaligned
Fix: Tighten hinge alignment, swap in new spring or detent bushing
Symptom: Hinge squeaks or feels stiff
Cause: Dirt buildup or lack of lubrication
Fix: Clean out debris, apply appropriate lubricant
Symptom: Lid sags or droops
Cause: Hinge screws loose or load exceeds rating
Fix: Tighten screws, inspect for stripped threads, consider higher-capacity hinge
Symptom: Gas strut feels weak in cold
Cause: Gas pressure drop at low temperature
Fix: Warm the strut gently (in warm air), or replace with a cold-weather rated model
Most hinge issues can be addressed without professional help, but don’t hesitate to contact the hinge manufacturer if you need replacement parts or more detailed troubleshooting advice.
Where to buy hinges
Ready to upgrade your freezer or fridge lid? Fridge.com offers a curated selection of three-position hinges, including top-rated models from leading brands. Whether you need a stainless steel detent hinge for a commercial chest freezer or a friction-style hinge for your RV ice chest, you’ll find competitive prices and detailed product specs.
Browse our hinge collection alongside other appliance parts and accessories, or explore options to shop deep freezers: best prices if you’re outfitting an entire unit. You can also check out fridges for sale to find package deals that include hinges, gaskets and installation kits.
Compare current prices and specifications on Fridge.com, then buy from the retailer you choose; delivery, installation and warranty terms are the retailer’s.
Free tool
Refrigerator Financing Calculator
Free interactive tool from Fridge.com — get a quick answer while you read.