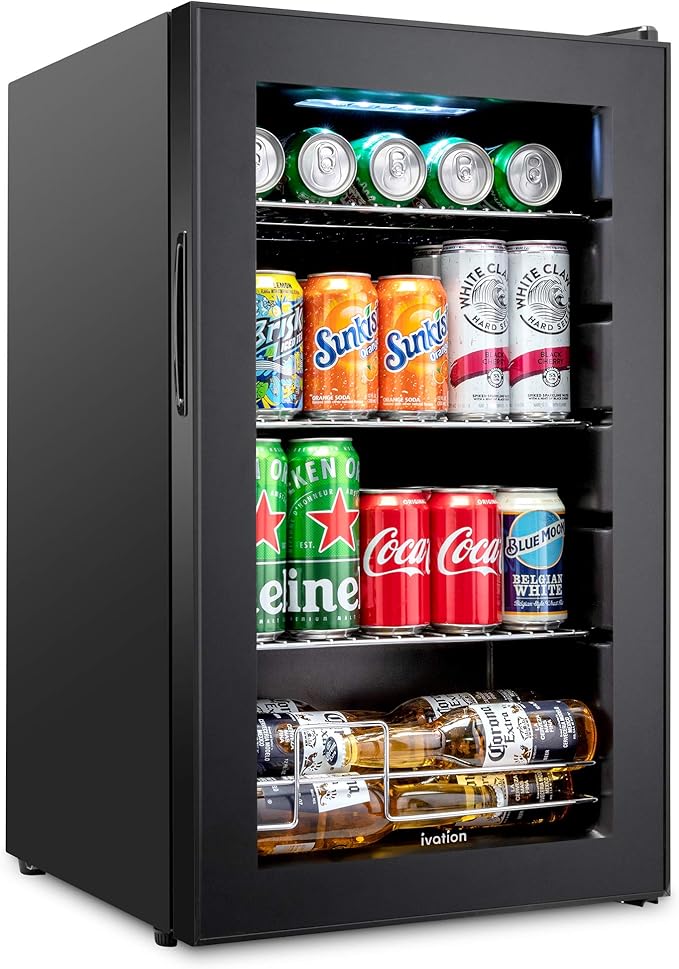
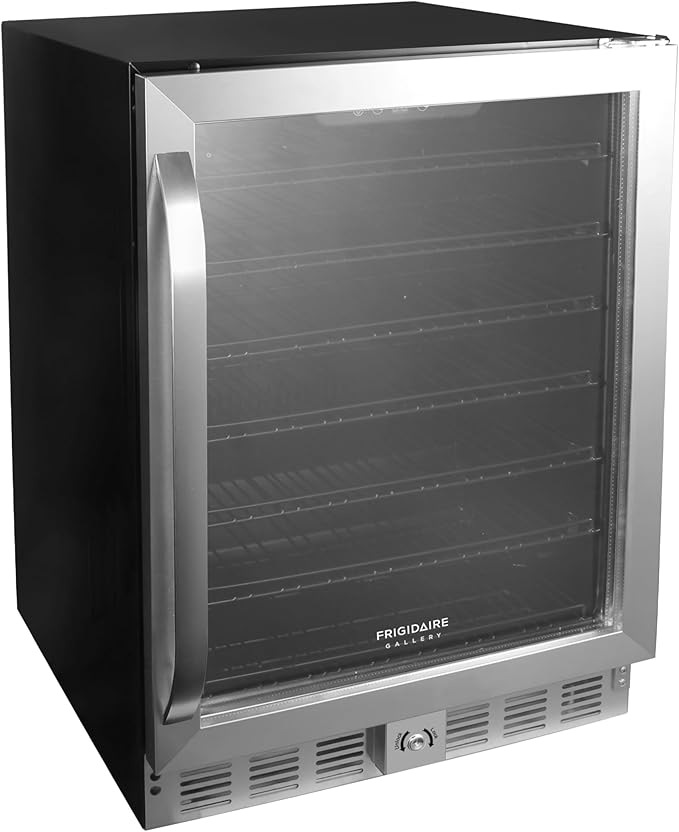
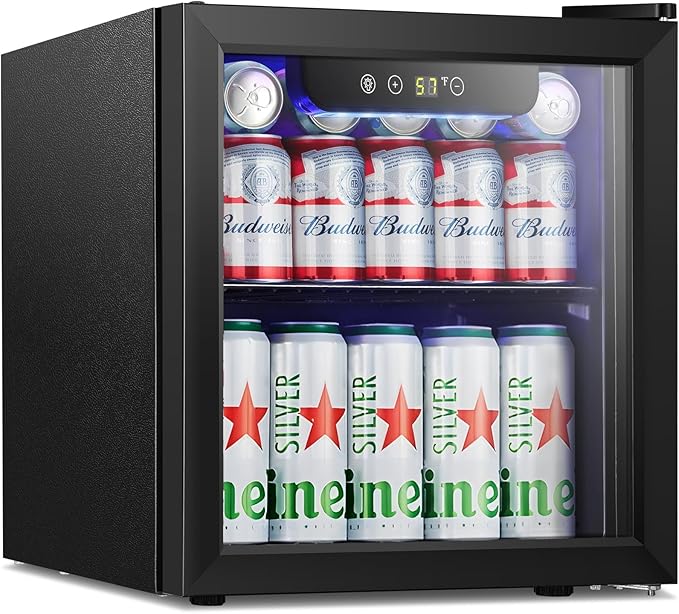
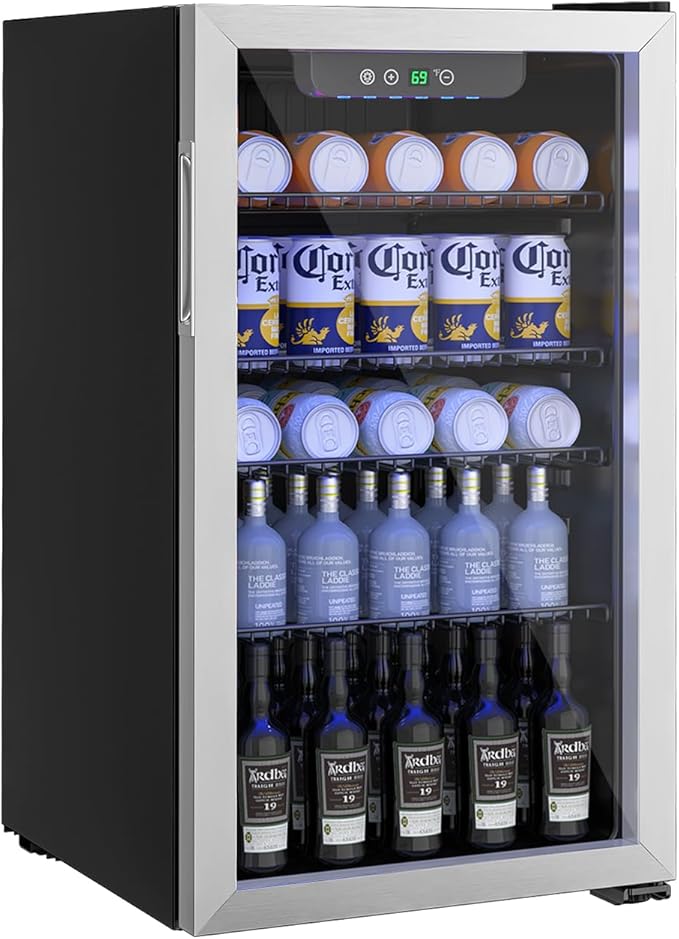
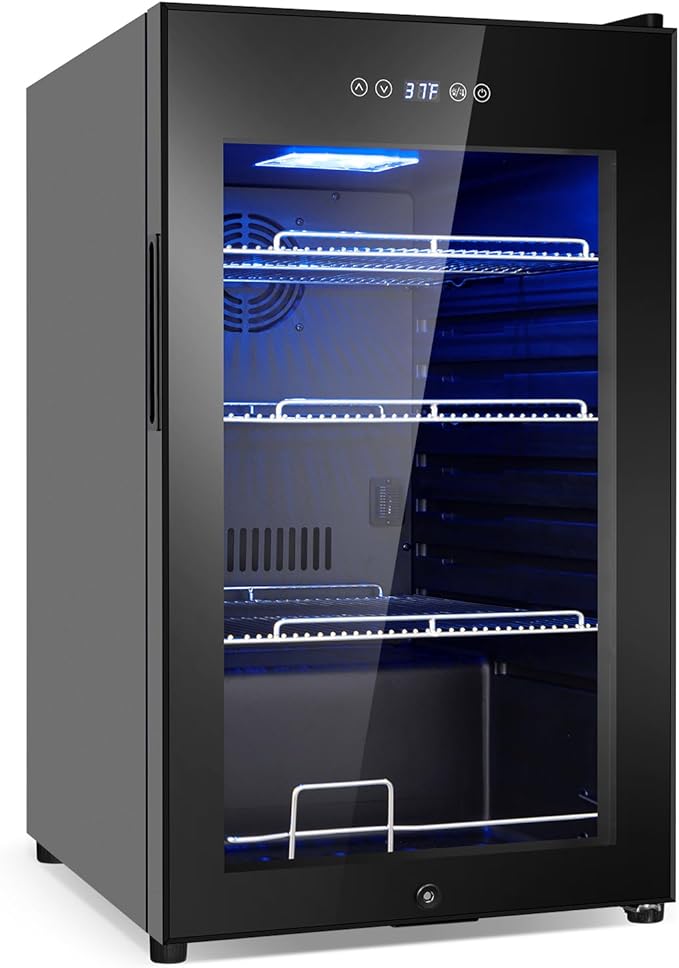
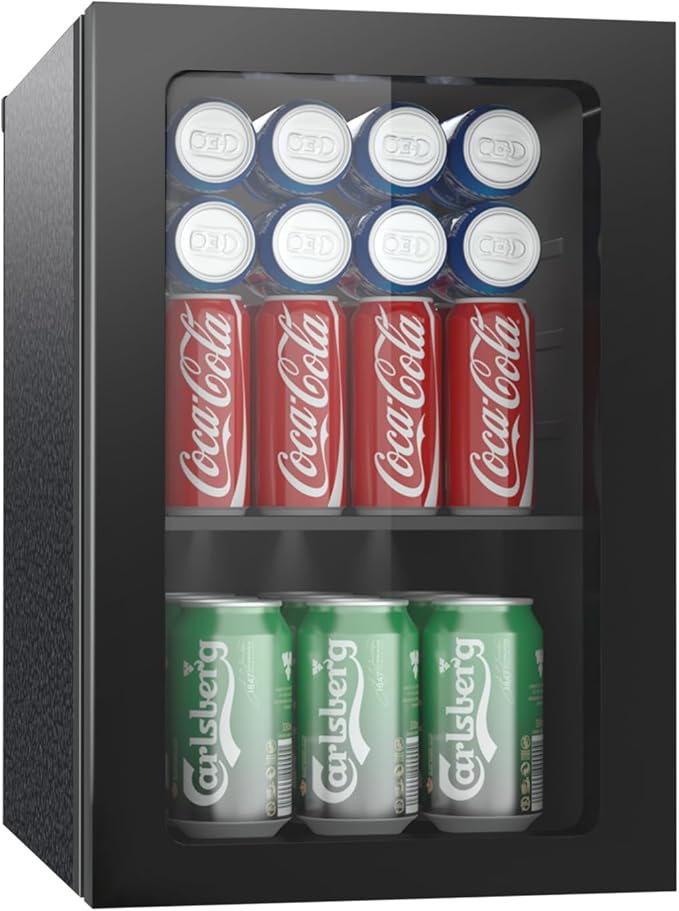
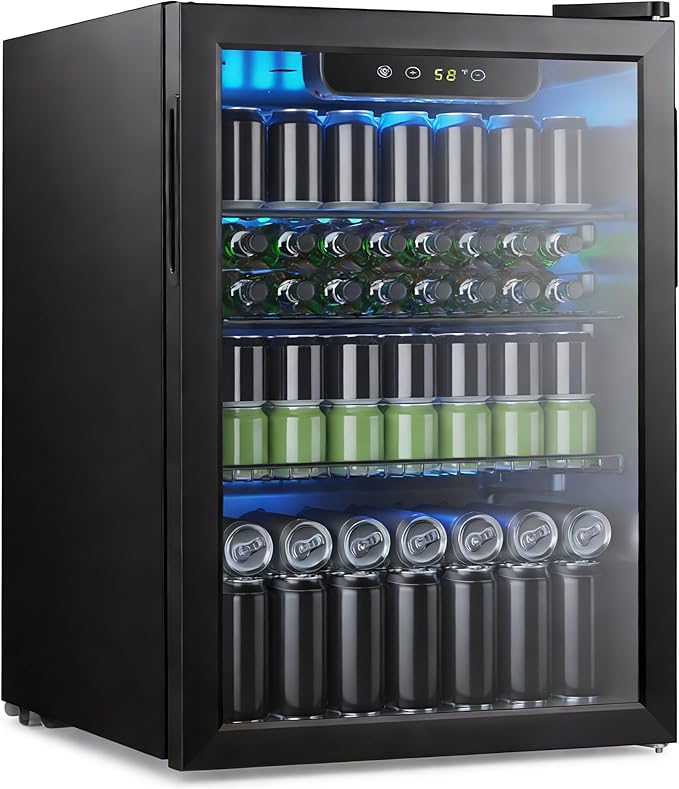
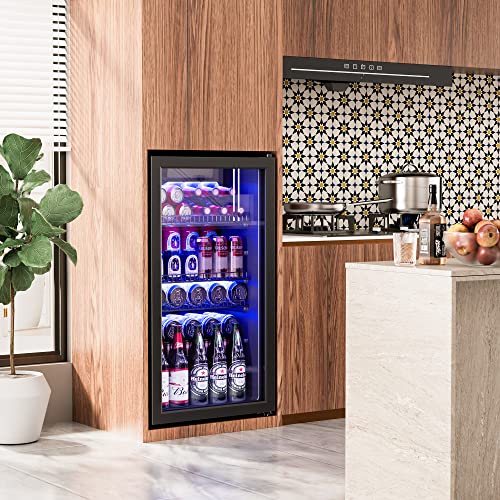
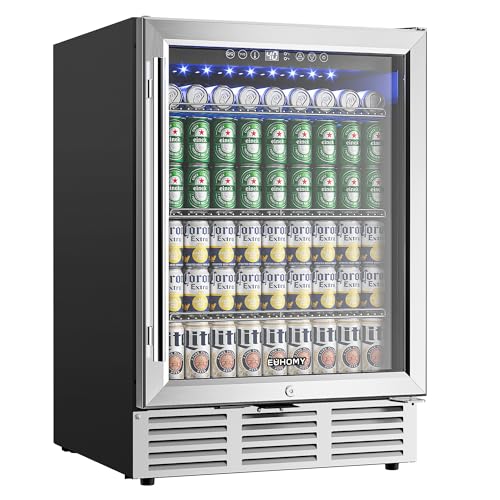
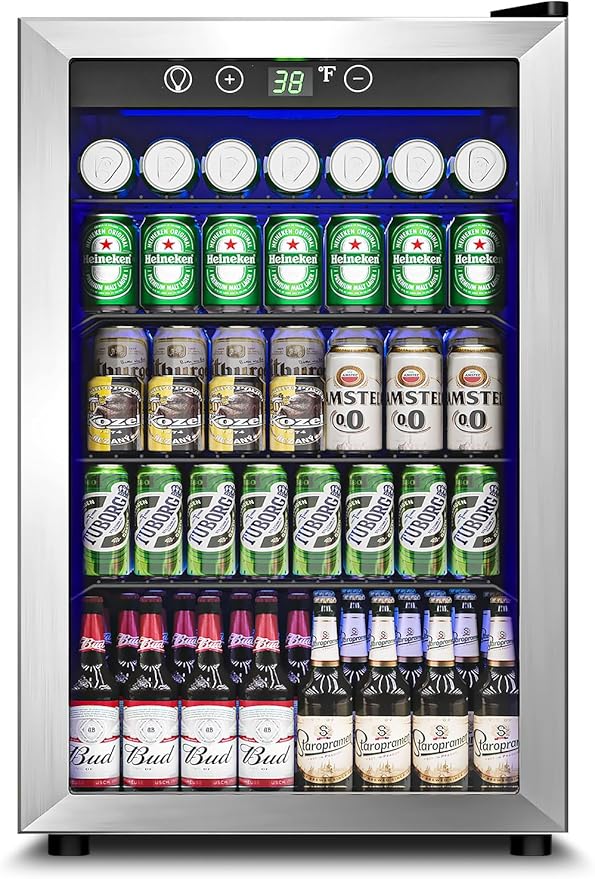
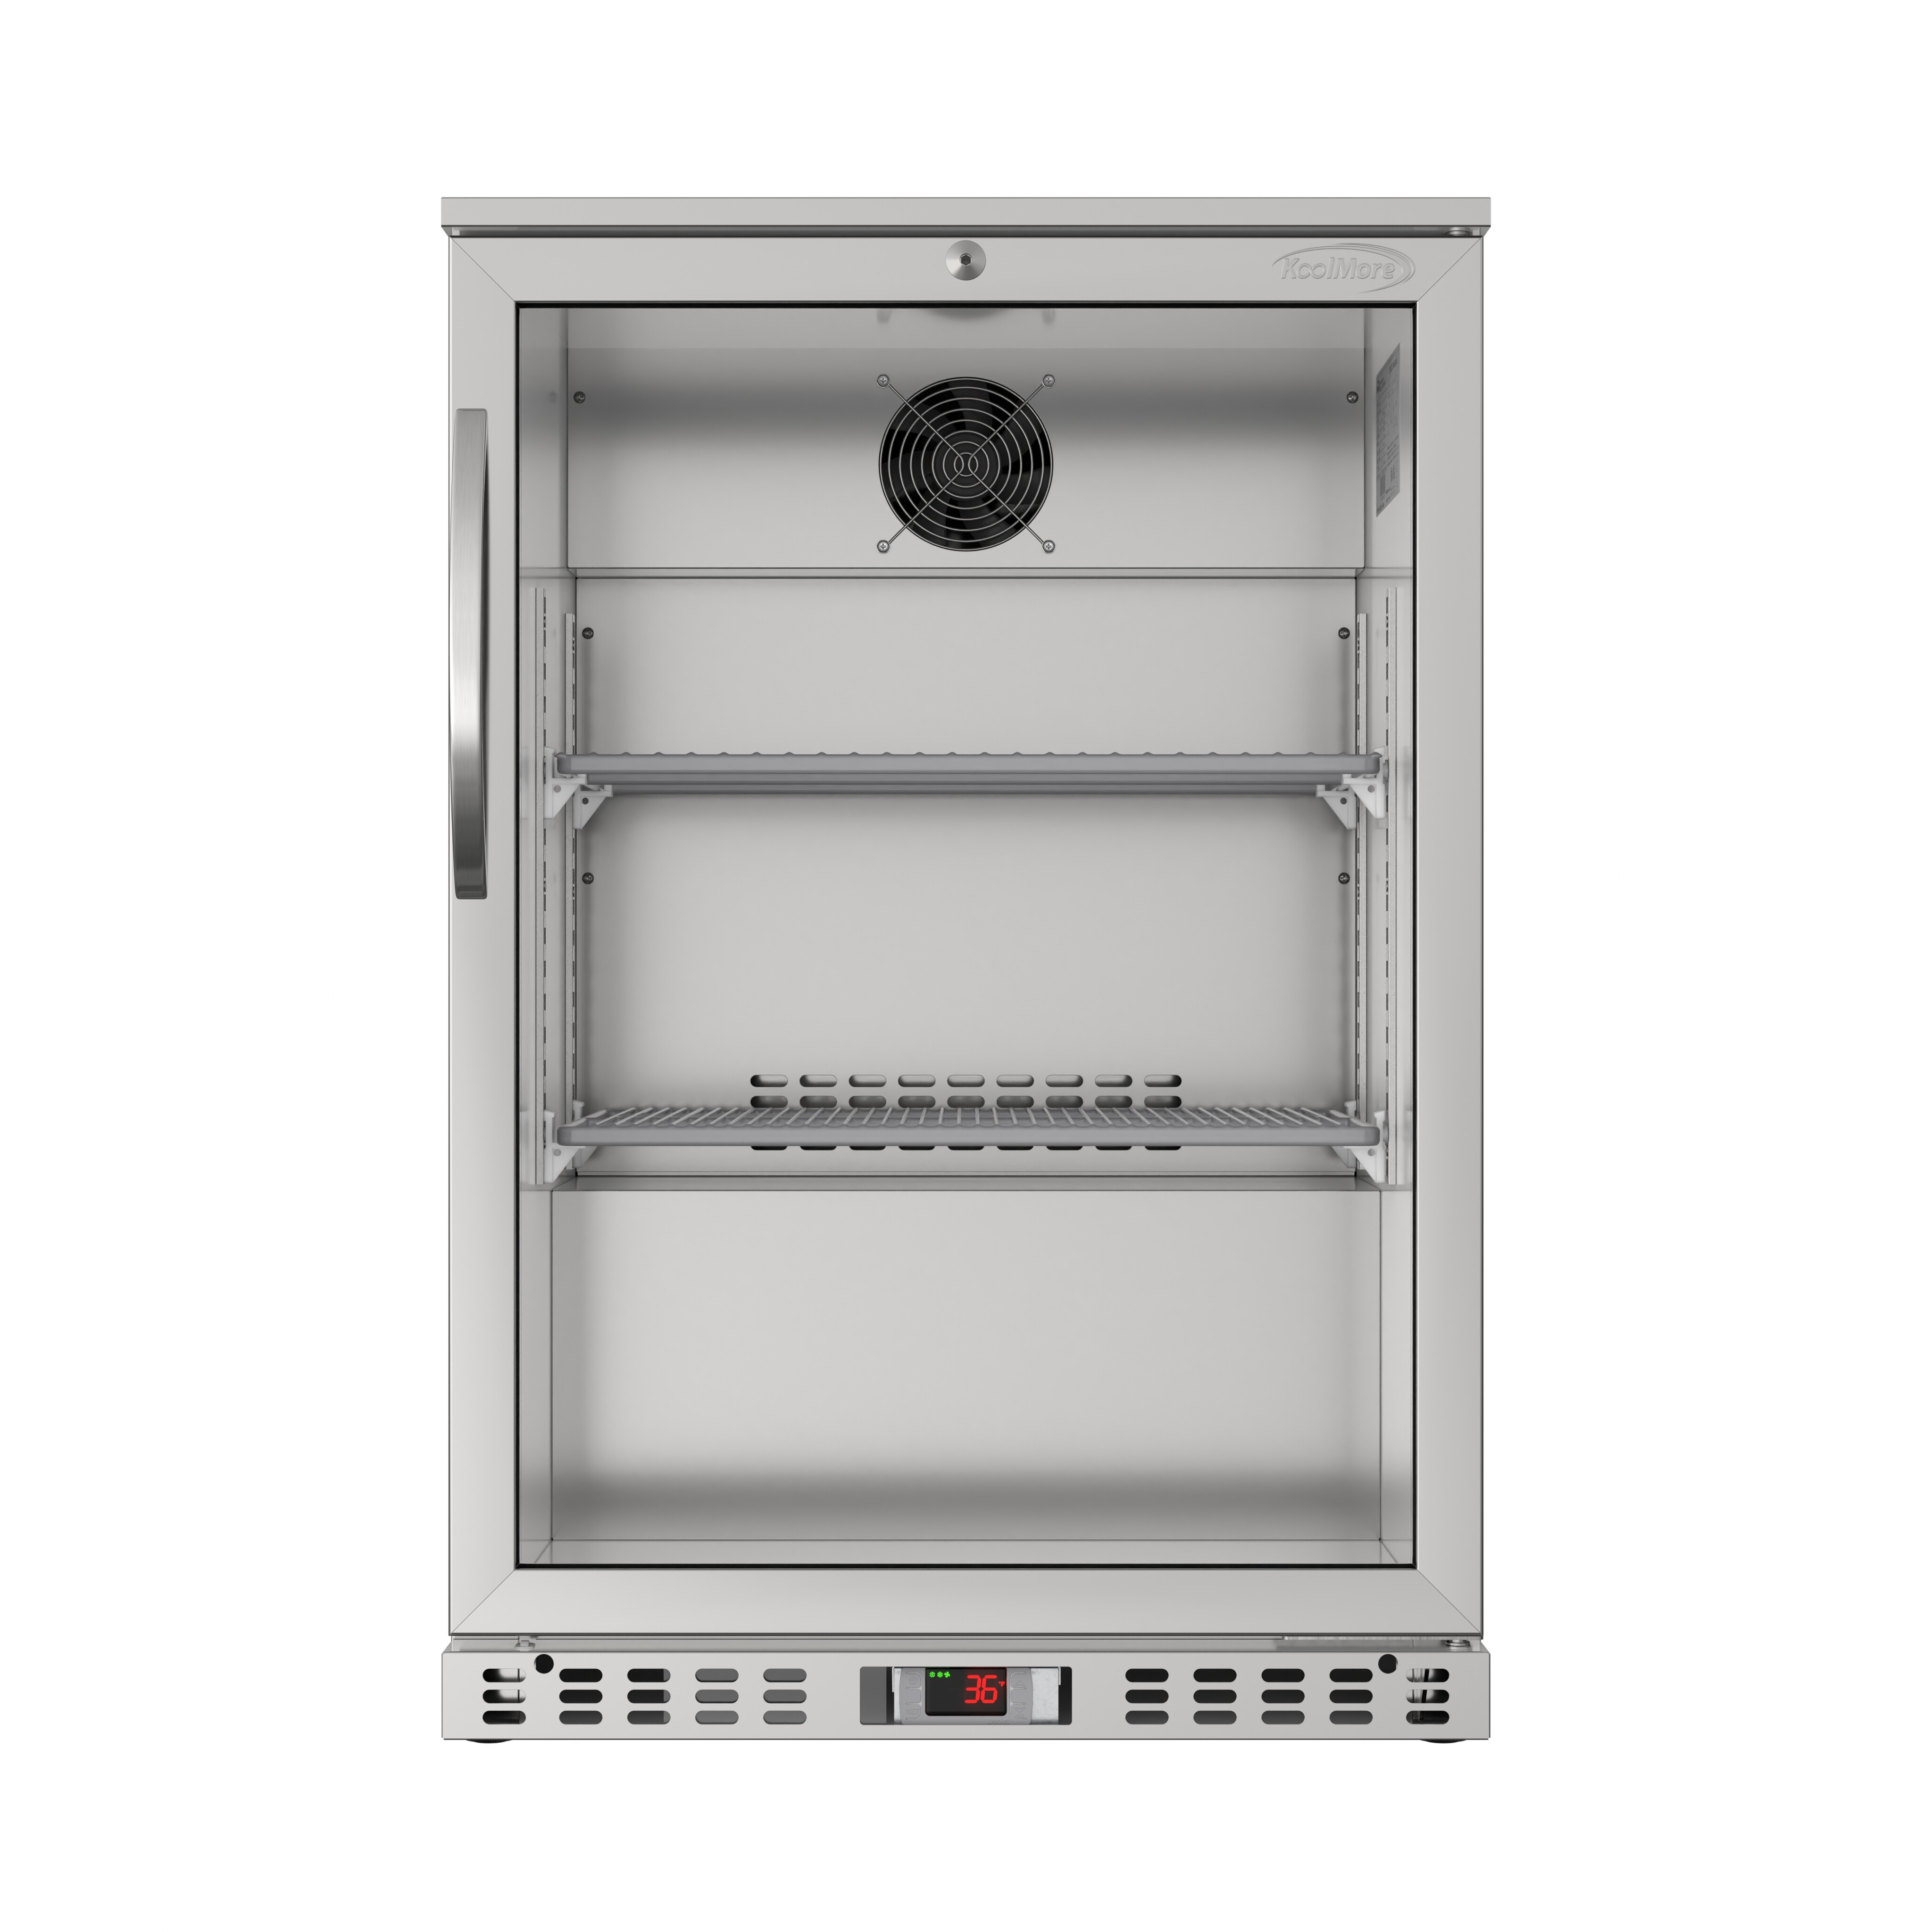
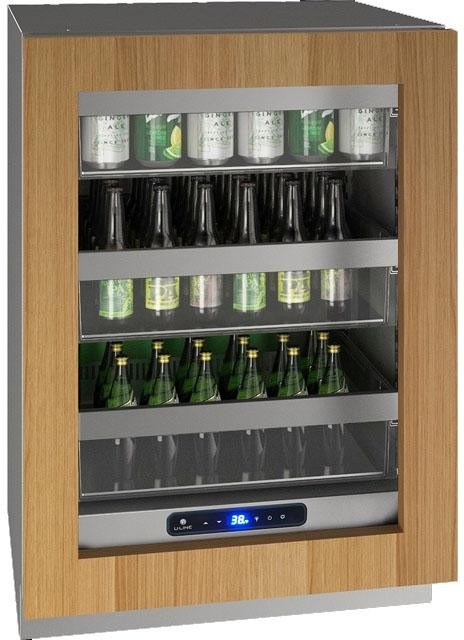
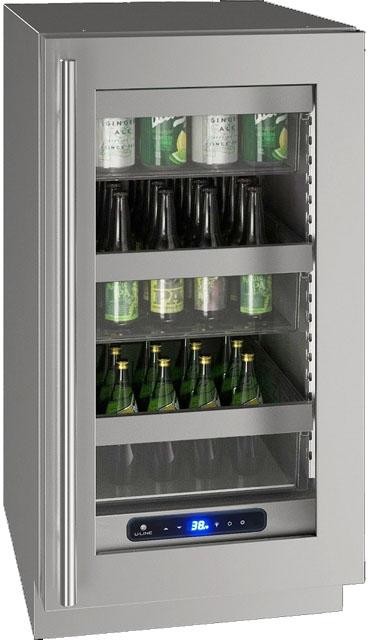
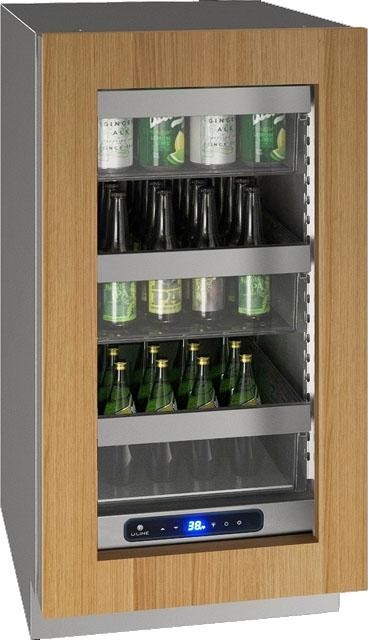
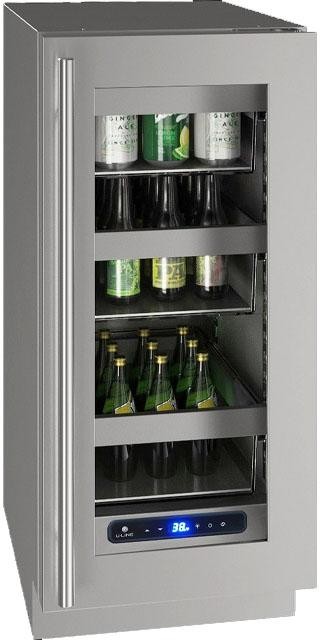
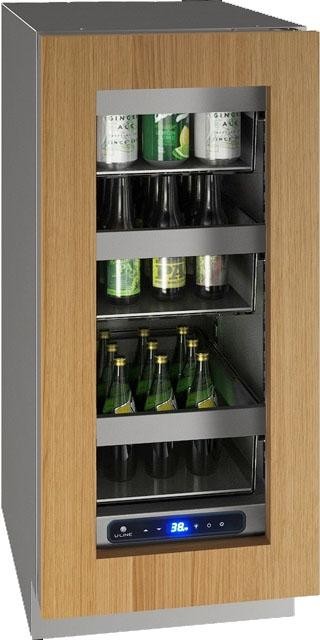
If you’re asking, "what toe kick glide optimizes airflow under beverage fridge?" you’re in the right spot. In your search for that perfect balance between form and function, toe kick glides might seem like a small detail, but they’re surprisingly important. These are the adjustable feet or brackets tucked under your beverage fridge that create a gap between the bottom of the unit and the floor, allowing fresh air to circulate around the compressor and other heat-generating components. Without that space, your fridge can run hotter, work harder, and even shorten its lifespan.
What are toe kick glides
Toe kick glides come in a variety of styles and materials. At their core, they’re the hardware that lifts the fridge just enough to:
Conceal electrical wiring or drainage pans
Keep moisture from accumulating under the unit
Provide clearance for airflow under the compressor
To give you a clearer picture, here’s a quick comparison of common glide types:
Type
Material
Key benefit
Common use
Adjustable foot
Plastic, metal
Easy height adjustment
Standard countertop fridges
Vented toe plate
Stainless steel
Integrated air vents for better flow
Built-in bar installations
Fixed bracket
Metal
Secure mounting, minimal airflow gap
Commercial and heavy-duty fridges
Each style has pros and cons. Adjustable feet are versatile and budget friendly, but they may pinch airflow if you don’t add extra vents. Vented toe plates give you the best factory-designed air path, but they cost a bit more and can be tricky to install. Fixed brackets are rock solid, but you’ll need to consider how to get fresh air in with separate vent panels.
Why airflow matters
You might be thinking, "It’s just a little gap, right? Does it really matter?" The short answer is yes, especially when you’re dealing with a busy beverage fridge that sees constant action. Proper airflow under your unit helps to:
Prevent heat buildup around the compressor, which keeps your energy bills in check
Reduce frost buildup and avoid unwanted defrost cycles that interrupt cooling
Extend the life of fans and coils by preventing dust and debris from settling
Imagine pulling a cold craft beer after a long day, only to find your fridge struggling to keep up. That’s usually a sign that the compressor is overheating or the coils are clogged. By choosing the right toe kick glide, you’re giving your fridge the breathing room it needs to stay efficient, quiet, and reliable.
Common mistakes to avoid
Blocking vents with rugs, mats, or debris
Installing non-vented glides on a bottom-vented fridge
Forgetting to level the unit, creating uneven gaps
Using glides rated for lighter residential fridges on heavy commercial units
I once had a mini fridge in my garage bar that kept overheating mid-summer. No amount of cleaning helped until I realized the original kick plate was flush with the floor, totally blocking airflow. Swapping to a vented toe plate made all the difference, and the fridge hummed along perfectly even on hot days.
Now that you know the basics of toe kick glides and why airflow under a beverage fridge matters, let’s evaluate your specific ventilation needs in the next section.
Evaluate airflow requirements
Before picking the right toe kick glide, you’ll want to understand how much space and what airflow pattern your fridge requires. Each model and setting has its own needs, and if you skip this step, you might end up with a fridge that struggles on busy days or in warmer seasons.
Fridge types and ventilation
Airflow needs vary a lot depending on the style of your fridge. Whether you’re outfitting a home bar or running a commercial kitchen, you’ll encounter different venting designs:
Freestanding beverage fridges often have rear vents that pull air in from the back
Undercounter units and built-in bar fridges usually use bottom vents, making your toe kick glide selection critical
Kegerators and wine refrigerators can mix both rear and bottom intake systems for optimized cooling
If you’re weighing beer fridge vs. reach in refrigerator, pay close attention to how each model vents. A rear-vented reach-in may let you use simple adjustable feet, while a bottom-vented beer fridge needs a vented toe kick to keep that compressor happy.
Key considerations by fridge type:
Freestanding: Most forgiving, but can overheat if pushed against walls
Built-in/undercounter: Requires precise kick plate thickness and vent profile
Commercial: Demands heavy-duty glides and larger clearance for faster air exchange
Signs of restricted airflow
You might pull a perfectly cold drink, but your fridge could still be struggling. Watch for these red flags:
Compressor runs constantly without cycling off
Humming or whirring noise, louder than usual
Warm spots on the fridge’s exterior or top
Frost buildup inside or around the door seal
Visible dust or pet hair around the vents
Noticeable spike in your electricity bill
I once had a kegerator in my home office that sounded like a jet engine by the end of summer. A quick inspection showed its vent was blocked by decorative floor molding. I swapped in taller, vented glides, and suddenly the noise dropped, the fridge cycled normally, and my beer stayed cold even on hot days.
Test before and after
Grab an infrared thermometer or just use the back of your hand to feel the coil area. If it’s too hot to touch, airflow is probably restricted. After adjusting or swapping glides, you should notice cooler coils, quieter operation, and a drop in your energy consumption.
Environmental factors
Your fridge rarely lives in a perfect lab environment. Temperature, humidity, floor material, and even foot traffic can influence how much airflow you need. Here’s what to keep in mind:
Ambient room temperature: Warmer rooms require more ventilation
Humidity levels: High moisture can trap heat and invite corrosion
Flooring type: Carpet, thick mats, or uneven tile can block vents or jam glides
Foot traffic: A busy area adds heat around the fridge from people and other appliances
Dust and debris: A dusty kitchen or garage will clog vents faster
A simple hygrometer can help you monitor humidity in a garage bar or basement. If levels exceed 60 percent, lean toward glides that deliver 1.5 to 2 inches of clearance.
Recommended clearance guide
To keep your compressor cool, match your environment to the right gap:
Environment
Ideal clearance
Glide suggestion
Residential kitchen
1.0 inch
Standard adjustable feet
High-humidity garage
1.5–2.0 inches
Vented toe plate
Commercial or restaurant
2.0 inches
Heavy-duty vented brackets
Undercounter installation
1.25 inches
Custom vented kick plate
Measure twice and install once
Grab a tape measure and check the gap between your floor and the bottom plate of your fridge. If your specs call for 1.25 inches but your current glides only give you 0.75 inches, it’s time to upgrade. Precision here isn’t overkill; insufficient airflow can lead to performance dips you’ll notice fast in an office break room or during a busy dinner rush.
Understanding these airflow requirements sets the stage to choose the right materials and designs for your glides, which we’ll cover in the next section.
When it comes to toe kick glides, the materials you choose can make a world of difference. You need something that can handle the weight of a fully stocked beverage fridge, resist moisture and spills, and still give you the airflow you need, all while fitting your budget.
Plastic vs metal glides
Plastic glides are often the most affordable option. They’re lightweight and easy to install, and many include simple height adjustment mechanisms. However, plastic can warp or crack under heavy loads and may become brittle in very cold or hot environments. If you’re running a small dorm room fridge or keeping energy bills low is your top priority, plastic glides might do the trick, but they won’t last forever under constant use.
Metal glides—typically steel or stainless steel—are far more robust. Steel glides deliver excellent load bearing, while stainless steel versions add corrosion resistance, making them ideal for damp basements, outdoor bars, or busy commercial kitchens. The trade off is cost; metal glides tend to run higher in price, and installation requires a bit more muscle. Still, if you’re entertaining often or running a high-traffic setup, the stability and longevity pay off.
Quick comparison of glide materials:
Material
Pros
Cons
Plastic
Budget friendly, easy install
Less durable, can warp or crack
Steel
Strong load capacity, stable
Prone to rust if uncoated
Stainless steel
Corrosion resistant, long-lasting
Higher cost, heavier installation
Corrosion and load factors
Where you place your beverage fridge matters. In a coastal kitchen with salty air, or a cluttered garage where spills happen often, stainless steel glides resist rust and wear. If your fridge sees heavy use—think parents grabbing baby food or meal prepping for large families—check the load rating before you buy. Most glide specs list a maximum weight per foot, so add those up to ensure they exceed the total weight of your fully stocked unit.
If corrosion is less of a concern, powder-coated steel glides can strike a balance between price and performance. They offer decent rust protection and good load capacity, and often include reinforcing ribs to prevent bending. Just watch for chips in the coating that could expose bare metal.
Extras to consider
Beyond material, pay attention to features that impact both airflow and maintenance:
Vibration isolation: rubber pads dampen noise but can compress over time, reducing clearance
Height adjustment range: a wider range offers flexibility for uneven floors or custom cabinetry
Mounting style: base plate designs leave vents open, while screw-in glides may block small areas
Integrated wheels: handy for cleaning, but wheels can pinch vents unless paired with a vented kick plate
Regardless of material, wipe down your glides every few months to remove dust, spills, and pet hair. A mild detergent and soft brush will prevent buildup that can impede ventilation or invite corrosion. This simple habit can extend the life of even basic plastic glides, and it’s a routine you’ll thank yourself for when your beverage fridge buzzes along quietly for years to come.
When it comes to toe kick glides, the physical design can affect both stability and airflow. Let’s break down your main options so you can pick the perfect balance.
Slot vs solid designs
Slot glides have openings, channels, or perforations that let air pass directly beneath your compressor. Solid glides are just flat supports. While solid glides are often sturdier in pure load capacity, they block airflow unless you add vents. Slot or vented glides, by contrast, create a continuous air corridor, preventing hot pockets from forming around your fridge’s coils and compressor.
Key differences:
Solid glides:
Pros: maximum weight support, tight tolerance for leveling
Cons: block airflow, require separate vent panels
Slot/vented glides:
Pros: integrated ventilation, minimal extra hardware
Cons: lower weight rating if slots reduce cross-section strength
For most bottom-vented beverage fridges, slot or channel glides can be the easiest way to hit your required clearance and airflow specs in one step. Just double-check weight capacity, and you’ll be ready to go.
Adjustable height glides
A good toe kick glide isn’t just about airflow; it also needs to get your fridge level. Adjustable glides typically offer a height range between 0.5 and 2.5 inches. Wider ranges give you more flexibility when working with uneven floors or custom cabinets.
Factors to consider:
Adjustment mechanism:
Screw-type stems: simple, but can slip if not tightened properly
Spring-loaded pins: quick adjustments, but may rattle over time
Locking features:
Integrated nuts or clips prevent accidental rotation
Rubber or nylon washers add vibration dampening
Ease of access:
Side-mounted stems let you tweak height without moving the fridge
Bottom-mounted stems require lifting for each adjustment
Visual indicators on some models help you dial in that perfect level without guesswork.
Custom kick plates
If you want a more polished look, decorative kick plates can snap on over your glides. Look for perforated stainless steel or anodized aluminum plates that enhance airflow while matching your kitchen’s aesthetic. When choosing a custom plate:
Match the plate width and depth to your fridge’s base
Align perforations with your vent channels for optimal flow
Consider ordering punch-out panels if your model varies from standard sizes
While decorative plates won’t boost performance alone, they polish the final installation and protect your glides from bangs and spills.
Comparing glide designs
Feature
Solid glide
Vented/slot glide
Adjustable stem
Ventilation
None
Integrated channels or slots
Depends on base design
Load capacity
Highest
Moderate to high
Varies by stem strength and base plate
Installation complexity
Low
Medium
Medium to high if bottom access is tight
Maintenance
Simple wipe down
Clean slots, remove debris
Inspect stems and locks regularly
Now that you’ve seen the trade-offs between slot, solid, adjustable, and decorative designs, let’s move on to installation and adjustment in the next section.
When you’ve chosen the right toe kick glides, proper installation seals the deal. A half-hearted install can pinch vents or tilt your fridge, undoing all your careful planning. Let’s walk through the process so you nail it on the first try.
Gather tools and prep
First things first, clear the area under and around your fridge. You’ll need:
Tape measure and painter’s tape for marking
Carpenter’s level (long and short) or digital level
Marker or pencil
Screwdriver or drill with bits for wood, metal, or masonry
Adjustable wrench or spanner
Protective gloves (optional)
Furniture sliders or plywood sheet to protect floors
Mild detergent, brush, and rags for cleaning vents and floor
Unplug your fridge and empty the lower shelves or drawers. Place movers’ sliders or a thin plywood sheet under the fridge feet to protect hardwood or tile. If you’re drilling into concrete, grab a hammer drill to make pilot holes before inserting masonry anchors. Clean the floor and the fridge’s baseplate with mild detergent to remove dust and any old residue.
Installation steps
Follow these steps, adjusting as needed based on your model’s instructions:
Use painter’s tape to mark the exact location for each glide base or bracket.
Double-check measurements from each corner to ensure symmetry.
Drill pilot holes for anchors or screws, using appropriate bits.
Secure the base plate or bracket firmly without overtightening, leaving a hairline gap for final tweaks.
Insert the glide stem or foot into the bracket and rotate it until it touches the floor, but don’t lock it down yet.
Repeat for all four corners, using a framing square to confirm 90-degree alignment.
Avoid rushing this part. Small misalignments can throw off your leveling and lead to gaps that trap heat.
Leveling tips
Getting your fridge perfectly level is crucial for door alignment and preventing coolant flow issues:
Place a level front-to-back across the top edge of the fridge. Adjust the front glides first to set a slight backward tilt (around 1 degree) so the door closes reliably
Slide the level side-to-side to confirm left-to-right balance. Use clear plastic shims behind the back glides if you need extra millimeters
Check diagonal measurements (corner to corner) to catch any twist in the chassis
Once you’re happy, tighten any locking nuts or clips to prevent rotation over time
Test your work
After leveling, slide the fridge back into place, plug it in, and let it run for at least 24 hours before fully restocking. Listen for unusual sounds, feel for consistent temperatures throughout, and watch for any signs of restricted airflow like hot spots near the base. If anything feels off, revisit your clearance and glide height.
With installation complete and your fridge sitting level, you’re ready to enjoy improved airflow and steady performance. Next up, we’ll cover how to maintain those glides so they keep working for years to come.
Maintain optimal airflow
Proper installation is only the beginning. To keep your beverage fridge humming along efficiently, you’ll need to stay on top of maintenance and know how to troubleshoot if airflow drops. A little TLC goes a long way toward extending the life of your unit and ensuring every drink is served at the right temperature.
Cleaning and maintenance
A clean undercarriage and unobstructed vents prevent heat buildup and reduce strain on your compressor. Try these simple routines:
Monthly vacuum: Use a brush attachment to remove dust, pet hair, and debris from vented glides, compressor coils, and condenser fan blades. Unplug the fridge first, then gently spin the fan blades to loosen trapped dust
Wipe down glides: A damp cloth and mild detergent will clear sticky spills and prevent corrosion on metal or plastic surfaces
Inspect mounting points: Check screws, brackets, and locking nuts for tightness, and retighten any loose parts to prevent vibration and noise
Clean behind the fridge: Every six months, pull the unit forward and clear dust or debris around the back vents and coil area to ensure optimal airflow
Replace worn components: Plastic glides can crack and metal brackets can bend over time, so swap out any parts that show significant wear before they fail
Keep the area clear: Don’t pile cleaning supplies, mats, or foot traffic directly in front of vents; even a small obstruction can hamper airflow
By integrating these steps into your routine—say every three to six months—you’ll ensure the airflow path stays clean and unobstructed, helping your fridge run quieter and more efficiently.
Troubleshoot restricted airflow
Even with regular maintenance, you may encounter airflow issues that need quick fixes. Here’s a handy troubleshooting guide:
Symptom
Possible cause
Quick fix
Compressor runs nonstop
Blocked or dirty vents
Vacuum slots, wipe glides
Warm spots on exterior
Insufficient clearance
Raise glides by 0.5–1 inch
Frost buildup near seal
Poor airflow around evaporator
Check alignment, clear obstructions
Noisy or rattling operation
Loose glide or vibrating duct
Tighten brackets, add rubber washers
Uneven cooling inside
Tilted fridge chassis
Re-level with front/back glides
When in doubt, pull your fridge forward and do a quick visual inspection. You may spot a new spill or a misaligned kick plate that’s pinching airflow channels. Small adjustments can often restore proper ventilation without a full reinstall.
By staying proactive with cleaning and troubleshooting, you’ll keep your beverage fridge operating smoothly and avoid mid-party meltdowns. Next, we’ll explore a few extra accessories and monitoring tips to boost your fridge’s performance even further.
Enhance fridge performance
Your toe kick glides set the stage for proper airflow, but pairing them with the right accessories and monitoring tools takes performance to the next level. Whether you’re prepping for a big gathering, storing delicate craft beers, or trusting a dorm fridge with your meal preps, these add-ons help you stay a step ahead.
Use airflow accessories
Beyond glides, other accessories can boost ventilation around your fridge:
Under-fridge fans: small axial fans that mount behind vent channels to push or pull air, ideal for tight spaces
Vented kick plate kits: aftermarket kits that clip on over existing glides, adding perforated panels for extra air intake
Filter pads: moisture-absorbing pads help prevent water from pooling under the unit, protecting metal glides from corrosion
In my own craft beer corner, I installed a 120mm computer fan behind a vented kick plate and connected it to a smart plug. By scheduling it to run when the basement hit 75°F, I cut compressor cycle time by about 15 percent. My fridge now hums more quietly, and my energy bills reflect the savings.
Monitor temperature
Keeping tabs on your fridge’s internal and external temps lets you spot airflow issues long before they become critical. Try these tools:
Digital thermometers: place one near the compressor coils and another inside the unit for side-by-side comparisons
Smart sensors: Wi-Fi or Bluetooth sensors alert you to temperature swings or power outages via phone or email
Energy meters: in-line power monitors track your fridge’s draw and can flag an overworking compressor caused by poor airflow
By comparing readings over time, you can see if your airflow improvements are paying off. A well-ventilated fridge will show stable coil temperatures just above room temperature, while the interior holds steady at your set point.
Beyond airflow
Don’t forget other factors that impact overall performance:
Door gasket health: a worn or gap-filled seal lets warm air creep in
Door alignment: misaligned doors can strain hinges and seals
Proper loading: overcrowded shelves or blocked internal vents reduce air circulation inside the fridge
Together with correctly installed and maintained toe kick glides, these accessories and monitoring steps help you achieve efficient, consistent cooling no matter where you keep your beverage fridge.
Summarize key recommendations
Understand your fridge’s venting style and measure required clearance before choosing glides
Select vented or slot glides made from durable materials—stainless steel in damp or high-traffic areas
Install with care: clean the floor, secure brackets, and level the unit with a slight backward tilt
Maintain airflow by vacuuming vents, wiping glides, and checking for worn or bent parts every few months
Troubleshoot quickly using a simple symptom→cause→fix table to keep your compressor running smoothly
Enhance performance with under-fridge fans, vented kick plates, and smart temperature sensors
Remember, a small investment in quality glides and accessories can yield big wins in efficiency and longevity. Proper airflow isn’t just a technical detail, it’s the difference between a fridge that hums along happily and one that struggles on your busiest days. Now pour yourself a well-earned toast to a perfectly ventilated beverage fridge.
Free tool
Beverage Cooler Size Calculator
Free interactive tool from Fridge.com — get a quick answer while you read.