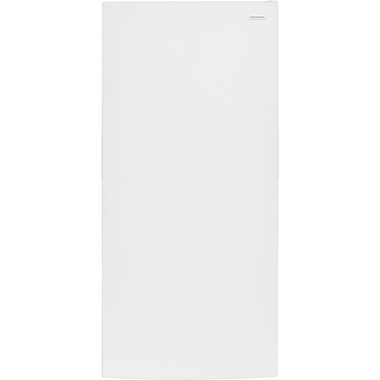
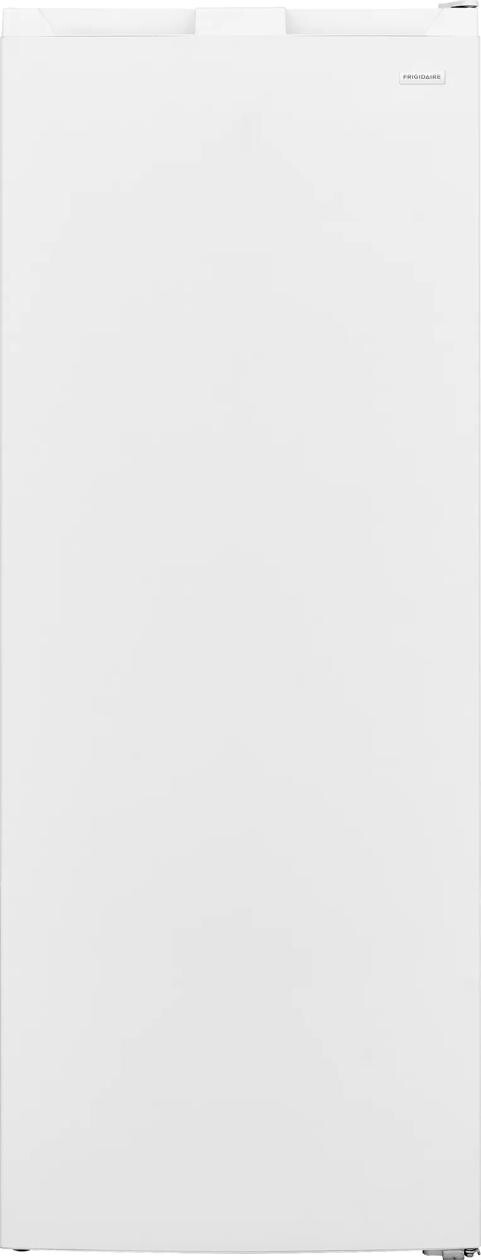
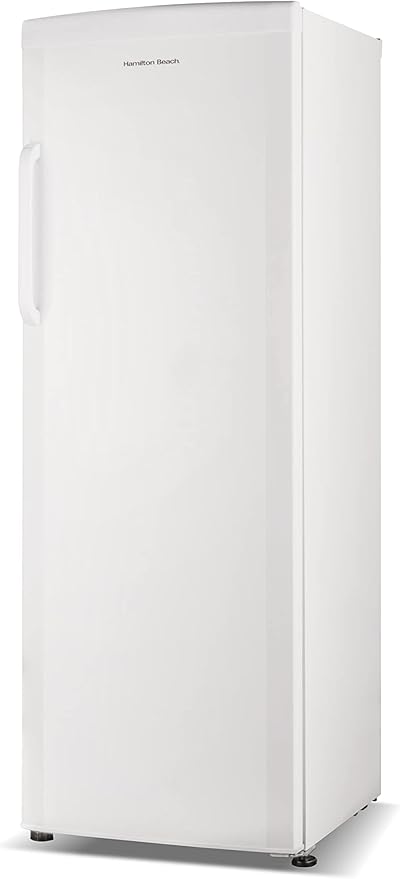
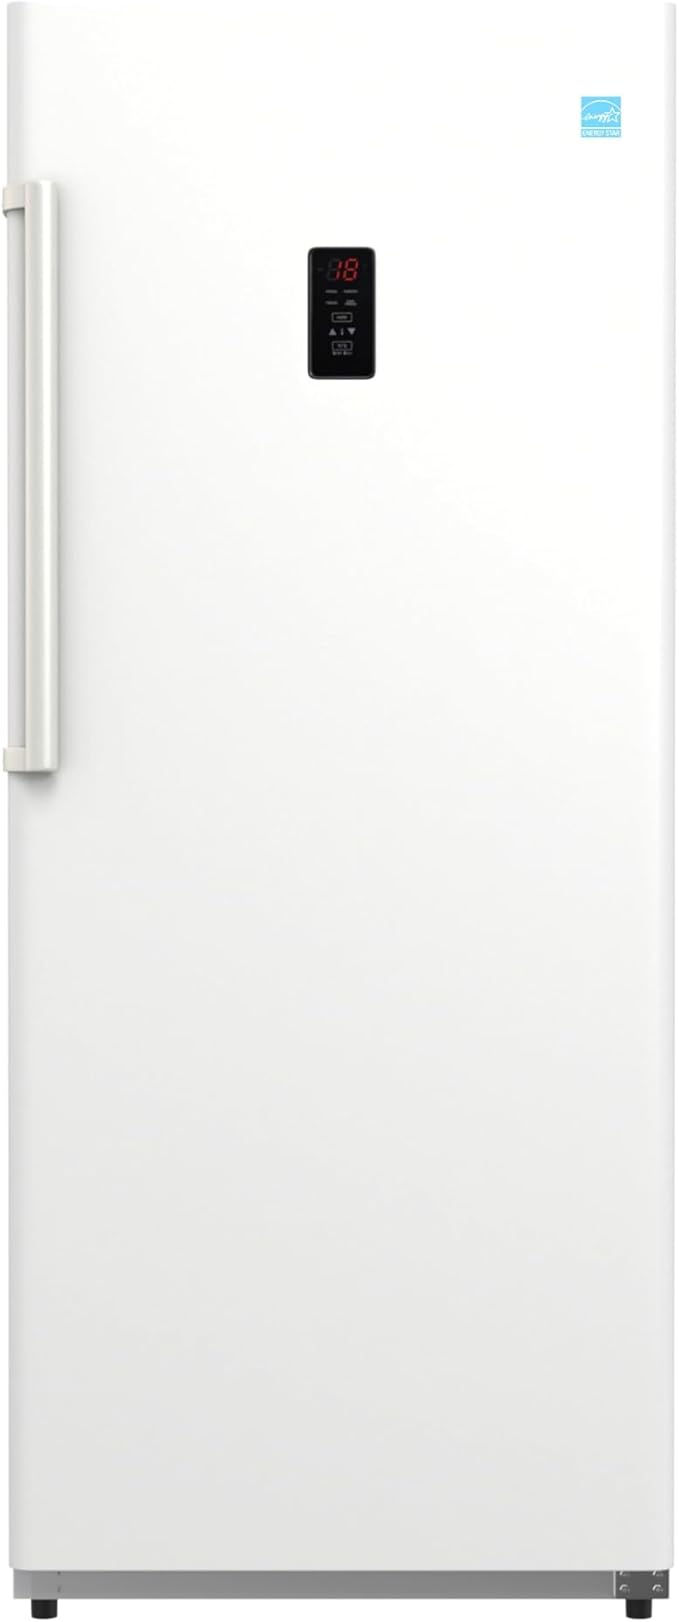
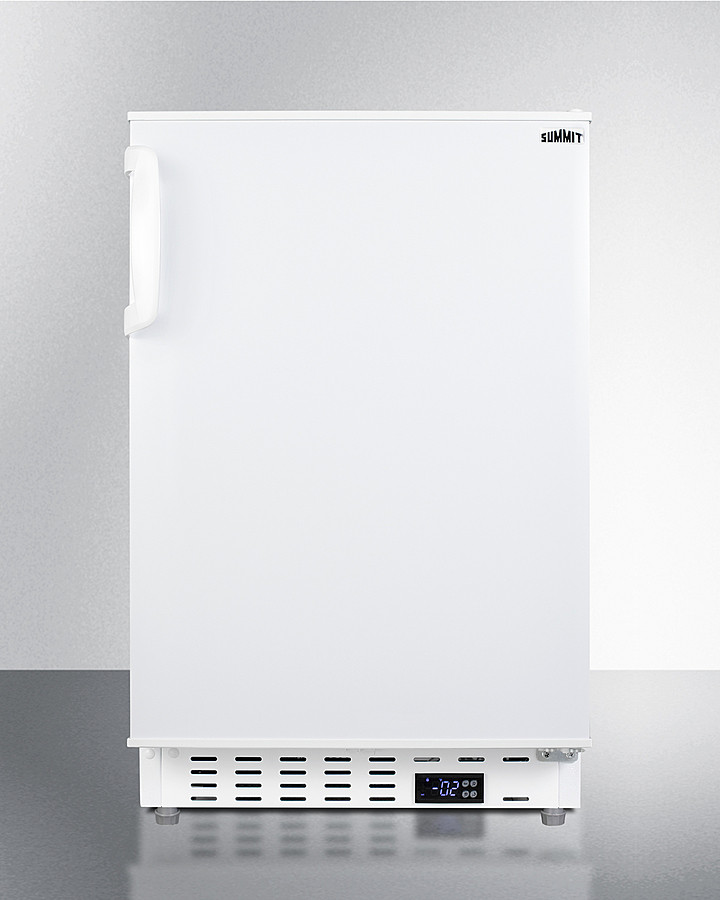
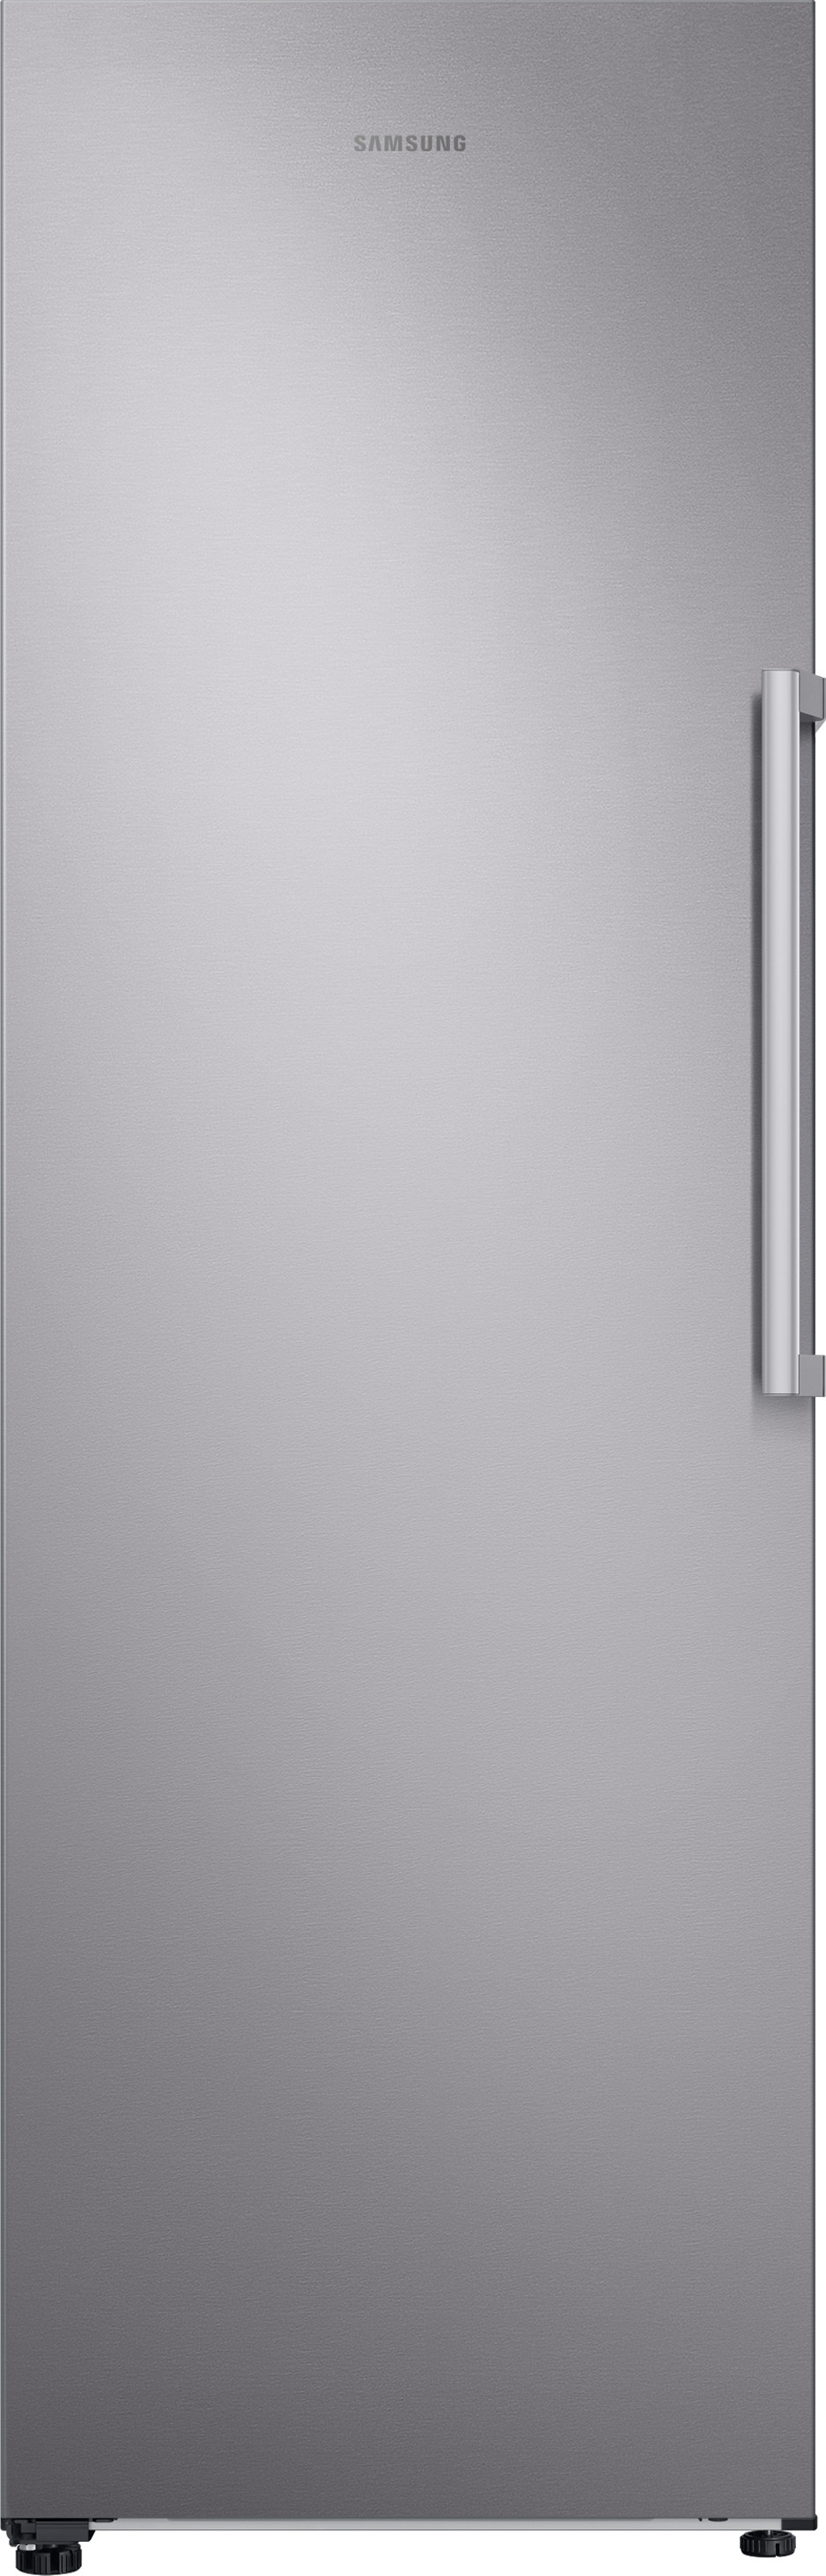
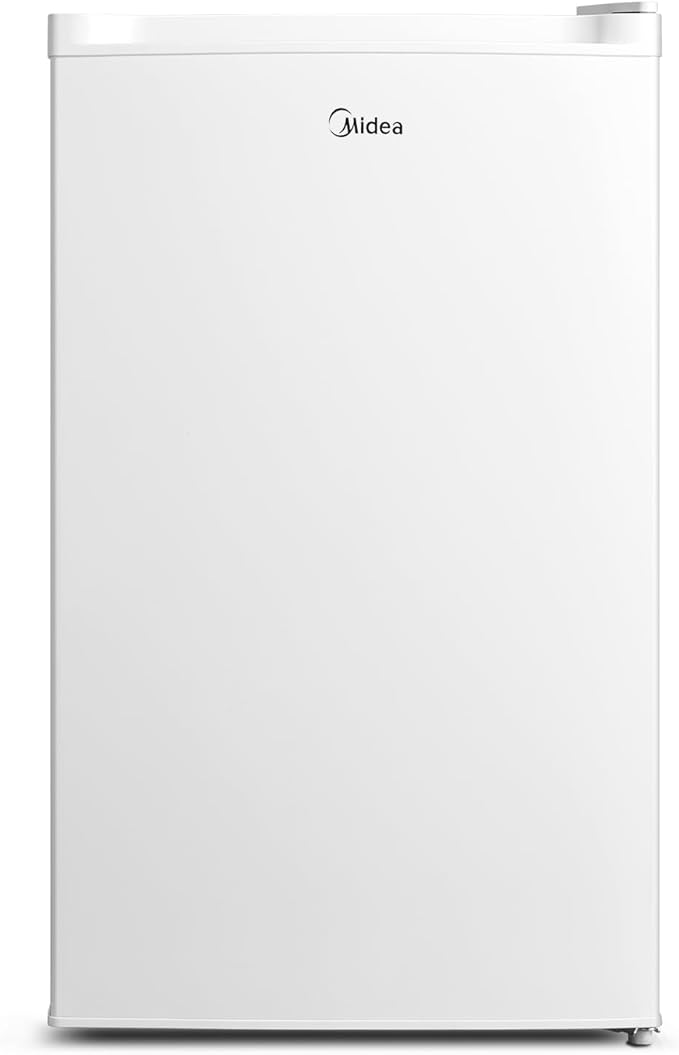
Wondering what size fridge freezer for an RV you need? With a dizzying range of capacities, power requirements, and installation quirks, you might scratch your head when you try to compare models. Whether you drive a travel trailer, fifth wheel, or motorhome, your fridge freezer has to balance storage volume with space and battery life. In this guide you will learn how to measure your RV’s fridge bay, calculate the capacity you need for meals and beverages on the road, weigh power options, and plan a smooth installation. By the end you will feel ready to shop with confidence so you can focus on the fun part, cooking up fresh meals under the stars.
Assess RV fridge space
Before you start shopping it helps to know exactly how much room you have. RV fridge bays range from tiny under-counter spots in camper vans to full-size cutouts in larger trailers. If you guess wrong you could end up with a fridge that won’t fit or one that leaves wasted space. Let’s make sure you get the dimensions right.
Evaluate available dimensions
Grab a tape measure and note the height, width, and depth of the fridge cabinet or cutout. Measure from floor to ceiling inside the bay, and front to back including the door thickness. Don’t forget to account for any trim pieces or mounting brackets. Jot down the tightest measurements—you want a fridge that slips in snugly without forcing it, but with an extra ½ inch or so in each direction for a comfortable fit.
Account for ventilation and clearance
Fridge freezers need airflow to run efficiently. Check your RV build plans or manual for recommended clearance around the unit. Typically you should leave at least 1 inch on each side and 2 inches at the top for ventilation. If the fridge sits against a wall or inside a cabinet, make sure vents aren’t blocked. A little extra breathing room can prevent overheating, reduce power draw, and extend the life of your compressor.
Consider power availability
Your RV fridge freezer will draw power from batteries, shore power, or solar. Understanding your electrical setup helps you choose a model that meets your lifestyle without leaving you in the dark.
Understand RV power sources
Most RVs have a 12-volt battery bank and a converter/inverter system. When you plug into shore power at a campsite you run the fridge on AC electricity. Off-grid you rely on your battery bank or a generator. Note how many batteries you have, and their amp-hour rating—you’ll use that to estimate how long the fridge can run on 12 volts alone.
Compare 12V and AC power needs
Compressor fridges tend to be the most efficient on 12 volts, pulling anywhere from 1 to 4 amps per hour. Absorption units can run on propane and AC power, but they draw more from your generator or battery if you skip gas. If you plan extended boondocking, a compressor fridge or a high-efficiency 12 volt refrigerator is usually your best bet.
Explore solar and inverter setups
If you have solar panels, add up your daily solar output and compare it to the fridge’s daily watt-hour consumption. A 100-watt panel might produce around 300 watt-hours per day in good sun, which could cover a small fridge’s needs. An inverter can convert DC to AC so you can run a standard residential-style fridge, but remember inverters have efficiency losses of 10–15 percent. Factor that in when sizing your system.
Choosing the right volume is all about matching storage space to your travel habits and the people you cook for. Too small and you’ll run out of cold room, too big and you waste power and money.
Match capacity to trip length
Think about how long you typically stay on the road between resupply stops. For weekend warriors one week of food might only require 4–6 cubic feet. Longer trips or full-timers often opt for 8–12 cubic feet. If you stock up on fresh produce, dairy, or meal-prepped lunches, lean toward the higher end.
Factor storage for perishables
Perishables like meat, cheese, and baby food need consistent cold. If you travel with infants or have dietary restrictions, you may need extra freezer space or dual-zone models. A 1 to 2 cubic foot freezer section can handle a week’s worth of frozen veggies and ice packs.
Include beverage and snack space
A dedicated can rack, deli drawer, or door bins can make organizing drinks and snacks easier. If you entertain friends at the campground or haul craft beer, look for options with adjustable shelving. Some models even offer a pass-through door for quick access to drinks without letting cold air escape.
Choose fridge freezer types
RV fridge freezers come in several flavors. Understanding how each technology works will help you pick the right fit for power, noise, and durability.
Review compressor refrigerator models
Compressor fridges use a motor-driven pump to circulate refrigerant, just like home models. They cool faster, maintain temperature under load, and perform well on both 12V and 120V power. Compressor units tend to be heavier and more expensive, but they are the top choice for boondockers and serious travelers.
Compare absorption units
Absorption refrigerators run on propane, AC power, or DC power. They’re nearly silent and can keep chilling even when your batteries run low if you have propane on board. The downside is slower cooling speeds and higher energy consumption under AC or DC, so they’re best if you rely on hookups or propane and aren’t concerned about frequent stops.
Consider thermoelectric options
Thermoelectric fridges use Peltier modules to move heat. They’re lightweight, compact, and make excellent camping or tailgating companions, but they are far less efficient and less cold than compressor or absorption models. You’ll find them most often in cooler-style boxes or small beverage coolers.
Explore ultra compact mini freezers
If you need barely more than a snack shelf, check out the best campervan mini freezer. These tiny units, often under 1 cubic foot, fit in tight spaces and draw very little power. They are ideal for solo travelers, short weekend trips, or as a supplement to a larger onboard fridge.
Type
Power source
Pros
Cons
Compressor
12V/120V
Fast cooling, efficient, reliable
Heavier, higher upfront cost
Absorption
Propane/120V/12V
Quiet, propane backup, standard shapes
Slower cool-down, higher power draw
Thermoelectric
12V
Lightweight, silent, compact
Limited cold, less efficient
Mini freezer
12V/120V
Ultra compact, low power
Very limited capacity
Balance size and efficiency
A larger fridge can store more, but it also draws more power. Striking the right balance will keep both your food fresh and your battery healthy.
Understand energy consumption
Every fridge lists its average daily amp-hour draw or watt-hour use. A 6 cubic foot compressor unit might use 30–50 amp-hours per day at 12 volts, while a smaller 3 cubic foot model could draw as little as 15 amp-hours. Compare those numbers to your battery bank and solar output to ensure you won’t drain your system overnight.
Look for energy saving features
Many modern RV refrigerators include features designed to cut power use:
LED interior lighting
Electronically controlled thermostats
Automatic energy-saving modes
Enhanced insulation panels
These tweaks can shave off 10 to 20 percent of power draw, stretching your battery life.
Insulation and ambient temperature
Remember that how you insulate around the fridge and the outside temperature both affect performance. Park in the shade whenever you can and add foam insulation panels behind and above the unit if your RV manufacturer didn’t include extra padding. Cooler ambient temps help your fridge run less often.
Select fridge door style
The way you open your fridge affects both convenience and installation. Different door styles can save space or improve access.
Side by side vs top freezer
Side-by-side models give you freezer and fridge access at waist height, but they need extra width. Top-freezer fridges save on footprint width and often cost less, though you’ll bend down for chilled items. Bottom-freezer layouts prioritize fridge space and put the freezer at knee level.
Front opening vs drawer models
Drawer-style fridges slide out like a kitchen drawer, which can be great in tight galley layouts. Front-opening doors swing wide and often need clearance in front of the unit. Think about your RV’s aisle width and how you’ll load groceries in and out.
Plan installation requirements
A successful install starts with preparation. Make sure you have the right tools, space, and materials before the fridge arrives.
Secure mounting and leveling
RV fridges should sit level to ensure efficient operation, especially absorption units. Check for mounting brackets or rails supplied by the manufacturer. Use metal corner braces and lag bolts to secure larger units to the floor and wall studs.
Ventilation and clearance needs
Confirm that vents are free of obstructions on the outside of your RV. If you’re replacing a factory unit, clean out old vent ducts and seal any gaps. Proper airflow prevents overheating and improves cooling consistency.
Plumbing and drainage prep
Most RV fridge freezers have a condensation drain that needs to run to an internal drip pan or directly outside. Inspect existing drain lines and replace any brittle hoses. Keep a small bottle brush handy to clear buildup from the drain tube periodically.
Set budget and purchase
Fridge freezers for RVs range from a few hundred dollars to over two thousand, depending on features and capacity. Knowing where to spend and where to save helps you stick to your budget.
Price ranges for RV fridges
Compact compressor or absorption units (3–5 cu ft): $500–$900
Mid-size models (6–8 cu ft): $900–$1,300
Full-size residential-style compressor fridges (8 cu ft+): $1,200–$2,500
Add in installation materials, wiring, and any propane regulators if you choose an absorption model.
Compare freezer prices on Fridge.com
For a wide selection of RV-specific fridge freezers, accessories, and expert support, buy. You can filter by size, power type, and brand to find the perfect match. Plus, Fridge.com often runs seasonal deals and bundles to save you money on installation kits.
Warranty and support tips
Check the manufacturer’s warranty for coverage duration and parts. Many brands offer 12 to 24 months on compressors and electronics. Also ask about service centers near your travel routes—having local tech support can be a lifesaver if something goes wrong on the road.
Maintain your RV fridge
Once your unit is installed you’ll want to keep it running smoothly with regular care. A little maintenance goes a long way toward preventing spoilage and repairs.
Regular cleaning tips
Every few months wipe down shelves, bins, and door gaskets with a mild soap solution. Remove any food residue or spills promptly to avoid sticky buildup. Defrost manual-defrost freezers when ice exceeds ¼ inch thickness.
Preventing odors and mildew
Place an open box of baking soda on a shelf to absorb odors. Air out the fridge by leaving the door cracked for a few hours with the unit off during travel days. Check door seals for cracks or debris that can trap moisture and lead to mildew growth.
Troubleshoot common issues
If you notice warm spots, check vent blockage and thermostat settings first. For persistent temperature swings, test your batteries’ voltage under load or inspect propane supply lines on absorption models. For compressor units, listen for unusual rattling or clanking—these can signal loose parts or failing mounts. Having a basic tool kit and spare fuses on hand will help you tackle minor repairs before they become major headaches.
Choosing the right fridge freezer for your RV comes down to matching capacity, power, and layout to your travel style. Measure twice, compare your power budget, and factor in installation needs before you buy. With the right preparation you’ll enjoy reliable cold storage on every road trip, leaving you free to plan meals, store snacks, and savor life on the move. Happy travels and cool adventures await.
Free tool
Food Storage Calculator
Free interactive tool from Fridge.com — get a quick answer while you read.