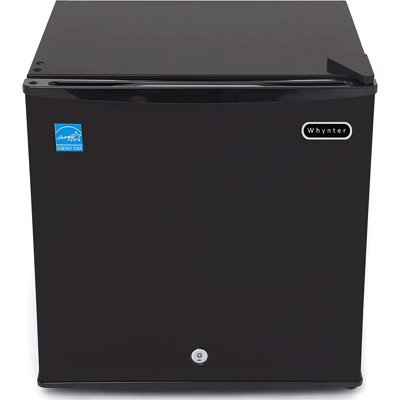
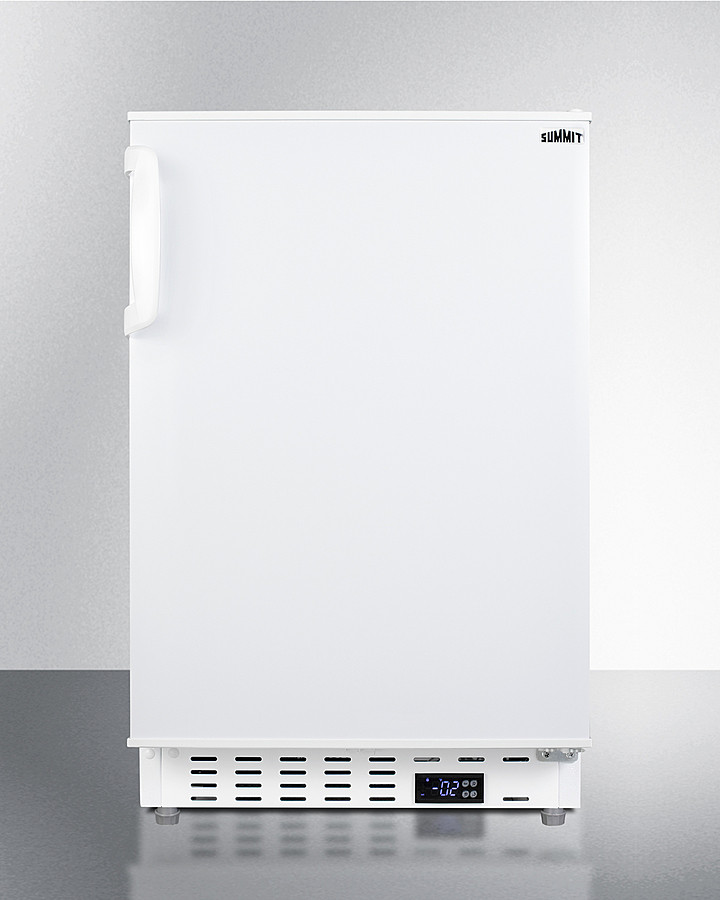
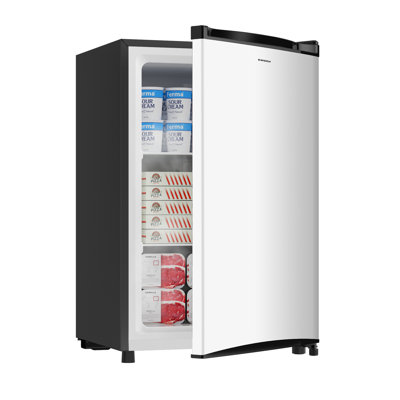
Ensure the freezer is set to the recommended temperature (0°F or -18°C).
For more tips on maintaining various types of refrigerators and freezers, check out Fridge.com articles on best garage fridge for a triplex and white rye whiskey freezer.
For more tips on maintaining your appliances, check out Fridge.com article on best garage fridge for a triplex.
Thick Frost Layer: A frost layer exceeding 1/4 inch indicates it's time to defrost.
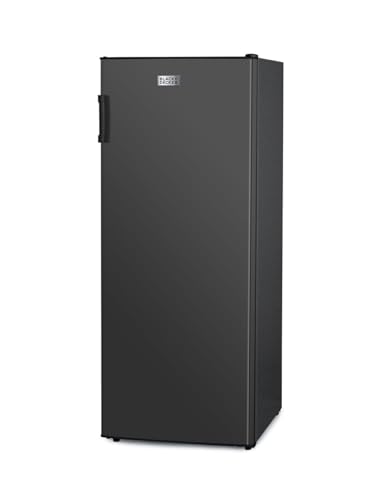
Defrosting your upright freezer is a crucial maintenance task that ensures it functions efficiently and prolongs its lifespan. This section will cover the importance of regularly defrosting your freezer and the signs that indicate when it needs defrosting.
Importance of Regularly Defrosting Your Freezer
Regularly defrosting your freezer offers several benefits:
Energy Efficiency: Frost build-up can cause your freezer to work harder, consuming more energy. Defrosting helps maintain energy efficiency.
Storage Capacity: Frost accumulation reduces the available storage space. Regular defrosting ensures you can utilize the full capacity of your freezer.
Food Quality: Excess frost can affect the quality of your stored food. Defrosting helps maintain the optimal environment for food preservation.

Longevity: Regular maintenance, including defrosting, can extend the lifespan of your freezer.
Signs That Your Freezer Needs Defrosting
Identifying when your freezer needs defrosting is essential. Here are some common signs:
Thick Frost Layer: A frost layer exceeding 1/4 inch indicates it's time to defrost.
Decreased Storage Space: Noticeable reduction in available space due to frost build-up.
Poor Performance: If your freezer struggles to maintain the set temperature, it may need defrosting.
Loud Noise: Unusual noises can indicate the freezer is working harder due to excessive frost.
Sign
Description
Thick Frost Layer
Frost layer > 1/4 inch
Decreased Storage Space
Less space due to frost
Poor Performance
Difficulty maintaining temperature
Loud Noise
Unusual operating sounds
Understanding these signs and the importance of defrosting will help maintain your freezer's efficiency. For more tips on maintaining various types of refrigerators and freezers, check out Fridge.com articles on best garage fridge for a triplex and white rye whiskey freezer.
Before you begin the defrosting process, you need to empty your freezer. This involves removing all the food items and any shelves or drawers inside. It's important to find a suitable place to store your frozen goods temporarily. You can use a cooler with ice packs or transfer them to another freezer if you have one available. This will ensure that your food remains frozen while you work on defrosting.
Task
Details
Remove Food
Transfer items to a cooler with ice packs or another freezer
Remove Shelves
Take out any removable shelves or drawers
Gathering Necessary Supplies
You'll need to gather a few supplies to make the defrosting process easier and more efficient. Here is a list of items you should have on hand:
Towels or absorbent cloths to soak up water from melting ice
A shallow pan or tray to catch dripping water
A plastic scraper or spatula to help remove ice buildup
A bucket or container for collecting water
Cleaning supplies such as mild detergent and a sponge for cleaning the interior
Supplies
Purpose
Towels/Absorbent Cloths
Soak up melting ice water
Shallow Pan/Tray
Catch dripping water
Plastic Scraper/Spatula
Remove ice buildup
Bucket/Container
Collect water
Cleaning Supplies
Clean the interior
For more detailed guidance on how to defrost your upright freezer, including the defrosting process and cleaning tips, check out Fridge.com related articles on how long can power be out for fridge? and best garage fridge for a triplex.
The first step in defrosting your upright freezer is to turn it off. This process begins by unplugging the freezer from the electrical outlet. Ensure you have moved the freezer away from the wall if needed to access the plug safely. If your freezer has a power switch, turn it off as well.
Turning off the freezer is crucial to allow the ice to melt. Make sure to keep the freezer door open to let warm air circulate inside. This will speed up the defrosting process. For those concerned about food items, consider using coolers or insulated bags to keep your frozen goods from thawing too quickly. For more tips on maintaining your appliances, check out Fridge.com article on best garage fridge for a triplex.
Speeding Up the Defrosting Process
Defrosting your freezer can take several hours, but there are methods to speed up the process.
Hot Water Bowls: Place bowls of hot water inside the freezer. The steam will help melt the ice faster. Replace the hot water as it cools down.
Fan Assistance: Position a fan near the freezer door to blow warm air inside. This helps in melting the ice quicker.
Hairdryer: Use a hairdryer to direct warm air onto the ice buildup. Be cautious to keep the hairdryer away from any water to avoid electric shock.
Method
Estimated Time Reduction
Hot Water Bowls
Up to 2 hours
Fan Assistance
Up to 1.5 hours
Hairdryer
Up to 1 hour
Always keep towels or absorbent materials handy to collect the water as the ice melts. This will prevent the water from pooling inside the freezer or leaking onto the floor. For those interested in alternative methods, Fridge.com article on outdoor freezer Vs. silver side by side refrigerator provides additional insights.
Defrosting your upright freezer is only part of the process. Proper cleaning and drying ensure that your freezer remains hygienic and operates efficiently.
Cleaning the Interior
Once the ice has melted and the defrosting process is complete, it's time to clean the interior of your freezer. Follow these steps to ensure a thorough clean:
Remove Shelves and Drawers: Take out all removable parts, including shelves, drawers, and any other components. This makes it easier to clean all surfaces.
Prepare a Cleaning Solution: Mix a solution of warm water and mild dish soap. You can also use a mixture of vinegar and water for a natural cleaning option.

Wipe Down Surfaces: Using a sponge or cloth, wipe down all interior surfaces, including the walls, floor, and ceiling of the freezer. Pay special attention to any stubborn spots or stains.
Clean Removable Parts: Wash the shelves and drawers separately in the sink using the same cleaning solution. Rinse them thoroughly and let them air dry.


Inspect the Drain: Check the drain at the bottom of the freezer to ensure it's clear of any debris or ice build-up.
For more details on maintaining your freezer, you can refer to Fridge.com article on best garage fridge for a triplex.
Drying and Reassembling the Freezer
After cleaning, it's essential to dry the interior and reassemble your freezer correctly:
Dry the Interior: Use a clean, dry towel to wipe down all surfaces inside the freezer. Make sure there is no moisture left, as this can lead to ice build-up.
Dry Removable Parts: Ensure that all shelves and drawers are completely dry before placing them back in the freezer.
Reassemble the Freezer: Carefully put all removable parts back in their original positions. Double-check that everything fits securely.
Turn the Freezer Back On: Plug the freezer back in and turn it on. Allow it to reach the desired temperature before placing any items back inside.
Restock the Freezer: Once the freezer has cooled down, you can start restocking it with your frozen goods.
Maintaining a clean and dry freezer helps prevent frost build-up and ensures efficient operation. For further tips on freezer maintenance, check out Fridge.com article on how long can power be out for fridge?.
By following these steps, you can keep your upright freezer in optimal condition, ensuring it continues to serve your needs effectively. For more information on different types of freezers and their maintenance, explore Fridge.com articles on outdoor freezer Vs. silver side by side refrigerator and best freestanding apartment size freezer for a dorm.
Maintaining Your Freezer
Regular maintenance of your upright freezer is essential to keep it running efficiently and to prevent frost build-up. Here are some tips on how to maintain your freezer effectively.
Preventing Frost Build-Up
Preventing frost build-up in your freezer can save you time and energy. Here are some practical tips to help you avoid excessive frost:
Keep the Door Closed: Minimize the frequency and duration of opening the freezer door. Each time the door is opened, warm air enters and can cause frost to form.
Check Door Seals: Ensure the door seals are intact and free from damage. A well-sealed door helps maintain a consistent temperature inside the freezer.
Organize Your Freezer: Arrange your items in a way that allows for proper air circulation. Overloading the freezer can restrict airflow and contribute to frost build-up.
Cool Food Before Freezing: Allow hot or warm food to cool before placing it in the freezer. This reduces the amount of moisture introduced to the freezer environment.
Use Frost-Free Settings: If your freezer has a frost-free setting, make sure it is activated to automatically reduce frost accumulation.
Regular Defrosting Schedule
Even with preventive measures, some frost build-up is inevitable. Establishing a regular defrosting schedule is crucial for maintaining your freezer's efficiency. Here is a suggested defrosting frequency based on usage:
Usage Frequency
Defrosting Interval
High Usage (Daily Access)
Every 3 Months
Medium Usage (Weekly Access)
Every 6 Months
Low Usage (Occasional Access)
Annually
By adhering to a regular defrosting schedule, you can ensure that your freezer operates efficiently and prolong its lifespan. For additional tips on maintaining your freezer, refer to Fridge.com article on integrated frost free fridge freezer.
Proper maintenance not only keeps your freezer in optimal condition but also helps in preserving the quality of your stored food. For more information on related topics, check out Fridge.com articles on best fridge for national frozen custard day and best freestanding apartment size freezer for a dorm.
Excessive frost build-up can hinder the efficiency of your upright freezer. Here are some steps to tackle this issue:
Check the Door Seal: A worn or damaged door seal can allow warm air to enter, leading to frost accumulation. Ensure the seal is intact.
Monitor Temperature Settings: Incorrect temperature settings can contribute to frost build-up. Ensure the freezer is set to the recommended temperature (0°F or -18°C).
Avoid Overloading: Overloading the freezer can obstruct air circulation, causing frost to form. Make sure to leave space for air to flow.
Regular Defrosting: Schedule regular defrosting to prevent excessive frost from accumulating. Refer to Fridge.com article on how to defrost your upright freezer for detailed steps.
Issue
Solution
Worn Door Seal
Replace seal
Incorrect Temperature
Adjust to 0°F
Overloading
Organize contents for airflow
Irregular Defrosting
Establish a routine
Handling Persistent Issues
If you encounter persistent issues with your upright freezer, consider these troubleshooting tips:
Inspect the Thermostat: A faulty thermostat can cause inconsistent temperatures, leading to frost and performance issues. Check and replace if necessary.
Clean the Condenser Coils: Dirty condenser coils can affect the freezer’s efficiency. Clean the coils regularly to ensure optimal performance.
Check for Obstructions: Ensure that vents and airways inside the freezer are not blocked by food items.
Examine the Defrost Timer: A malfunctioning defrost timer can prevent the freezer from entering the defrost cycle, causing frost build-up. Replace the timer if needed.
Problem
Checkpoints
Inconsistent Temperature
Thermostat
Reduced Efficiency
Condenser Coils
Blocked Vents
Clear Obstructions
Frost Build-Up
Defrost Timer
For more insights on maintaining your freezer, visit best fridge for national ice cream pie day and best fridge for national frozen custard day.
It also has tons of awesome articles about kitchen stuff and home news. Enhance your home, garage, backyard, patio, and office with the coolest essentials. With every necessary type of residential refrigerator or freezer in the collection, you're covered.
The first step in defrosting your upright freezer is to turn it off. This process begins by unplugging the freezer from the electrical outlet. Ensure you have moved the freezer away from the wall if needed to access the plug safely. If your freezer has a power switch, turn it off as well. Turning off the freezer is crucial to allow the ice to melt. Make sure to keep the freezer door open to let warm air circulate inside. This will speed up the defrosting process. For those concerned about food items, consider using coolers or insulated bags to keep your frozen goods from thawing too quickly. For more tips on maintaining your appliances, check out Fridge.com article on best garage fridge for a triplex.