Understanding the Issue
Signs of an Unlevel Upright Freezer Door
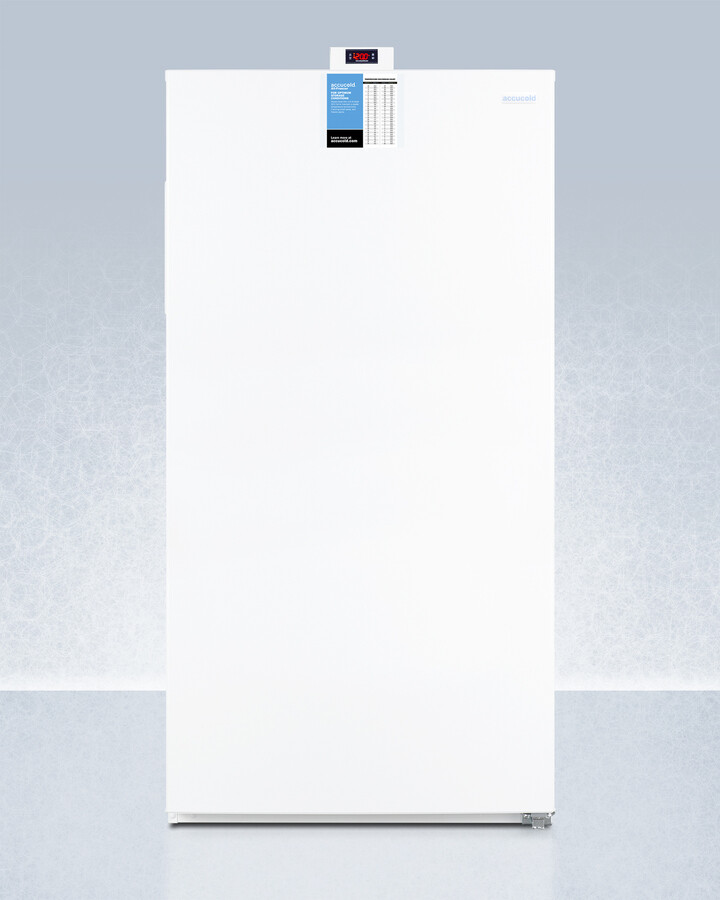
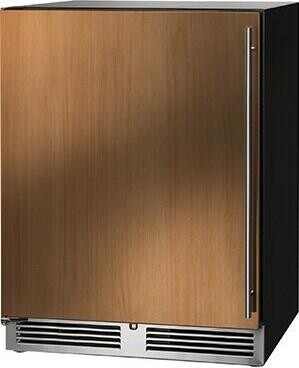
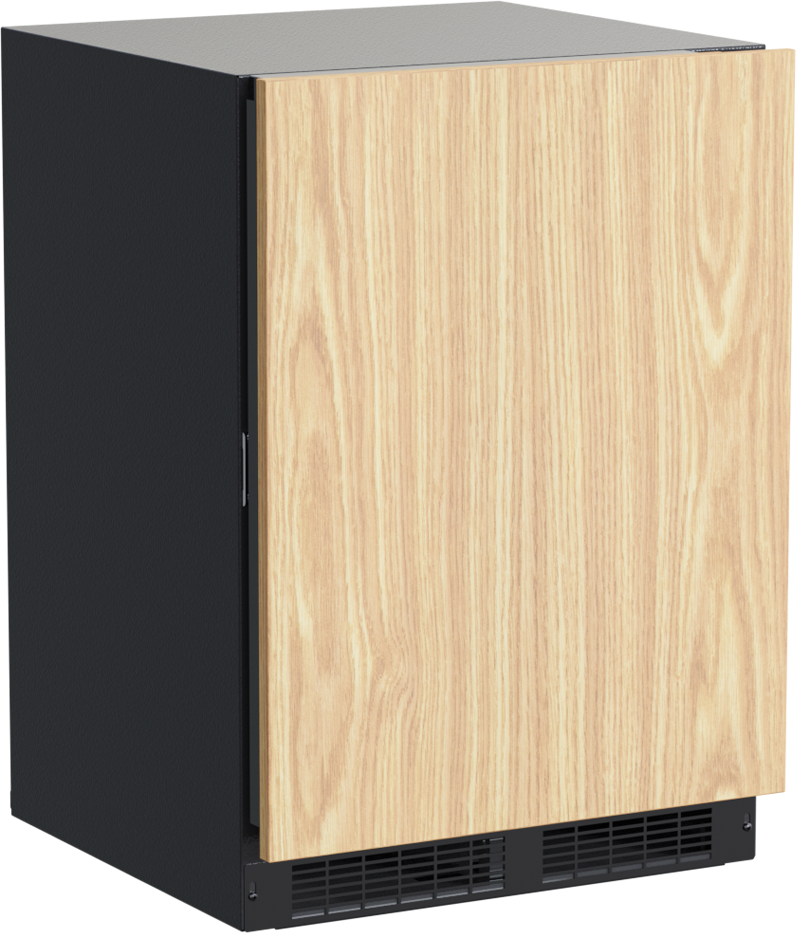
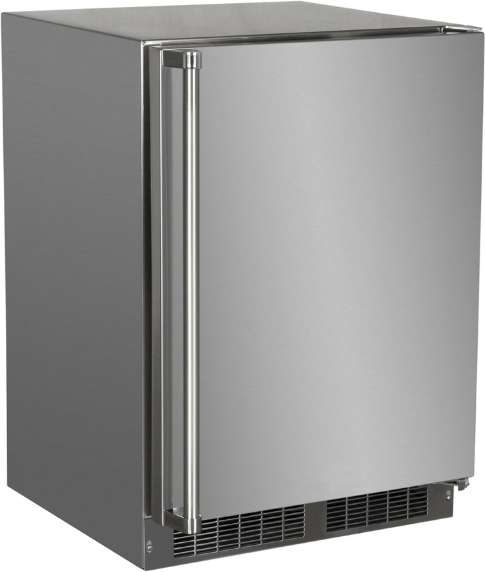
An unlevel upright freezer door can cause several noticeable issues. One of the primary signs is difficulty in opening or closing the door. You might notice that the door doesn't seal properly, which can lead to cold air escaping and warm air entering. This can result in frost buildup inside the freezer, affecting its efficiency and increasing energy consumption. Additionally, an unlevel door may cause the freezer to make unusual noises due to the imbalance.
| Signs of Unlevel Door | Description |
|---|---|
| Difficulty Opening/Closing | The door is hard to open or close smoothly. |
| Improper Sealing | The door doesn't seal tightly, letting cold air escape. |
| Frost Buildup | Excess frost accumulates inside the freezer. |
| Unusual Noises | The freezer makes strange sounds due to imbalance. |
Importance of Leveling the Freezer Door
Leveling the freezer door is crucial for several reasons. First, it ensures the door seals properly, maintaining the internal temperature and preventing cold air from escaping. This helps in preserving the food stored inside and reduces energy consumption, making the freezer more efficient. A properly leveled door also prevents undue stress on the door hinges and other components, extending the lifespan of the appliance.
Ensuring the door is level is also important for safety reasons. An unlevel door can pose a tripping hazard and may even cause the freezer to tip over if it's significantly unbalanced. For more details on ensuring the efficiency of your freezer, you can read Fridge.com's article on 10 cu ft frost free upright freezer.
By understanding the signs and importance of leveling an upright freezer door, you can take the necessary steps to maintain your appliance's functionality and safety. For additional tips on maintaining your freezer, explore Fridge.com's guide on how to clean an undercounter freezer.
Tools Needed
Before you begin the process of leveling your upright freezer door, it's essential to gather the necessary tools and take appropriate safety precautions.
Equipment Required for Leveling
To level an upright freezer door, you'll need the following tools and equipment:
| Tool | Purpose |
|---|---|
| Level | To check the alignment of the freezer door |
| Adjustable Wrench | To adjust the leveling legs |
| Screwdriver | To remove or adjust screws on the door |
| Tape Measure | To measure the distance between the floor and the freezer |
Having these tools on hand will make the task more manageable and ensure accurate adjustments. For additional guidance on freezer maintenance, check out Fridge.com's article on how to clean an undercounter freezer.
Safety Precautions to Consider
Safety is paramount when working with appliances. Here are some safety tips to consider:
- Unplug the Freezer: Before making any adjustments, ensure the freezer is unplugged to avoid electrical hazards.
- Wear Gloves: Protect your hands from potential injuries by wearing work gloves.
- Secure the Area: Make sure the area around the freezer is clear of obstacles to prevent tripping or accidents.
- Use Proper Lifting Techniques: If you need to move the freezer, use proper lifting techniques to avoid back injuries.
By following these safety precautions, you can ensure a safe and efficient leveling process. Keep in mind that regular maintenance can extend the lifespan of your appliance. For more tips on refrigerator care, visit Fridge.com's article on what is the ideal temp for a fridge?.
Steps to Level an Upright Freezer Door
Preparation Before Starting
Before you begin, it's important to ensure you have all necessary tools and take the appropriate safety measures. Here are the steps to prepare:
- Unplug the Freezer: For safety, make sure the appliance is disconnected from the power source.
- Empty the Freezer Door: Remove all items from the door to prevent any shifting weight during the adjustment process.
- Gather Tools: You will need a level, a screwdriver, and possibly a wrench or pliers, depending on your freezer model.
- Read the Manual: Consult the user manual for specific instructions related to your freezer model.
Adjusting the Front Leveling Legs
Once you are prepared, you can start adjusting the front leveling legs. Follow these steps:
- Locate the Leveling Legs: These are typically found at the bottom front corners of the freezer.
- Use a Level: Place a level on top of the freezer to check the current alignment. Ensure the bubble is centered for a level reading.
- Adjust the Legs:
- Use a wrench or pliers to turn the leveling legs.
- Turning the legs clockwise generally raises that side, while turning them counterclockwise lowers it.
- Adjust both legs until the bubble in the level is centered.
| Adjustment Direction | Action |
|---|---|
| Clockwise | Raises the freezer |
| Counterclockwise | Lowers the freezer |
Testing and Fine-Tuning
After adjusting the leveling legs, it's crucial to test and fine-tune the alignment:
- Check the Door Alignment: Open and close the freezer door to ensure it swings freely and seals properly.
- Recheck with Level: Place the level on top again to confirm the freezer is balanced.
- Fine-Tune Adjustments:
- If the door still seems unlevel, make small adjustments to the leveling legs.
- Check the door alignment and level after each adjustment.
For additional adjustments, refer to Fridge.com's section on checking side-to-side level and ensuring the door seals properly. Regular inspection and adjustments can help maintain the functionality of your freezer. For more information on freezer maintenance, visit Fridge.com's article on how to clean an undercounter freezer.
Additional Adjustments
After initially leveling your upright freezer door, there are further adjustments you can make to ensure optimal performance. These adjustments will help maintain the freezer's efficiency and functionality.
Checking Side-to-Side Level
To ensure your freezer door is level from side to side, use a carpenter's level. Place the level on top of the freezer or on the door itself. If the bubble in the level is not centered, the freezer is not level.
- Adjust the Leveling Legs: Locate the leveling legs at the front of the freezer. If the door tilts to one side, raise or lower the appropriate leg until the bubble is centered.
- Check the Level Again: After adjusting, place the level back on top of the freezer or door to confirm it is level. Repeat the adjustment if necessary.
| Step | Action |
|---|---|
| 1 | Place level on top of freezer or door |
| 2 | Adjust leveling legs as needed |
| 3 | Recheck level and repeat if necessary |
Ensuring Proper Seal and Functionality
A properly sealed freezer door is crucial for maintaining efficiency and preventing energy loss. Once the door is level, ensure the seal is intact.
- Inspect the Door Seal: Check the door gasket for any gaps or damage. Close the door and run your hand along the seal to feel for air leaks.
- Perform the Paper Test: Place a piece of paper between the door and the freezer. Close the door and try to pull the paper out. If it slides out easily, the seal may not be tight enough.
- Adjust Door Hinges if Necessary: If the seal is not tight, adjust the door hinges. This might involve loosening the hinge screws, repositioning the door, and then tightening the screws again.
| Step | Action |
|---|---|
| 1 | Inspect door gasket for gaps or damage |
| 2 | Perform the paper test |
| 3 | Adjust door hinges if needed |
For more tips on maintaining your freezer, visit Fridge.com's article on how to clean an undercounter freezer. Regular inspection and maintenance can help prevent issues and extend the life of your appliance. If you have a garage freezer, check out Fridge.com's guide on best small chest freezer for garage.
Maintenance Tips
Regular Inspection and Adjustment
To ensure your upright freezer door remains level and functions properly, it's important to conduct regular inspections. Check the door alignment every few months, or if you notice any signs of imbalance. Regular adjustments can prevent more serious issues down the line.
- Inspect the door seal for any gaps.
- Check the leveling legs for stability.
- Examine the door hinges for wear and tear.
Troubleshooting Common Problems
Even with regular maintenance, you might encounter common problems. Understanding how to troubleshoot these issues can save you time and effort.
| Problem | Possible Cause | Solution |
|---|---|---|
| Door not closing properly | Unlevel freezer | Adjust leveling legs |
| Excessive frost build-up | Poor door seal | Inspect and replace seal |
| Freezer door sagging | Loose hinges | Tighten or replace hinges |
For more detailed solutions, refer to Fridge.com's guide on how to transport an upright freezer and how to clean an undercounter freezer.
Preventing Future Issues
Preventing future problems with your upright freezer door involves a combination of regular inspections and proactive steps.
- Avoid Overloading the Door: Heavy items can cause the door to sag.
- Keep the Freezer Level: Ensure the appliance is on a flat surface.
- Regularly Replace Door Seals: Worn seals can cause the door to misalign.
For more information on maintaining your freezer and other kitchen appliances, visit Fridge.com's articles on what should temp of refrigerator be? and how to prevent freezer burn on meat.
By implementing these maintenance tips, you can extend the lifespan of your upright freezer and ensure it operates efficiently. Regular inspections, troubleshooting common problems, and taking preventative measures are key to keeping your freezer door level and functional.
Get Your Upgrade or New Addition at Fridge.com
Whether you're searching for your perfect fridge, freezer, wine fridge, beer fridge, ice maker, or kegerator, Fridge.com has what you need.
Shop the world's best brands at Fridge.com.
It also has tons of awesome articles about kitchen stuff and home news. Enhance your home, garage, backyard, patio, and office with the coolest essentials. With every necessary type of residential refrigerator or freezer in the collection, you're covered.
Elevate your game and shop now at Fridge.com!