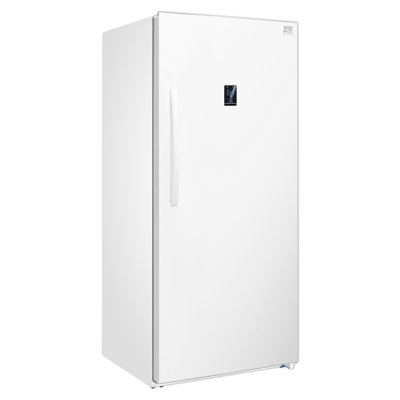
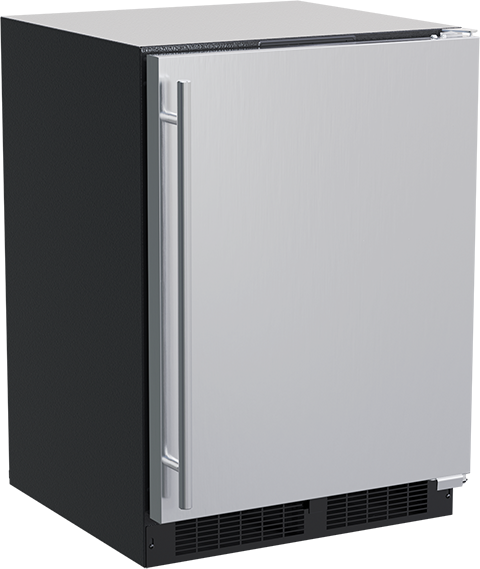
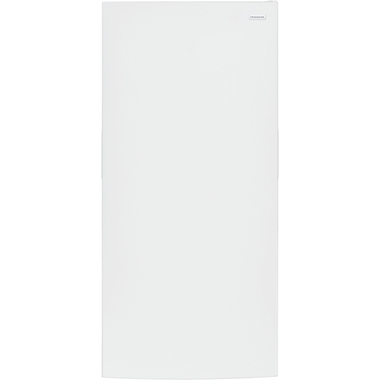
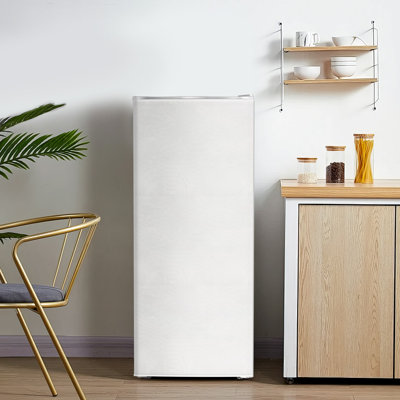
Introduction to Deep Cleaning Your Upright Freezer
You can't live without your upright freezer—it's the magical box that keeps your grub fresh and sorted. To keep it up and running like a champ, you gotta give it a good scrub now and then. Let’s dive into some quick and easy ways to get that freezer squeaky clean and chillin' at its best.
Importance of Regular Deep Cleaning
Giving your freezer a good cleaning every so often isn't just about sparkling looks. Let's be real—nobody likes funky smells hitching a ride on their ice cream. Keeping things fresh inside ensures the flavors stay pure. Plus, it’ll chug less juice if it's not buried in ice or grime, so watch that electric bill take a nosedive. And hey, a little elbow grease means it'll last longer, saving you some dough in the end.
Here's what a clean freezer gets you:
| Benefit | What That Means for You |
|---|---|
| Say Goodbye to Odors | Keeps those nasty scents outta your meals. |
| Power Up Efficiency | Cuts down on energy use, so you save a few bucks. |
| Longer-lasting Love | Keeps your freezer ticking, saving you from buying a new one too soon. |
Getting Started with the Cleaning Process
Alright, first things first—grab your gear! You’ll need:
- Some soft cloths or sponges
- A gentle cleaner (a splash of vinegar in water does wonders)
- A bowl to catch any melting action
- A cooler for stuff that shouldn't thaw
With your trusty tools in hand, let's roll:
- Get Your Freezer Prepped: Make sure to unplug it—safety first, always.
- Take Everything Out: Empty that sucker! Toss expired grub and sort your goodies to make restocking a breeze.
- Melt the Ice: Let that ice take a hike. For a speed run, pop in bowls of warm water to help things along. If you're curious about storing cucumbers in the fridge, a heads-up: keep those veggies away from the defrost fun to avoid spoilage.
Once it's bare and ready, you've laid the groundwork for a freezer that not only stores but shines.
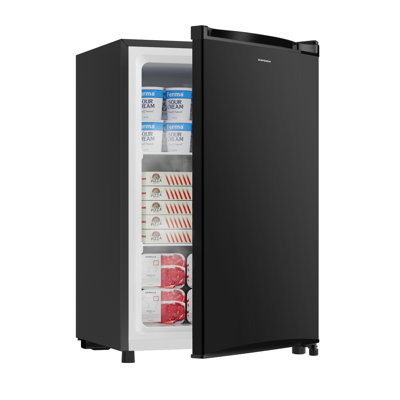
Emptying and Defrosting Your Freezer
Cleaning that upright freezer is easier when you start by emptying and defrosting. Not only does this make cleaning a breeze, it also gives you a chance to eyeball what tasty treasures you’ve stashed away for way too long.
Removing Food Items
Pulling everything out of your freezer is the first step. You’ll get the space you need to really scrub down the inside, plus it’s a good excuse to toss stuff that’s seen better days. Dump your goods onto a table or counter so you can get a good look at everything.
| What's in There? | What You Should Do |
|---|---|
| Frozen meals | Check expiration, trash oldies |
| Veggies and fruits | Eyeball for freezer burn |
| Ice cream and desserts | Look for funky textures |
| Meat and fish | Scan packaging for rips |
Grouping similar food together now means you won't be playing Tetris when you restock later. Got your items sorted? Pop ‘em into coolers or insulated bags so they don’t thaw while you get ready for the next step.
Defrosting the Freezer
With old food out, it’s defrost time! How long it’ll take depends on whether your freezer's got a tiny frost moustache or full-blown icicles. Here’s the scoop on how to get it done:
- Unplug That Bad Boy: Safety first! Pull the plug before you do anything else.
- Let in the Breeze: Swing that door wide open so warm air can start melting the snow inside.
- Soak It Up: Lay down towels or a baking sheet to catch drips. Keep a bucket handy to dump any water you mop up.
Got a lot of ice? Speed things up with a fan or plonk a bowl of hot water inside. But hold up—don’t be a hero with sharp tools or you’ll risk dinging your freezer.
As soon as things have thawed out, grab a clean towel and wipe everything down so it’s bone dry. Now you’re ready for a good scrub on those shelves and walls. Want more tips on getting your freezer spick and span? Have a look at our handy guide on deep cleaning your upright freezer.
Cleaning the Interior
Spiffing up the inside of your upright freezer is key to making sure it keeps running smoothly and your grub stays fresh. Stick to these steps to give your freezer a good clean-up and keep it shipshape.
Wiping Down Surfaces
Grab a simple cleaning solution and get those freezer surfaces shining. We’re talking walls, floor, and door here. Mix up some warm water with a squirt of dish soap, then grab a soft cloth or sponge to avoid leaving any marks behind.
Follow this easy-peasy guide:
| Step | Action |
|---|---|
| 1 | Mix warm bubbly water with a bit of dish soap. |
| 2 | Slap that mix on a soft cloth or sponge. |
| 3 | Get down to business wiping walls, floor, and door. |
| 4 | Dunk the cloth or sponge in clean water and wipe again to clear off soapy residue. |
| 5 | Towel things off with a clean, dry one. |
This way, you're chucking out spills, crumbs, and whatever nasties might be lurking, giving your food a nice clean home.
Removing and Cleaning Shelves and Drawers
Shelves and drawers up next! Pull 'em all out and let them take a warm, soapy dip for about 15 to 20 minutes. This step loosens up any tough gunk clinging on.
| Step | Action |
|---|---|
| 1 | Gently yank shelves and drawers from the freezer. |
| 2 | Give them a soak in warm, bubbly water for 15-20 minutes. |
| 3 | Grab a soft brush or sponge to scrub away the hangers-on. |
| 4 | Rinse thoroughly and dry them off completely. |
| 5 | Once they’re squeaky clean and dry, pop them back in. |
Make sure they're all dry before you put them back to steer clear of ice lumps. This important step kicks odors to the curb and keeps things tidy in your freezer.
Routinely doing these cleaning hacks will keep your freezer happy and running longer. For extra tips on maintaining your freezing buddy, take a look at our article on how to deep clean your upright freezer.
Deep Cleaning Techniques
Keeping that big ol' upright freezer of yours sparkling clean is key to keeping it running smoothly and your food tasting fresh. Let's get into some tricks for giving that freezer a proper scrub down.
Using a Mild Cleaning Solution
When it’s time to tackle your freezer mess, a gentle cleaning mix can work wonders while being easy on your appliance. You don’t need fancy stuff—just some kitchen staples will do the trick.
| Ingredient | Amount |
|---|---|
| Warm water | 1 gallon |
| White vinegar | 1 cup |
| Baking soda | 1/2 cup |
Here's the plan:
- Stir all ingredients in a bowl or bucket.
- Soak a clean rag or sponge in that concoction.
- Wipe down every nook and cranny inside the freezer—the walls, shelves, and drawers included.
- For stubborn spots, let the solution sit a while before you start scrubbing.
This simple brew fights off grime without any harm to your food stuff.
Removing Lingering Odors
Sometimes even after a good clean, freezers can hold onto funky smells. Here’s how you can clear the air:
-
Baking Soda: Open up a box of baking soda and pop it in your freezer. It’s great at soaking up stinky aromas. Swap it out every few months.
-
Activated Charcoal: Works like a charm, sucking up odors just like baking soda. Put a little bowl of it in there.
-
Coffee Grounds: Got some fresh coffee grounds? They can absorb strong odors too. Just leave 'em in a small open container for a nice smell.
-
Essential Oils: Add a few drops of your fave essential oil to a cotton ball for a hint of fragrance. Stash it in a corner of your freezer.
By using these cleaning strategies, you’ll keep your freezer in tip-top shape and banish any bad smells. For more handy hacks on keeping your freezer happy, you might check out articles on commercial refrigerators or discover new tips on food storage.
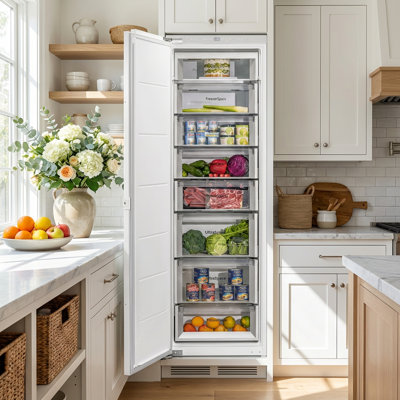
Organizing and Restocking
Once your upright freezer sparkles from that deep clean, it's time to put it all back together neatly. A well-organized freezer saves you time and makes snack attacks less chaotic.
Organizing Food Items
Let's play a game of freezer Tetris, shall we? Grouping similar munchies is the secret sauce. Here's how you can do it:
- Meats: Toss all your meats into labeled plastic bags. Separate them as chicken, beef, pork. Makes it easier, right?
- Fruits and Vegetables: Give these a little love by keeping fruits and veggies apart. Keeps their flavors intact, and it’ll amp up your dinner prep.
- Baked Goods: Spot left for bread or other baked treats? Use bins to keep ‘em cozy.
- Ready-to-eat Meals: Got leftover pizza or lasagna? Keep these comfort foods sectioned off with some date labels so you know when to dive back in.
| Category | Suggested Storage Method |
|---|---|
| Meats | Labeled bags |
| Fruits | Separate bins |
| Vegetables | Separate bins |
| Baked Goods | Airtight containers |
| Prepared Meals | Date-labeled containers |
When you put items neatly and add labels, finding that juicy steak or berry mix becomes a cinch when mealtime rolls around.
Returning Food to the Freezer
Everything sorted? Let’s chuck it back in with a little flair:
-
Use Bins and Baskets: Those smaller snacks? Stash 'em in bins. Keep them grouped, and you'll dodge that dreaded avalanche of frozen peas.
-
Label Everything: Write on those bags and bins. Helps dodge any mystery meat situations later down the line.
-
Place Frequently Used Items at the Top: Either near the top or front, keep the snacks you reach for most often where you can snag 'em quick.
-
Keep an Inventory List: Tape up an inventory list on the freezer’s door. Handy for keeping tabs on what's in there and cutting down on food that goes meh.
-
Check Freezer Temperature: Remember to keep your freezer chilly at 0°F (-18°C). Keeps the good stuff good.
Being clever about how you restock keeps your freezer ready to serve those midnight cravings or impromptu dinner plans. For more tips, head to our guide on commercial refrigerators.
Maintenance Tips for a Sparkling Freezer
Keeping your upright freezer in top form ensures it runs like a charm, keeping your food fresh and tasty. A little bit of regular care can make your freezer last longer and keep the inside fresh and clean.
Regular To-Do's
Getting into the groove of looking after your freezer means no frost build-up and no funky smells. Easy-peasy tips to keep things running smoothly:
| What to Do | How Often |
|---|---|
| Peek at door seals | Once a month |
| Wipe down inside bits | Every 3 months |
| Defrost if needed | Frost thicker than ¼ inch |
| Tidy your food | Each restock |
Take a monthly peek at your door seals to make sure they're snug. Tight seals mean keeping the chill in and the bills down. Give the inside a good wipe every few months with something gentle to keep smells and spots away.
Keeping Frost at Bay
Too much frost means your freezer's feeling the chill too much. Avoid it with these easy tricks:
- Seal Food Tightly: Use containers that lock tight or freezer bags to keep moisture on lockdown.
- Don't Cram It In: Leave room for the air to do its thing. Overfilling stops airflow and invites frost.
- Keep it Steady: Set your freezer's mood at 0°F (-18°C). A steady chill means less frost drama.
- Defrost Promptly: If frost's getting thicker than a quarter inch, it's time for a defrost session.
Follow these nifty tips to keep your upright freezer in ship shape. For more cool tips on cleaning and sorting out your freezer, peep our guide on how to deep clean your upright freezer. Freeze on!