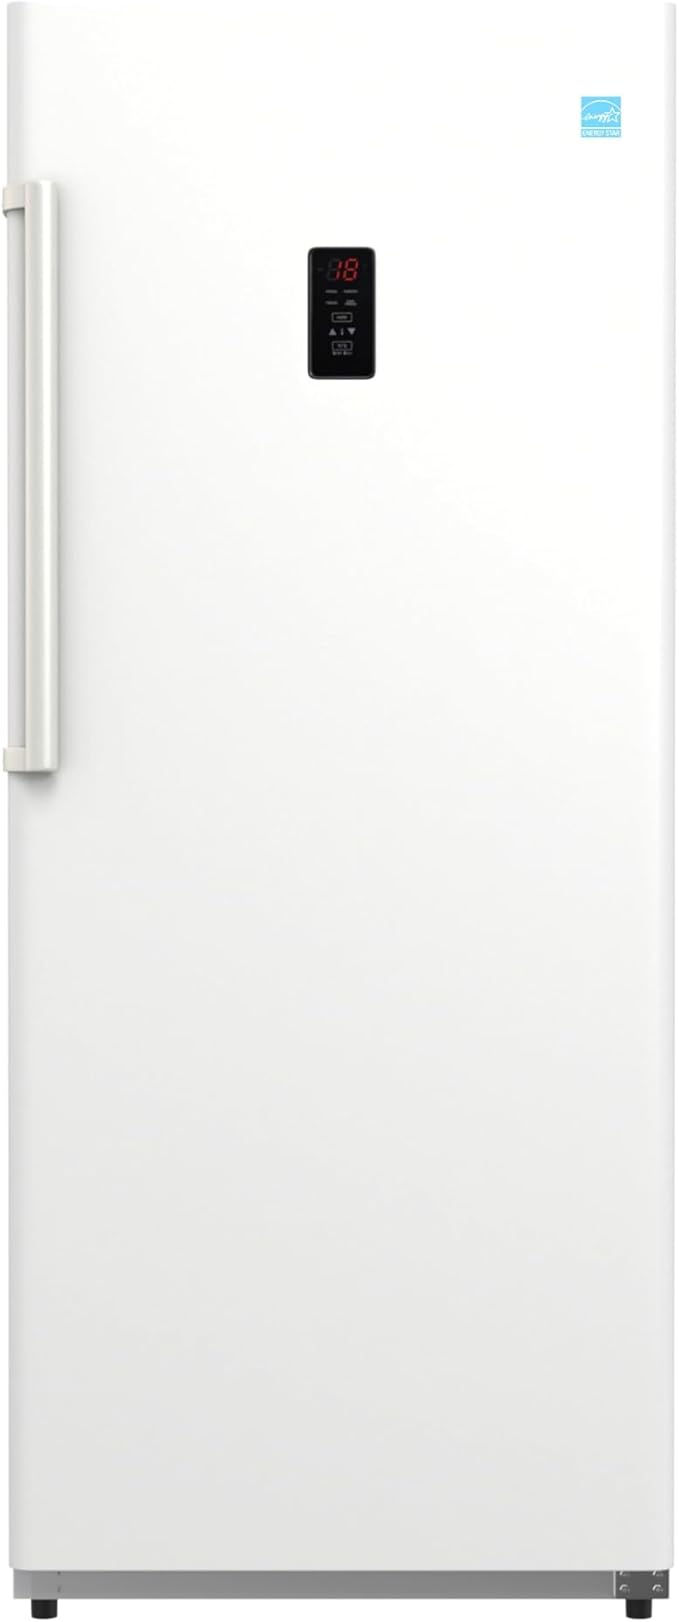
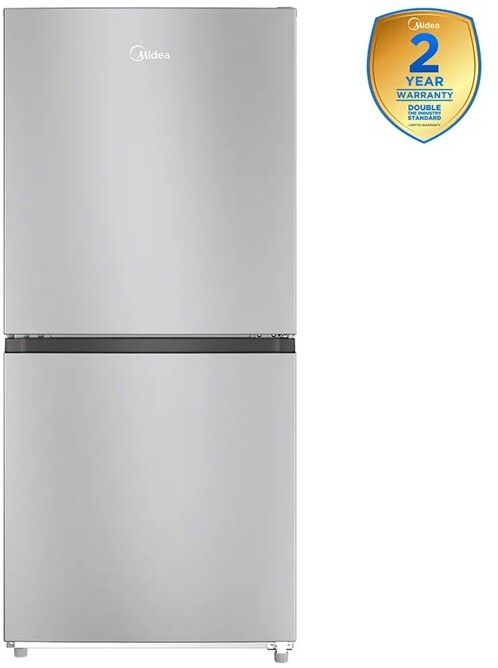
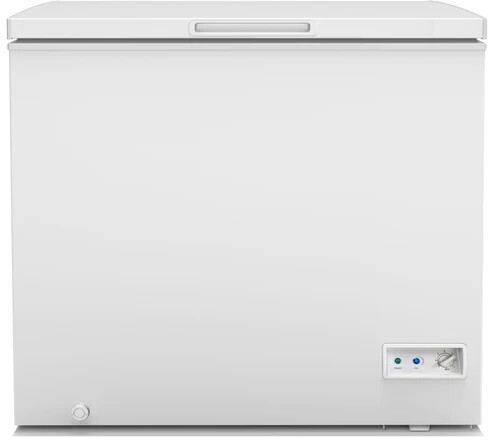
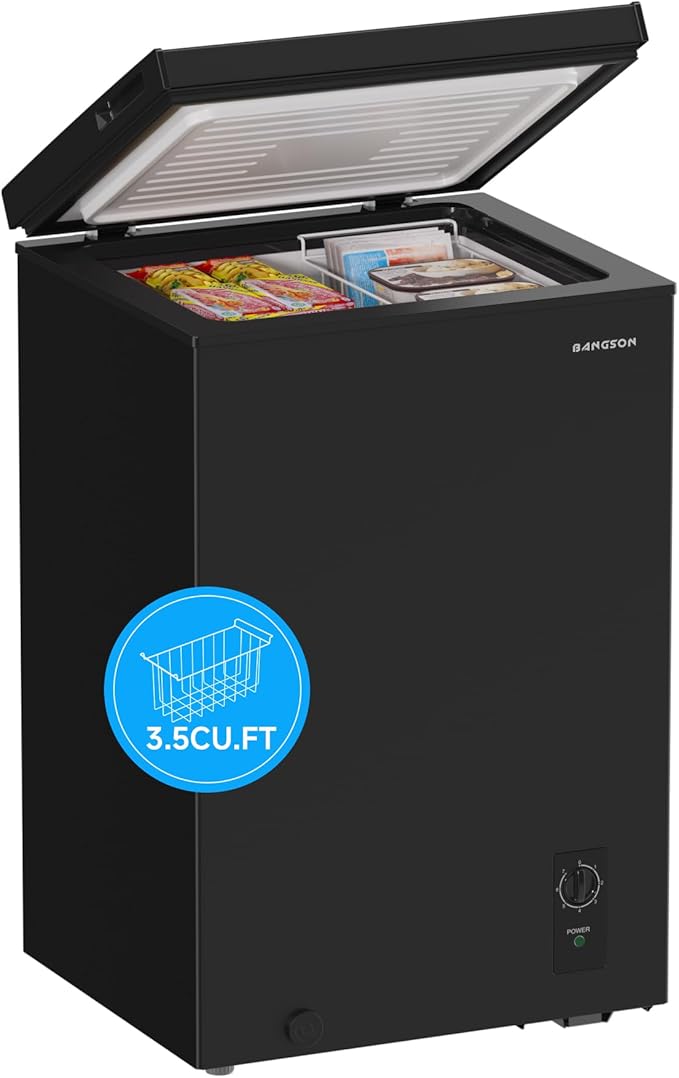
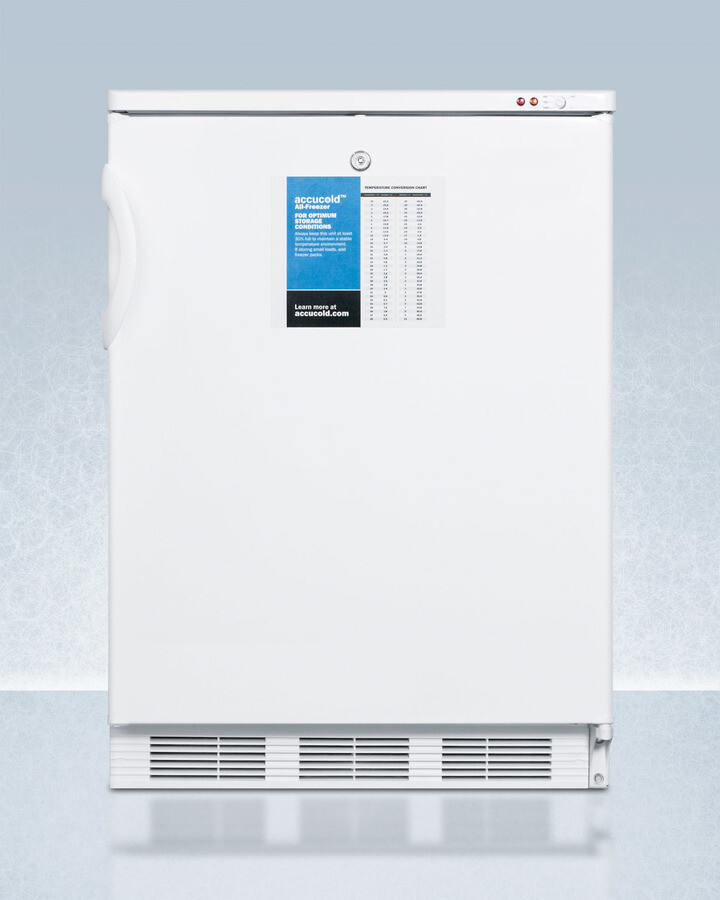
Moving a freezer without damaging floors often feels like balancing on a tightrope. You might ask, “How can I slide my freezer without scratching the floor?” Luckily, with a few simple tools and careful technique, you can glide that heavy appliance across tile, hardwood, laminate, or vinyl without leaving a mark. In this guide, you’ll learn how to assess your floors, prep your freezer, gather the right sliding gear, protect surfaces, and safely slide your freezer into position. Let’s get started.
Assess your floor surface
Before you even think about shifting your freezer, take a minute to look at the floor beneath it. Knowing what you’re working with sets you up for a scratch-free move.
Identify floor type
Floors vary from room to room. You might have:
Hardwood or engineered wood
Laminate planks
Tile (ceramic or porcelain)
Vinyl or linoleum
Natural stone (marble, granite)
Each surface reacts differently under pressure and friction. Hardwoods can dent or scratch easily, while tiles are more resistant but can crack if a corner catches on grout. Knowing your floor type helps you pick the best protection strategy.
Inspect surface for damage
Once you know the material, walk around the path you intend to slide your freezer along. Check for:
Loose tiles or popping grout lines
Deep scratches, dents, or gouges
Debris like pebbles, crumbs, or loose screws
Moisture spots or sticky residue
Clear any debris and repair or avoid unstable sections. You don’t want to catch a corner of your freezer on a stray nail and leave a permanent scar.
Clear and prep freezer
A heavy freezer full of food increases the risk of slips and spills. Lightening the load makes the move smoother and more manageable.
Empty freezer contents
Start by pulling everything out:
Transfer perishables to coolers or another freezer.
Put small items in bins or sturdy boxes.
Label containers if needed, especially if you’re moving to a different zone.
Keep a towel or two handy for any drips.
Clearing the interior also speeds up the defrosting process and ensures nothing shifts around once you start sliding.
Defrost and dry
Ice buildup can freeze your freezer to the floor, adding extra weight and risk of surface damage. To defrost:
Unplug the freezer and prop the door open.
Place towels around the base to catch melting ice.
Let it sit until all ice melts naturally or speed it up with a bowl of hot water inside.
Wipe down and dry every surface, especially the bottom plate.
Now for the main event. With helpers at the ready and protections in place, follow these tips to move your freezer without a hitch.
Coordinate with helpers
Even though sliding sounds simple, freezers can weigh 150 pounds or more. Have at least one person on each side:
Assign roles—who pushes, who guides, and who observes floor protection.
Communicate clearly before each movement.
Use simple commands like “push,” “hold,” and “stop” to avoid confusion.
Lift and slide technique
Don’t just push the entire weight. Instead:
Each person places one hand on the bottom edge and one on the top.
On the count of three, lift slightly—just enough to reduce friction.
Keep your backs straight and knees bent to avoid injury.
While lifted, slide forward slowly, maintaining a steady pace.
Lower the freezer gently back onto its feet periodically to adjust sliders if they shift.
This lift-and-slide pattern prevents constant scraping.
Use smooth movements
Jerky or fast moves increase the chance of a slip or snag. Aim for:
Slow, controlled pushes.
Pauses to re-center and check floor protection.
Clear sight lines so everyone can see the path.
When you feel the freezer settle, stop, adjust the sliders or blankets, and repeat. Patience pays off in scratch-free results.
Clean up afterwards
Once your freezer is in place, it’s tempting to call it a day. But a quick post-move inspection ensures you haven’t missed any scratches or shifted protective layers.
Examine for scratches
Walk the path and look for:
Light surface marks
Deep gouges or dents
Loose tiles or lifted laminate edges
If you spot any damage, address it right away before adding furniture back to the room.
Touch up minor damage
For small nicks and scrapes:
Use a matching floor repair kit for hardwood or laminate.
Fill grout cracks with a colored grout repair compound.
Clean tile or stone with a gentle scrub and refill any sealant if needed.
Minor repairs are usually quick and inexpensive.
Reconnect and reset
Your freezer’s new home is almost ready to use:
Plug it back in and let it stabilize for a few hours.
Level the appliance using adjustable feet or a carpenter’s level.
Even with the best intentions, mistakes happen. Here are pitfalls to steer clear of:
Rushing the move without testing protection
Sliding over uneven surfaces or debris
Forgetting to defrost fully before moving
Using makeshift tools that slip under weight
Ignoring leveling and reconnecting steps
Working solo instead of enlisting help
Keeping these in mind helps you avoid costly floor repairs and backaches.
Maintain freezer after move
A move can jostle components and affect performance. A few simple follow-up steps will keep your freezer running smoothly.
Check leveling
An unlevel freezer can strain the compressor and cause door seals to wear unevenly:
Place a level on top of the appliance front to back and side to side.
Adjust feet until it sits perfectly level.
Test operation
After plugging in:
Listen for unusual sounds like hissing or grinding.
Monitor the temperature over 24 hours to ensure it reaches the recommended freezing point.
Check door seals by closing a dollar bill in the door—if it pulls out easily, tighten the latch or replace the gasket.
Regular cleaning tips
Keep your freezer in top shape:
Declutter expired foods every few months.
Dust coils twice a year to improve efficiency.
Inspect door seals monthly for cracks or gaps.
Wipe spills immediately to prevent odors and stains.
Routine maintenance extends the life of your appliance and keeps floors in pristine condition.
Final thoughts
Sliding a freezer without scratching the floor is all about preparation, the right tools, and patient technique. By assessing your flooring, clearing and defrosting your appliance, gathering proper sliders and protective layers, and using a coordinated lift-and-slide method, you’ll glide your freezer into position with zero damage. Afterward, inspecting for scratches, making quick repairs, and maintaining your freezer ensures both your appliance and floors stay in top form. You’ve got this, so go ahead and give your freezer a fresh spot—scratch-free and stress-free.
Free tool
Food Storage Calculator
Free interactive tool from Fridge.com — get a quick answer while you read.