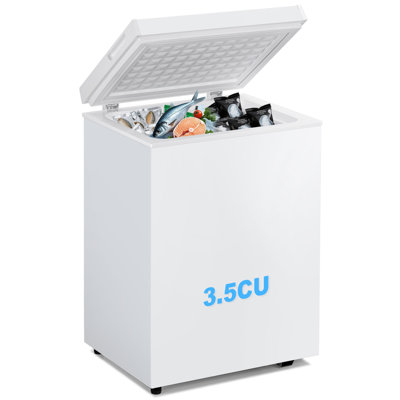
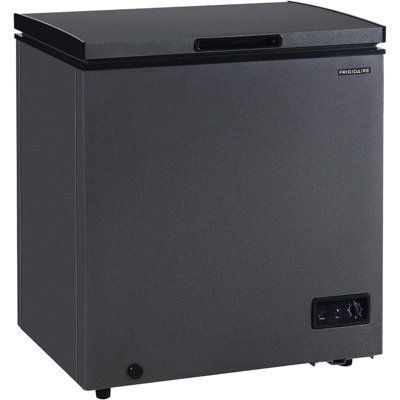
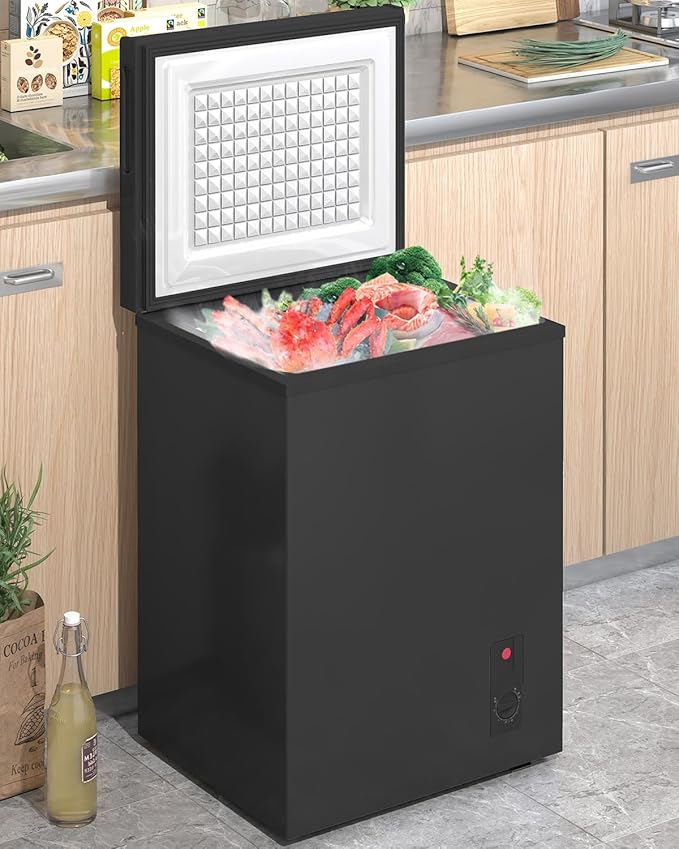
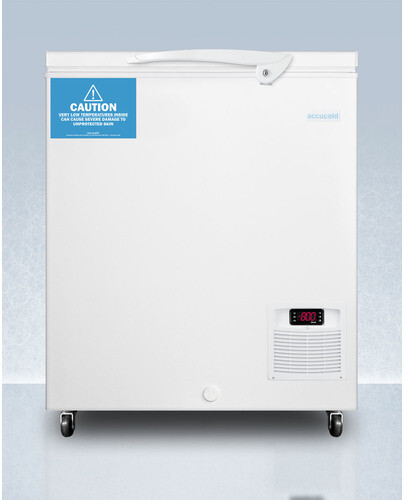
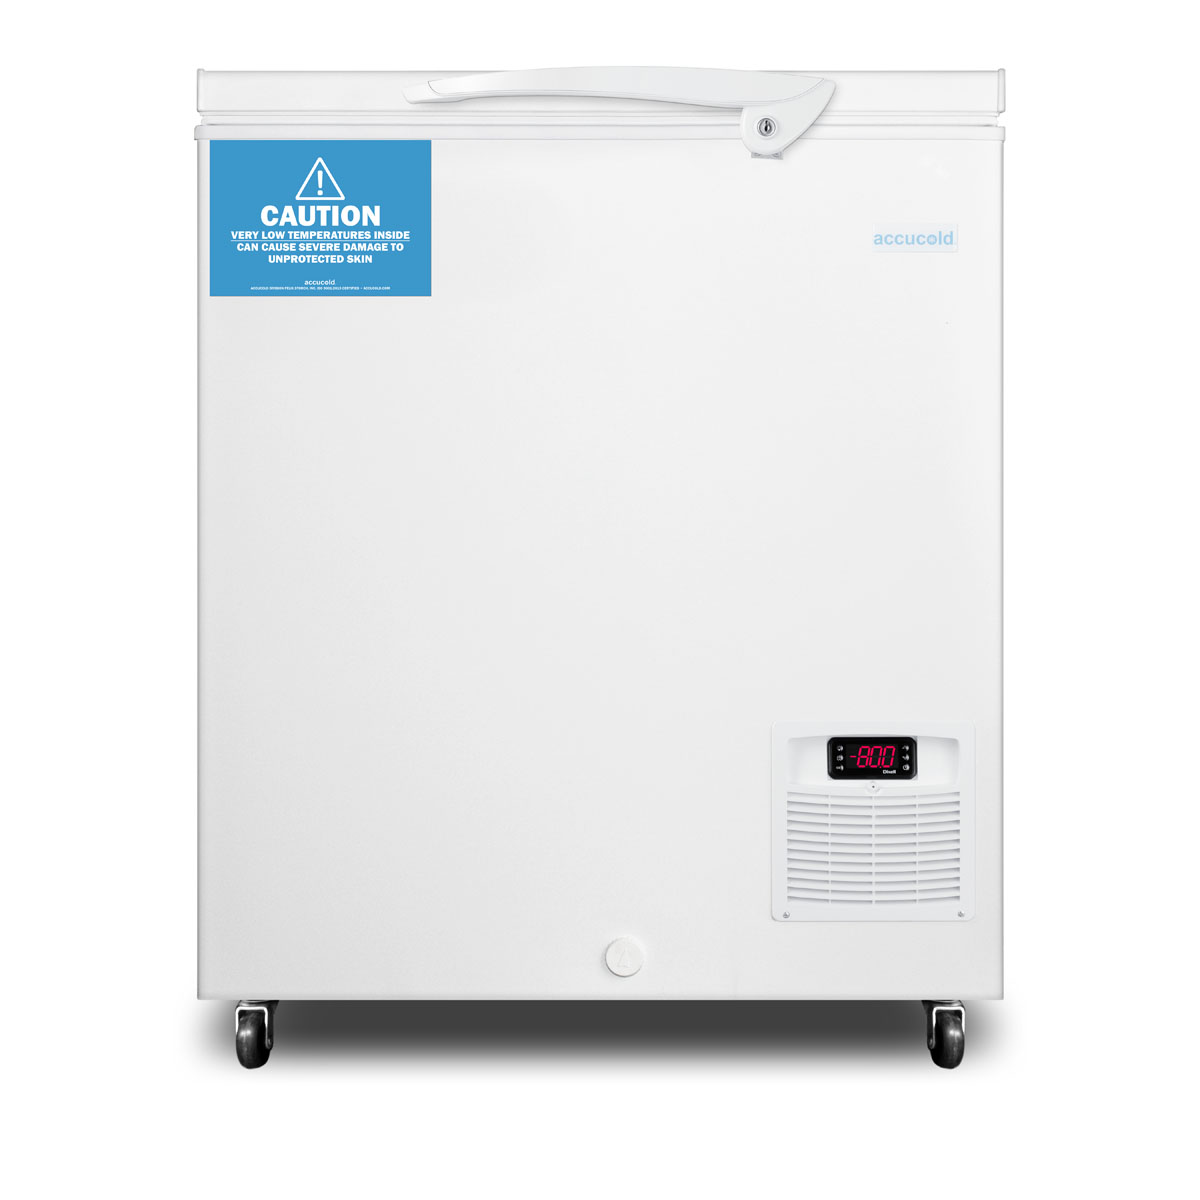
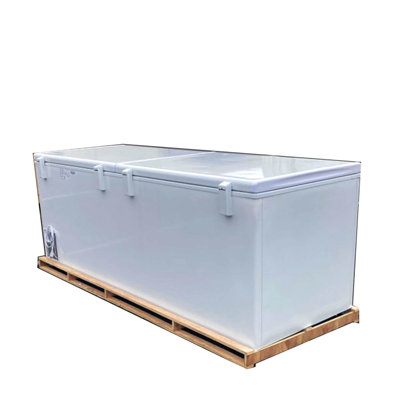
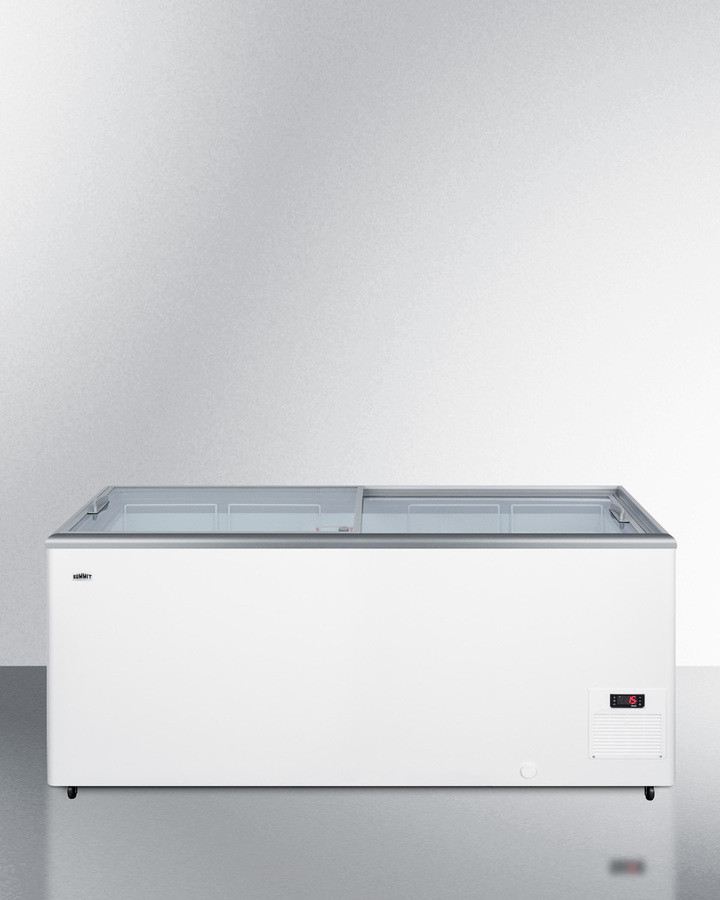
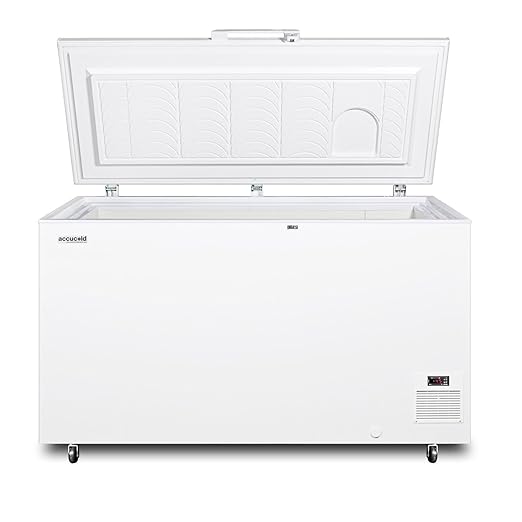
Are you asking which top hinge chest lid removes for deep cleaning? You’re not alone. When your chest freezer gets a bit grimy around the seals and hinges, it’s tempting to break out a scrub brush and elbow grease. But before you dive in, you need to know if your freezer’s lid is designed for easy removal—and how to do it without damaging the hinges or the gasket. In this guide you’ll learn everything from identifying your hinge type to safely lifting off the lid, washing it thoroughly, and snapping it back into place for a perfect seal.
Chest lid removal overview
Deep cleaning a chest freezer lid isn’t just about looking neat. Over time food particles, condensation and mold can build up around the gasket and hinge area, compromising efficiency and food safety. By removing the lid you can:
- Reach hidden crevices that trap debris
- Inspect and replace worn gaskets
- Sanitize surfaces to prevent odors and bacterial growth
Most modern chest freezers use either pin-based hinges or bolt-on hinges that let you lift off the lid in a few steps. A small number of continuous-hinge models may require professional help for safe removal, so let’s first figure out which type you have.
Identify hinge type
Before you grab tools, you need to know how your lid is attached. Check the back of your freezer where the hinge meets the cabinet.
Pin-based hinges
These are the most common on household and commercial chest freezers. You’ll see a removable pin that holds two hinge plates together—one plate on the lid, one on the body. Pulling this pin lets the lid lift right off.
Bolt-on hinges
High-capacity or heavy-duty freezers often use bolts instead of pins. You’ll need a screwdriver or socket wrench to unfasten them. Once the bolts are off, the lid comes free.
Continuous hinges
Some built-in or slide-in models use a long continuous hinge that’s riveted or welded. These rarely detach easily. If yours looks like one solid strip with no visible pins or bolts, check your manual or call a technician.
| Hinge type | Removal complexity | Tools needed |
|---|---|---|
| Pin-based | Easy | Pliers or your fingers |
| Bolt-on | Moderate | Screwdriver or socket |
| Continuous | Difficult | Professional service |
Now that you know your hinge style, let’s gather what you’ll need to clean.
Gather cleaning supplies
Having the right supplies at hand means you won’t have to pause mid-project. Here’s what you’ll want on your countertop:
- Warm water in a large bucket or sink
- Mild dish soap or gentle cleaner
- Baking soda (for deodorizing)
- White vinegar (for disinfecting)
- Soft microfiber cloths or non-abrasive sponges
- Small nylon brush or old toothbrush
- Clean towels for drying
- Protective gloves (optional)
- Screwdriver or socket wrench (for bolt-on hinges)
- Needle-nose pliers (for pin-based hinges)
With supplies lined up, you’re ready to remove that lid safely.
Remove the chest lid
Taking off the lid is straightforward once you’ve identified the hinge type. Remember to work carefully to avoid pinched fingers or bending the hinges.
Safety first
- Unplug the freezer. Even a quick disconnect can reset some models or trigger interior lights—check will unplugging a chest freezer reset it? if you’re not sure.
- Empty the top shelf. Move any stored items away from the hinge area so nothing falls out when the lid comes off.
- Clear your workspace. Make sure you have a spot to set the lid safely without scratching it.
Step-by-step removal
- Access the hinge pins or bolts. Open the lid fully and look behind the hinge covers—if present, pop them off with a flat screwdriver.
- Remove pin or bolt.
- For pin-based hinges: grip the pin with pliers, wiggle it gently, and pull it straight out.
- For bolt-on hinges: use the screwdriver or socket wrench to loosen each bolt, then set them aside in a small container.
- Lift off the lid. With the fasteners removed, grip each side of the lid and lift straight up. Enlist a friend if the lid is heavy or awkward.
- Set the lid down. Lay it on a protected surface—old towels or cardboard work well.
Now you have full access to both sides of the lid for a proper deep clean.
Deep clean the lid
With the lid removed, you can scrub every nook and cranny without worrying about drips or dribbles inside your freezer. Follow these tips for a sparkling result.
Interior cleaning tips
- Soak stubborn areas. Mix warm water with a tablespoon of baking soda. Use a sponge to apply the paste to stains or mold spots, let sit 5 minutes, then scrub with the brush.
- Disinfect with vinegar. Spray or wipe white vinegar over gasket channels and crevices. Let it air-dry—it kills most bacteria and prevents odors.
- Rinse thoroughly. Wipe away cleaning residues with a cloth dampened in plain water. Any leftover soap can lead to sticky build-up.
Exterior cleaning tips
- Wipe down paint or stainless finish. Use mild soapy water and a soft cloth. Avoid abrasive pads that scratch.
- Dry hinge area. Pat completely dry around hinge plates so no moisture remains to cause rust.
- Polish handles and trim. If your lid has metal or chromed parts, a quick buff with a dry microfiber cloth restores shine.
For more on tackling spills inside your fridge or freezer, check out our best ways to clean up messy fridge spills and how to clean the refrigerator cleaning lessons.
Reattach the chest lid
Once your lid looks and smells fresh, it’s time to put it back—and make sure it seals perfectly to keep your freezer efficient.
Align hinges correctly
- Position the lid. With a helper, lift it back over the body, aligning the hinge plates.
- Insert pin or bolt.
- For pin-based hinges: slide the pin back through both plates until it’s flush.
- For bolt-on hinges: replace each bolt and tighten snugly without over-torquing.
- Replace hinge covers. Snap the protective caps back on if you removed them.
Test for proper seal
- Close and open test. The lid should glide smoothly without catching.
- Feel for gaps. Run your hand around the gasket to ensure even contact.
- Check for cold air leaks. After plugging the freezer back in, feel for escaping air around the seal—it should be minimal.
If you notice uneven sealing, double-check hinge alignment or inspect the gasket for cracks. A failing gasket may need replacement to maintain freezer performance.
Maintain your freezer
Deep cleaning is easiest when you do it regularly, not once a year in panic mode. Here’s how to keep your hinge area and lid looking great:
- Wipe down the gasket and hinge plates monthly with a mild soap solution.
- Remove debris from inside the freezer weekly to prevent build-up around the seal.
- Inspect hinge pins or bolts quarterly—tighten loose hardware before it becomes a problem.
- Defrost and deep clean the entire unit at least twice a year.
- Replace worn or cracked gaskets promptly to avoid energy waste and frost build-up.
A little attention goes a long way toward extending the life of your freezer and keeping your food at peak freshness. If you ever wonder about power cycles, defrosting or resetting, revisit will unplugging a chest freezer reset it? for guidance.
Regular maintenance also helps prevent freezer burn and preserves food quality. For more on avoiding frost damage, see what causes food to freezer burn?.
Final thoughts
Knowing which top hinge chest lid removes for deep cleaning gives you the confidence to tackle builds-up and spills head-on. By identifying your hinge type, gathering the right tools, and following a clear removal, cleaning and reinstallation process, you’ll keep your freezer performing at its best. With periodic checks and light maintenance, you’ll never have to wrestle with grimy seals again. Now grab those pliers, roll up your sleeves, and give your chest freezer the deep clean it deserves.