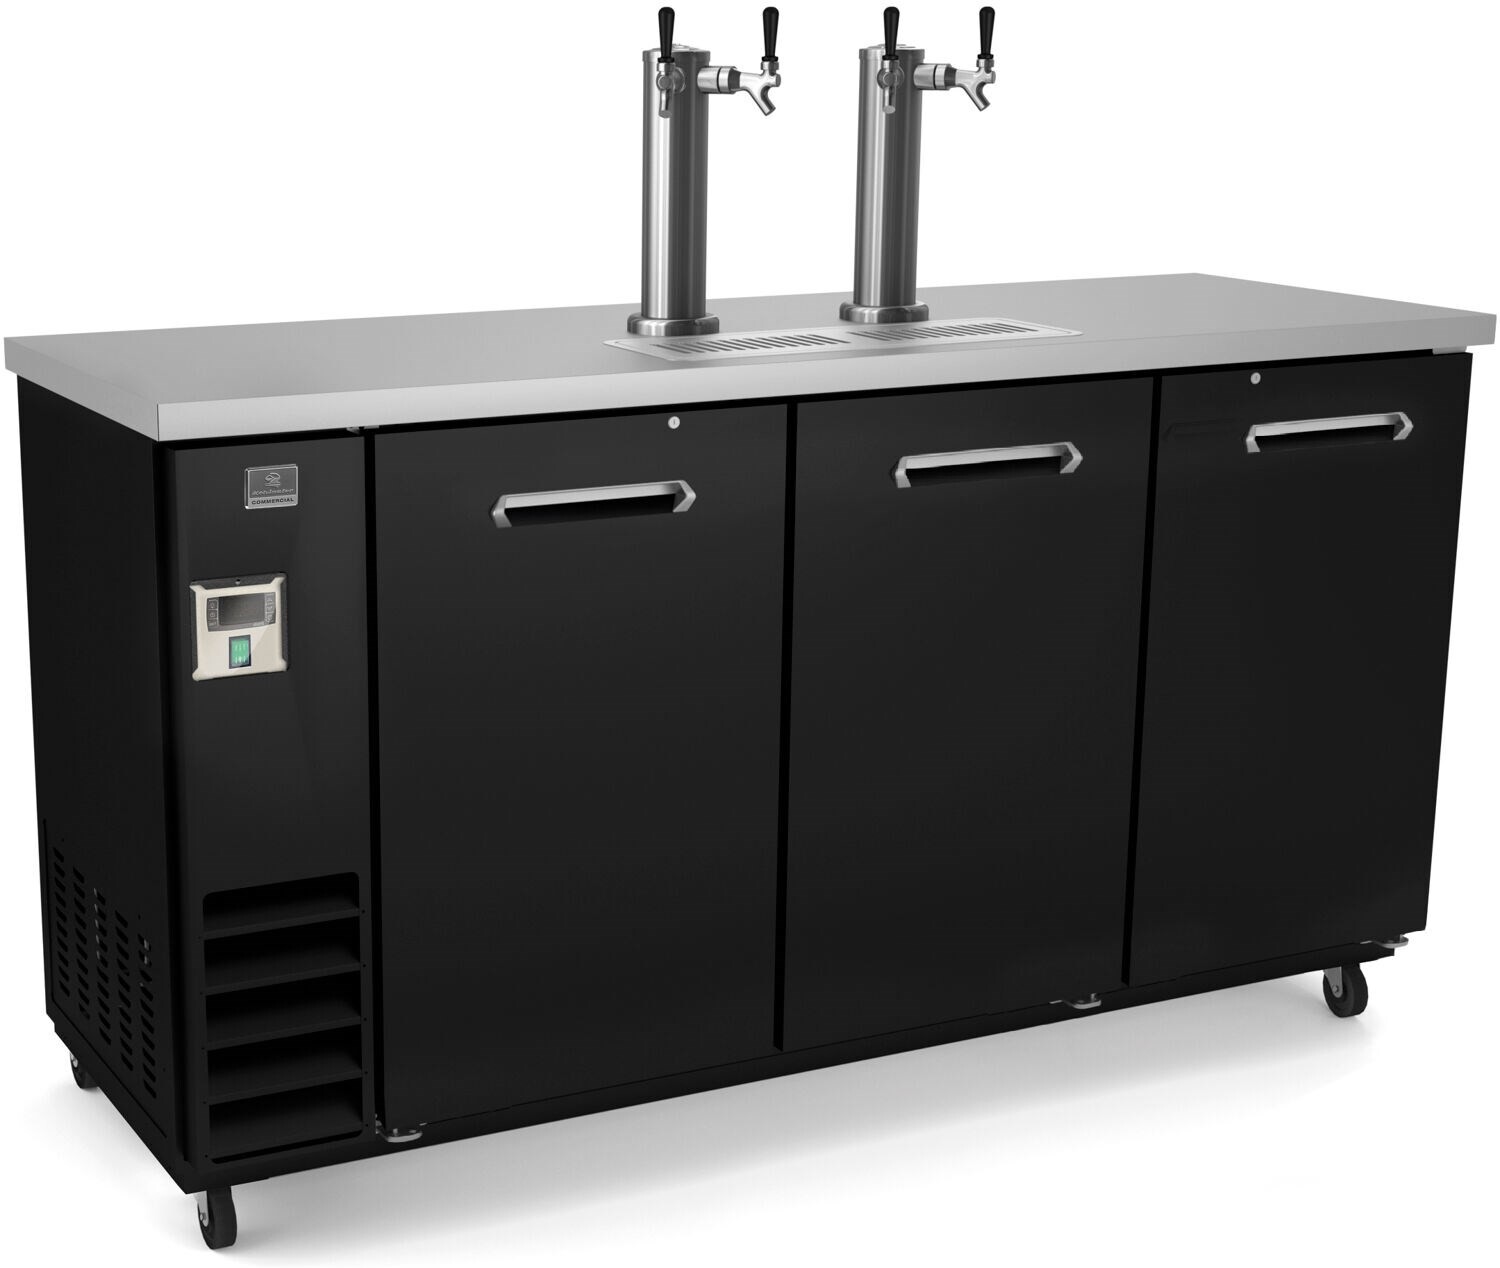
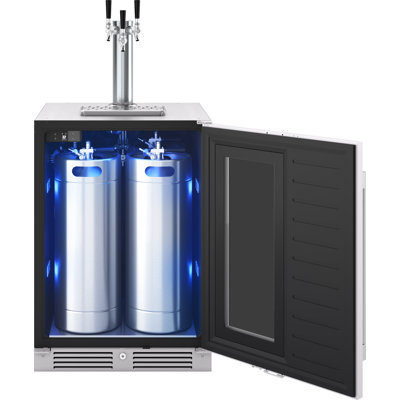
You’ve probably asked yourself, “Which rack supports large growler bottles upright?” the moment you tried to slide a full 64-ounce growler into your fridge and it tipped over. Whether you’re a home cook stashing your favorite craft beer, a kegerator owner eyeing backup bottles, or a party host juggling gallon-sized kombucha brews, finding the right rack can make all the difference. In this guide, you’ll learn how to measure your fridge, compare rack designs, choose the perfect solution, install it with confidence, and keep those hefty growlers standing tall. Let’s dive into upright growler storage so you can focus on pouring, not plumbing.
Understand growler bottle sizes
Before you shop for a rack, you need to know exactly what you’re storing. Growler bottles aren’t one-size-fits-all, and a rack that works for a 32-ounce model might leave your 64-ounce behemoth leaning precariously.
Standard growler dimensions
- 32-ounce growler
- Height: about 9 inches
- Diameter: roughly 3.25 inches
- 64-ounce growler
- Height: typically 11.5 to 12 inches
- Diameter: around 4 inches
- Specialty growlers
- Swing-top or Grolsch style can add 1 inch to height
- Tapered necks may be narrower at the top, wider at the base
Variations in bottle design
Not all growlers share the same shape. Some feature:
- Handles or grooves that stick out, affecting side-to-side clearance
- Wider bases or bulbous midsections that demand deeper shelf spacing
- Thick glass walls for insulation, adding weight when full
Understanding these quirks helps you pick a rack with enough depth and width so each bottle sits securely, without knocking into its neighbor.
Measure fridge interior space
You’ve got your growler dimensions, now you need to see if your fridge can accommodate them. A quick tape-measure session will save you trial-and-error frustration later.
Height, width and depth
- Remove any adjustable shelves where you plan to place your growlers.
- Measure from shelf base to the next shelf or the fridge ceiling—this is your maximum bottle height.
- Measure side to side to see how many bottles you can line up.
- Measure front to back to confirm rack depth.
If you’re curious how much height you’ll need for a tall bottle, check out how tall fits a 750 ml bottle upright in 17 inch column? for a real-world example of measuring vertical space.
Shelf adjustability options
Most modern fridges let you move shelves in half-inch or one-inch increments. Keep these tips in mind:
- Slots or rails can limit how low you can go—note their spacing before you buy a rack.
- Door bins might offer additional upright space but typically hold less weight—use them for empties or lighter 32-ounce versions.
- Some refrigerators feature dedicated beverage zones with adjustable rails—these can double as growler racks if the spacing works.
If door-bin storage appeals to you, our guide on what fits in a french door refrigerator? breaks down typical door-shelf dimensions.
Review common rack types
Once you know your dimensions, it’s time to explore rack designs. Not every shelf insert is created equal—here’s a quick comparison of the most popular options.
| Rack type | Pros | Cons | Best for |
|---|---|---|---|
| Wire rack | Inexpensive, easy to clean | Can be too flexible under heavy loads | Light 32-ounce growlers |
| Slide-out shelf | Full visibility, smooth glide | Higher cost, takes extra shelf height | Frequent access |
| Custom bottle inserts | Snug fit for bottles, anti-tilt design | Limited adjustability, model specific | Dedicated growler storage |
| Silicone bottle mats | Adds grip, prevents sliding | No height separation | Supplemental support |
| Adjustable modular rack | Mix-and-match layout, versatile | Slight learning curve on setup | Mixed bottle collections |
Choosing between these comes down to weight capacity, ease of access, and how often you swap bottles in and out.
Compare rack features
Not all racks that fit your fridge will reliably hold heavy growlers upright. Look for these key features before you click “add to cart.”
Load capacity
A filled 64-ounce growler weighs about four pounds. Add weight for ice or chilled liquid, and you’re pushing closer to five pounds per bottle. Make sure your rack’s specs list a per-shelf or per-slot capacity of at least six pounds.
Material and durability
- Stainless steel: corrosion-resistant, sturdy under load
- Heavy-gauge wire: cost-effective but may bend over time
- Rigid plastic or polymer: lighter, easier to mold, but check weight rating
- Silicone inserts: great for grip, often used in conjunction with wire racks
Model compatibility
Some racks are universal and fit most standard refrigerators. Others are brand or model-specific, sold by appliance manufacturers. To find the right fit:
- Note your fridge’s make, model number and interior measurements.
- Check the rack’s compatibility list.
- Read customer reviews—often they’ll mention the exact model they installed it in.
Ease of installation
- Tool-free clip-on racks: quick, no damage to shelves but sometimes less stable
- Screwed-in rails: rock-solid, requires drill or screwdriver
- Slide-in rails: medium stability, usually snug fit, no tools needed
- Adhesive pads or strips: easy but may fail in humid environments
Choose the right rack
With features in mind, it’s decision time. Keep these three factors at the center of your checklist.
Consider bottle height
- Leave at least a half-inch of clearance above your tallest filled growler to avoid lid collisions when closing the door.
- If you often switch between swing-top and screw-top growlers, pick a rack that allows easy shelf repositioning.
Account for lid diameter
Growler necks and lids range from 2.5 to 3.5 inches in diameter. Some racks use circular cutouts or adjustable clamps—ensure they can open wide enough for your lids. A too-tight ring can dent the bottle or leave it wedged.
Match rack depth
Rack depth should align with shelf depth so bottles don’t protrude into aisle space when you shut the door. If your shelf is 16 inches deep, aim for a rack that’s 14–15 inches deep to leave room for the door seal and airflow.
Install your bottle rack
You’ve got the perfect rack in hand. Now let’s get it in place so it does its job.
Position and level rack
- Slide or clip the rack into the desired slot, making sure it sits flush with the shelf lip.
- Use a small level to confirm it’s perfectly horizontal—an un-level rack invites tipping.
- Test with an empty bottle first to ensure smooth operation.
Secure attachments
- For clip-on racks, press firmly until you hear the click.
- For drilled installations, pre-drill pilot holes to avoid cracking shelves.
- For adhesive mounts, clean the shelf surface with isopropyl alcohol, let it dry, then press and hold for the recommended time.
Give it 24 hours before loading full growlers if you’ve used adhesives or screws for extra bonding strength.
Maintain upright bottle storage
A rack that holds growlers today should still work next year. Keep it in top shape with a simple maintenance routine.
Clean racks regularly
- Remove the rack quarterly for a quick wash in warm, soapy water.
- Rinse and air-dry completely before reinstallation to prevent mold or rust.
- For stainless steel, use a non-abrasive cleaner to avoid scratches.
Check shelf stability
- Every few months, press on each rack section to confirm there’s no wobble.
- Tighten clips or screws as needed—temperature changes in your fridge can loosen fittings over time.
- Replace worn silicone grips or bending wire before bottles start to lean.
Troubleshoot rack issues
Even the best rack can run into hiccups. Here’s how to fix common headaches.
Bottles tilting
Cause: inadequate front lip height or slippery rack surface.
Fix: add thin non-slip pads under the bottle base or attach a small silicone bumper to the rack’s front edge.
Racks sagging
Cause: overloaded slots or heavy glass.
Fix: redistribute bottles, install a secondary support rail, or upgrade to a heavier-duty rack rated for higher loads.
Fit conflicts
Cause: too-tall bottles or misaligned shelf increments.
Fix: adjust shelf height, switch to a slimmer rack, or remove a shelf to create more vertical room.
Assess final rack options
You’ve done the homework—from measuring your refrigerator to testing prototypes. Now let’s wrap up with a last-mile buying guide.
Budget vs premium
- Budget racks ($20–$40): basic wire or plastic models, good for light use or occasional storage
- Mid-range racks ($40–$80): slide-out shelves, sturdier materials, some custom inserts
- Premium racks ($80+): brand-matched solutions, heavy-duty stainless steel, precise bottle cutouts
Decide how often you’ll rotate growlers and how critical perfect upright storage is to your workflow.
Where to buy
- Online marketplaces (Amazon, appliance part sites) for fast shipping and wide selection
- Manufacturer websites for model-specific racks with guaranteed fit
- Local home-improvement stores if you prefer hands-on browsing
- Specialty beverage retailers that stock brewery-approved inserts
Warranty and support
- Look for at least a one-year warranty covering defects in materials or workmanship
- Check return policies—some racks require you to ship back at your cost
- See if the manufacturer offers tech support or installation guides online
With your measurements, needs and budget aligned, you’re ready to pick a rack that finally answers “Which rack supports large growler bottles upright?” once and for all. Say goodbye to those embarrassing spills and hello to a fridge that’s as ready for your next pour as you are. Cheers to upright growler storage done right!