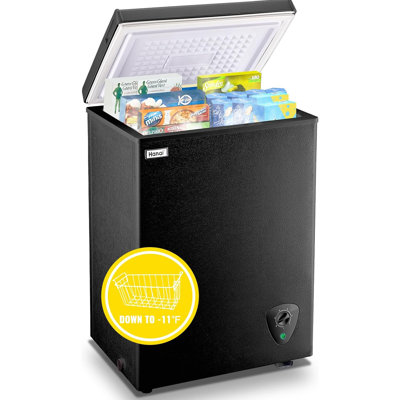
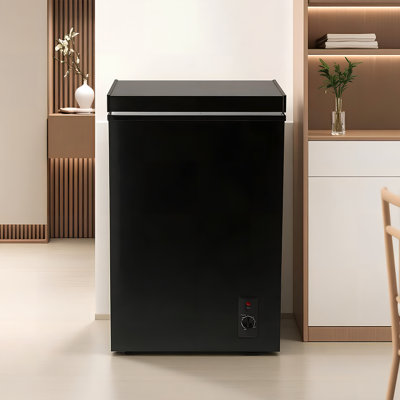
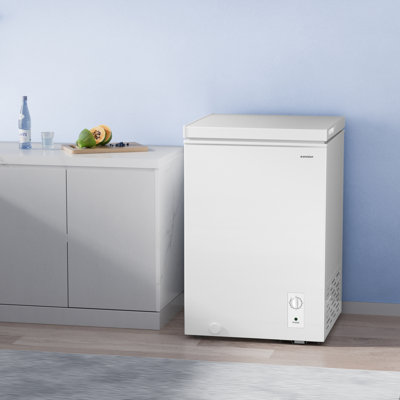
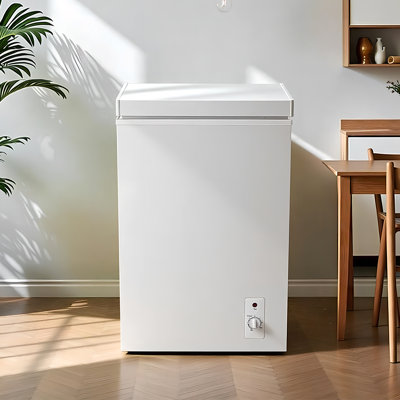
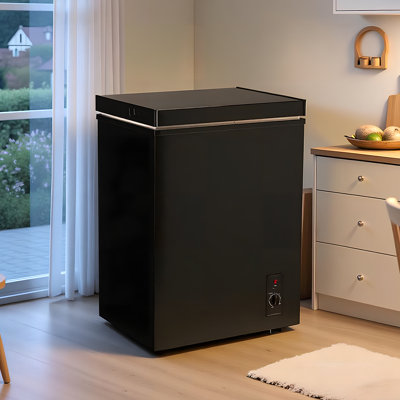
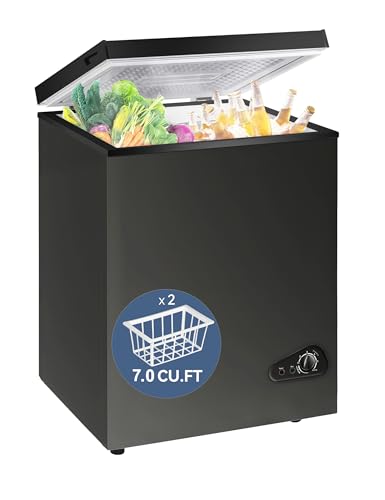
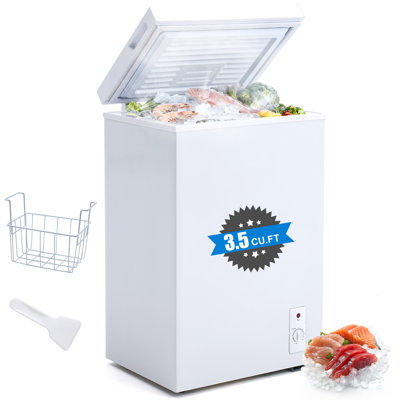
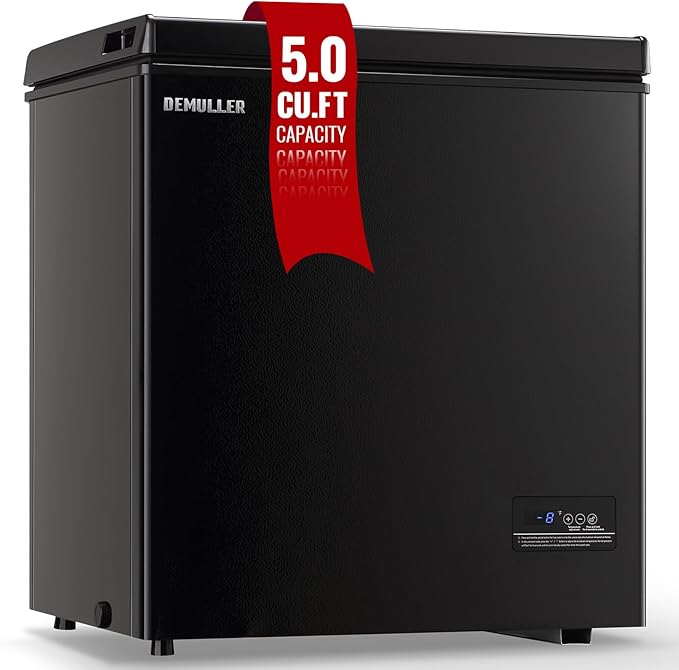
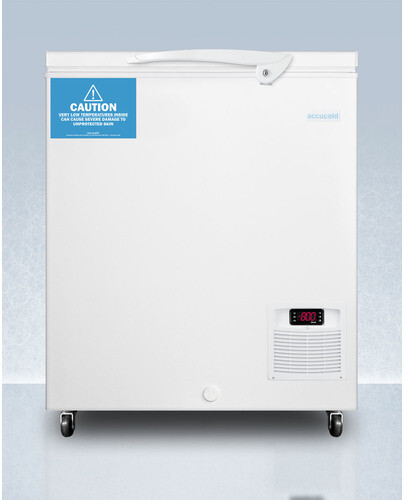
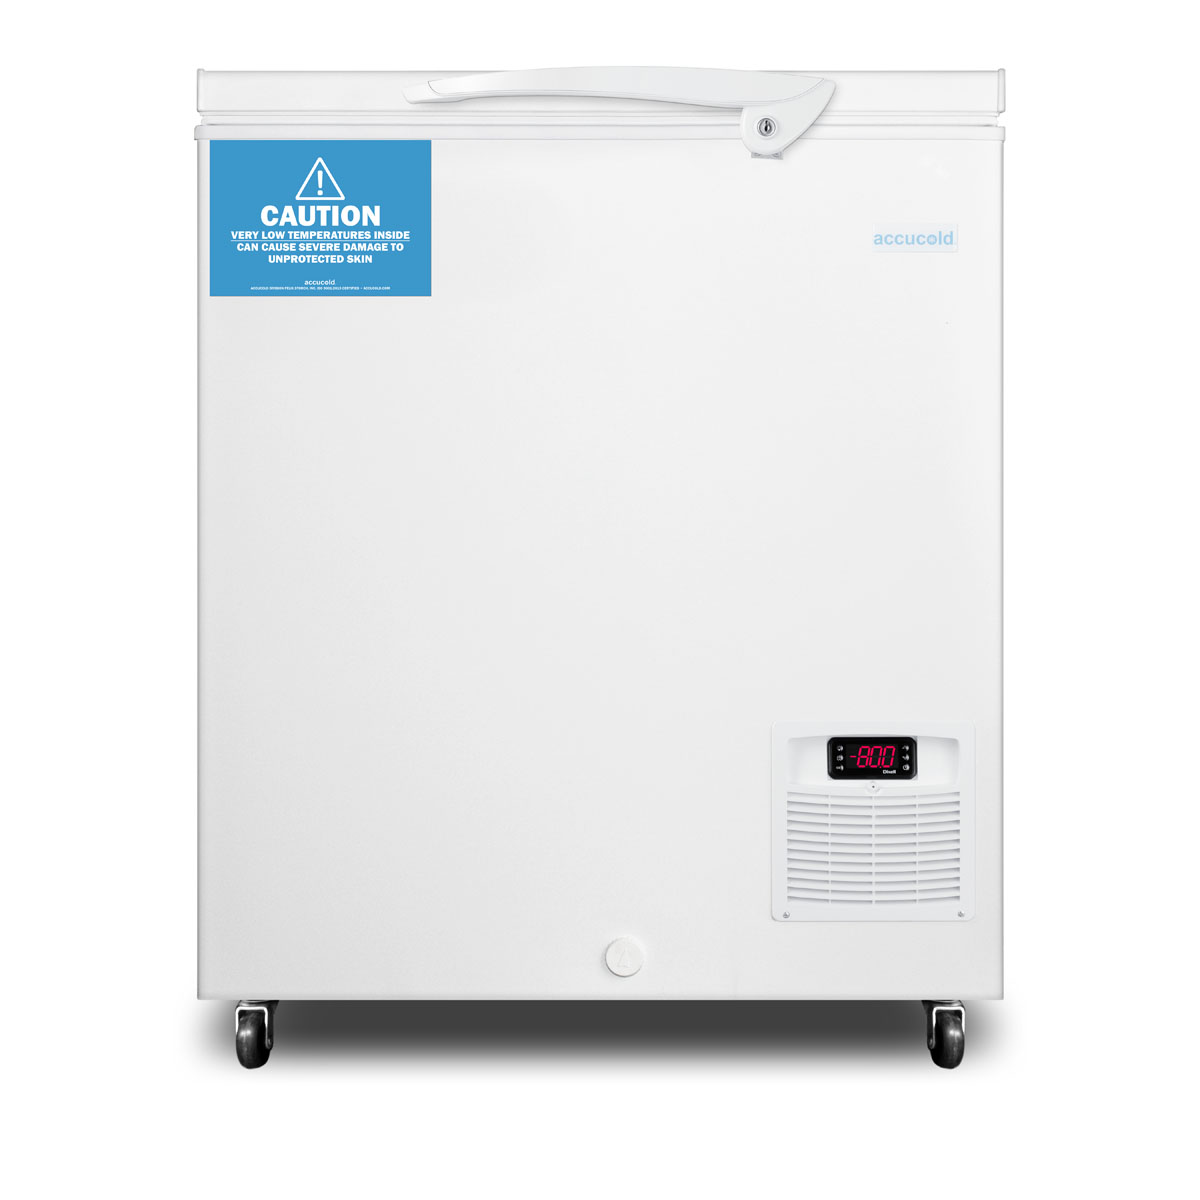
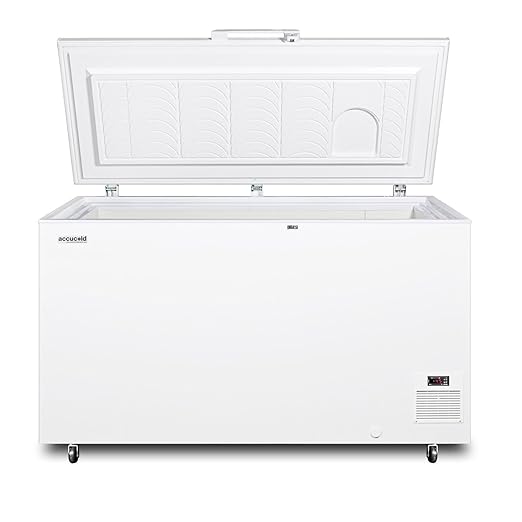
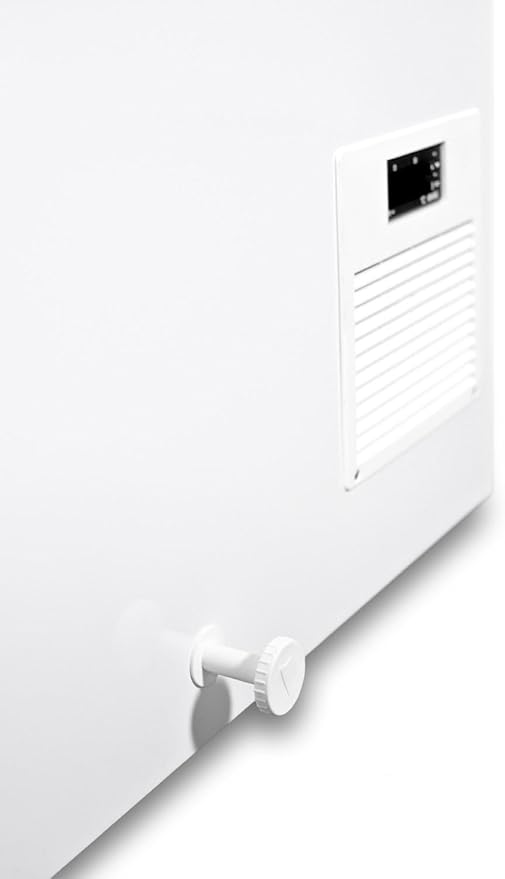
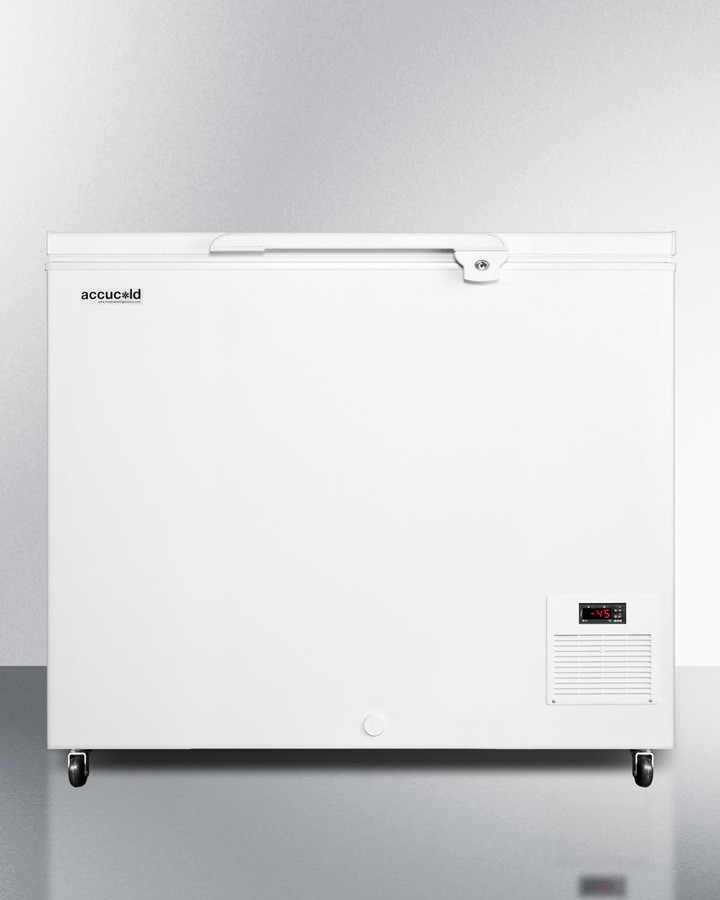
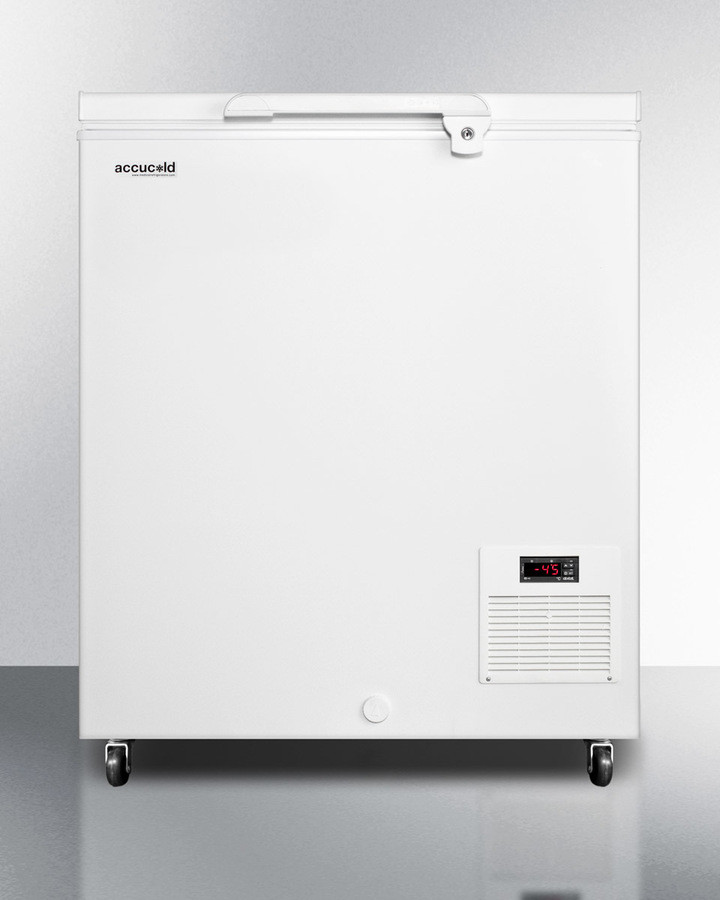
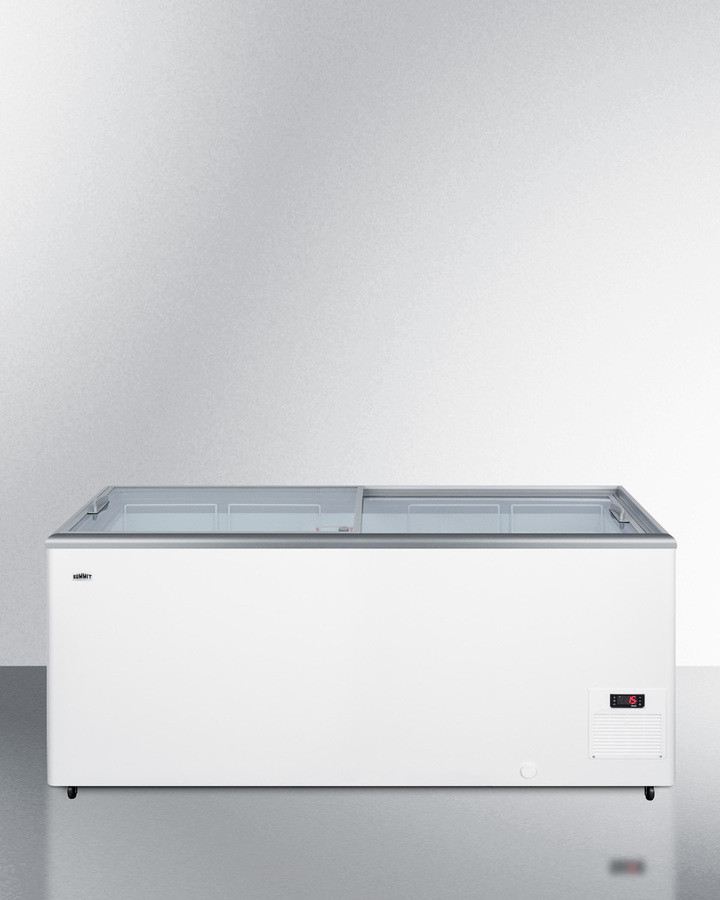
When you’re tackling the challenge of which axle wheels glide chest freezer across tile floors, you want options that combine smooth movement with reliable durability. Choosing the right casters or axle wheels for your heavy chest freezer can make all the difference when you need to shift it for cleaning, maintenance, or rearranging your space. In this guide, you’ll learn how to pick, install, and maintain axle wheels that let your freezer roll effortlessly over ceramic or porcelain tile without scratching or sticking.
Whether you live in a studio apartment, manage a commercial kitchen, or keep a chest freezer in your garage or RV, the principles are the same. You’ll find step-by-step advice on measuring your freezer, preparing your tile floor, installing the wheels, and troubleshooting common issues. If you’re also in the market for a new unit, check out our best apartment deep freezer review to find a compact model that fits your needs and space.
By the end of this article, you’ll feel confident selecting axle wheels that support your freezer’s weight, protect your tile surface, and glide smoothly every time. Let’s roll into the details.
Choose the right wheels
Selecting axle wheels for a chest freezer isn’t just about picking the fanciest-looking caster. You need to balance material, design, and load capacity so your freezer moves with minimal effort and maximum safety.
Wheel materials
The material of the wheel itself affects traction, floor protection, noise level, and durability. Here are the most common options:
Polyurethane
Pros: Quiet roll, good floor protection, resists chemicals and oils
Cons: Can leave marks if cheap, less resistant to oils
Nylon
Pros: Hardwearing, low rolling resistance, easy to clean
Cons: Can scratch tile if debris is embedded, louder on hard floors
Phenolic resin
Pros: High temperature tolerance, chemical-resistant
Cons: Hard on tiles, noisy for indoor use
Choose polyurethane or rubber for the smoothest glide on tile. Nylon casters excel in environments where you need to push extremely heavy loads with minimal force, but you’ll want to keep tile clean to prevent scratching.
Caster design
Aside from wheel material, the type of caster matters. You generally have two choices:
Rigid (fixed) casters
Move only forward and backward
Offer greater stability under heavy loads
Better for straight-line moves
Swivel casters
Rotate 360 degrees
Enable tight turns and repositioning
Can feel less stable if not rated for high weight
Here’s a quick comparison:
Feature
Rigid casters
Swivel casters
Maneuverability
Straight only
Full rotation
Stability
High
Lower at heavy loads
Best use
Long pulls
Tight spaces
Installation tips
Align precisely
Consider locking wheels
For a chest freezer you plan to slide occasionally straight back for cleaning, rigid casters with a matched swivel at one end give you stability and some flexibility. If you routinely reposition your freezer at odd angles, opt for heavy-duty swivel casters—just make sure they lock.
Weight capacity
Your freezer’s weight—including contents—determines the load each wheel must bear. Typical 10–20 cu ft chest freezers weigh between 100 and 200 lbs empty, and can climb to 300–400 lbs fully loaded. Here’s how to calculate:
Find your freezer’s empty weight (manufacturer spec).
Divide total by number of wheels (usually 4), then add a 25–50% safety buffer.
For example, a 300 lb loaded freezer on four wheels needs at least 75 lb capacity per wheel. With a 50% buffer, pick casters rated for 110–120 lb each. Many heavy-duty casters are rated 150–300 lb, giving you room for extra stock or future needs.
Measure your freezer
Accurate measurements ensure your axle wheels fit and perform as expected. A mismatch in height or bracket dimensions can make installation frustrating, and leave your freezer unstable.
Determine freezer dimensions
Start by measuring:
Overall height from floor to chest rim
Width between existing mounting holes (if a bracket system is already present)
Depth of the base (to position the bracket without hitting vents or plumbing)
Use a level and tape measure. Check for any obstructions under the cabinet or trim pieces that might interfere with a wheel bracket.
Calculate weight load
As mentioned above, tally your freezer’s base weight and contents. Don’t forget accessories such as:
Removable baskets
Built-in ice trays
Power cords and aftermarket shelving
Once you have a total approximate weight, apply the 25–50% safety margin. Then match with wheel specs. Manufacturers typically list load ratings per wheel—always round up to the next available bracket size.
Even the best casters can struggle on dirty or uneven tile. A clean, level surface reduces friction, noise, and the risk of tile damage.
Clean and level tile
Sweep or vacuum debris around the installation area
Mop with a mild detergent to remove grease or sticky residue
Check for loose or cracked tiles and repair before moving heavy loads
Use a straightedge or level to spot uneven grout lines or sunken tiles
If you find significant height differences (more than 1/8″), consider a self-leveling floor compound or replacing bad tiles. Uneven floors will cause wobble, excessive wear, and potential tipping.
Protect tile surface
To prevent scratching:
Place a thin rubber mat or protective film where wheels will roll initially
Wax or polish tile with a non-slip product rated for ceramic floors
Avoid hard metal brackets, use rubber or plastic shims under mounting points
These precautions will keep your tile looking new and ensure smooth gliding from day one.
With your freezer measured and your floor prepped, it’s time to mount the axle wheels. Follow each step in order for a safe, level installation.
Gather your tools
Before starting, have these on hand:
Socket wrench or ratchet set
Screwdriver (flathead and Phillips)
Adjustable wrench
Tape measure
Level
Protective gloves
Marker or pencil
Verify you have the correct bracket hardware packed with your wheel set. If the wheels don’t include bolts and nuts, buy grade-5 or better hex bolts and lock nuts sized to your bracket.
Attach wheel brackets
Position the freezer on its back or side using padded blocks so you can access the underside safely.
Align the bracket holes at each corner—ensure they clear vents or wiring.
Mark pilot holes on the frame if none exist.
Drill carefully at marked points, using a bit slightly smaller than your bolt diameter.
Secure the bracket to the freezer frame with bolts and lock nuts, hand-tightening first for flexibility.
Double-check that each bracket sits flush against the frame, with no gaps or twists. Use a level held against the bracket face to confirm vertical alignment.
Secure the axle
If your wheels mount on a single axle bar:
Slide washers or spacers onto the axle before inserting wheels, per manufacturer instructions.
Push the axle through paired brackets, ensuring wheels clear the freezer base.
Add spacers between the wheel and bracket to prevent side-to-side play.
Tighten axle nuts evenly, alternating sides to maintain balance.
Spin each wheel by hand to verify free rotation and no binding.
For independent wheel mounts, simply tighten each wheel’s stem or bolt per instructions, making sure the wheel’s swivel bearings are properly seated.
Now that your freezer is back upright, it’s time to see how it moves across tile. This test period highlights alignment issues and ensures safe operation before you load or relocate it fully.
Check movement
Gently push the freezer a few inches forward and back, noting any sticking points
Try turning corners to test swivel action or multi-directional movement
Roll over typical grout lines to see if the wheels skip or jam
If you feel jerking or resistance, investigate the specific spot on the tile and inspect the wheel assembly for debris.
Adjust alignment
Should your freezer veer to one side or drag:
Loosen the bracket bolts slightly at the problem corner
Shift the bracket or wheel until the appliance moves straight
Re-tighten bolts while holding the wheel in the corrected position
Repeat the glide test, making tiny adjustments until movement is smooth
Minor misalignments can cause premature wear on wheels and tile. Take your time dialing it in now so you don’t have to readjust later.
Maintain smooth gliding
A little ongoing care goes a long way in keeping your freezer easy to slide. Regular maintenance also extends the life of your wheels and protects your tile.
Regular cleaning
Sweep or vacuum under and around the freezer monthly to remove grit
Wipe wheels with a damp cloth to clear hair, lint, or debris
Inspect grout and floor sealant annually—repair cracks before they catch in casters
For a deeper clean, pull the freezer out and mop beneath it. Once you’re done, you can reference our guide on how to clean your fridge inside and out for tips on sanitizing the exterior and crevices.
Lubricate moving parts
Depending on wheel type:
Apply a few drops of light machine oil or silicone lubricant to swivel bearings every 6 months
For sealed bearings, simply wipe clean and replace if they feel gritty
Check axle nuts and bracket bolts—they can loosen over time with vibration
If wheels start to squeak or feel stiff, fresh lubricant and a quick rotation test will usually bring back that effortless glide.
You need wheels rated for your freezer’s weight, suitable for tile floors, and compatible with your mounting brackets. Generic office-chair casters aren’t designed for heavy, static loads and can collapse or scratch tile.
How much weight can wheels handle
Divide the freezer’s total weight by the number of wheels, then add at least a 25% buffer. For a 350 lb loaded chest freezer on four wheels, aim for casters rated at 110–120 lb each minimum. Heavy-duty models can exceed 300 lb capacity per wheel.
Will wheels damage tile
If you choose hard nylon wheels or don’t keep tile clean, debris can embed in the wheel tread and scratch surfaces. Stick with polyurethane or rubber casters, maintain a clean floor, and use protective mats when you first roll the freezer into place.
Do I need to lock the casters
Locking casters prevent unwanted movement when your freezer door swings open or during loading. If your model doesn’t include locks, you can add separate wheel chocks or wheel‐locking devices designed for appliance use.
Can I retrofit existing freezer
Most chest freezers have a solid metal or plastic bottom lip that can accept brackets. If yours sits on a continuous frame with no bolt points, welding or custom fabrication may be required—consult a professional to avoid voiding warranties.
Recap key points
Choosing, installing, and maintaining axle wheels for gliding a chest freezer across tile floors boils down to three essentials: pick wheels with the right material and weight rating, measure and fit brackets precisely, and keep both wheels and floor clean. With polyurethane or rubber casters, proper alignment, and routine upkeep, your freezer will slide smoothly whenever you need access behind or underneath.
Once your freezer glides like a dream, you can focus on what really matters—stocking it with meals, drinks, or bulk buys—without dreading the drag. And if you decide it’s time for a new chest freezer, check out our shop chest freezers: sale page to find the best deals on models that work with caster kits out of the box.
Free tool
Freezer BTU Calculator
Free interactive tool from Fridge.com — get a quick answer while you read.