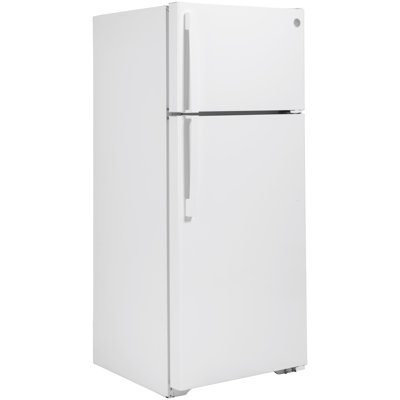
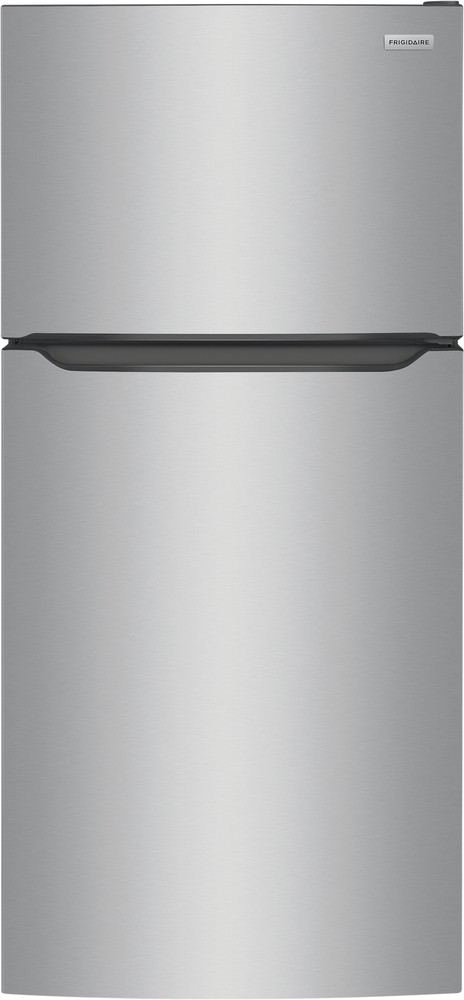
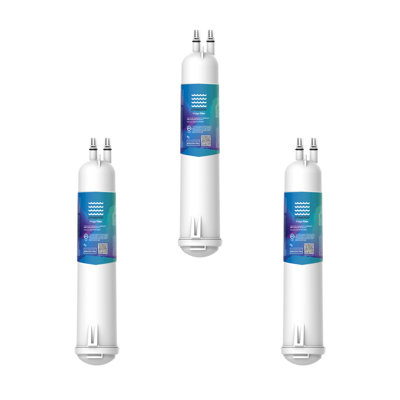
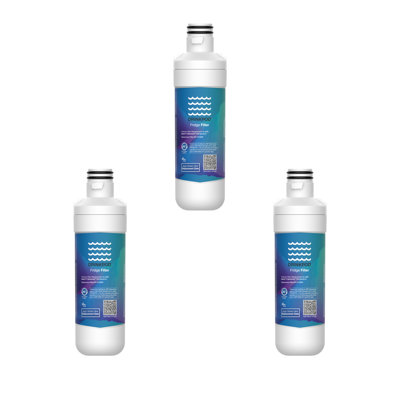
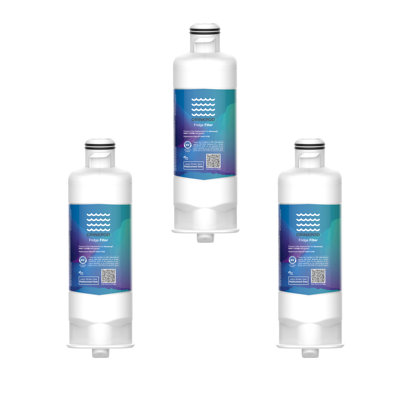
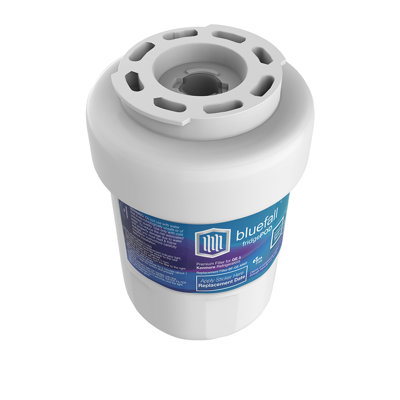
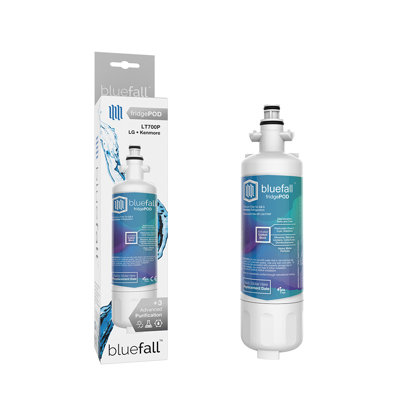
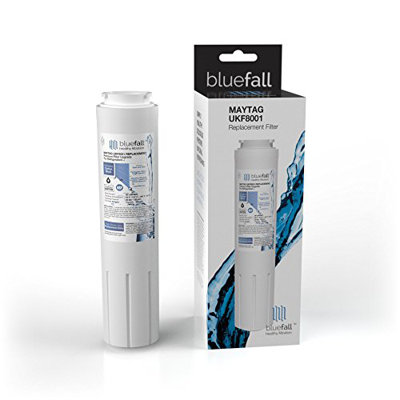
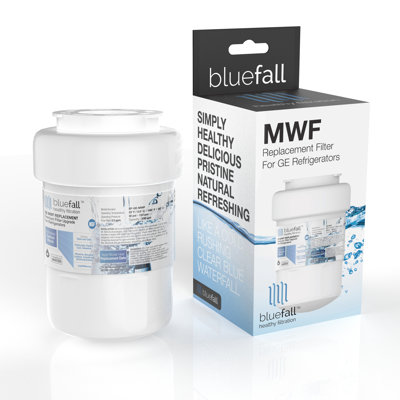
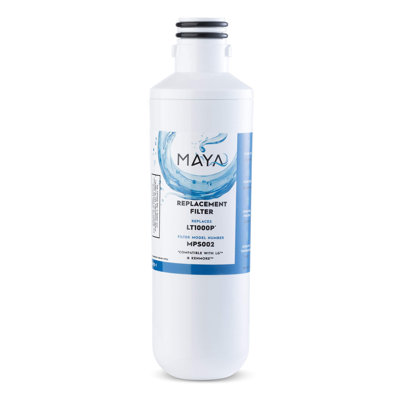
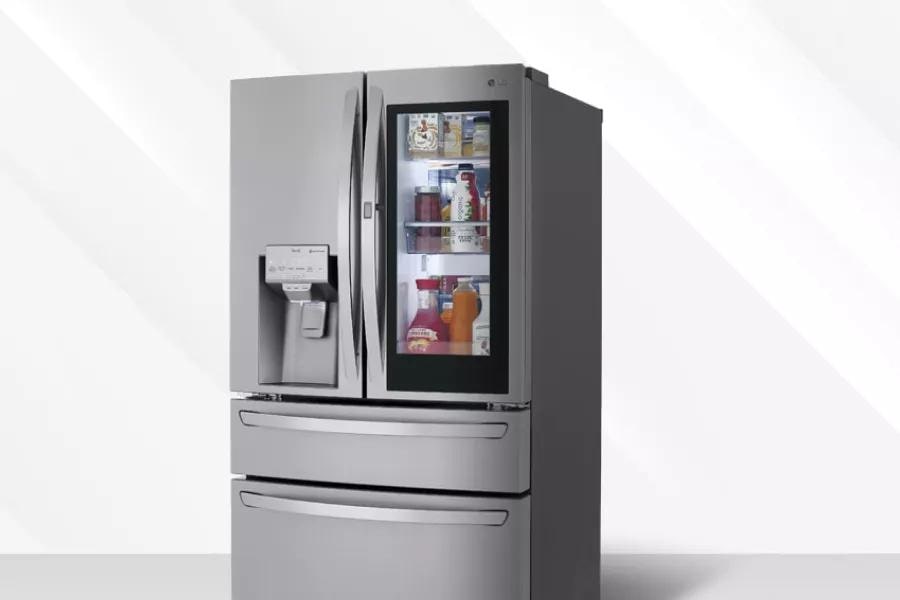
Welcome to your ultimate refrigerator water filter guide, where you’ll learn everything you need to keep your fridge water and ice tasting fresh. Whether you’re stocking a home kitchen for family dinners, outfitting a commercial office cooler, or gearing up your RV for a road trip, having a reliable filter can make all the difference. In this guide, you’ll discover why water filters matter, how to pick the right one, step-by-step installation tips, maintenance best practices, troubleshooting tricks, and answers to your most common questions. Let’s dive in and ensure every sip from your dispenser or ice maker is clean, crisp, and worry-free.
Understand Water Filters
Why You Need One
Your refrigerator’s built-in water filter does more than improve taste. It removes chlorine, sediment, and certain heavy metals that can sneak into municipal water or well systems. If you’ve ever noticed a slight chemical bite or tiny particles in your ice, that’s an early sign it’s time for a filter upgrade. For families storing baby food, chefs whipping up consommés, or kegerator owners pouring craft beer, pure water is nonnegotiable.
How They Work
Most fridge filters rely on activated carbon and ion-exchange resin. Water flows through the media, which adsorbs impurities and traps particulates. Carbon blocks target chlorine and organic compounds that cause odors and bad taste. Some models include sediment layers to catch rust or sand. High-end options add reverse osmosis or catalytic carbon for more rigorous contaminant removal. As water pressure forces the flow, a series of chambers ensures thorough purification before reaching your dispenser or ice tray.
Choose Your Filter
Filter Types
Here’s a quick comparison of the most common refrigerator water filters:
Filter Type
Lifespan
Pros
Cons
Carbon Block
6 months / 200 gal
Excellent taste improvement, affordable
Doesn’t remove minerals
Reverse Osmosis (RO)
1 year / 300 gal
Removes most contaminants
Higher cost, slower flow
Sediment
3–6 months
Captures rust and debris
Limited chemical removal
Specialty (UV, Ceramic)
Varies
Targets bacteria or microbes
Usually add-on, pricier
Compatibility Considerations
Not all filters fit every fridge. Before you buy, check your refrigerator’s model number—usually found inside the door or on the frame. Decide between OEM (original equipment manufacturer) filters for guaranteed fit, and aftermarket options for budget-friendly alternatives. Pay attention to size, shape, and the filter head design—push-in, twist-lock, or bayonet mounts all behave differently.
Certification Standards
Look for NSF certifications to ensure performance claims hold up. NSF 42 covers taste and odor reduction, while NSF 53 targets specific health-related contaminants like lead or cysts. Certifications from ANSI or WQA also indicate rigorous testing. When a filter box touts these logos, you know it meets independent benchmarks for safety and efficacy.
Before you start, turn off the water supply to your fridge and unplug the unit. Place a towel or shallow pan under the filter area to catch drips. If you’re installing under-sink or inline filters, be sure you have the correct tubing and fittings on hand. Gloves and safety glasses can help prevent contact with old filter debris.
Step-By-Step Installation
Locate The Filter Compartment
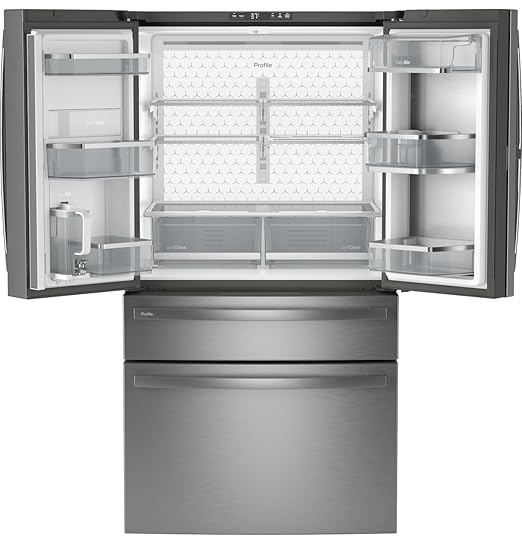
Depending on your model, the filter lives inside the fridge cavity, behind the lower grille, or at the back near the compressor. Consult your manual so you’re not fishing around in the dark.
Remove Old Filter
For twist-lock filters, turn counterclockwise until it pops free. With push-in types, press the release tab and pull straight out. Keep a rag handy for residual water.
Insert New Filter
Remove any protective caps and align the filter arrow with the guide marks. Twist or push until you hear a click. Tug gently to confirm it’s locked in place.
Flush The System
Run 2–3 gallons of water through the dispenser (discard this initial batch) to clear out carbon fines and air pockets. This ensures crystal-clear water from sip number one.
Most recommendations suggest changing your filter every six months or after filtering 200 gallons, whichever comes first. Heavy use—like in offices or party homes—may require more frequent swaps. Set a calendar alert or use your fridge’s built-in reminder if available.
Reset Filter Indicator
After installing a new cartridge, you’ll often need to reset the filter light. On many models, that means pressing and holding a “Reset” or “Filter” button for three seconds. If you’re wondering what alarm resets after door closes automatically?
, check your owner’s guide for model-specific instructions.
Troubleshoot Common Issues
Slow water flow: Check for air in the line, or ensure the filter isn’t clogged past its lifespan.
Leaks around filter: Remove and reinsert, making sure O-rings are seated properly.
Persistent taste or odor: Verify you flushed enough water, or switch to a higher-grade filter type.
If your local water carries unique challenges—like high mineral content or microbial concerns—consider pairing your refrigerator’s filter with:
Under-sink reverse osmosis systems
Countertop pitcher filters certified for lead removal
UV sterilizers for added microbial protection
Water Testing Tips
To know exactly what’s in your water, grab a home test kit or send a sample to a certified lab. Test for chlorine, pH, hardness, and specific contaminants. Armed with data, you can choose a filter that addresses your household’s exact needs.
Optimize Refrigerator Performance
Clean Coils And Drip Pan
A well-maintained fridge runs more efficiently and keeps filters happy by reducing strain on the water system. Every six months, vacuum condenser coils and wipe your drip pan. For step-by-step guidance, see how to clean refrigerator coils and how to clean your fridge drip pan.
Adjust Temperature Settings
Ideal fridge temps hover between 37–40°F, with freezer compartments at 0°F. Proper temperature control keeps ice from clumping around the filter housing and ensures water remains safely cold.
You’ll get the best performance by swapping filters every six months or after 200 gallons. High-use scenarios, such as office kitchens or large families, might need a quarterly schedule.
My Water Taste Is Off, Why?
If you notice a metallic or chemical taste, flush the system for several minutes. If the problem persists, your filter could be overdue for replacement or underperforming. Try a certified NSF 53 model next.
Can I Use Third-Party Filters?
Aftermarket cartridges often come cheaper, but check for NSF certification and model compatibility. Poorly fitting filters can leak or bypass media, so weigh savings against risk.
What If The Indicator Won’t Reset?
First, confirm you followed the reset procedure in your manual. If it still won’t budge, power-cycle the fridge by unplugging for one minute. If the light remains on, contact the manufacturer.
Conclusion And Resources
You’ve now got the roadmap to clean, great-tasting fridge water—whether you need a simple carbon replacement or a robust reverse osmosis upgrade. Remember to track your replacement schedule, flush thoroughly after each swap, and keep your fridge itself in top shape.Compare current prices and specifications on Fridge.com, then buy from the retailer you choose; delivery, installation and warranty terms are the retailer’s. Here’s to every refreshing sip straight from your fridge dispenser or ice maker—cheers to pure hydration!
Frequently Asked Questions
You’ll get the best performance by swapping filters every six months or after 200 gallons. High-use scenarios, such as office kitchens or large families, might need a quarterly schedule.