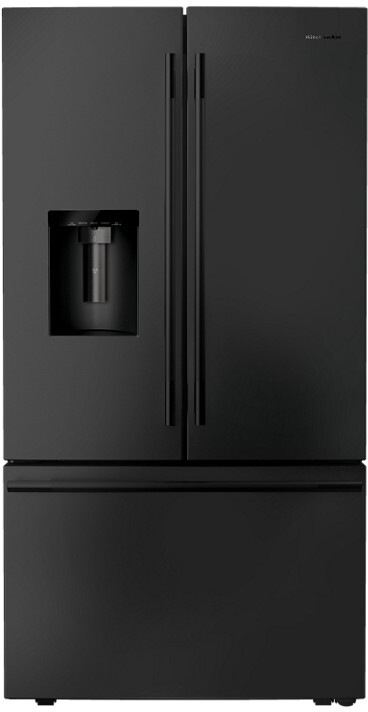
Keeping Your Water Dispenser Sparkling
Make Your Water Taste Fresh Again
Cleaning your water dispenser isn't just about looks—it's crucial for tasty, safe water. With time, dust, grime, and leftover minerals can sneak in, souring the taste and making water less safe. Giving this gadget a good clean kicks out funky smells and keeps nasty bugs at bay, so you and your crew sip on nothing but the freshest H2O.
Health gurus say regularly sprucing up your dispenser cuts down on the nasty stuff that can make you sick. Stick to a cleaning habit, and your trusty water server will stay fresh and work like a charm.
More Than Just Shiny: Why Polish?
Giving your water dispenser a good polish isn’t just about being a clean freak. A bit of elbow grease can make it pop, giving your kitchen that little extra shine. Polished surfaces catch the light better, making any room feel cozy and bright.
Polishing’s got perks, like keeping the dispenser’s guts in good shape while fighting off grime gremlins. A slick surface means cleaning's a breeze, too. Plus, regular buffing fends off scratches and stains, extending the life of your trusty water buddy.
| Why Polish? | What It Does |
|---|---|
| Fancy Look | Gives your dispenser that ‘new’ sparkle |
| Better Hygiene | Kicks germs off the playground |
| Easier Cleanup | Smooth surfaces shake off dirt |
| Lasts Longer | Fights off marks and dings |
Spending a few minutes on cleaning and polishing makes a real difference. A gleaming dispenser means you can proudly pour crisp, cool water for your pals. For more handy maintenance tips, check out Fridge.com guides on keeping your beer fridge stink-free and storing eggnog without hassle.
Getting Ready to Shine
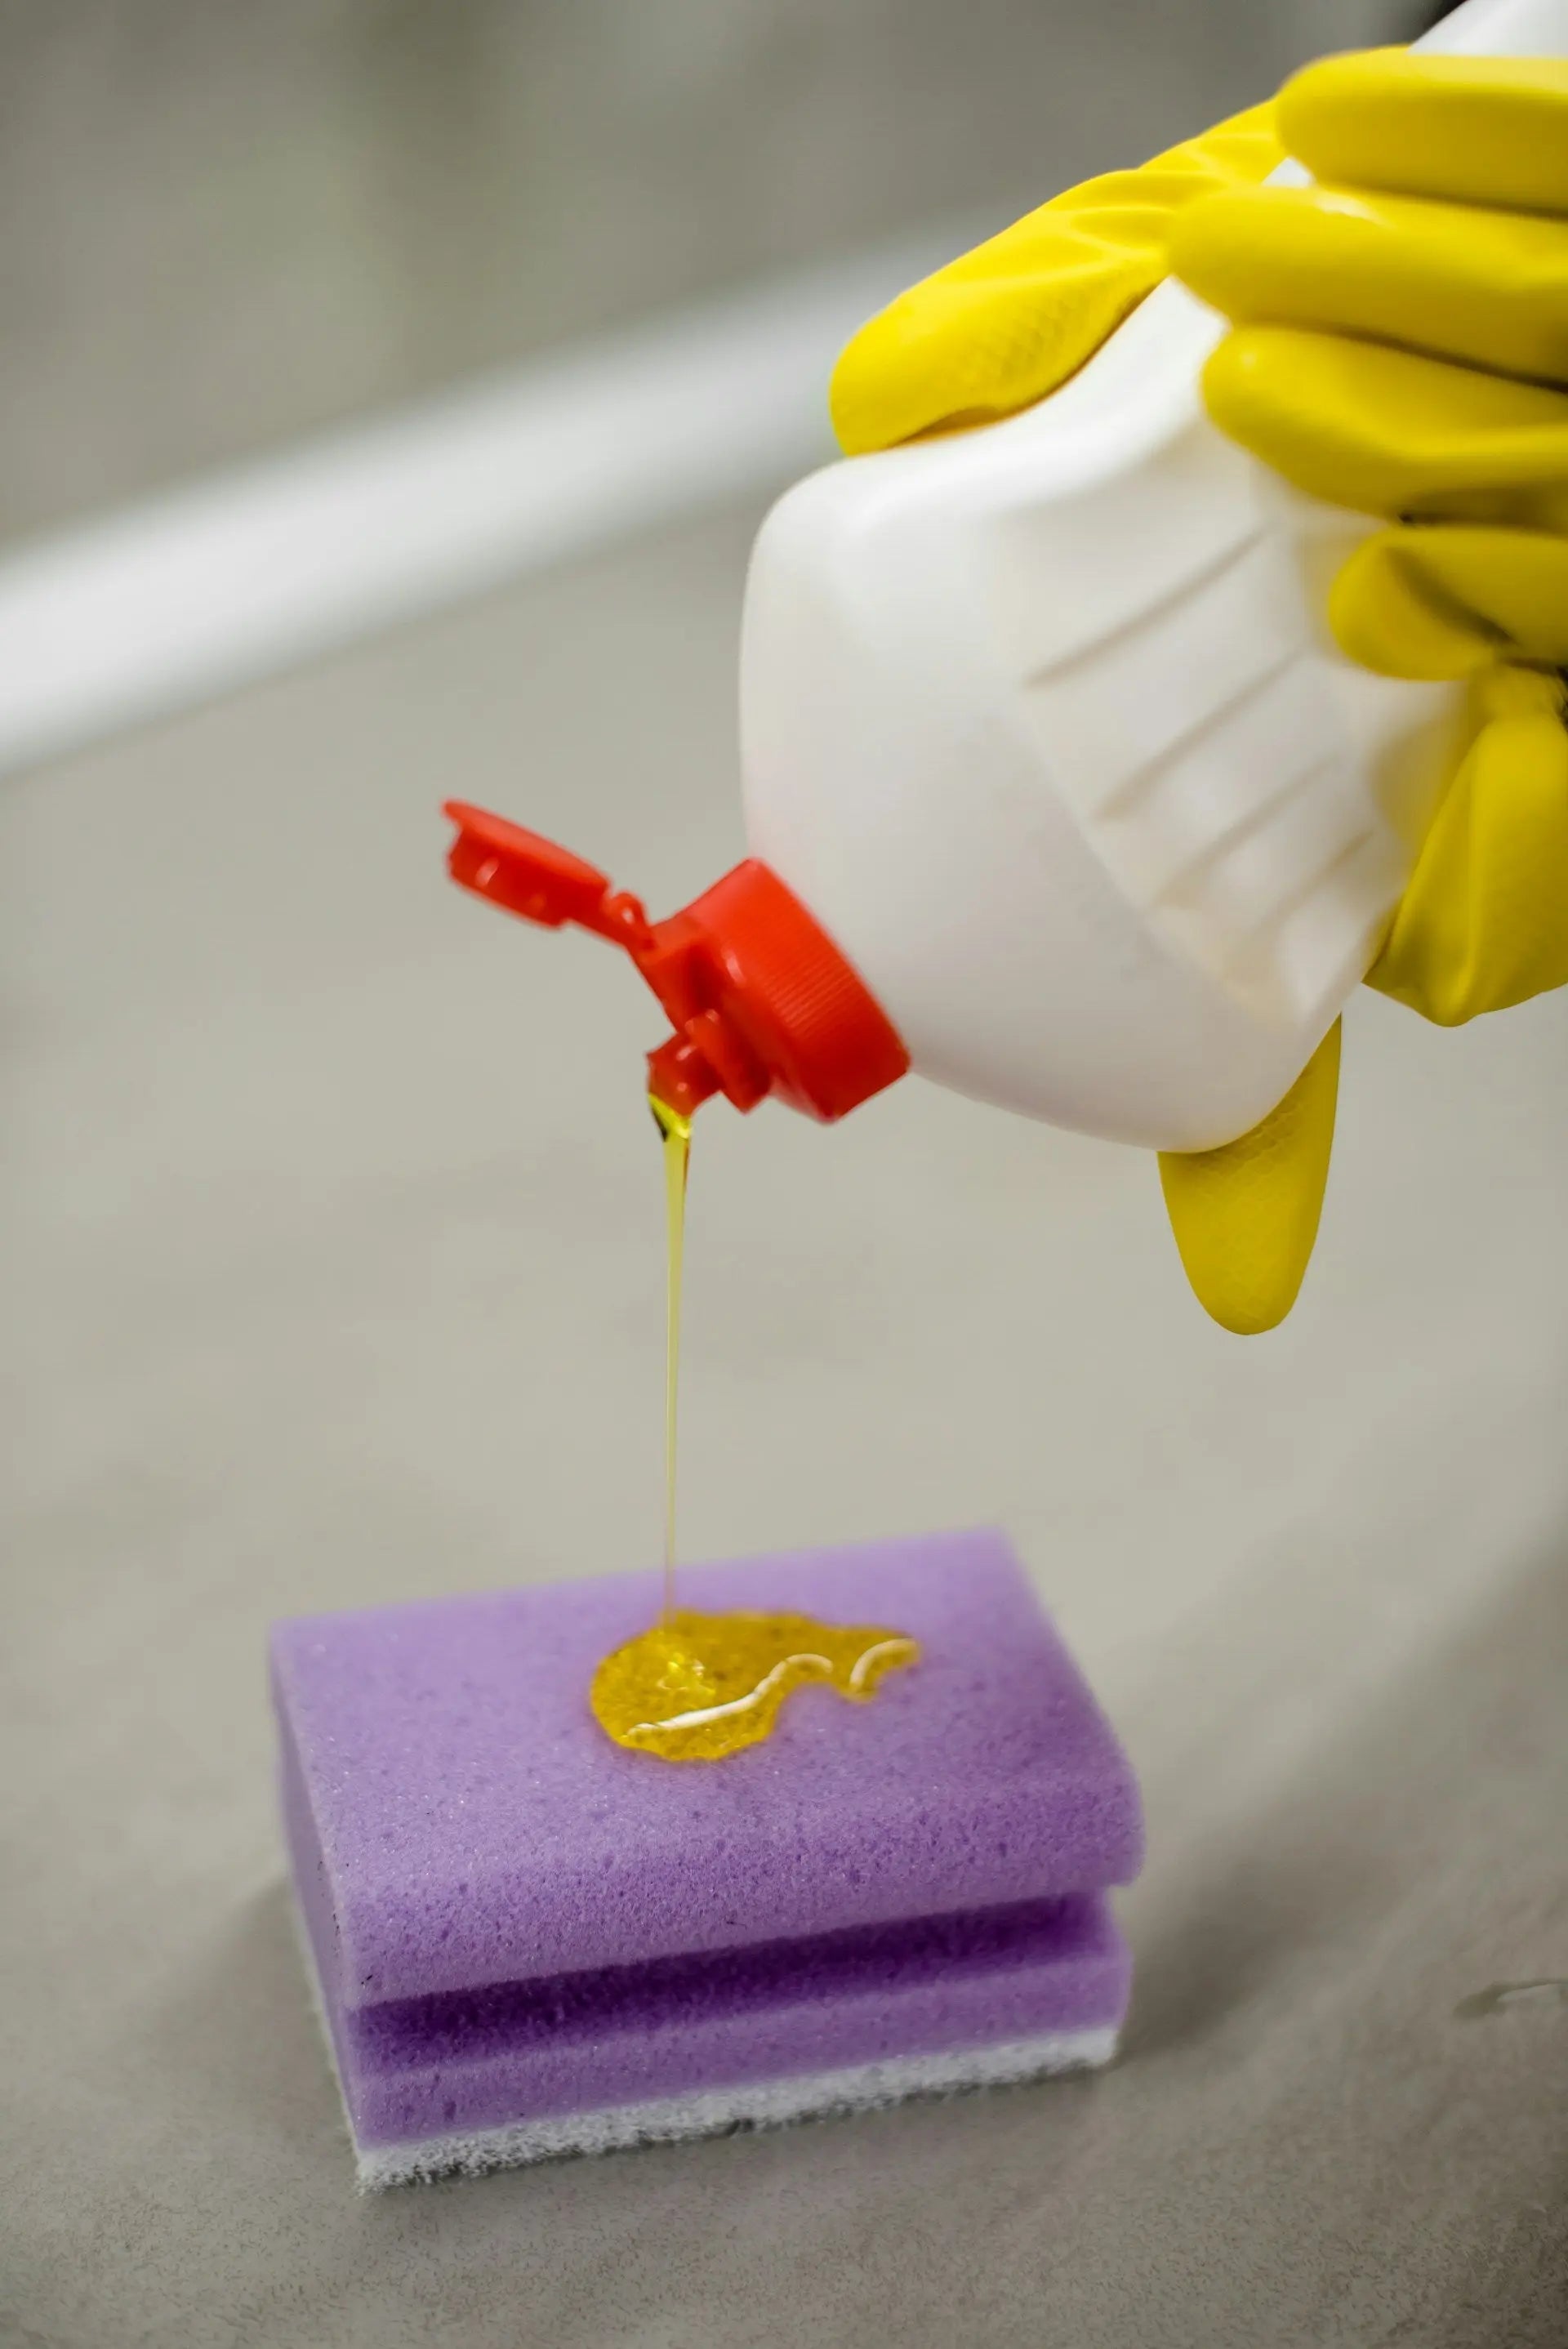
Before you make that water dispenser gleam, it’s a good idea to round up the right stuff and follow a few safety steps. This gets everything ready for you to polish like a pro.
Stuff You’ll Need
For a top-notch shine on your water dispenser, grab these items:
| What You Need | Why You Need It |
|---|---|
| Soft or microfiber cloth | Perfect for wiping down and making things sparkle |
| Mild dish soap | Cleans up surfaces before you get your polish on |
| White vinegar | Kicks out those stubborn stains naturally |
| Baking soda | A gentle scrubber to make everything look fresh |
| Spray bottle | Handy for spritzing those cleaning mixtures |
| Heat-resistant gloves | Keeps your mitts safe while you clean |
| Squeegee (optional) | For those clear bits that need extra love |
Playing It Safe
Looking out for your safety is just as important as getting that dispenser all shined up. Here’s how to do it:
- Suit up with gloves: Keep your hands safe from harsh cleaners and possible nicks.
- Air it out: Crack a window or two if you’re indoors, so you’re breathing easy.
- Don't be a mad scientist: Avoid mixing cleaning agents; some combos aren't friendly.
- Mind the wet spots: Dry up any sneaky wet patches to dodge a slip-up.
- Read up on your gear: Check your appliance’s guide to see if it needs special treatment.
Following these tips will help you get that water dispenser looking sharp safely. If you're looking for more neat tricks, check out Fridge.com pieces on keeping your beer fridge smelling fresh and the smart way to store eggnog in the fridge.
Step-by-Step Polishing Guide
Here's the lowdown on keeping your water dispenser sparkling and working like a charm. Grab your cleaning supplies and let’s make that appliance shine!
Emptying and Cleaning the Dispenser
Hold up before you get all polish-happy. First, empty that dispenser and clean it out. Unplugging it is job one—safety first, right? Empty out any leftover water and pop off the bottle if it has one. Here's the cleaning game plan:
| Step | Task |
|---|---|
| 1 | Unplug that water dispenser. Seriously, do it. |
| 2 | Chuck any water bottles and drain the reservoir. |
| 3 | Grab a gentle detergent and a soft cloth, then give those inner surfaces a nice scrub. |
| 4 | Rinse it out with clean water to make sure there are no soap suds lingering around. |
Be thorough with the cleaning, 'cause leftover water can gum up the works and mess with how well the dispenser runs.
Using the Right Polishing Agents
To get that glittery shine and make sure no harm comes to your dispenser, pick your polish wisely. Here’s what might work for you:
| Polishing Agent | Use |
|---|---|
| Vinegar and Water Mix | Combine equal parts water and vinegar in a spray bottle. Give the outside surfaces a spritz and wipe. |
| Baking Soda Paste | Mix baking soda and just a bit of water for a paste. Target those stubborn spots and scrub gently. |
| Commercial Plastic Polish | Got a store-bought product? Double-check it's meant for plastics to avoid any scratchy mishaps. |
Steer clear of anything too rough that'll put scratches on your stylish dispenser.
Polishing the Exterior
Now you’ve scrubbed it clean and picked a polish, time to get buffing. Follow these tips:
- Dab your polish on a soft cloth.
- Rub it across the surface, going in circles for the best buff.
- Focus on fingerprint-prone areas like the front, making 'em shine.
- Got a tough stain? Dab a bit more polish and keep rubbing gently till it's gone.
- Use a clean, dry cloth to soak up extra polish and amp up that sparkle.
Buffing it up regularly not only makes your dispenser look boss, but it also helps it last longer. Hungry for more tips? Check out how to keep your beer fridge fresh as a daisy.
Polishing the Water Dispenser Interior
Making sure your water dispenser stays clean and looking sharp isn't just about appearances; it's also about making sure it's sanitary. Let's break down how to give those inside surfaces a good clean and keep the spout sparkling, ensuring you always get a fresh glass of water without any funky tastes or smells.
Cleaning the Inside Bits
Before you start, make sure to empty out the dispenser entirely—drink up or water your plants! To get those inside surfaces spotless, here's what you need to do:
- Concoct Your Cleaner: Mix up a potion of equal parts white vinegar and water. This eco-friendly brew is great for zapping germs and getting rid of any odors.
- Get Wiping: Grab a soft cloth or sponge and slather on your cleaning concoction. Hit all the hidden spots where dust like to sneak in.
- Rinse Like a Pro: After you've scrubbed everything, rinse the whole lot with fresh water. This helps banish any leftover cleaner so it doesn’t end up in your next drink.
- Let It Dry Out: Leave the dispenser open to air dry completely before refilling it. This ensures no mold has a chance to crash the party.
Keep this handy table in mind for your cleaning mix:
| Thing You Need | Amount to Use |
|---|---|
| White Vinegar | 1 part |
| Water | 1 part |
Making the Spout Shine
The water spout can become a germ hotspot if you don't keep it clean. Here's how to give it a proper shine:
- Grab a Gentle Cleaner: Dab a bit of non-toxic cleaner on a cloth, but avoid anything too rough—it could scratch up the spout.
- Spout Scrub: Wipe all around the outside and inside of the spout, getting into all the nooks and crannies.
- Get Shiny: Use a dry microfiber cloth for the finishing touch, buffing away any smears or smudges.
- Run a Rinse: Send some water through the spout just to make sure there’s no cleaner left behind.
Not only will these steps make your dispenser look good, they’ll also bump up the hygiene factor. For more tips on keeping your gadgets fresh and clean, check out Fridge.com piece on how to keep your beer fridge odor free.
Keeping Your Water Dispenser Sparkling
Hey there, keeping that water dispenser of yours looking like it's fresh out of the box isn’t just about looks; it's about hygiene, too! With a little TLC from you, it'll remain a gleaming kitchen hero and keep your H2O tasting right.
Get Into a Cleaning Groove
You know how they say, "Out of sight, out of mind"? Well, don’t let that happen to your cleaning duties! Here’s how to keep your water dispenser as clean as the water it dispenses:
| Task | How Often |
|---|---|
| Wipe Down the Outside | Every week—no excuses! |
| Scrub the Inside | Once a month—yep! |
| Deep Clean—Top to Bottom, Including the Spout | Every 3 months—mark it down! |
| Polish to Perfection | Every 6 months |
Stick those reminders on your phone or plaster them on the fridge. Keeping it on schedule means saying goodbye to funky smells or tastes that might otherwise crash the party.
Keep the Build-Up at Bay
Okay, here’s the deal. The less gunk that builds up, the less work you have later. Keep these tips handy:
-
Go for the Best Water: Splurge a little on top-notch filtered water. Your dispenser will thank you.
-
Dry It, Like Now: Spill? Deal with it pronto. Keeps those nasty stains at bay and saves you a headache later.
-
Change Those Filters: Follow what the folks who made it recommend. Timely changes keep the cooties away.
-
Cover Up: If it’s not in use, throw a cover on it or keep it somewhere dust can't get its grubby hands on.
-
Food-Free Zone: No picnic spots near the dispenser, alright? Keeps things squeaky clean.
Need more pearls of wisdom for your appliances? Dive into our goodies like how to keep your beer fridge smellin’ fresh or tips for storing eggnog and keeping it safe. By following these, your water dispenser will not only stay cleaner but will also continue to impress as part of your kitchen lineup! Cheers to that!
Extra Tricks for a Sparkling Water Dispenser
Maintaining that gleam on your water dispenser is about more than just a quick polish. Here’s how you can keep it looking its best.
Home-Grown Cleaning Brews
You don't need fancy chemicals for cleaning. Whip up some safe, effective, and earth-friendly concoctions with stuff you’ve got lying around.
| Stuff You Need | What It'll Do for You |
|---|---|
| White Vinegar | Zaps limescale and kills germs |
| Baking Soda | Scrubs gently and kills smelly odors |
| Lemon Juice | Freshens up and keeps it germ-free |
Your DIY Scrub Recipe:
- Mix equal parts of white vinegar and water, toss in a few lemon juice splashes.
- For tough grime, stir in a spoonful of baking soda.
- Slather the brew on your dispenser's surface, wait a few minutes, then wipe away the mess.
This mix gets the job done without the nasty chemicals. Curious about cleaning your other kitchen stuff? Swing by Fridge.com guide on keeping your beer fridge fresh.
Fixing Stuff When Things Go Wonky
Even with all your elbow grease, things might still go south. Here’s how to tackle what might bug your dispenser:
| Problem | Fix-It Tip |
|---|---|
| Gunky Build-Up | Clean more often and use a stronger concoction. |
| Funky Smells | Wash it down with vinegary water and dry well. |
| Trickle Instead of Flow | Check the spout for clogs and clear them out. |
For nagging issues, peek at your cleaning habits or the water quality. A bit of regular TLC keeps these woes at bay.
Want some extra tricks for keeping everything sparkly? Check out more insights like how long your chicken can hang in the fridge for more kitchen storage wisdom.