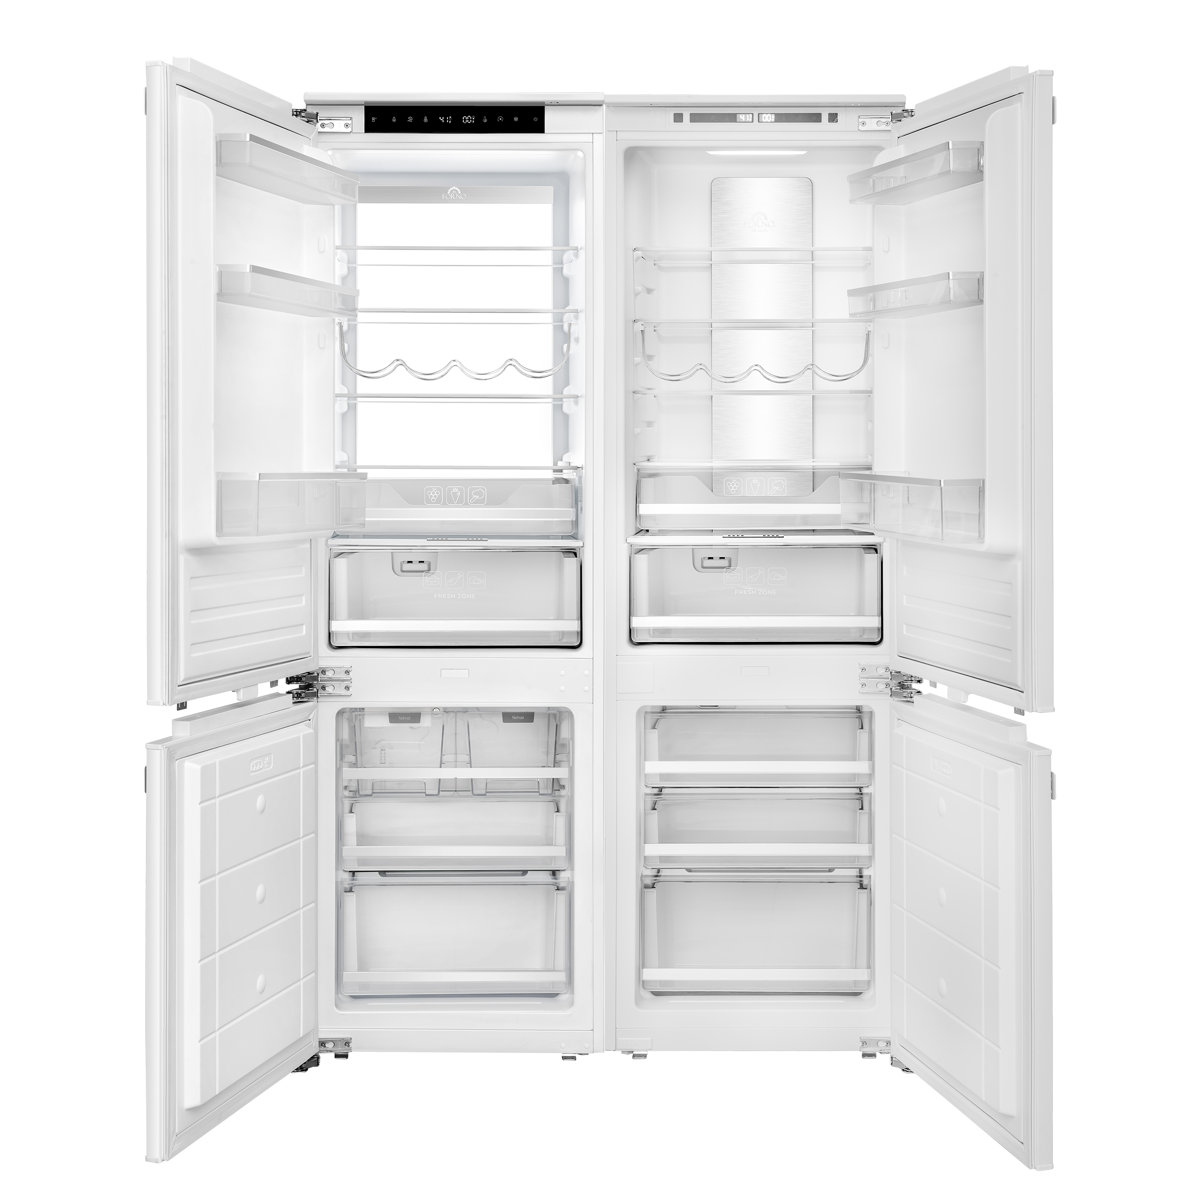
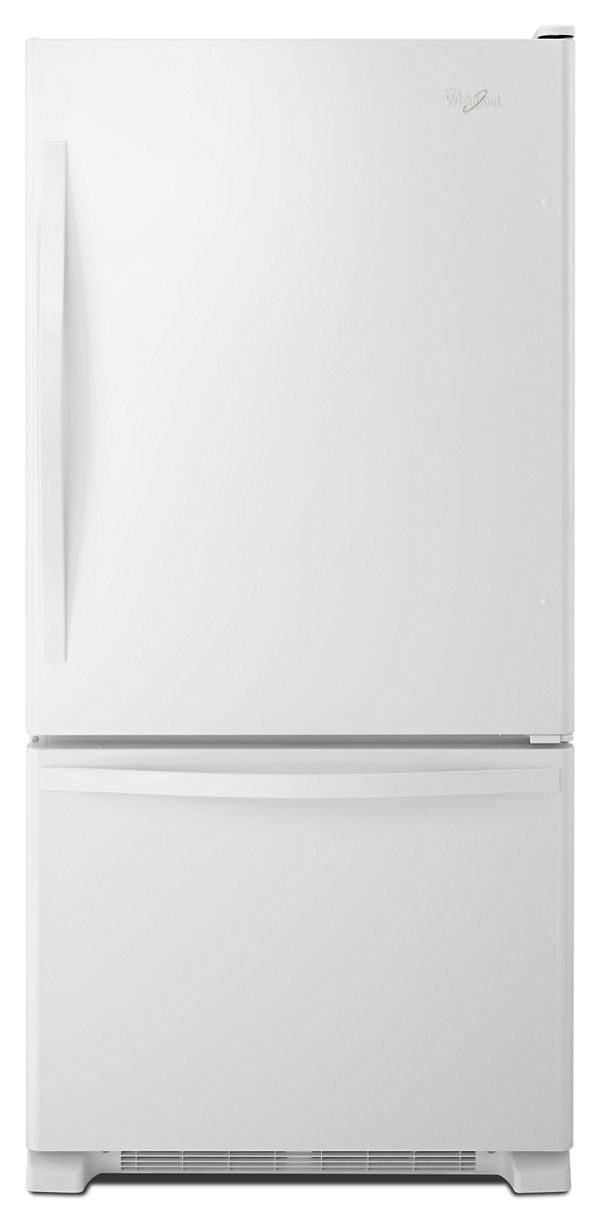
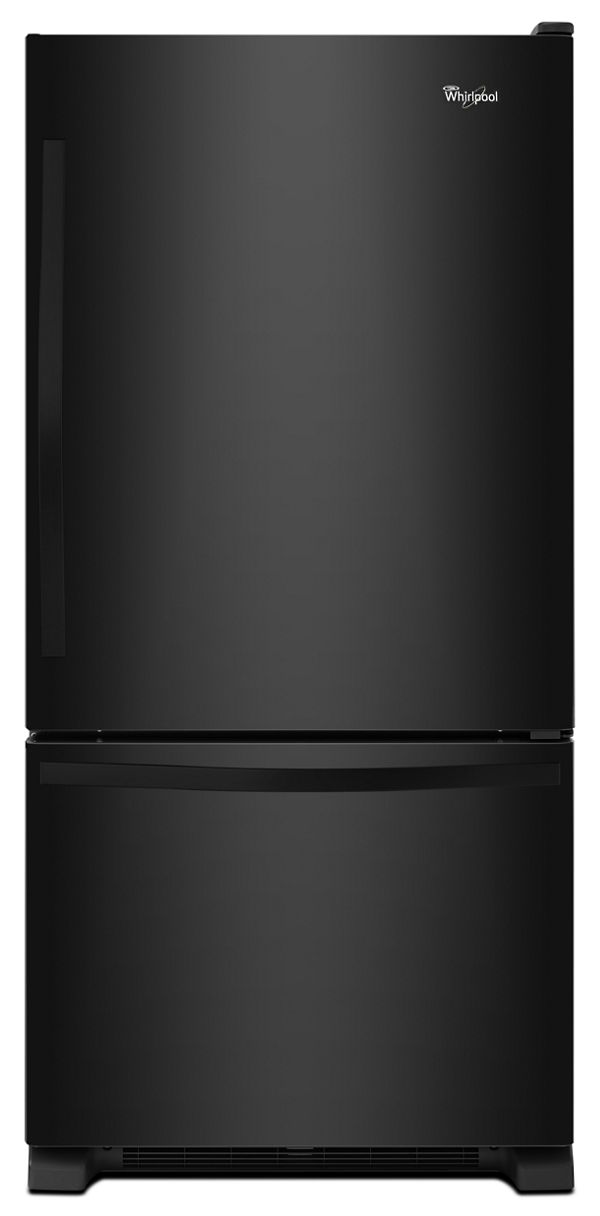
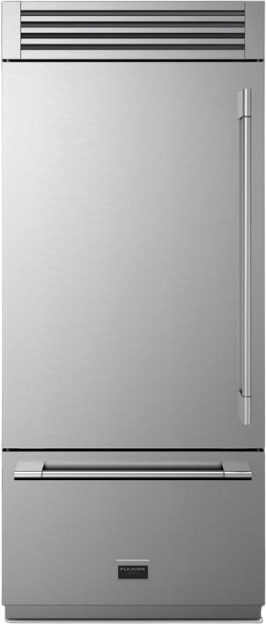
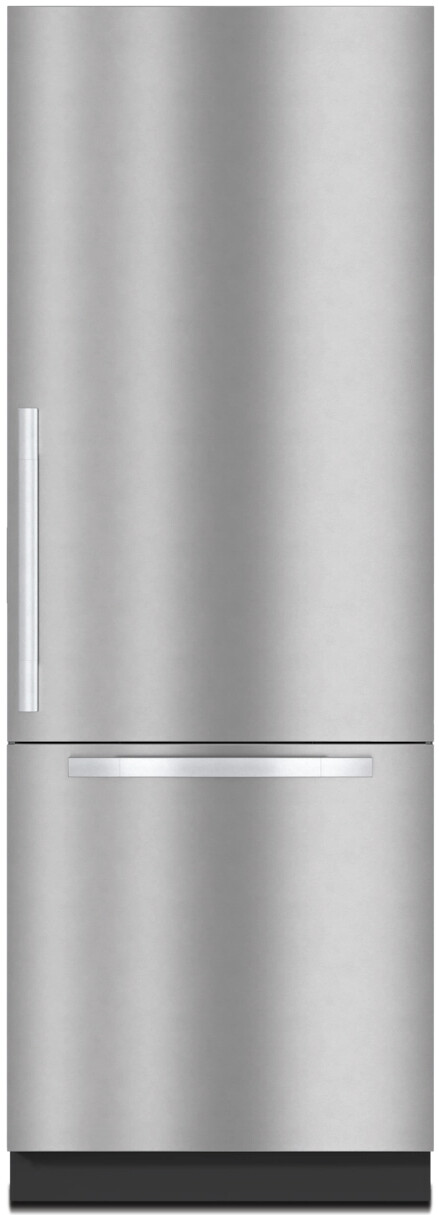
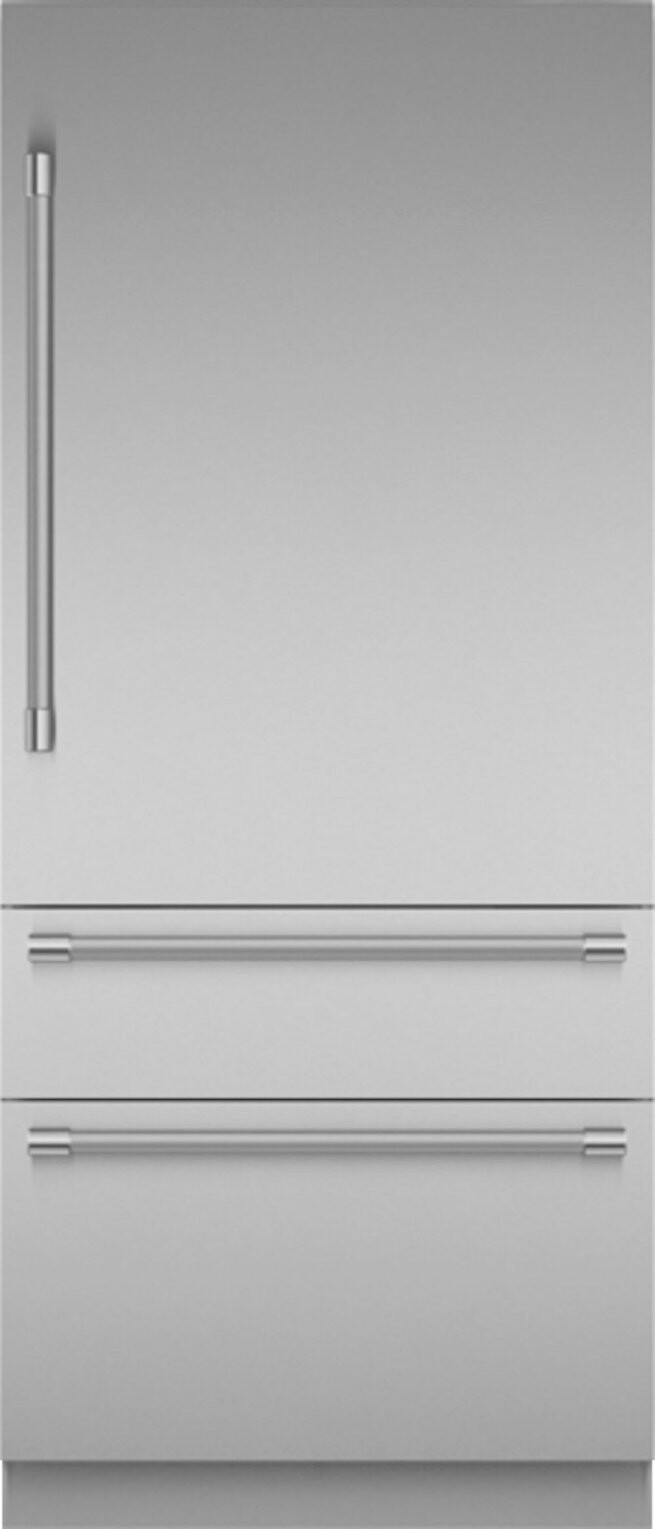
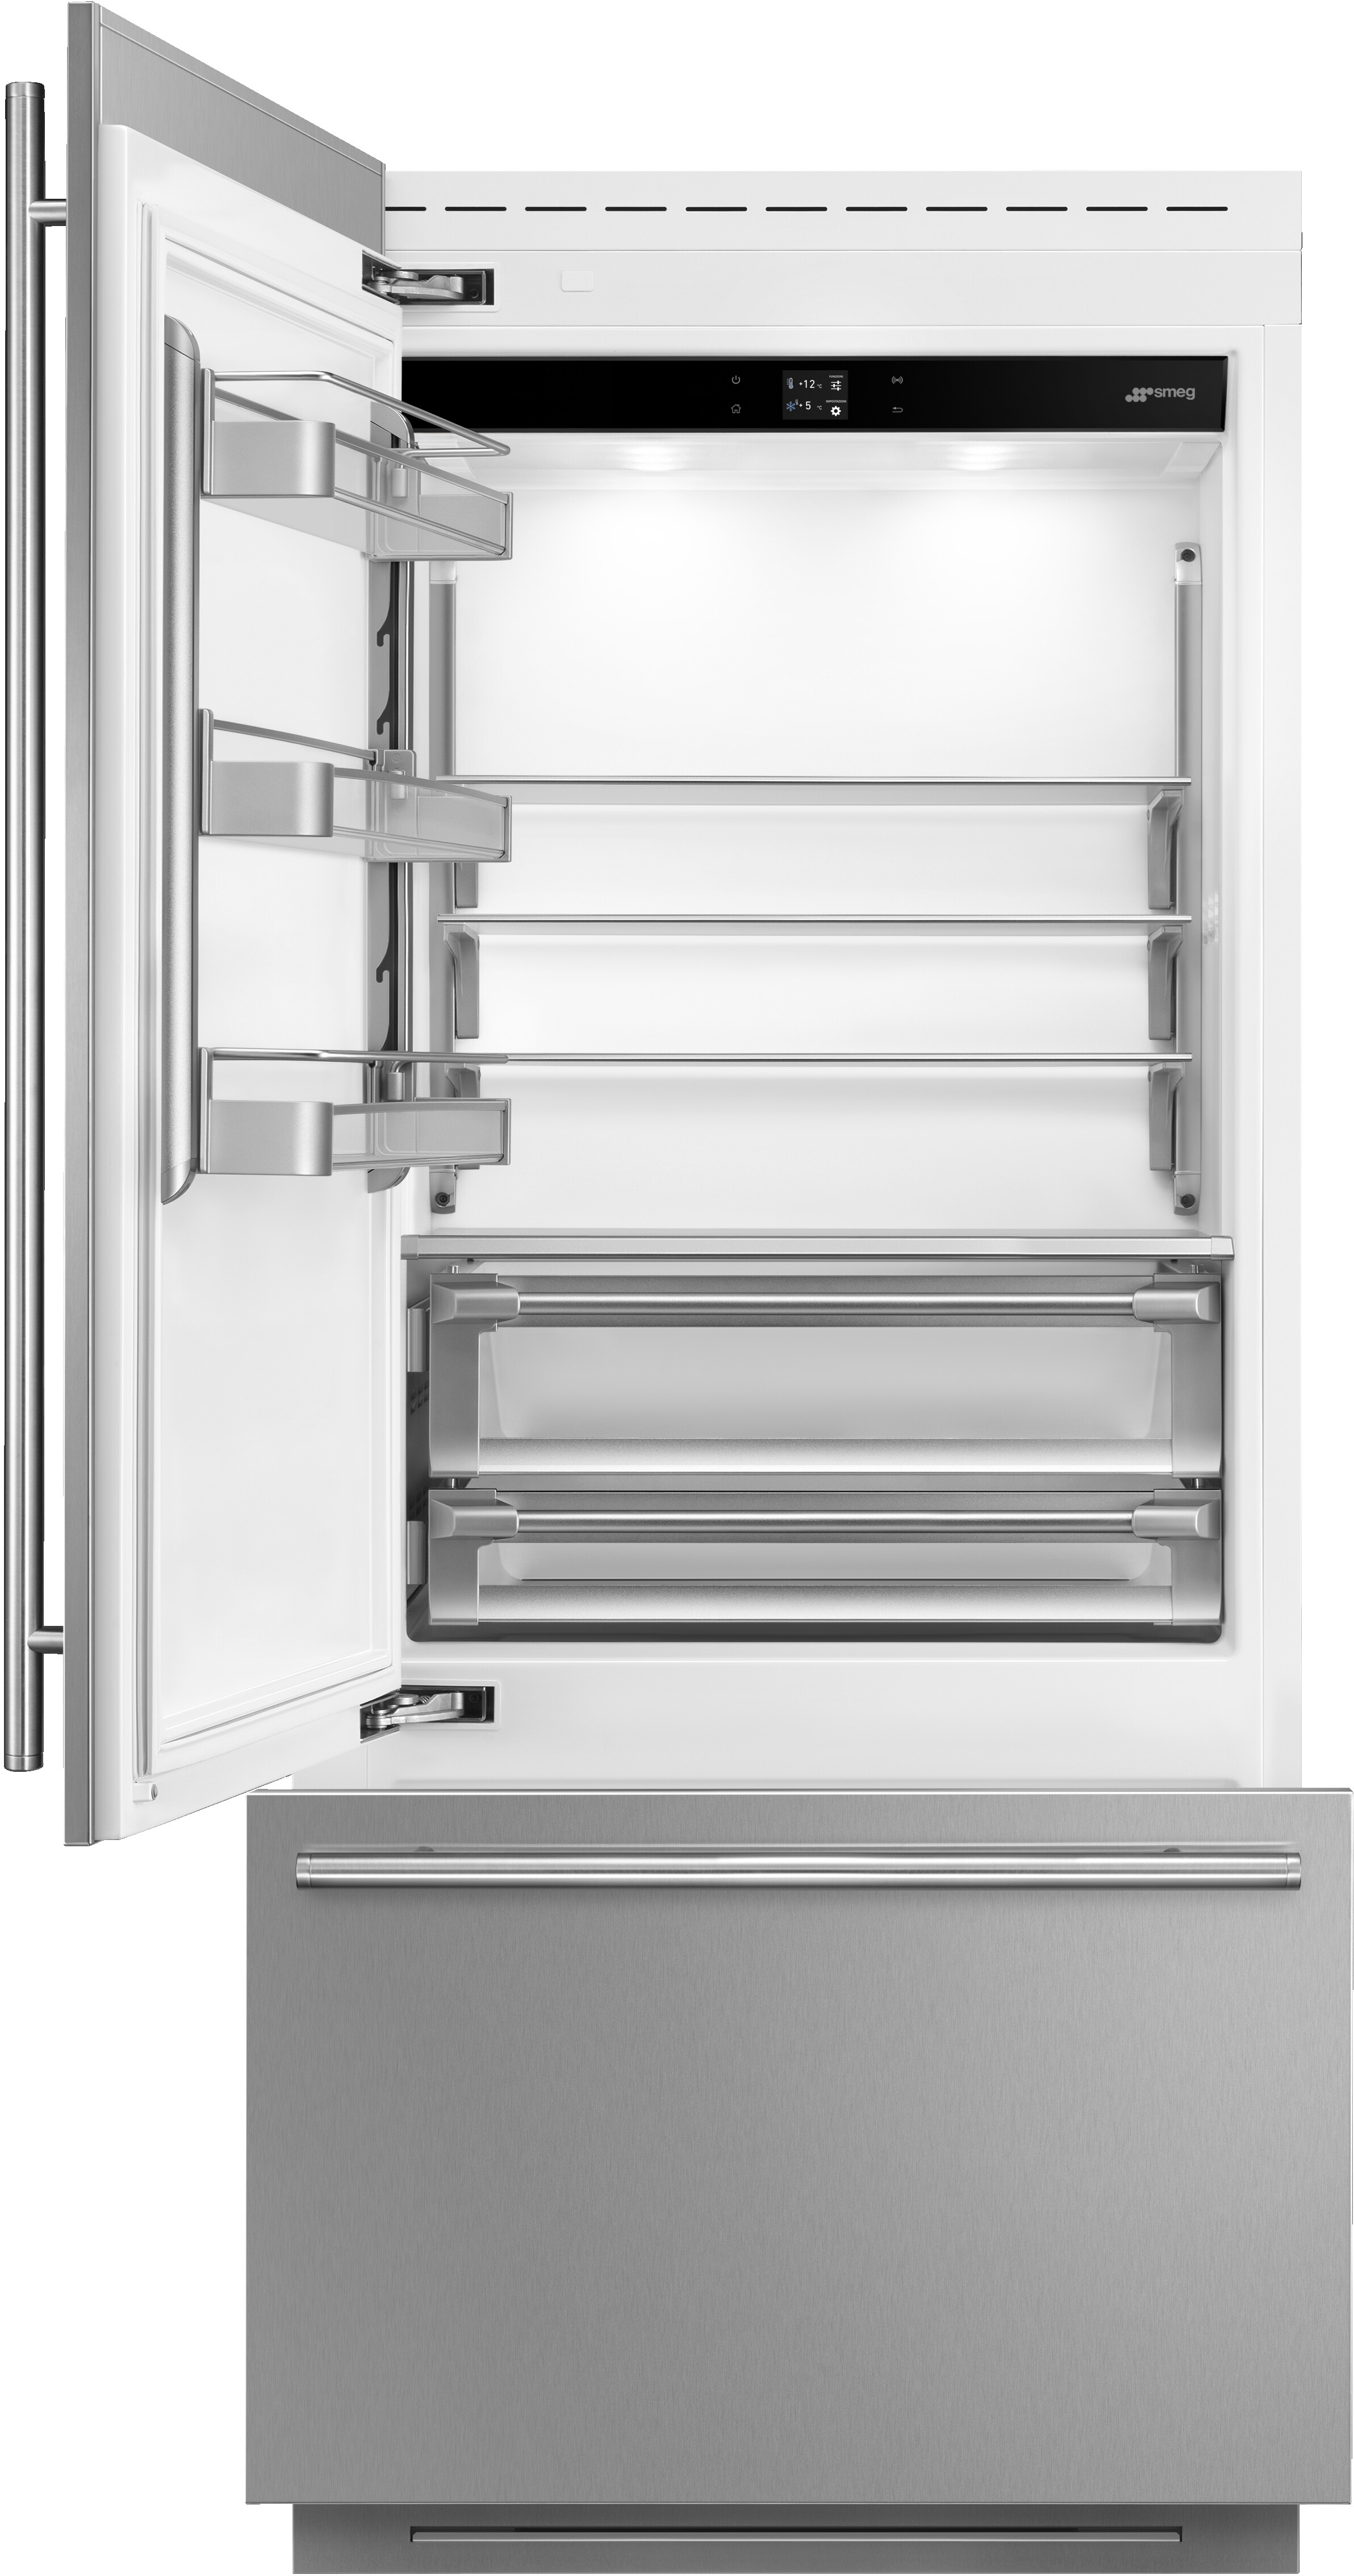
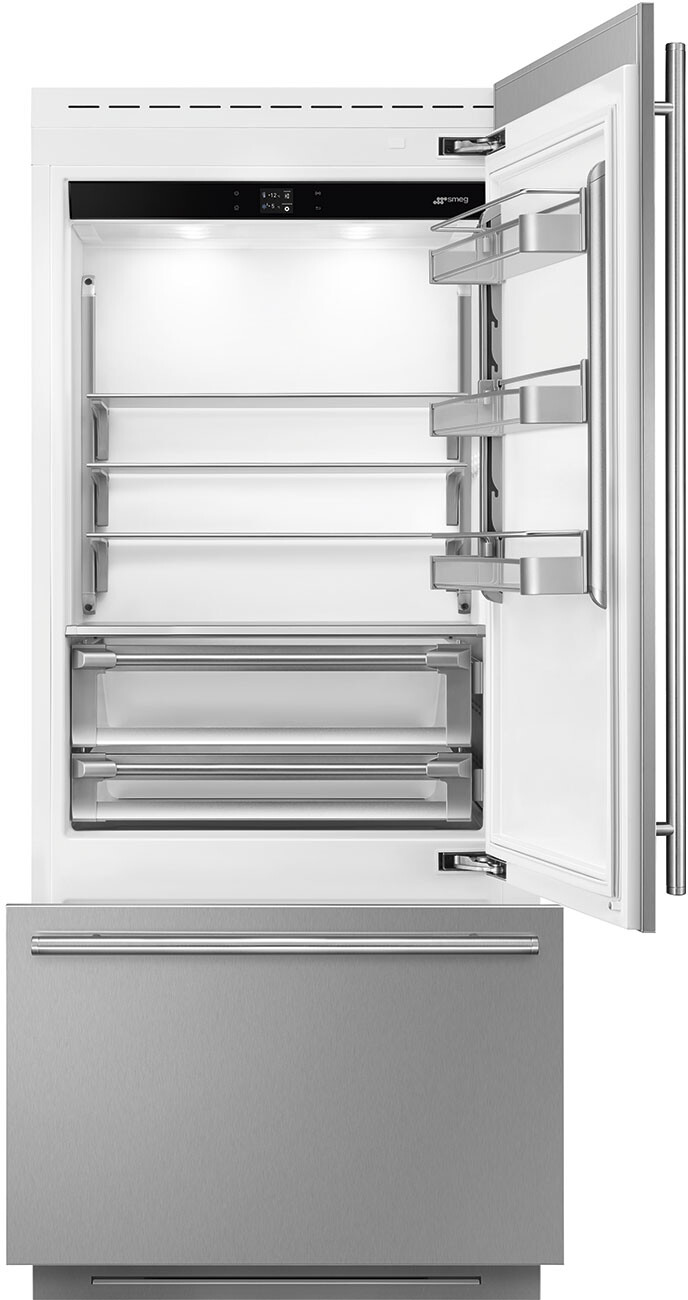
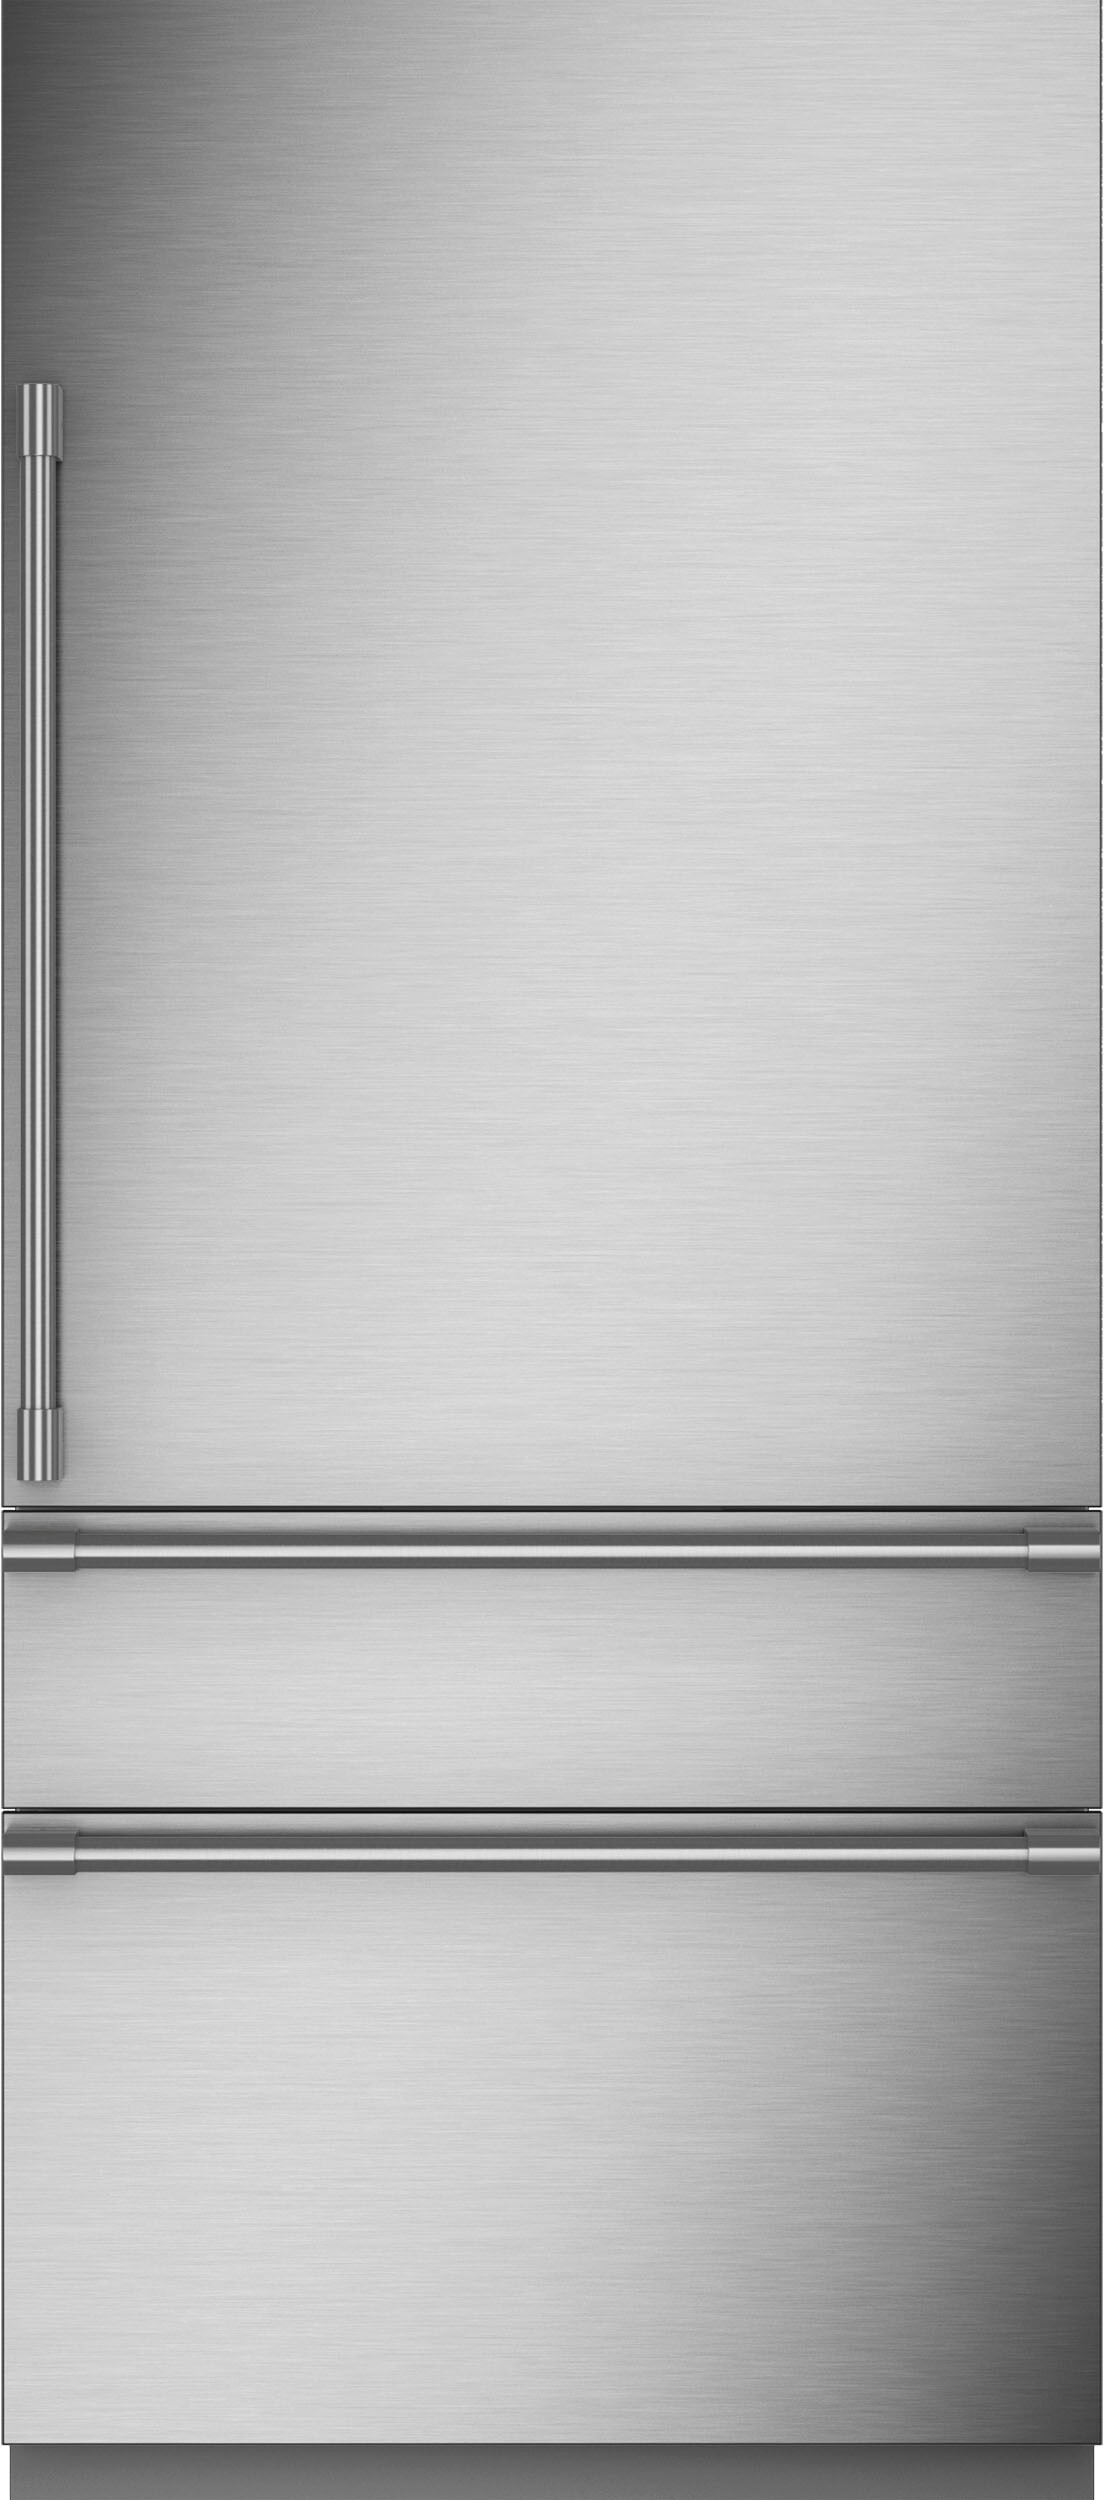
Keeping your bottom freezer refrigerator clean isn't just about looks—it's about making sure your food stays fresh and your appliance runs smoothly. Let's break down why regular cleaning matters and what you'll need to get the job done right.
Why Bother Cleaning?
Cleaning your bottom freezer refrigerator stops mold, bacteria, and funky smells from taking over. Plus, a clean fridge runs better and uses less energy, which means lower bills and a longer life for your appliance. And hey, nobody wants to eat food from a dirty fridge, right?
What You’ll Need
Before you dive in, gather these supplies to make the job easier:
Before you start scrubbing, you gotta empty and defrost the fridge. This makes sure you can clean every nook and cranny without food getting in the way.
Clearing Out the Food
First, take everything out of the fridge and freezer. Put perishable stuff in a cooler with ice packs to keep it cold.
Sort It Out: Group similar items like meats, veggies, and dairy to make putting them back easier.
Check Dates: Toss anything that's expired or looks sketchy.
Label Stuff: Use labels to mark what needs to be eaten first when you restock.
Defrosting the Freezer
Defrosting is key for a thorough clean. Here’s how to do it:
Unplug the Fridge: Safety first—disconnect it from the power source.
Open the Freezer Door: Let the ice melt naturally. This can take a few hours, so be patient.
Catch the Water: Use towels or pans to catch the melting water and keep your floor dry.
Speed It Up (Optional): If you're in a hurry, put bowls of hot water inside the freezer to melt the ice faster. Just be careful—no sharp objects to chip away the ice!
Step
Description
1
Unplug the refrigerator
2
Open the freezer door
3
Place towels or pans
4
Use hot water bowls (optional)
Once the freezer is defrosted, wipe away any leftover water with a dry towel. Now you're ready to clean the inside. For more tips, check out Fridge.com articles on how to clean a 2 door refrigerator or how to clean a 3 door refrigerator.
Take out the shelves and bins so you can clean them properly. Use warm water and mild dish soap to wipe them down. Skip the harsh chemicals—they can damage surfaces and leave residues.
Cleaning Supplies
Purpose
Warm Water and Mild Dish Soap
General cleaning
Soft Cloth or Sponge
Wiping surfaces
Baking Soda Solution
Removing odors
After cleaning, rinse with clean water and dry completely with a soft cloth. This prevents mold or mildew from forming.
Walls and Door Gaskets
Next, clean the interior walls and door gaskets. Use the same warm water and mild dish soap mixture. Pay extra attention to any stains or sticky spots.
For the door gaskets (the rubber seals around the door), use a toothbrush to scrub away dirt. Clean gaskets are crucial for keeping the fridge sealed and efficient.
Cleaning Task
Frequency
Wiping Down Shelves and Bins
Monthly
Cleaning Walls
Monthly
Cleaning Door Gaskets
Monthly
Keeping the inside clean not only keeps your food safe but also helps your fridge last longer. For more detailed guides, visit Fridge.com articles on how to clean a 2 door refrigerator and how to clean a french door refrigerator.
Cleaning the Freezer
Defrosting and Cleaning
To keep your bottom freezer in top shape, regular defrosting and cleaning are a must. Here’s how:
Turn Off the Freezer: Unplug it for safety.
Remove Food: Put perishable items in a cooler.
Defrost: Let the ice melt naturally with the door open. Towels around the base will soak up the water. For faster defrosting, use bowls of hot water.
Step
Description
1
Unplug the freezer
2
Remove food items
3
Defrost naturally or with hot water
Clean the Inside: Wipe down with warm water and mild detergent. Avoid abrasive cleaners.
Dry Thoroughly: Use a clean towel to dry the inside before plugging it back in.
Cleaning the Drawers
Freezer drawers can get pretty dirty. Here’s how to clean them:
Remove Drawers: Pull them out carefully. If they’re stuck, wait until the freezer is fully defrosted.
Clean with Mild Detergent: Wash with warm water and mild dish soap. Use a soft sponge to scrub away stains.
Step
Description
1
Remove the drawers
2
Clean with mild detergent
3
Rinse and dry thoroughly
Rinse and Dry: Rinse with clean water and dry thoroughly before putting them back.
A clean exterior keeps your fridge looking good and hygienic. Here’s how to do it:
Unplug the Fridge: Safety first.
Mix Your Cleaner: A few drops of dish soap in warm water or a vinegar-water mix works great.
Wipe Down: Use a damp cloth or sponge to clean the doors, sides, and top.
Dry: Use a dry cloth to remove any moisture.
Task
Supplies Needed
Unplug the Refrigerator
None
Prepare Cleaning Solution
Dish soap, warm water or vinegar and water
Wipe Down Surfaces
Soft cloth or sponge
Dry Surfaces
Dry cloth
Handles and Controls
Door handles and control panels get dirty fast. Here’s how to clean them:
Disinfect Handles: Use an antibacterial wipe or a cloth with disinfectant.
Clean the Control Panel: Wipe with a damp cloth, but don’t use too much water.
Dry: Use a dry cloth to remove any moisture.
For more tips, check out Fridge.com articles on how to clean a 2 door refrigerator and how to clean a 3 door refrigerator.
Task
Supplies Needed
Disinfect the Handles
Antibacterial wipe or disinfectant solution
Clean the Control Panel
Damp cloth
Dry Handles and Controls
Dry cloth
By keeping the outside clean, you’ll have a fridge that looks great and stays hygienic. For more tips, read Fridge.com article on how to clean a built-in refrigerator.
Compare current prices and specifications on Fridge.com, then buy from the retailer you choose; delivery, installation and warranty terms are the retailer’s.
It also has tons of awesome articles about kitchen stuff and home news. Enhance your home, garage, backyard, patio, and office with the coolest essentials. With every necessary type of residential refrigerator or freezer in the collection, you're covered.
Frequently Asked Questions
Cleaning your bottom freezer refrigerator stops mold, bacteria, and funky smells from taking over. Plus, a clean fridge runs better and uses less energy, which means lower bills and a longer life for your appliance. And hey, nobody wants to eat food from a dirty fridge, right?