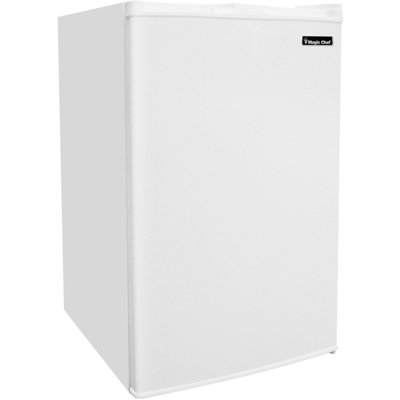
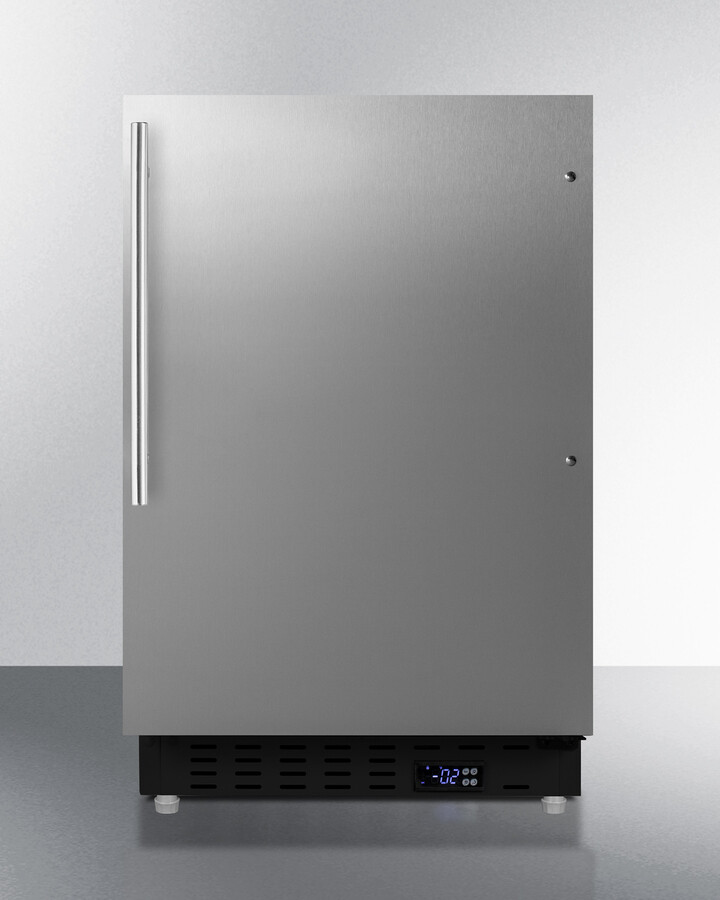
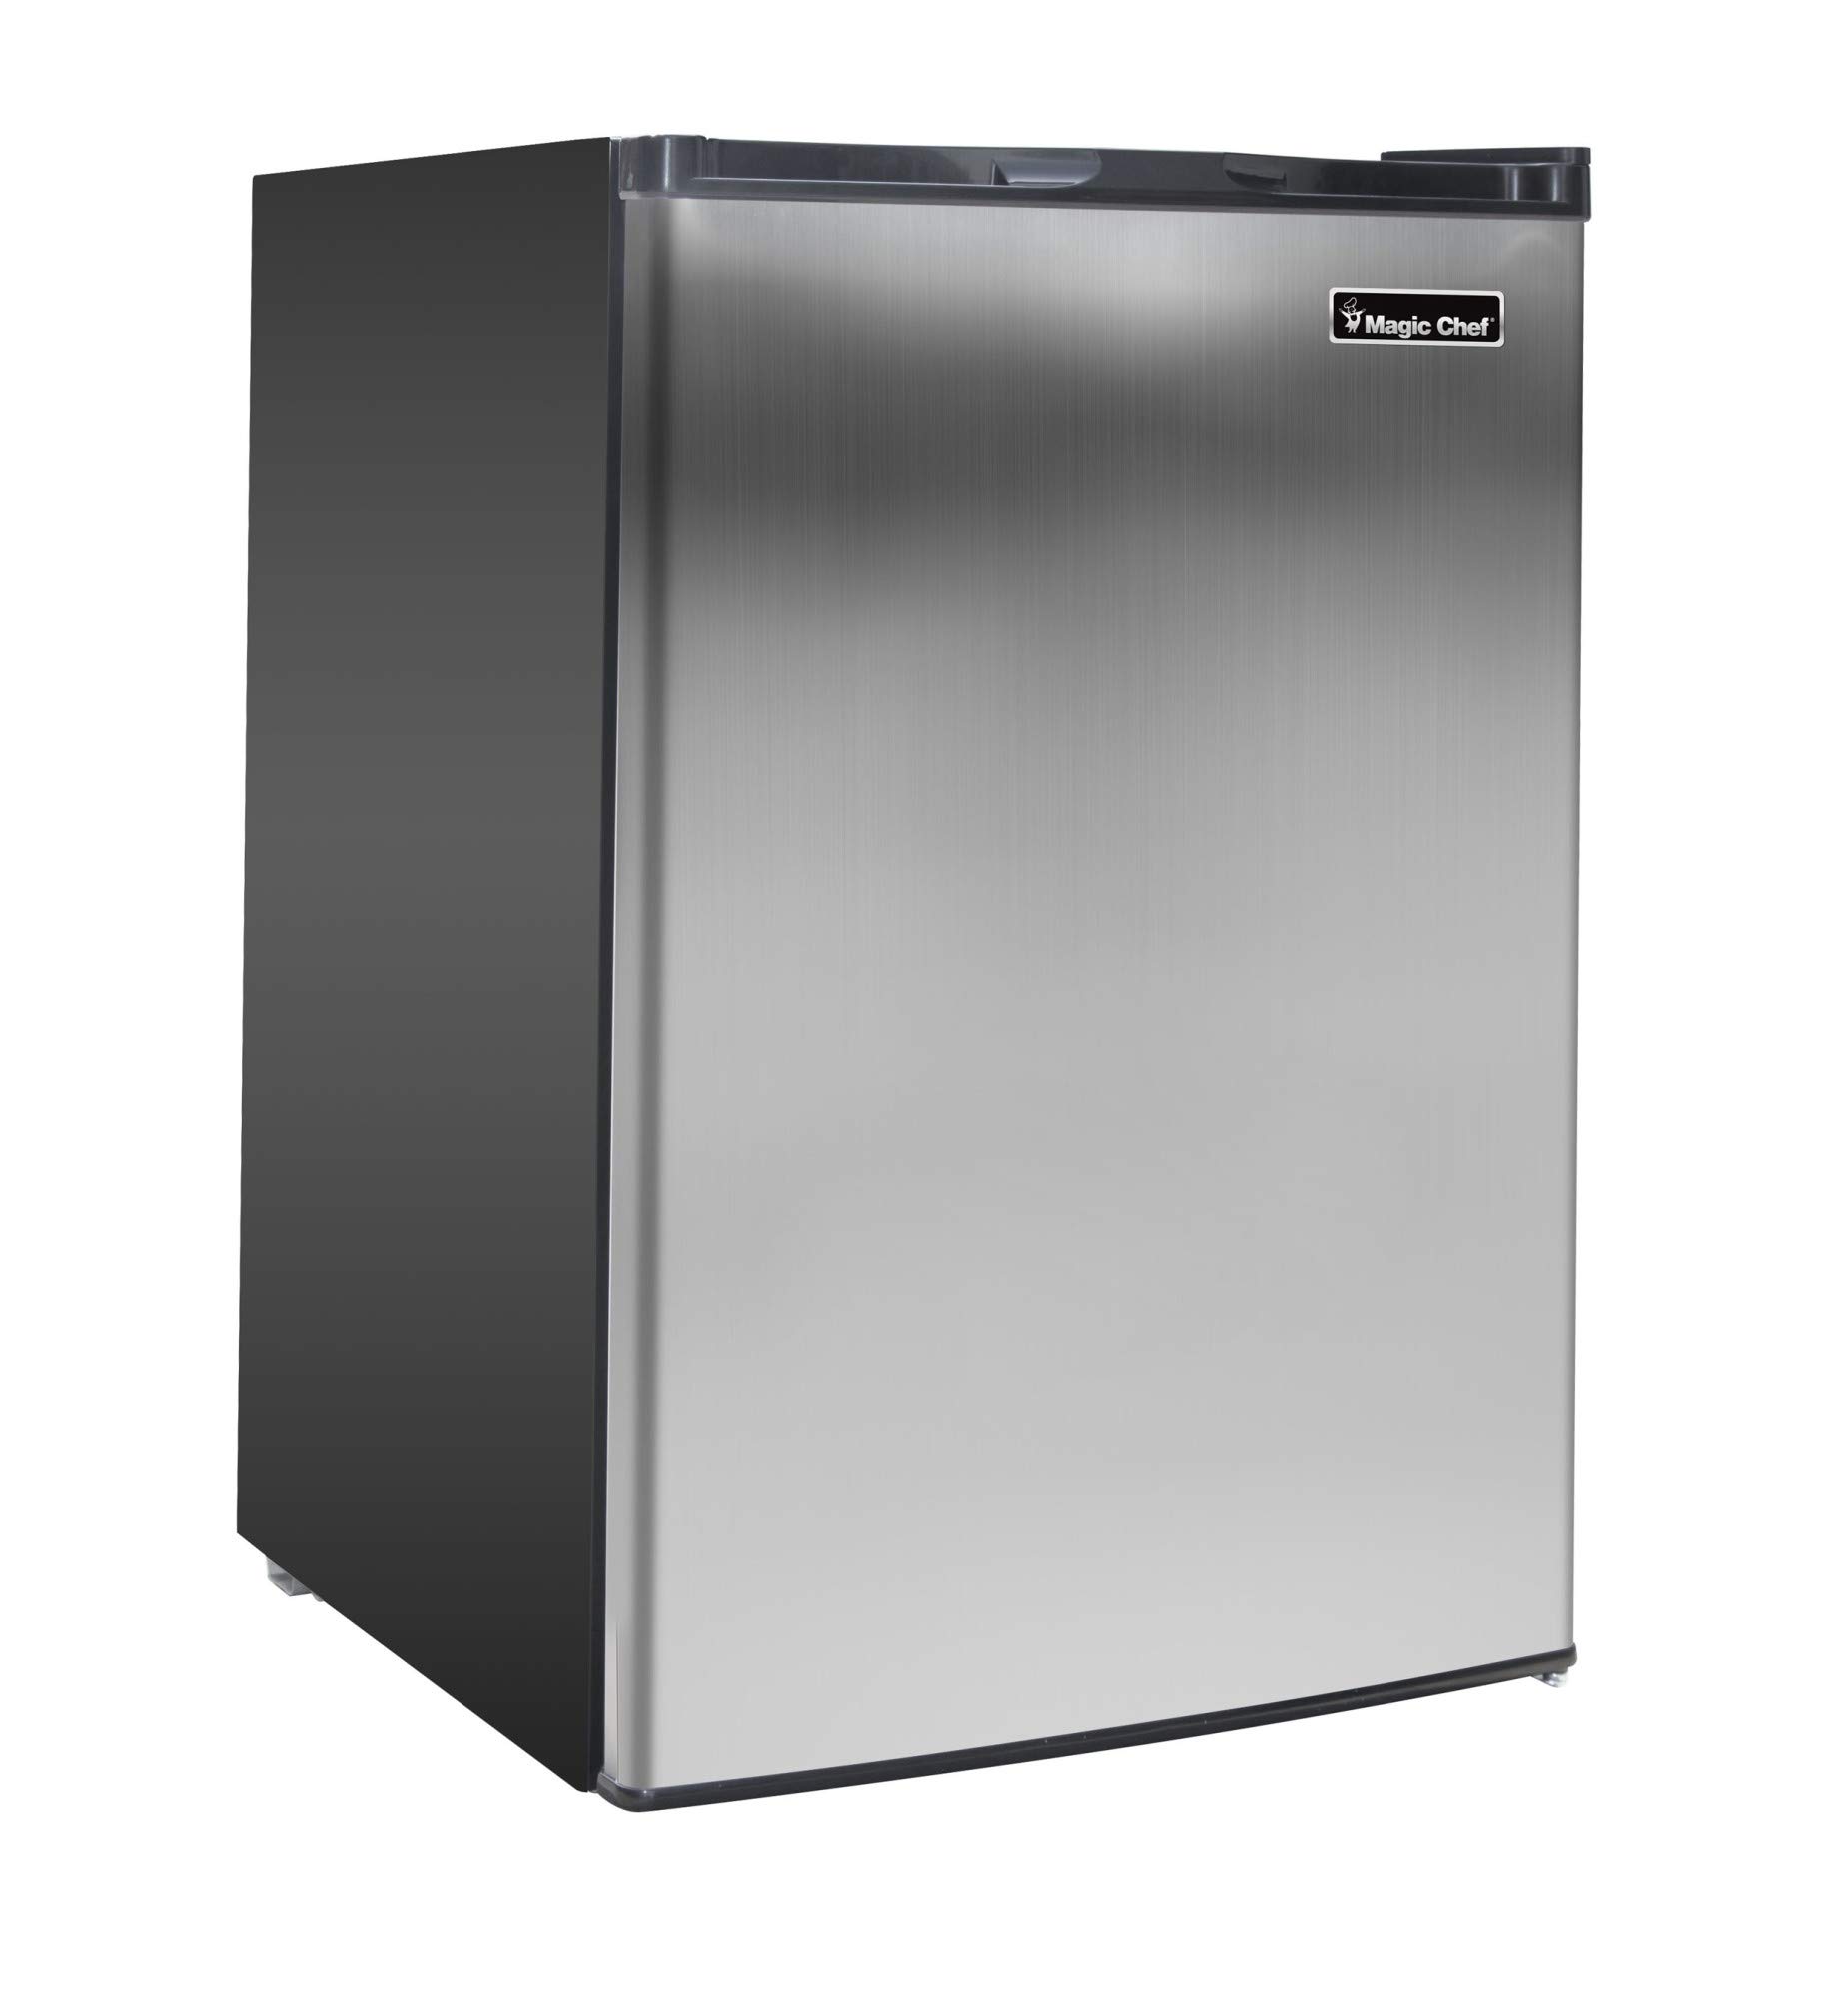
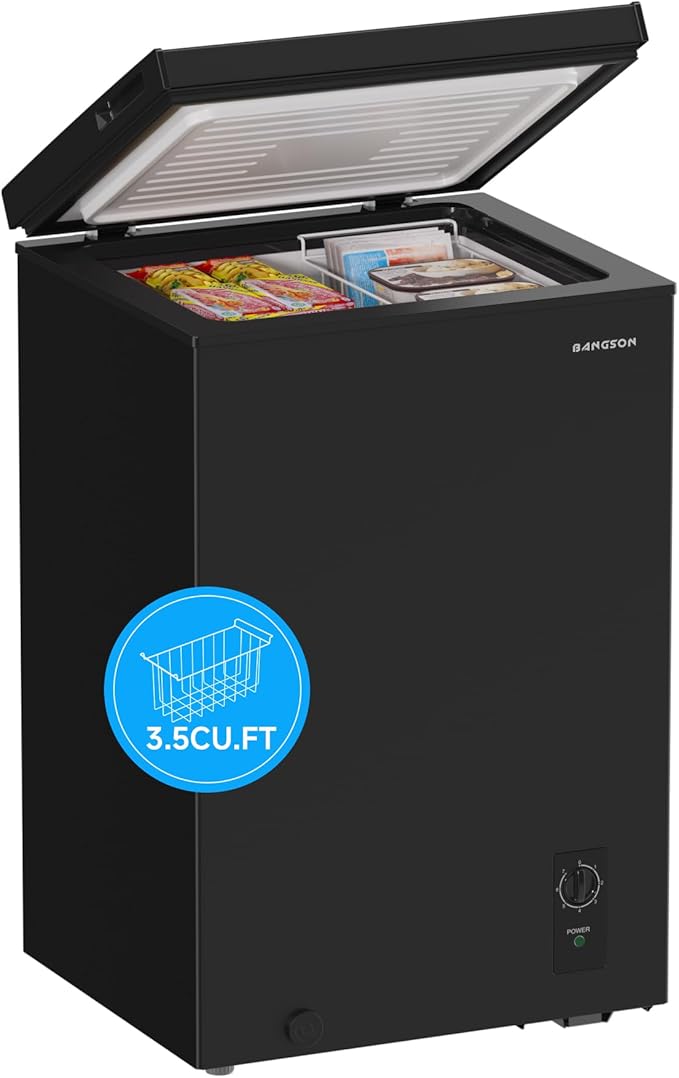
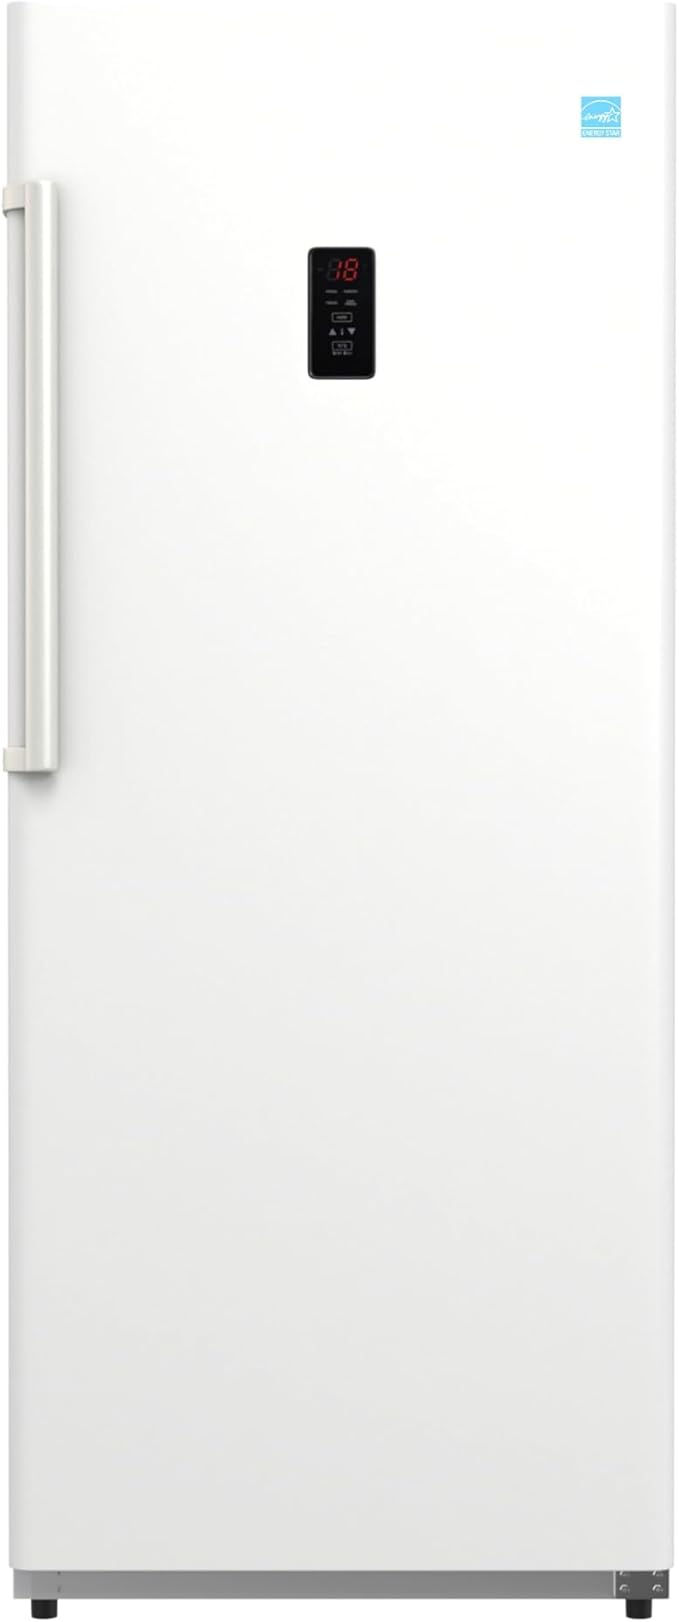
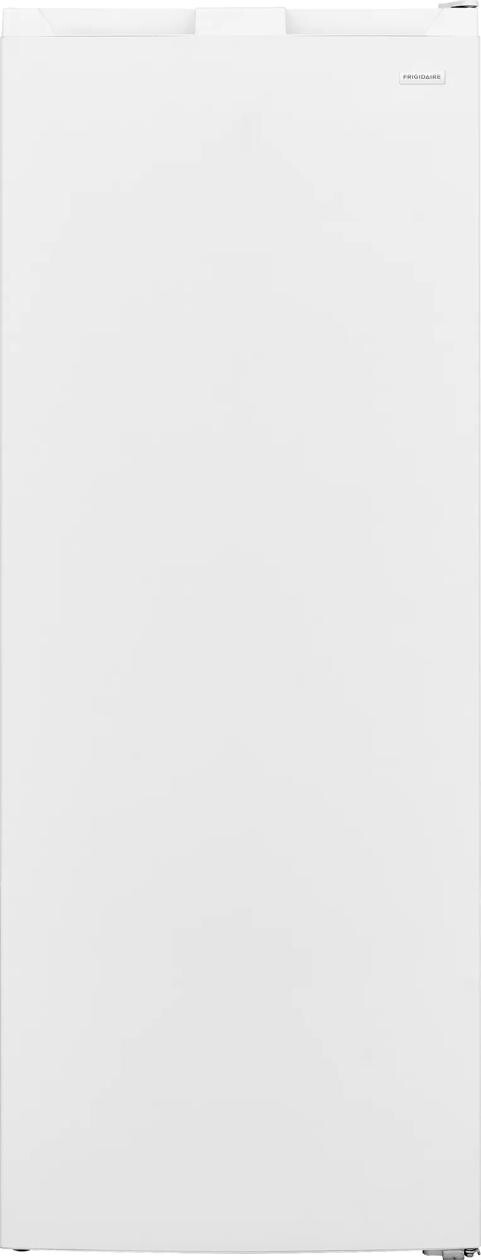
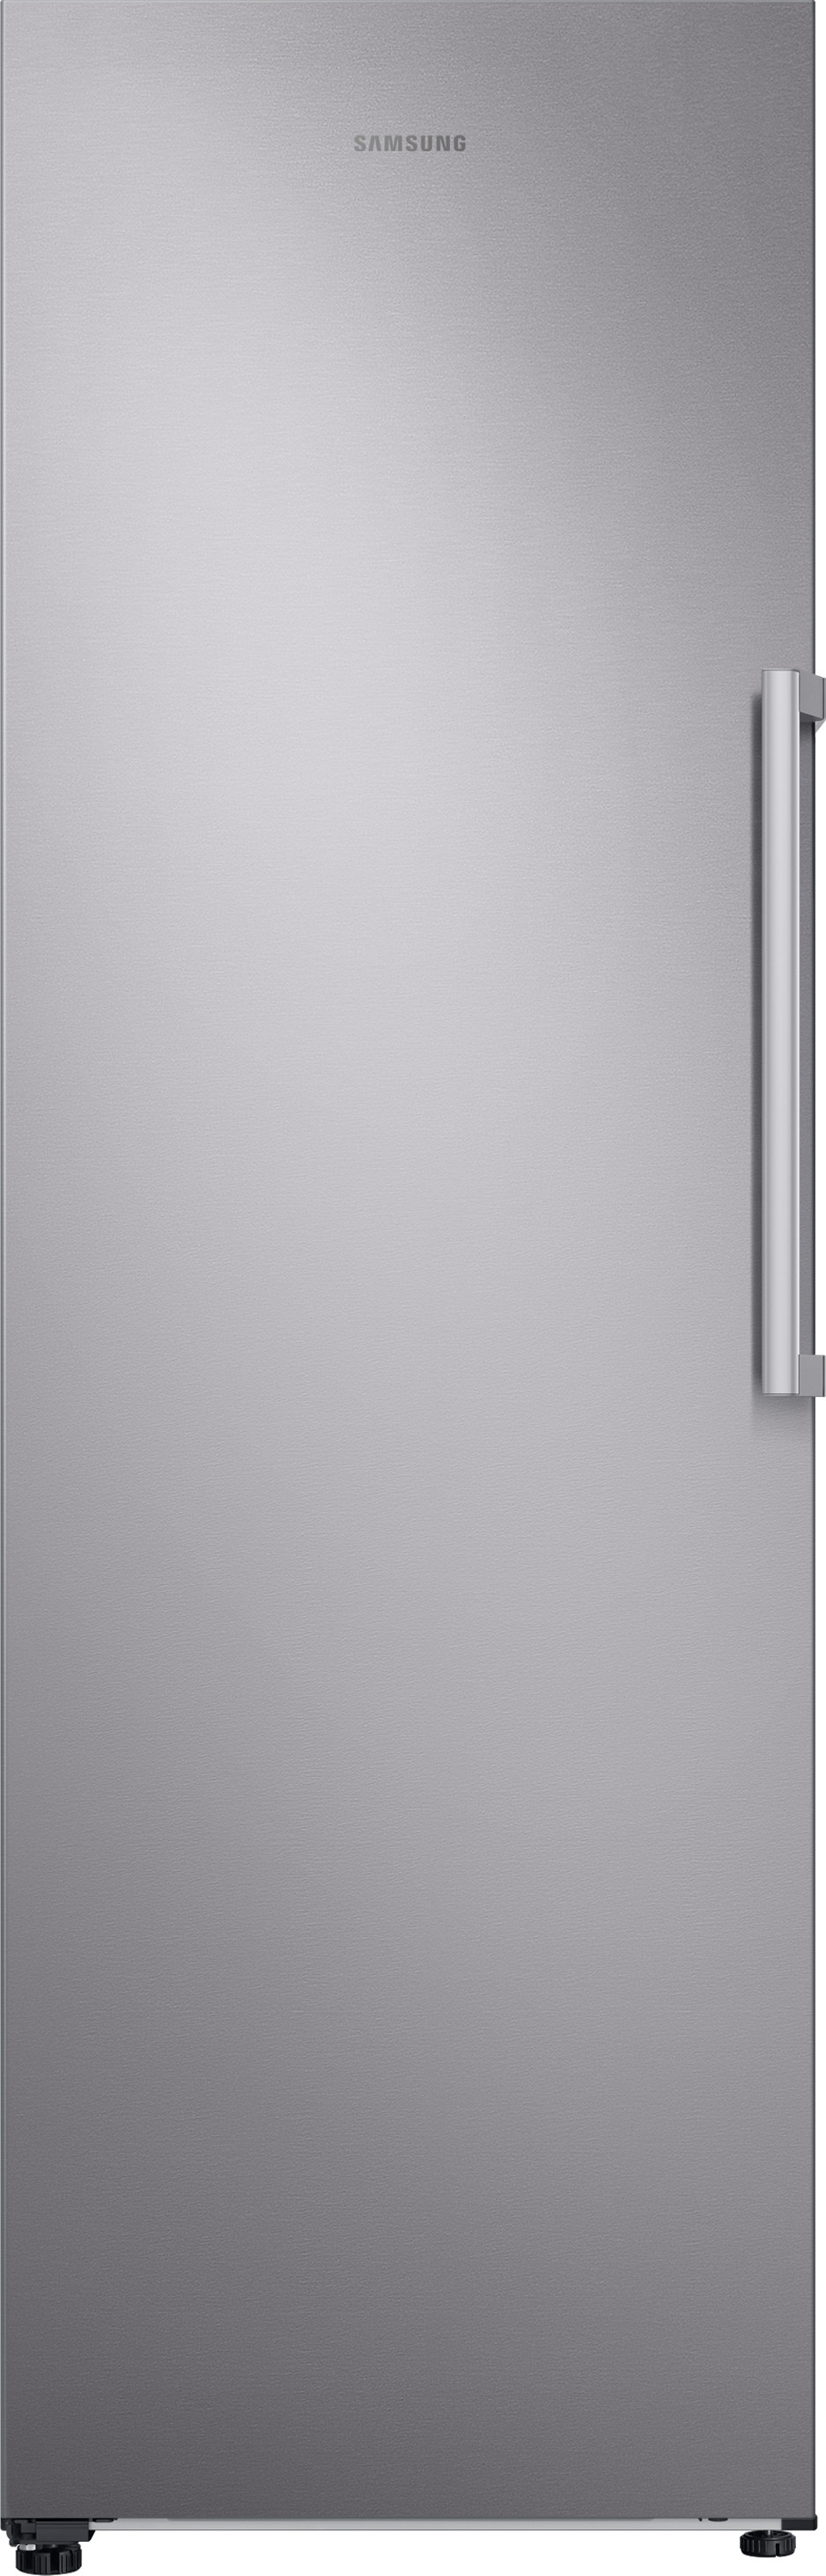
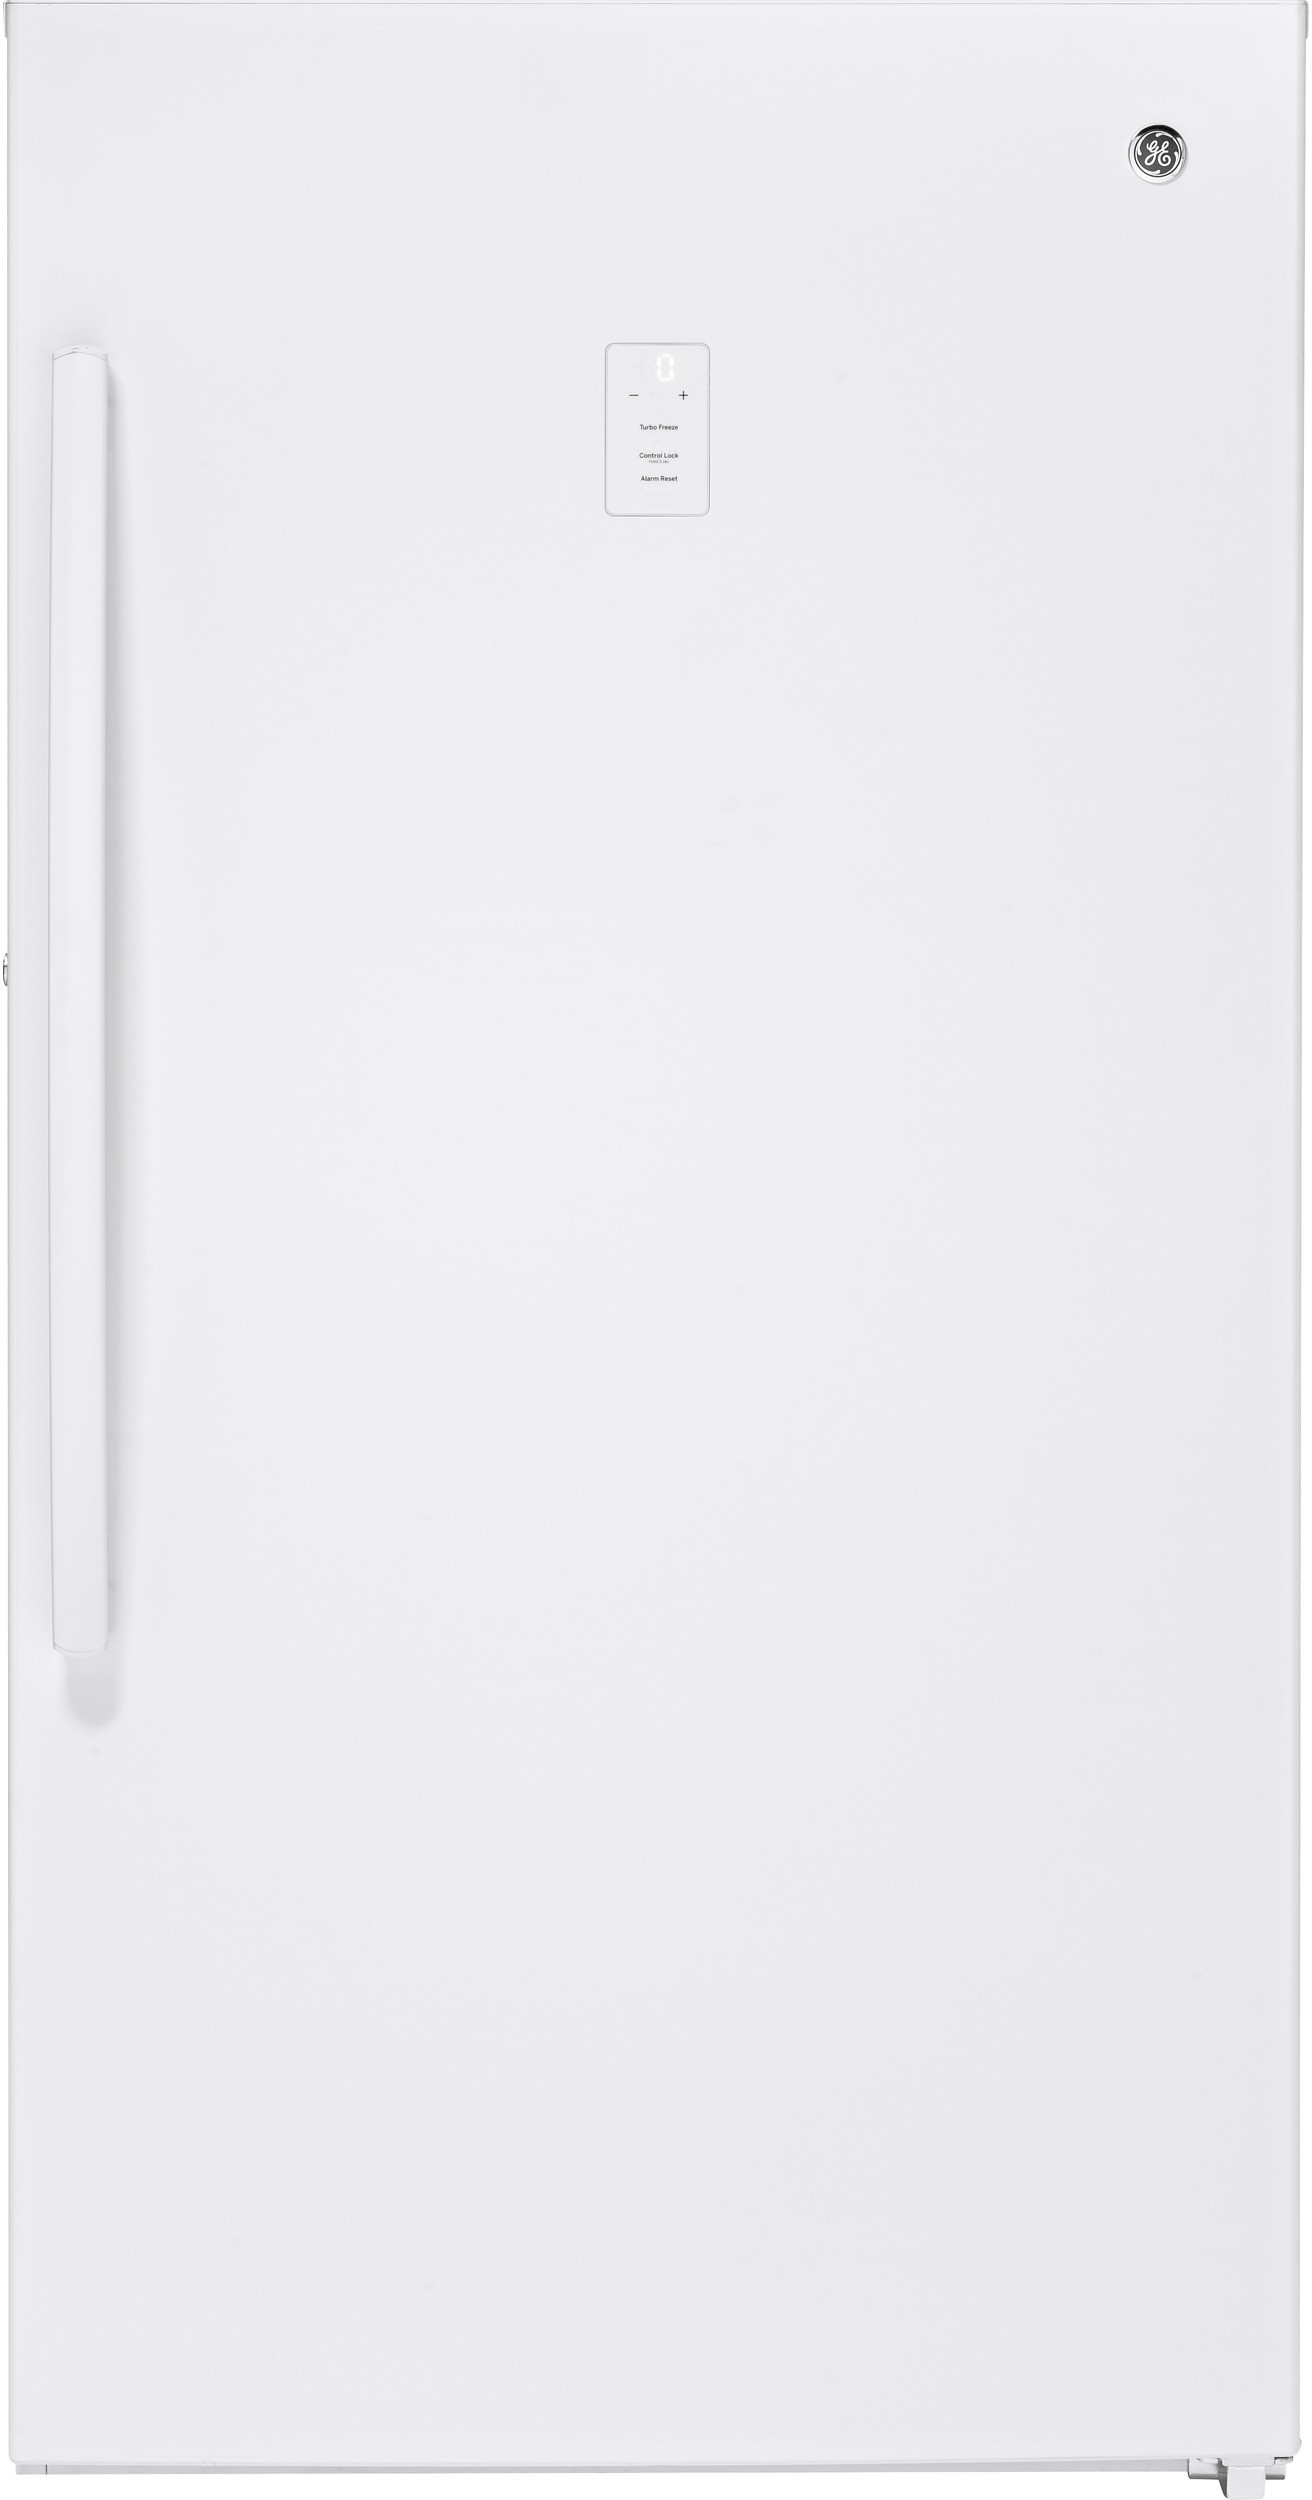
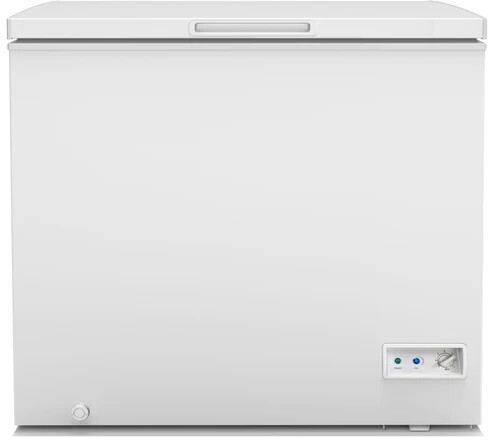
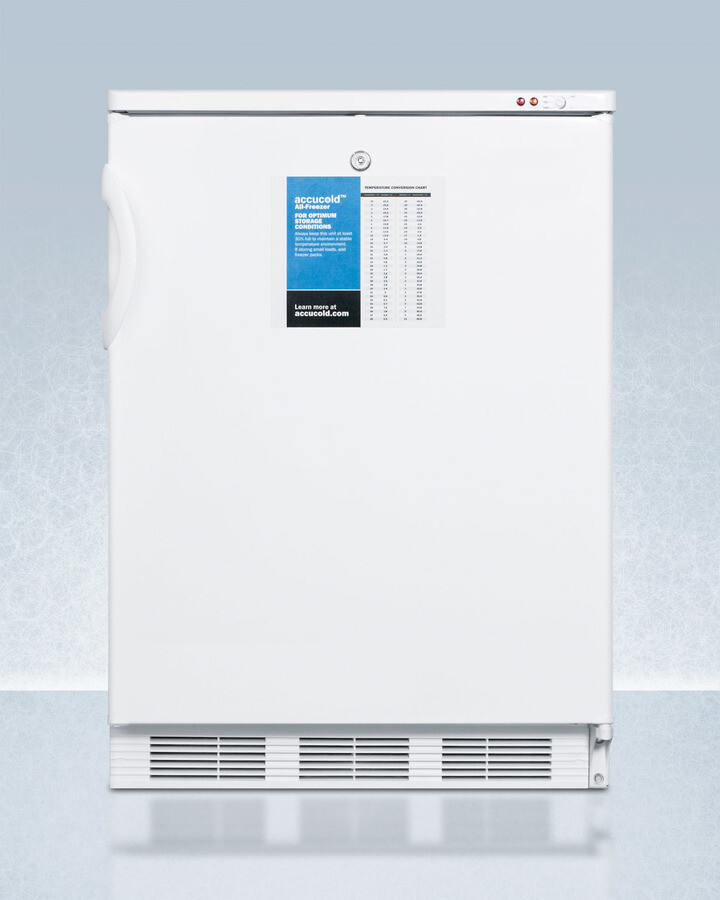
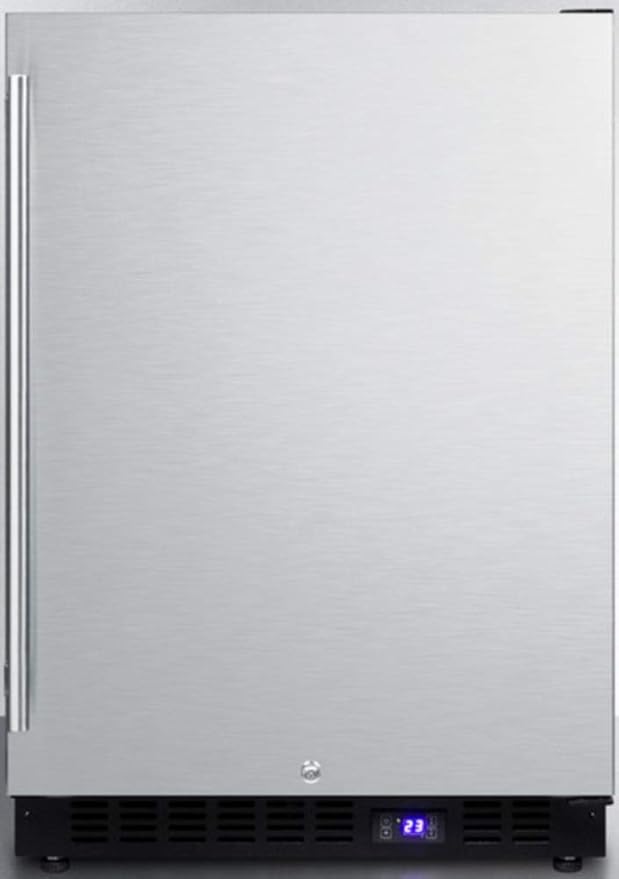
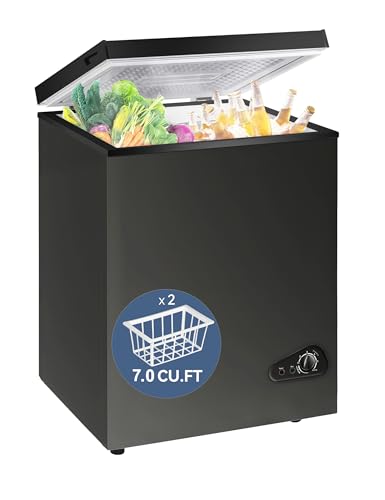
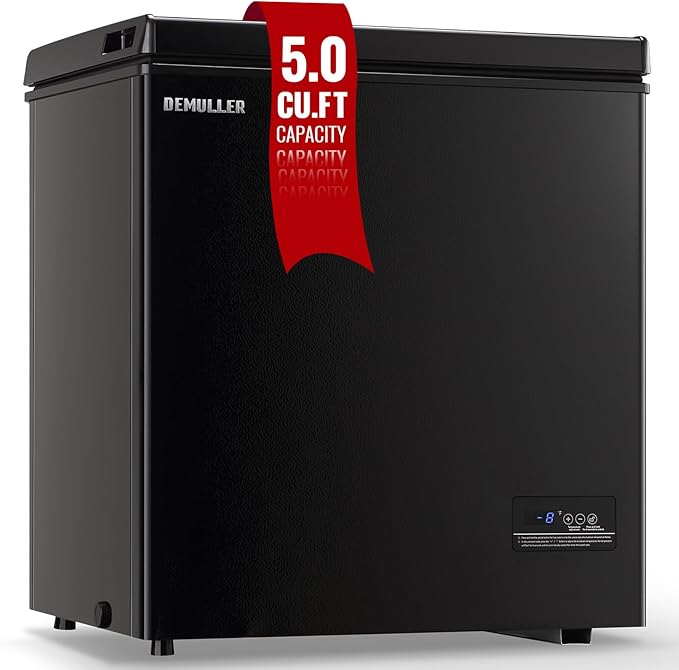
If you’ve ever wondered how do you move a freezer for dummies? you’re in the right place. Moving a freezer—whether it’s a chest model in your garage, an upright unit in a commercial kitchen, or a dorm-room mini-fridge—can feel intimidating. You’re dealing with heavy weight, bulky dimensions, and the risk of scratching floors or tweaking your back. But with a bit of planning, the right tools, and step-by-step guidance, you can relocate your appliance safely and smoothly.
In this guide you’ll learn freezer moving tips that apply to chefs shifting a walk-in cooler, families relocating a chest freezer for meal-prepping, RVers stashing a mini-fridge, and students moving into tight dorm hallways. You’ll discover how to prep your freezer, pack it up, clear the path, lift without strain, secure it in your truck, and then unpack it at your new spot. Ready to see how simple appliance relocation can be? Let’s dive in.
Gather moving supplies
Before you attempt to move a freezer, get your supplies in order. Having the right tools on hand will save you time, protect your appliance, and keep your back happy.
Essential tools and materials
- Appliance dolly rated for at least 600 lbs
- Moving straps or ratchet straps
- Moving blankets or furniture pads
- Packing tape or gaffer’s tape
- Bubble wrap or foam padding
- Work gloves with grip
| Tool | Capacity | Purpose |
|---|---|---|
| Appliance dolly | 600+ lbs | Supports and wheels heavy loads safely |
| Moving straps | Adjustable | Secures freezer to dolly or truck walls |
| Moving blankets | N/A | Cushions corners and prevents scratches |
| Bubble wrap | N/A | Protects handles, control panels, vents |
| Packing tape | N/A | Seals doors, bins, drawers in place |
Safety gear
- Closed-toe shoes or steel-toe boots
- Work gloves to protect your hands
- Knee pads if you’ll be sliding on hard floors
Once you have your supplies, you’re ready to prep the freezer itself.
Prepare your freezer
A clean, defrosted freezer moves more easily and arrives without a mess. Skipping this step can lead to water leaks, mold growth, or spoiled food.
Choose the right spot
Decide exactly where the freezer will go at its destination. Measure doorways and hallways in your home or moving truck to confirm the unit fits without tipping or tilting too much.
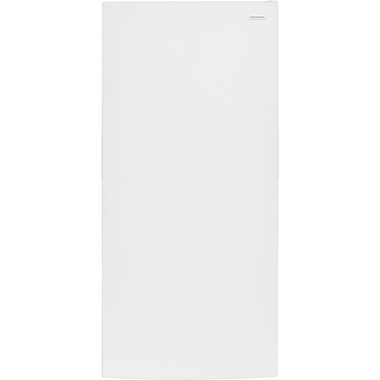

Clean and defrost
- Unplug the freezer at least 24 hours before moving.
- Empty all contents, tossing expired items and packing perishables in a cooler.
- Place towels or a tray under the drain pan to catch melt-water.
- Leave the door propped open until all ice melts.
- Wipe down the interior with a mild detergent and dry completely.
A fully defrosted, dry freezer is lighter and safer to transport, plus you avoid dripping water on carpets or truck floors.
Disconnect power and contents
Properly shutting off and emptying the freezer prevents electrical hazards and protects removable parts.
Unplug safely
- Switch off the breaker or unplug from the wall outlet.
- Coil the power cord neatly and secure it with tape or twist ties.
Remove shelves, drawers, and racks
- Slide out all removable bins and racks.
- Wrap delicate glass shelves in bubble wrap and tape lightly.
- Bag small items like ice trays, magnets, or temperature probes.
Keeping loose pieces separated and safely wrapped means nothing shifts or breaks during transit.
Secure doors and drawers
A freezer door that swings open mid-move is a recipe for bruised shins and spilled crumbs.
Tape or strap shut
- Use packing tape in an X-pattern over the door.
- Alternatively, loop a moving strap around the unit to keep the door closed.
Label removable parts
- Attach a sticky note or masking-tape label to each bin or shelf.
- Store them in a box marked “Freezer parts” for easy reassembly.
Clear a path
You don’t want to be navigating tight corners at the last minute. Plan your route from start to finish.
Measure and map
- Measure door widths, stair dimensions, and ceiling clearances.
- Sketch a simple map showing turns, threshold steps, and potential pinch points.
Remove obstacles
- Take down wall hooks or low-hanging decor.
- Push furniture aside and secure rugs or mats that could slip.
- If you have pets, keep them safely out of the way.
With a clear, obstacle-free path, moving goes faster and with fewer surprises.
Lift and transport freezer
Now comes the heavy-lifting. Using correct techniques and tools will protect your back and your freezer.
Use proper lifting form
- Stand close to the appliance with your feet hip-width apart.
- Bend at your knees, not at your waist.
- Keep your back straight and chest up.
- Tighten your core as you lift.
Position the dolly
- Tilt the freezer slightly and slide the dolly plate beneath.
- Center the freezer on the dolly and lean it back slowly.
- Secure with straps around the handles or base.
Push, don’t pull
- Push the dolly forward so you can see where you’re going.
- Move slowly around corners and watch for bumps in the floor.
- If you hit a step, get help lifting the dolly up it rather than forcing it.
Load for safe transport
Whether you’re using a moving truck, van, or pickup, securing the freezer minimizes damage and keeps you safe on the road.
Position the appliance
- Keep it upright at all times to protect the compressor oil.
- Place it against the truck wall or in a corner.
Add padding
- Slip moving blankets between the freezer and truck walls.
- Cushion the base with a folded blanket or foam block.
Strap down securely
- Loop ratchet straps around the freezer’s feet or frame.
- Tighten until the unit cannot shift side to side.
- Double-check tension after you start driving.
Unload and reposition freezer
At your destination, reverse the loading process and give your freezer room to settle.
Reverse the steps
- Unlock and remove straps, then tilt the dolly plate out from under the unit.
- Slide the dolly back before lifting.
Avoid tilting excessively
- Keep the freezer as vertical as possible.
- If you must tilt, do so less than 45 degrees and for a short distance.
Slide into final spot
- Use floor sliders or a clean piece of cardboard under the feet to protect your floors.
- Check for level by placing a bubble level on top; adjust with shims if needed.
Handle common challenges
Every move has its hiccups. Here’s how to tackle the ones you’ll likely meet.
Dealing with frost buildup
- If ice returns before moving day, defrost again 24 hours prior.
- Speed up defrosting by placing a bowl of hot water inside and closing the door.
Moving through narrow spaces
- Angle the freezer slightly to the right or left but keep it mostly upright.
- Remove swing-out door hinges if clearance is under 2 inches.
Managing heavyweight
- Don’t go it alone if the freezer weighs over 200 lbs.
- Enlist friends or hire two professional movers to do the heavy lifting.
Finalize setup and enjoy
You’re almost done. A few finishing touches ensure your freezer runs smoothly in its new home.
Let it settle
- Wait at least 2 hours before plugging in to allow fluids to settle.
- Check the manual for manufacturer-recommended rest times; some models suggest up to 24 hours.
Plug in and test
- Confirm the power cord is free of kinks.
- Set the temperature controls to your usual settings.
- Listen for normal humming and check for any leaks.
Stock and organize
- Replace shelves, bins, and drawers according to your labels.
- Add food items gradually, giving the compressor time to adjust.
- Use this opportunity to reorganize your freezer for meal-prep efficiency.
Moving a freezer doesn’t have to be a nightmare of sweat and spilled ice. By gathering the right supplies, planning your route, securing your appliance, and following safe lifting techniques, you can relocate your freezer with confidence. Next time someone asks how do you move a freezer for dummies? you’ll have all the expert tips at your fingertips. Happy moving and here’s to many more well-stocked meals in your freshly located freezer—no back strain required!