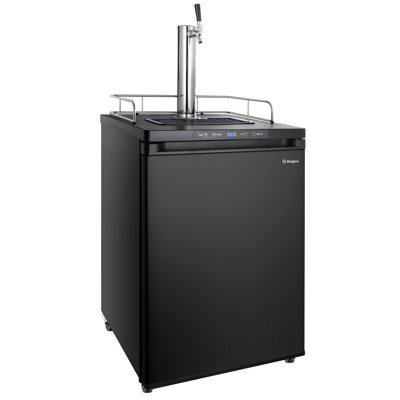
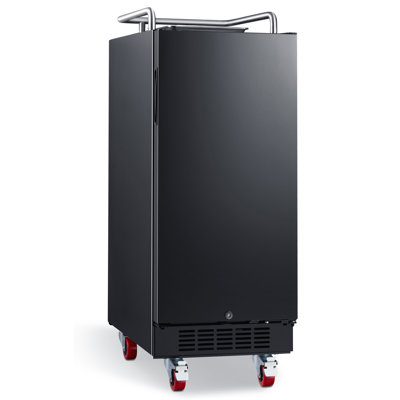
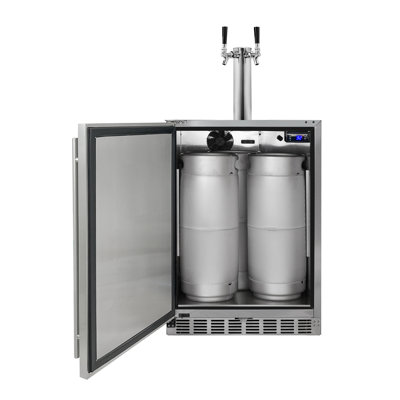
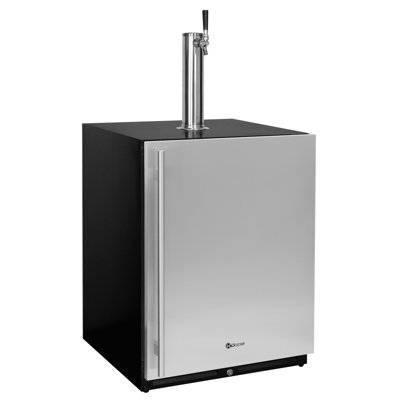
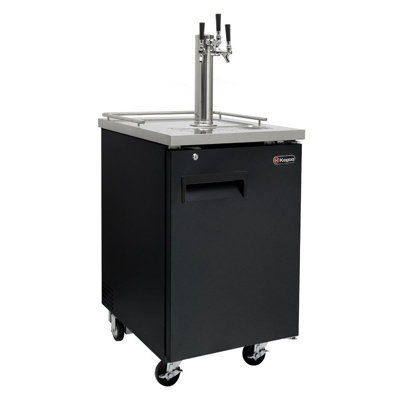
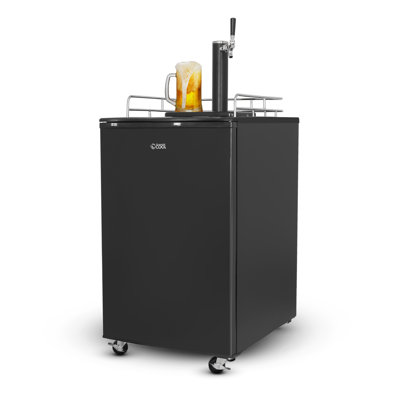
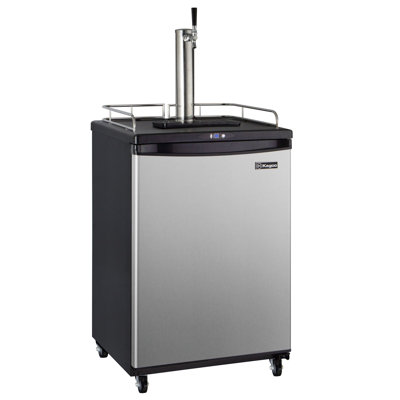
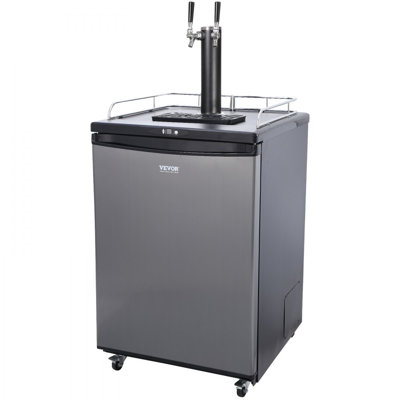
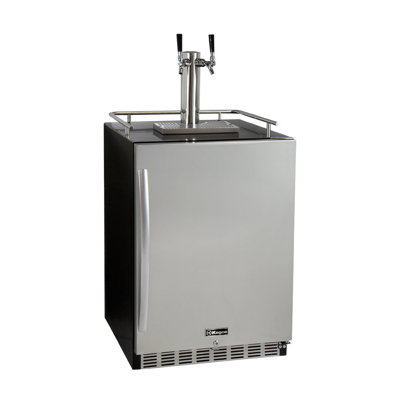
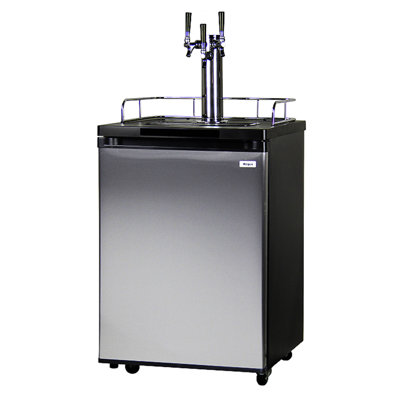
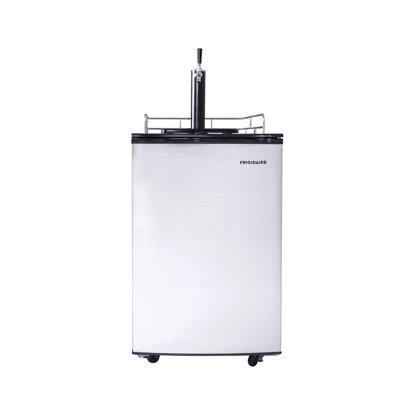
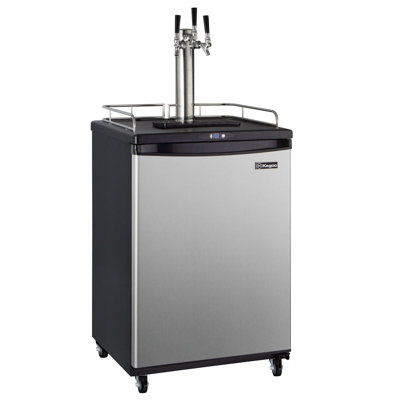
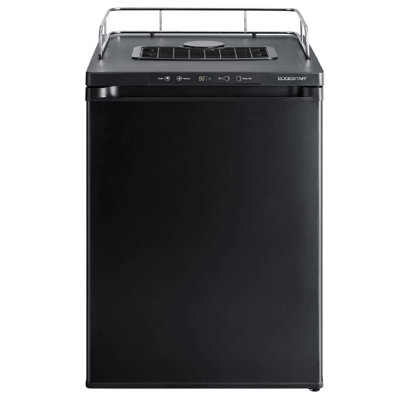
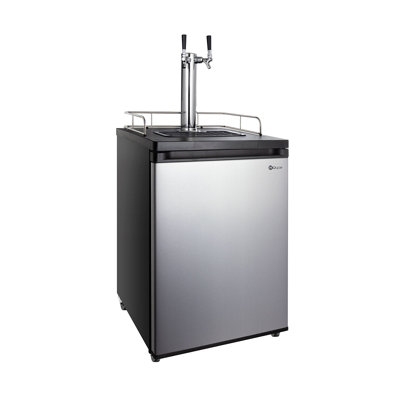
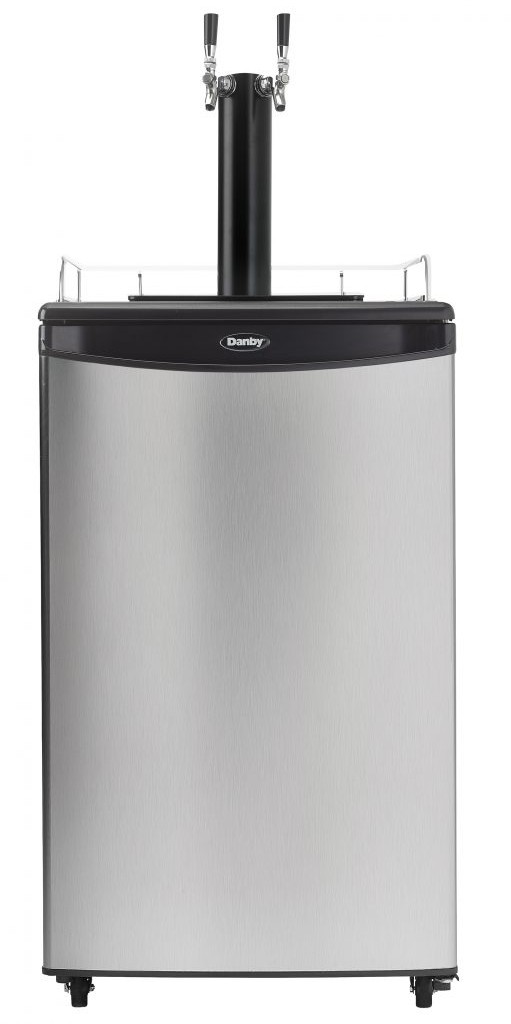
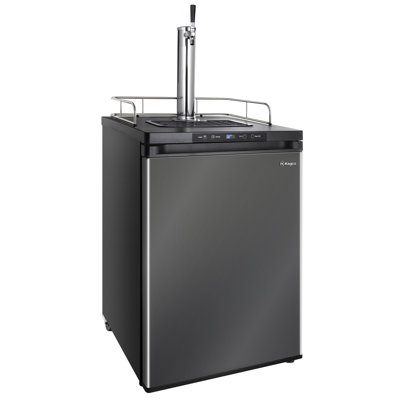
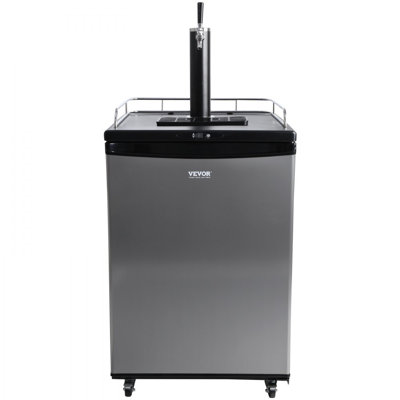
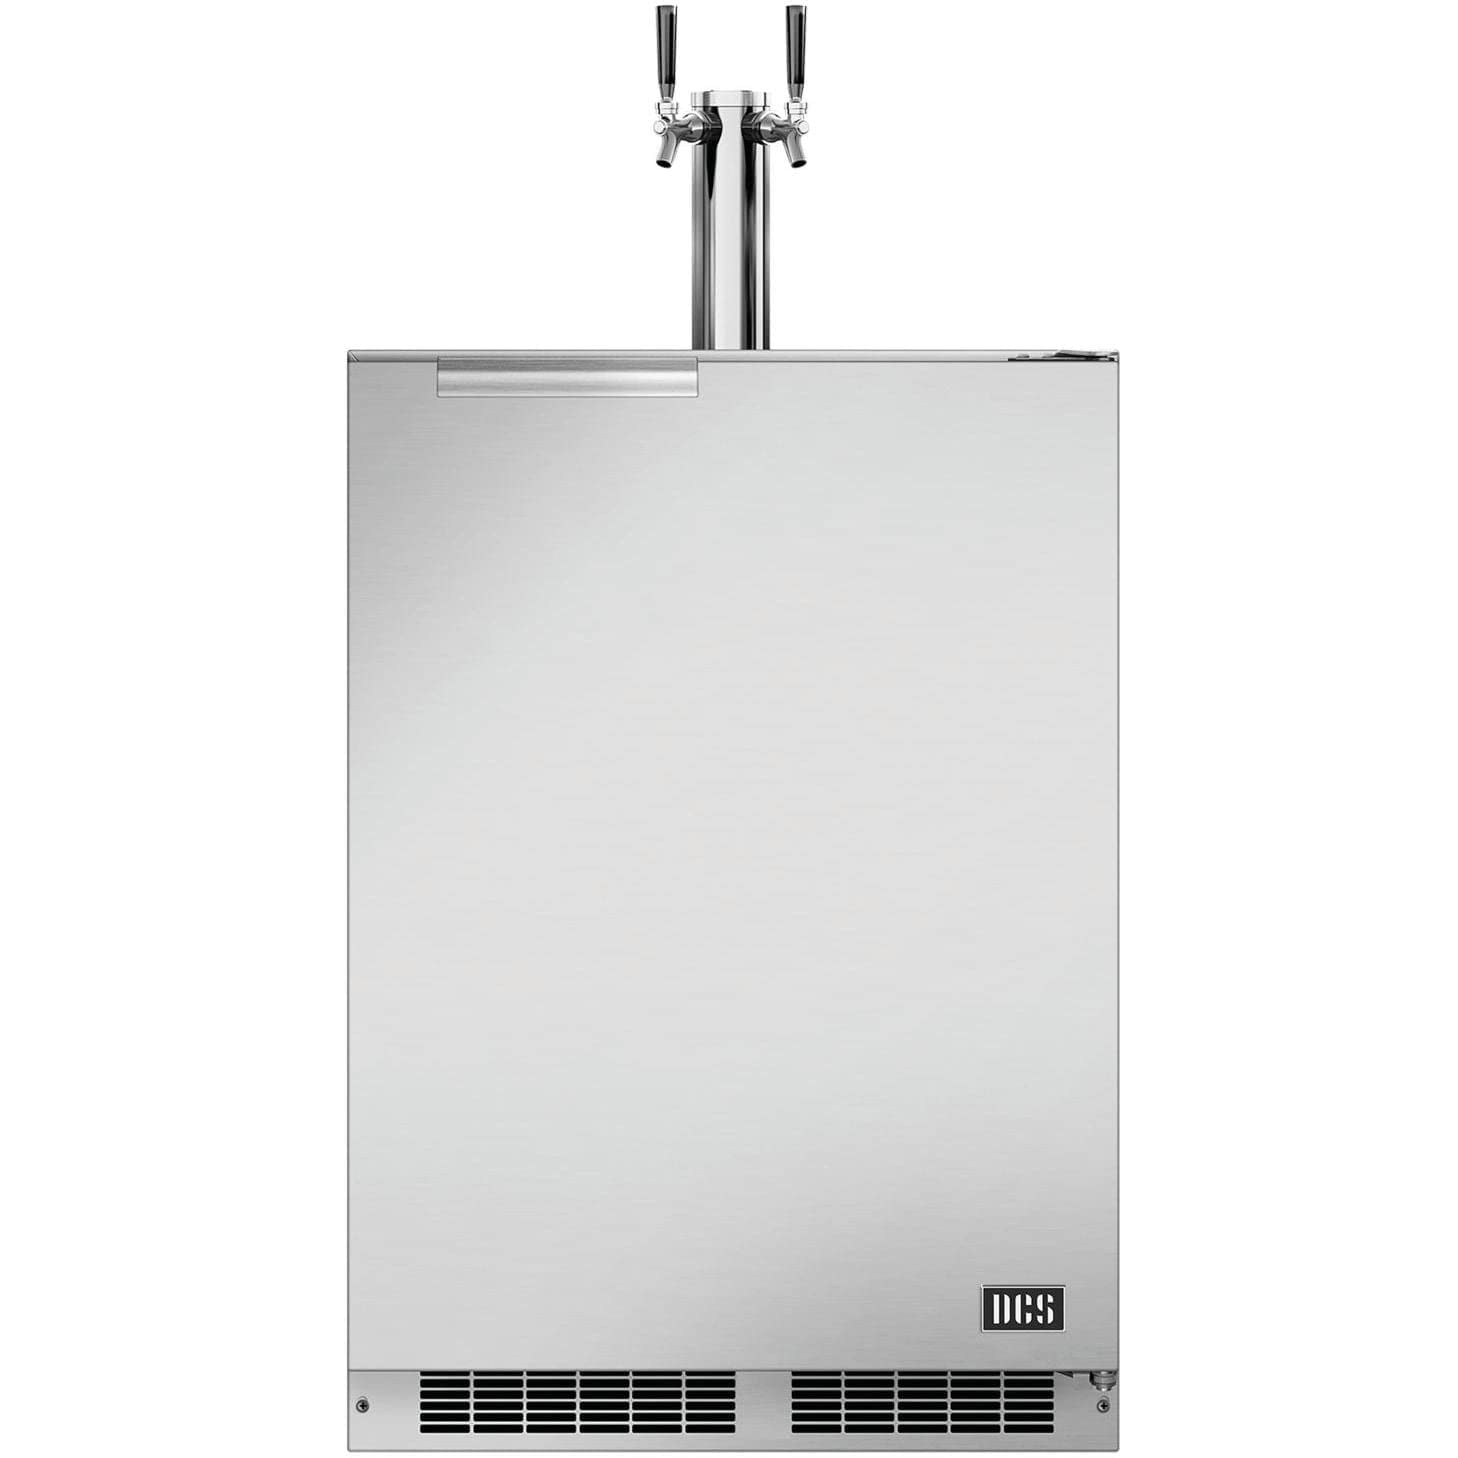
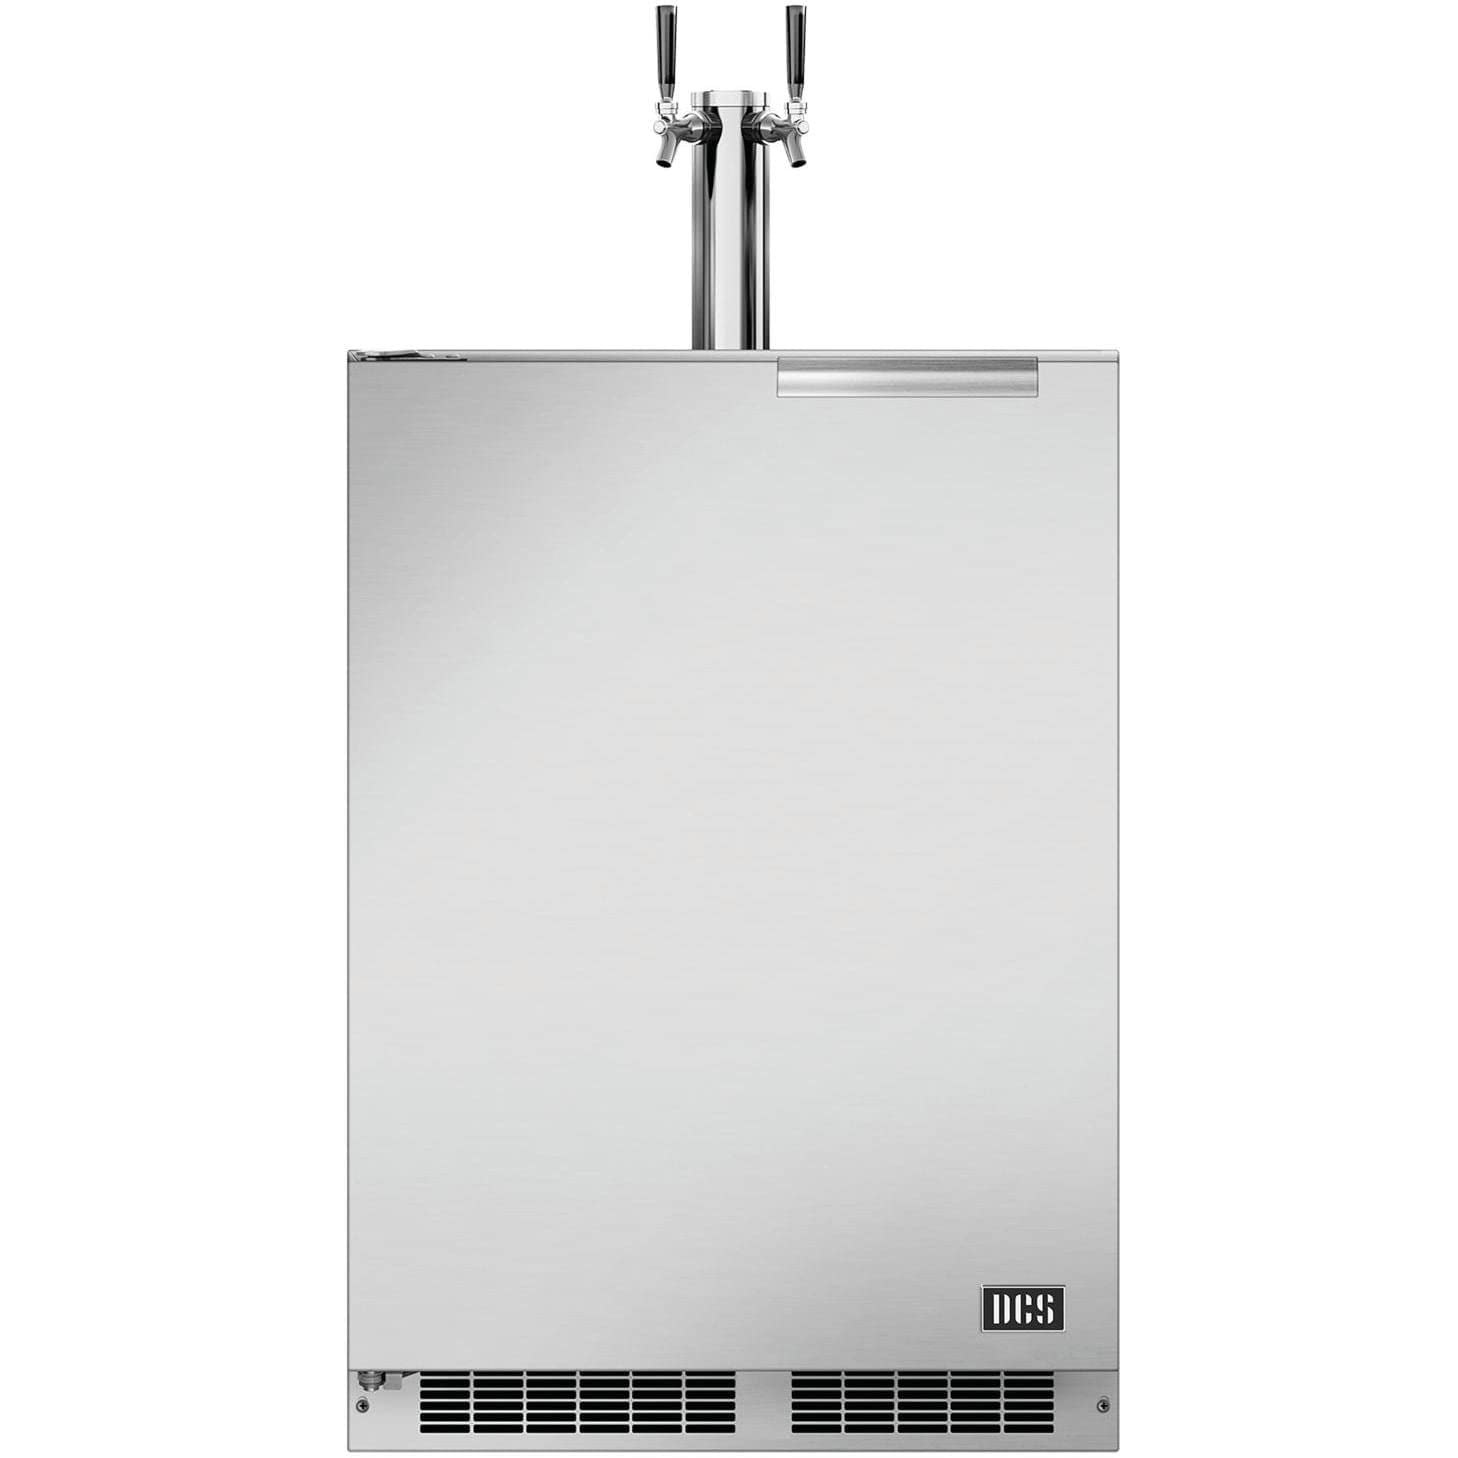
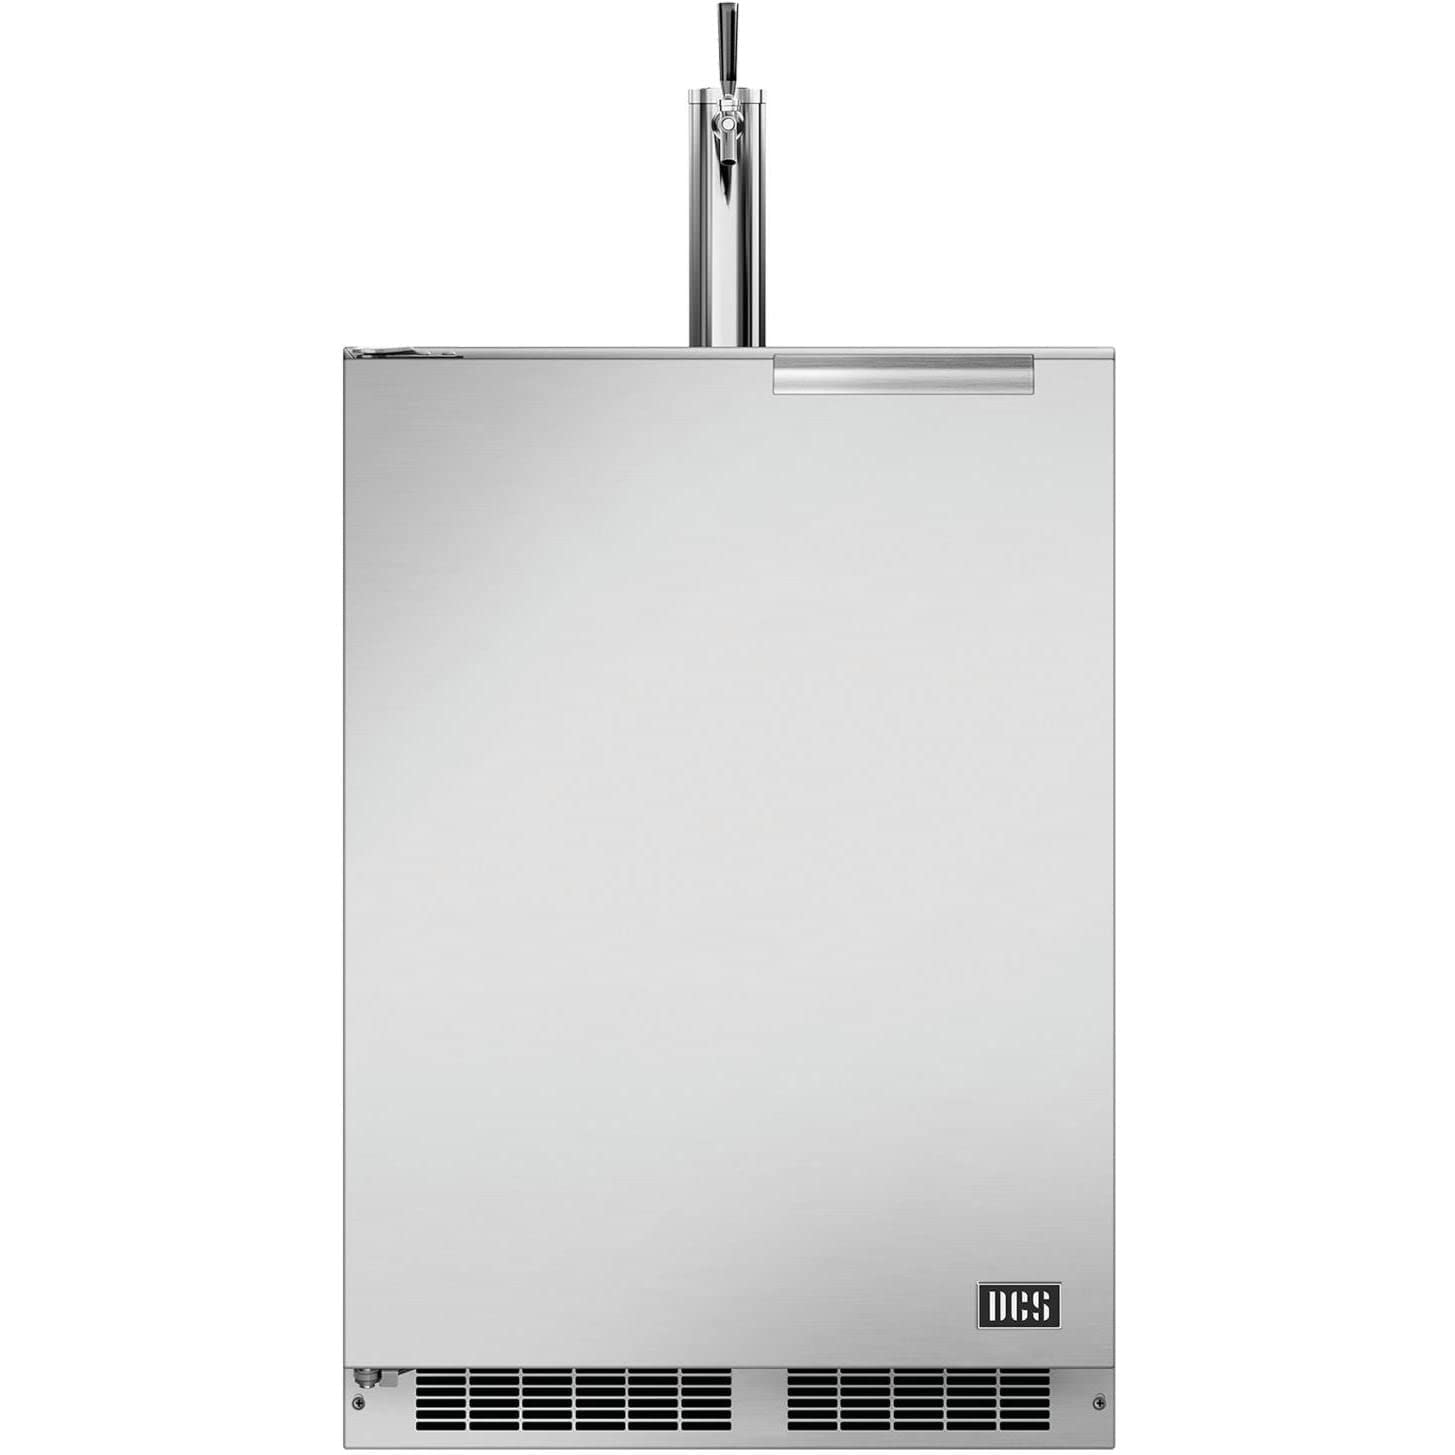
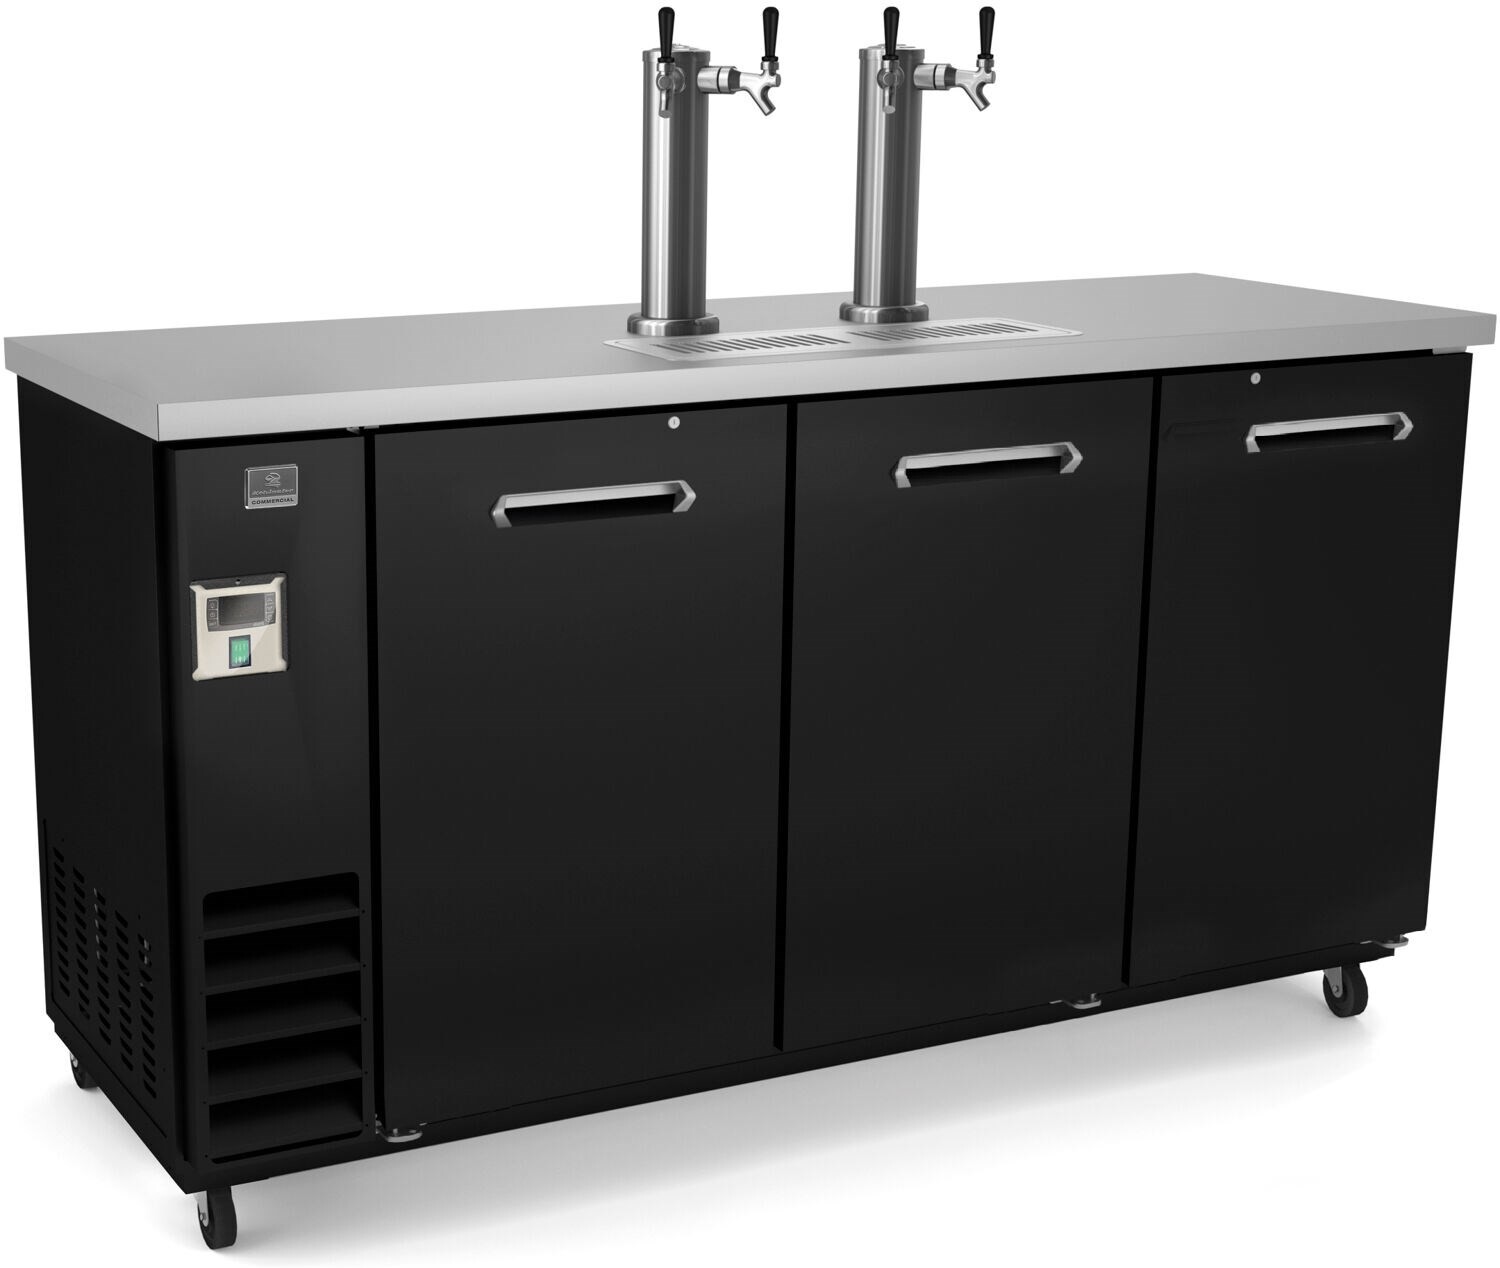
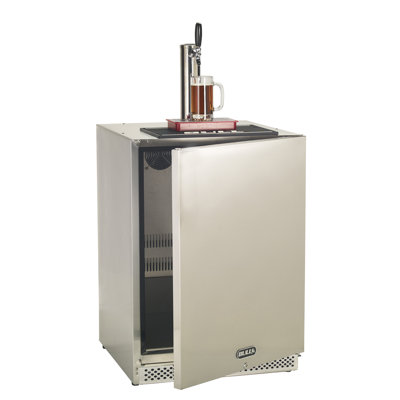
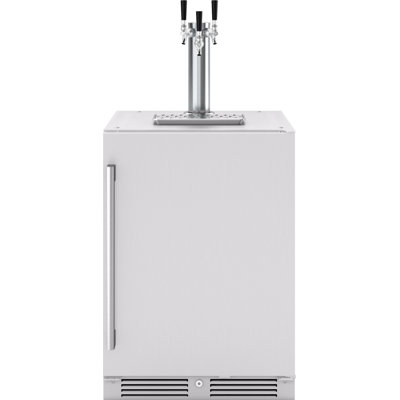
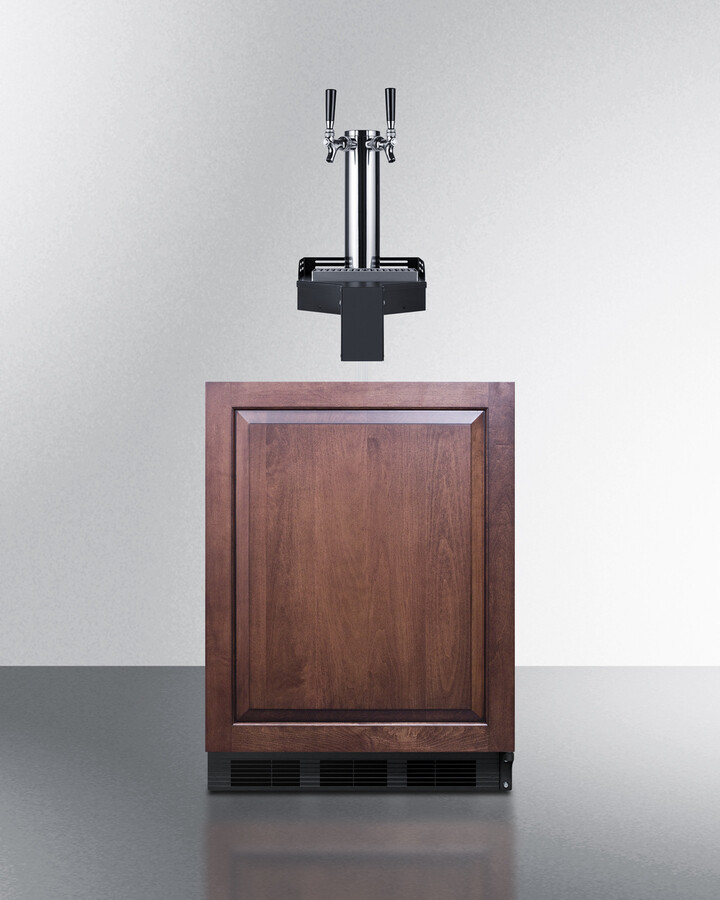
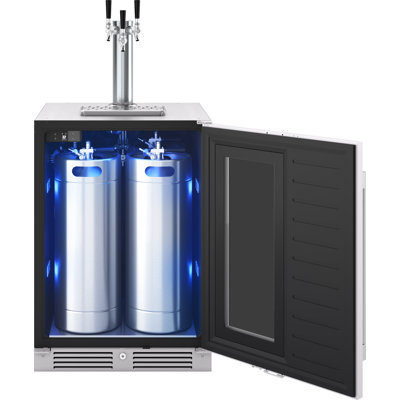
I love having folks over, and nothing beats the joy of serving them freshly poured beer from my own built-in kegerator. Not only does it give our gatherings a unique twist, but it also adds a bit of flair to my kitchen or bar area. Designed to fit snugly within cabinets, it doesn’t interrupt the flow of the space but instead complements it like a stylish cousin you actually want to hang out with.
When I started looking into these bad boys, I realized they do more than just dispense cold brews. They also up the game in terms of style and design. With their slick finishes and modern looks, integrating them into your existing setup couldn’t be easier—and honestly, it looks like they were made to be there all along. It's fun getting to pick something that feels just right for your style.
Why I Chose a Built-In Kegerator
For me, the decision to go with a built-in kegerator was a no-brainer. First off, the ease of having it at home is unbeatable. There's no need to trek to the nearest bar when I can have a freshly poured pint right in my kitchen. Plus, at parties and family get-togethers, everyone can enjoy what they fancy without queuing up like it’s a concert.
Another win for me was how neatly you can tuck it into your existing space. You know how kitchens can get cramped? A built-in unit is like a magician making extra space out of thin air by hiding under the countertops and keeping things neat.
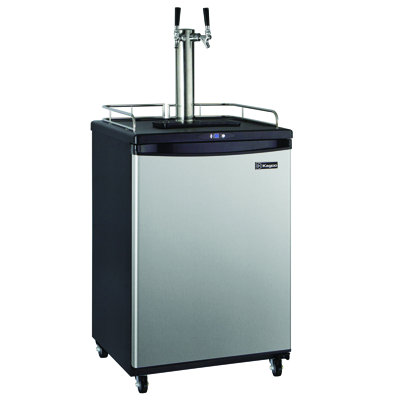
Customizing was the cherry on top. With options for more taps and different finishes, it was like picking out a suit tailored just for me. Some models even let me use multiple kegs, which means I get to impress my guests with a variety of drinks.
Check out this quick rundown of why I am so smitten:
Benefit
Description
Convenience
Pour draft beer at any time
Space Saver
Slips into cabinetry effortlessly
Style Upgrade
Boosts the room’s look
Personalized Options
Choices for tap count and looks
Honestly, adding a built-in kegerator has made all the difference in my host game. It combines my passion for great beer and hosting, while also upping the elegance level. Here’s to many more memorable nights with friends and family!
I've stumbled upon an absolute gem in home enjoyment: the built-in kegerator. Let me share a few cool perks I’ve discovered.
Space Efficiency
This thing is a real space-saver! Built-in kegerators are crafted to slide right into your cabinetry, so they're perfect for cozy spots that can't fit a bulky freestanding model. I love being able to squeeze the most out of my bar area without losing any of that precious floor room.
Check out some typical measurements for these beauties:
Kegerator Type
Width
Height
Depth
Standard
24 inches
34 inches
25 inches
Compact
15 inches
32 inches
20 inches
Aesthetics and Convenience
These kegerators don't just cram into tight spaces; they jazz up my kitchen or bar area too. The sleek design blends right in, making my home decor pop. When friends come over, this thing doesn’t just serve beer; it sets the vibe.
And let’s talk convenience: fresh draft, whenever I fancy. It’s a party win, with tasty pint options at the ready for everyone’s tastes.
Customization Options
Built-in kegerators let me put my stamp on it! Choose your tap handles or the finish that matches your vibe. Some models even offer the chance to juggle different keg sizes, turning my kegerator into a canvas to try various brews depending on the shindig or season.
Peep these common customization features:
Feature
Options
Tap Handles
Personal touches, themed flair
Finish
Shiny steel, bold black, playful colors
Keg Size Compatibility
Big barrels, little quarters, mini magic
Want to jazz up your home life and be the host with the most? A built-in kegerator offers a mix of utility and a bit of luxury. If this piques your interest, definitely check out my story on setting up a built-in kegerator.
Considerations Before Getting a Built-In Kegerator
So you're thinking about bringing home a built-in kegerator? Smart move! Before you jump headfirst into this decision, let's chat about a few things I found super helpful when I was contemplating the same purchase.
Installation Requirements
Installing one of these bad boys can be a bit of a puzzle. You'll need to make sure you've got the right spot picked out in your home. Here's the lowdown on what you might need:
Need
What's Involved
Space Size
Usually at least 24" wide, 34" tall, and the right depth.
Airflow
Good airflow is key – check if venting is front or back.
Water Stuff
Have water access for some models; drainage might be a thing too.
Power Source
A standard 110V plug nearby will do just fine.
Maintenance and Cleaning
Keeping your kegerator in tip-top shape is a must for amazing beer every time. Trust me, I learned this the hard way! Regular upkeep can make a world of difference. Here's what I do:
Give those draft lines and taps a good clean regularly.
Swap out or clean the beer and CO2 lines every month.
Sanitize the kegs, faucets, and drip trays monthly.
A bit of TLC goes a long way to ensure your beer is always fresh and tasty.
Cost Factors
Let's talk about money – who doesn't love that? Figuring out the finances of a built-in kegerator was a big part of my decision-making process. Here's a rough estimate of what you might be looking at:
Thingamajig
Cost Estimate
Kegerator Itself
$500 - $2,500
Installation (if needed)
$100 - $300
Kegs & CO2 Start-up
$50 - $150 (to get you going)
Monthly Supplies
$20 - $50 for maintenance stuff
These numbers can add up, but having fresh, fancy draft in the comfort of your own home is priceless to me! Also, scouting for the best places to snag kegs and CO2 tanks can save you some dough.
By thinking about these things, I felt ready to decide if a built-in kegerator was the right move for me. And if you're looking to take your kitchen game to the next level, checking out the latest fridge and freezer tech could up your culinary scene even more.
In my quest to find the perfect kegerator for my home, I stumbled across a whole bunch of different options that fit different needs and tastes. Knowing the ins and outs of each type can help me pick the perfect one for hanging out with family and friends.
Single Tap Vs. Multiple Tap Systems
Right off the bat, I had to figure out if I wanted a single tap or a multiple tap setup. Both have their perks.
Feature
Single Tap
Multiple Tap
Number of Kegs
1
2 or more
Ideal For
Casual drinkers
Frequent entertaining
Space Required
Less
More
Cost
Usually cheaper
Higher initial investment
A single tap kegerator is spot on for kicking back with one kind of brew, while a multiple tap system lets me offer up a variety of beers at once. This is a win for any party or get-together.
Size and Capacity Options
The next step was digging into the size and capacity of kegerators. The size I needed pretty much boiled down to the space in my home and how much beer I wanted to have flowing.
Size
Keg Capacity
Dimensions (inches)
Compact
1/4 Barrel
24W x 20D x 36H
Standard
1/2 Barrel
24W x 24D x 36H
Large
1/2 Barrel + 1/4 Barrel
24W x 30D x 36H
Compact is the way to go for tight spots, but a larger one can handle more brew, perfect for shindigs or if you’ve got a big family. Measuring my space was a must to avoid any awkward surprises.
Features to Look For
In choosing a built-in kegerator, certain features stood out that would make my life easier:
Temperature Control: Adjustable settings mean that every pour is just the right chill.
Draft System Setup: A solid system keeps the beer fresh and pours smooth as silk.
Dual Cooling Zones: If I’m mixing different drinks, these make sure each one stays perfect.
Noise Level: A quiet model helps keep the peace in my household.
When I decided to install a built-in kegerator, it was like stepping into a new level of home bar sophistication. The endeavor required some thought, especially about where to put it, how to keep the temperature just right, and the intricacies of getting the draft system running. Here’s my play-by-play on tackling these parts.
Location and Placement
Picking the perfect spot for my kegerator was all about finding the sweet spot between convenience and style. It needed to be in a place where I could reach it easily and also blend nicely with the rest of the room. Here’s what went through my mind:
Factor
What I Thought About
Proximity
Quick access for refills and serving.
Ventilation
Needed enough airflow to stop it from overheating.
Stability
A steady, flat surface to keep it from shaking.
Electrical Outlet
A nearby plug to keep it powered up.
In the end, I tucked it snugly under the countertop in my kitchen. It’s hidden enough to not disturb the aesthetics but close enough to grab a cold brew when friends pop over.
Temperature Control
Getting the temperature right is like the secret sauce for perfect beer. Most kegerators let you adjust between 34°F and 40°F, which is perfect for keeping things chilled but not iced.
The built-in digital thermometer on my kegerator became my best buddy for checking the temperature. I also found it handy to look up how other kitchen appliances react to temperature settings, which helped me manage my kitchen more effectively.
Draft System Setup
The draft system setup seemed like it might be a beast, but in reality, it was pretty straightforward. The essential parts were the keg coupler and the beer line. Here’s how I made it happen:
Keg Coupler Connection: Snugged the coupler onto the keg’s top. This had to be tight to avoid any leaks.
Beer Line Installation: Hooked the beer line up from the coupler to the faucet valve.
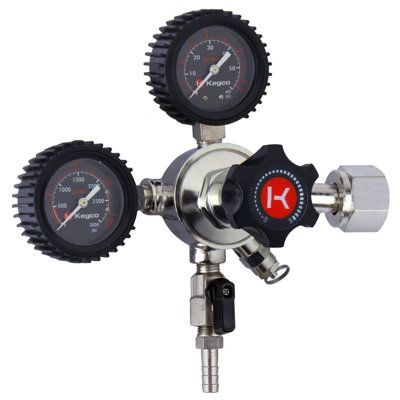
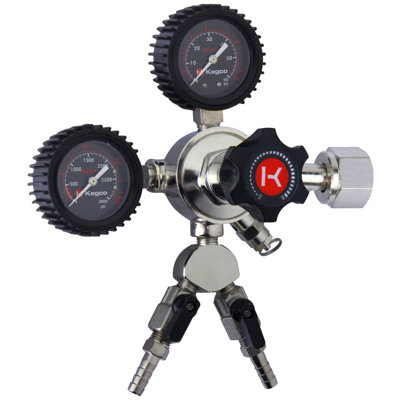
Adjusting Pressure: Tweaked the CO2 levels to suit my beer (generally around 10-14 psi).
Testing the System: Poured out a sample to make sure everything was flowing smoothly.
If you’re thinking about setting one up yourself, getting a grip on how each piece fits into the puzzle is key. Plenty of helpful guides out there can walk you through it. With these tips rubbed into your game plan, you’re all set for chilling times and cheers with your crew.
Owning a built-in kegerator is one of those little joys in life – ice-cold brew at your fingertips, no lines, no hustle. I've picked up a few tricks to keep mine in tip-top shape, and I'm here to share the love.
Cleaning and Sanitizing
No one likes funky-tasting beer. Regular cleaning is your best friend here, folks. Here’s my game plan to keep everything tasting just right:
Part of Kegerator
How Often to Clean
Beer Lines
Every other week
Faucets
Every other week
Kegerator Inside
Once a month
Drip Tray
Whenever it needs it
To tackle those beer lines, I mix warm water with a special cleaning elixir and let it do its magic inside the lines. You’ll need to disconnect those lines from the kegs first though, otherwise, it’s gonna get messy! Rinse with water afterward to keep things fresh.
When it comes to faucets, they get a little bath in warm soapy water. After a good scrub and rinse, they’re as good as new.
Troubleshooting Common Issues
Kegerators can be moody. Here’s a nifty guide for when it starts acting up:
Problem
What You Can Try
Beer's Flat
Peek at the CO2 levels; tweak the regulator.
Temperature's Off
Check it’s getting some air; nudge the thermostat.
Leaky Keg
Make sure everything's snug; consider new seals.
A flat beer usually means CO2 is having a day off. A quick check can often do the trick.
Tips for Long-Term Use
My kegerator is practically family now, and here’s how I keep it around longer:
Temperature Consistency: Keep it sitting pretty between 34°F and 38°F.
Don’t Pack It Like a Tetris Game: Too many kegs will block airflow, making it work overtime.
Extra Padding: A little insulation goes a long way if it’s in a warm spot.
These easy habits have kept my kegerator serving joy for years. If you're curious about keeping nearby items safe, like the mystery of “how long does cooked beef roast last in the fridge?”, dive into more food storage wisdom just to be sure.
Free tool
Kegerator Size Calculator
Free interactive tool from Fridge.com — get a quick answer while you read.