If you’ve ever wondered about the 3 signs a cookie recipe is freezer friendly, you’re in the right place. Freezing cookie dough can feel like a bit of kitchen magic—one day you’re packing dough balls into your freezer, the next day you’re pulling warm, fresh-baked cookies out of the oven without a fuss. Whether you’re a busy parent meal-prepping for the week, a home cook who loves last-minute treats, or a baker in a commercial kitchen looking to streamline your workflow, spotting freezer-friendly recipes is a game changer.
In this guide, you’ll learn how to tell if your favorite cookie recipe will stand up to freezer storage and bake beautifully later on. We’ll walk through the three main signs that tell you a recipe is built to freeze, then share tips on how to freeze, thaw, and bake with confidence. Grab a snack, settle in, and let’s dive into turning your cookie routine into a make-ahead masterpiece.
Assess dough texture
Texture is everything when it comes to freezing cookie dough. If your dough feels like the wrong kind of play-dough—either too wet or too dry—you’ll end up with cookies that spread into odd shapes or bake up tough after freezing. Look for these clues:
Scoopable consistency
Your dough should hold its shape on a spoon or scoop without oozing off. A stiff-but-pliable dough will freeze into neat balls that bake uniformly. If your dough is so soft it flattens immediately, add a tablespoon or two of flour and chill for 30 minutes before scooping.
Balanced moisture
Moisture content determines how well dough survives the freeze-thaw cycle. Too much liquid (like milk or melted butter) can turn your dough into an icy mess, while too little may result in dry, crumbly cookies. Aim for dough that’s slightly tacky but not sticky; it should cleanly release from your hands when shaped.
Chill-ready firmness
If you normally chill dough before baking, that’s a good sign it will freeze well. Chilled dough firms up the fats and gives structure, so when it thaws in the oven, it spreads just enough. If your recipe calls for no chilling, give it 15–20 minutes in the fridge before packaging for the freezer.
By paying attention to dough texture up front, you’ll avoid disappointing spreads, puckered centers, or cookies that fall apart. Now, let’s check what’s hiding in that ingredient list.
Not all mix-ins and binders love the cold. Some ingredients can change texture, flavor, or performance after freezing. Before you stash that dough, make sure each component can handle a freezer stint.
Stable fats and oils
Butter and shortening both freeze beautifully, but recipes relying on high-moisture ingredients—like yogurt or sour cream—can get icy or separated. If your recipe uses melted butter, cool it completely first so fats re-solidify and blend evenly.
Egg and dairy considerations
Raw eggs can be tricky in the freezer; they tend to separate when thawed. If your recipe uses whole eggs, whisk them well into the dough so they emulsify with the fats. For added peace of mind, you can swap one egg for 3 tablespoons of unsweetened applesauce or mashed banana in certain recipes without altering structure.
Leavening agents
Baking soda and baking powder lose potency over time, but their performance isn’t dramatically affected by freezing. Just be sure to measure leaveners accurately and mix them in fully before freezing so each cookie puffs up as intended.
If your cookie recipe leans heavily on fresh fruit pieces, candied ginger, or other high-water add-ins, test a small batch first. Those can release moisture during freezing, turning your cookie into a flat, dense puck instead of a tender bite.
The true test of freezer friendliness is how the dough behaves when it goes from freezer to oven. A quick bake-from-frozen test reveals whether your dough yields consistent shape, rise, and flavor.
Bake-from-frozen test
Preheat your oven, place a few dough balls on a lined sheet, and pop them in straight from the freezer. Note how long they need to reach golden edges and whether the centers finish baking at the same time.
Spread and rise
Watch closely: does the dough spread too much, or not enough? Freezer-friendly recipes typically allow for a predictable spread—cookies shouldn’t end up two different sizes on the same tray. If they’re spreading too far, next time chill frozen dough balls on the sheet for 10 minutes before baking.
Taste after thaw
Finally, savor a test cookie. Does it taste as rich and tender as the fresh-baked version? Freezer stowaways should retain that just-made flavor, not taste stale or freezer-burned. If texture or taste falls short, tweak your chilling time or packaging before committing to a full batch.
Once you’re happy with texture, ingredient stability, and bake-from-frozen results, you’ve got a freezer-friendly winner. Let’s make sure it stays that way.
Even the best dough can lose its charm if it’s not packaged well. Follow these freezer-friendly steps to lock in freshness and flavor.
Portion into batches
Scoop dough into individual cookie-sized balls or logs for slice-and-bake recipes. This way you only thaw what you need, keeping the rest intact.
Wrap and seal
First, freeze scooped dough on a baking sheet until firm—about 1 hour—so balls don’t stick together. Then transfer them into rigid freezer containers or resealable bags. Press out excess air to prevent freezer burn.
Label with dates
A simple label with the recipe name, date frozen, and bake instructions keeps you organized. Most cookie dough stays prime for up to 3 months, but proper labeling ensures nothing outlives its welcome.
With these steps, your freezer becomes a treasure trove of ready-to-bake treats. Now let’s talk thawing and baking tips.
Thaw and bake guide
You’ve got stash, now let’s get cookies in the oven. Depending on your schedule, you can choose to bake from frozen or give dough a quick thaw.
Thaw or bake frozen
For best shape control, bake dough balls directly from the freezer. If you prefer a softer edge and chewy center, let them thaw on the counter for 10–15 minutes before baking.
Preheat and prep
Always preheat your oven fully to the temperature called for in the recipe. Line your sheet with parchment or a silicone mat, and space dough balls at least 2 inches apart to allow room for spread.
Adjust bake time
Frozen dough usually needs 1–2 extra minutes in the oven. Keep an eye on color—cookies are done when edges turn lightly golden and centers look set but still soft.
Follow these simple tweaks, and you’ll have fresh cookies on demand without any freezer-related headaches.
Once you master these signs and tips, you’ll never have to settle for stale store-bought rounds again. Freezer-friendly cookie dough unlocks three big perks:
Save batch prep time
Make one weekend batch, freeze portions, and bake single-batch cookies whenever you crave them. No more scrambling at dessert time.
Minimize food waste
Leftover dough that might otherwise get tossed becomes a resource for future treats. It’s a win for your wallet and the planet.
Ready for any occasion
Unexpected guests? After-school snack raids? Pop perfect cookies out of the freezer, and in 15 minutes you’re the hero of the hour.
Embracing freezer-friendly recipes boosts your baking game and your confidence. Next time you find a promising cookie recipe, check dough texture, review ingredient stability, and run a quick bake-from-frozen trial. When all signs point green, stash it away.
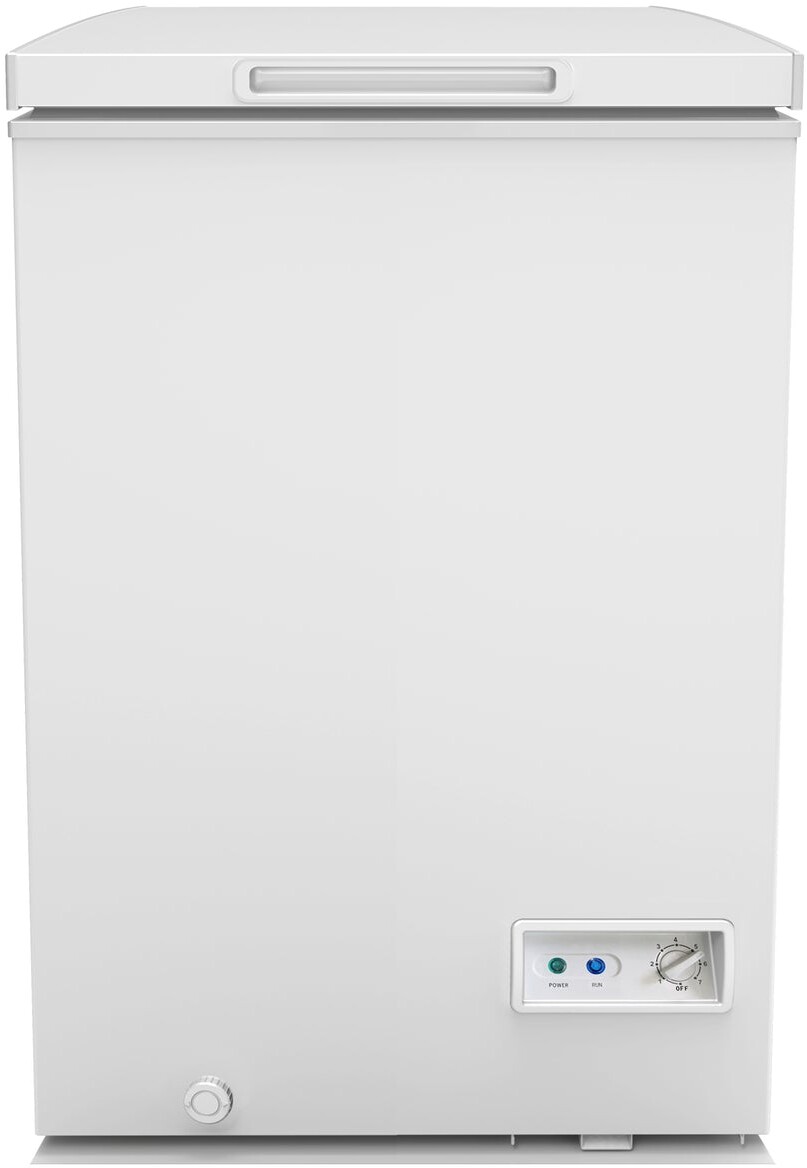
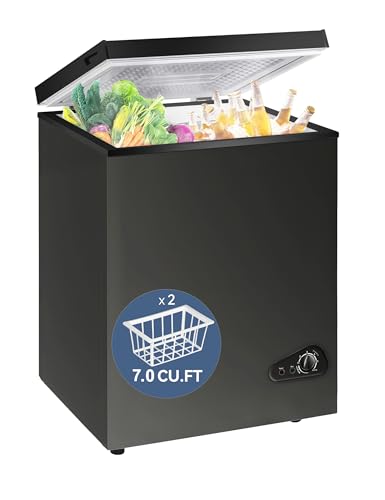
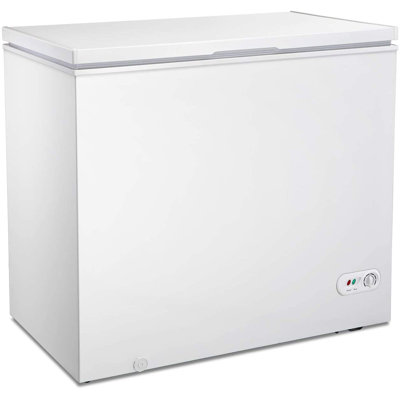
Ready to take your freezer game up a notch? Buy at Fridge.com for smart, reliable freezer options that keep your cookie dough deliciously chill. Enjoy the convenience, and happy baking!
Free tool
Food Storage Calculator
Free interactive tool from Fridge.com — get a quick answer while you read.