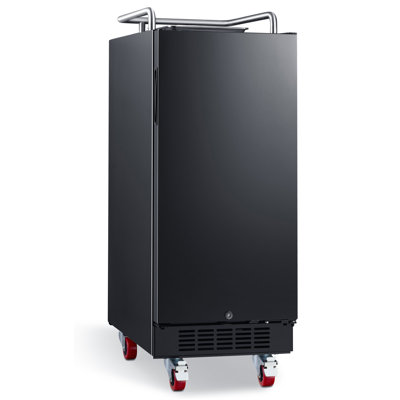
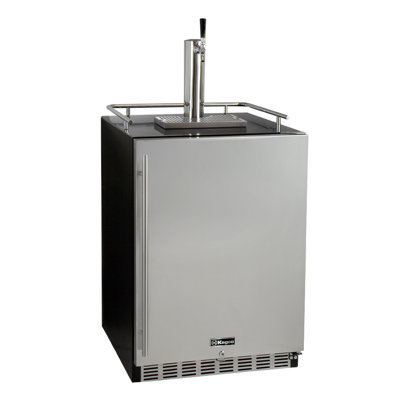
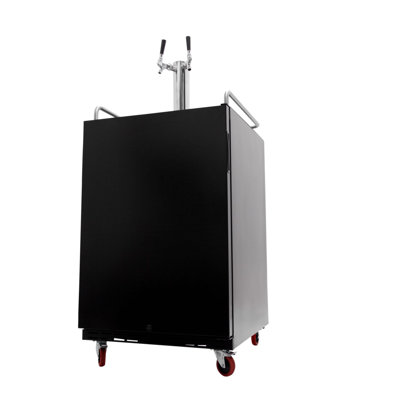
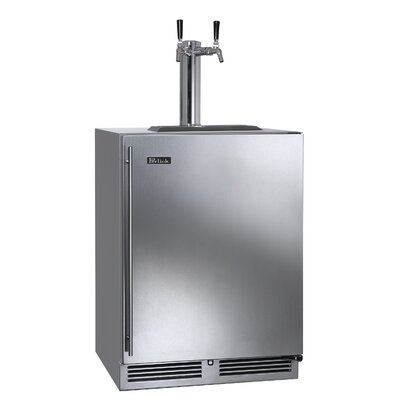
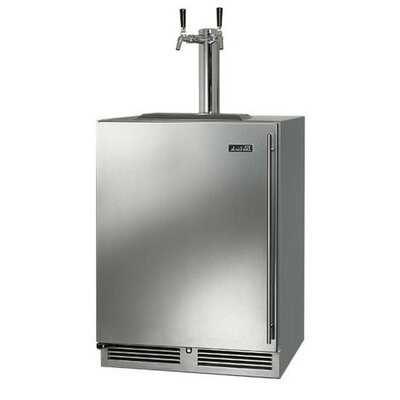
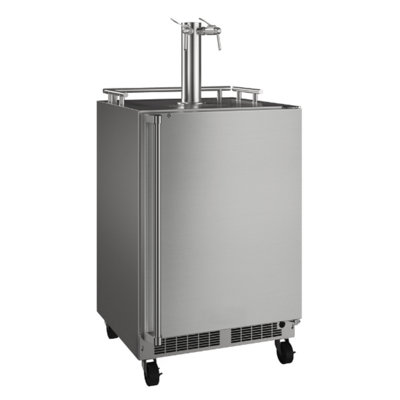
Getting Ready to Move Your Kegerator
Moving your kegerator? Let's make sure it's a breeze. First things first, you need to know what you're dealing with. This means figuring out the weight and size of your kegerator and gathering the right gear for the job.
Figuring Out the Weight and Size
Before you start, you need to know how heavy and big your kegerator is. This info will help you decide how many friends you need to bribe with pizza and beer to help you out, and what kind of vehicle you'll need.
| Kegerator Type | Average Weight (lbs) | Dimensions (inches) |
|---|---|---|
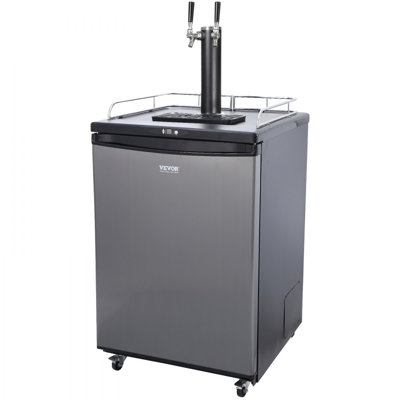
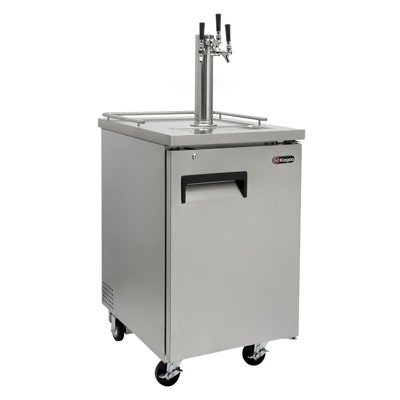
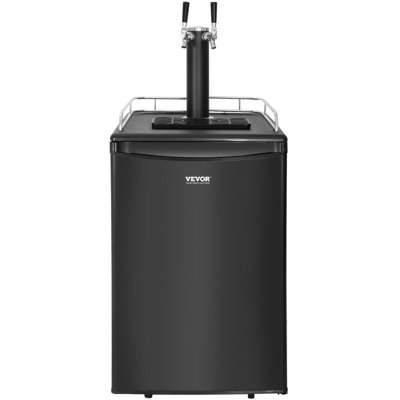
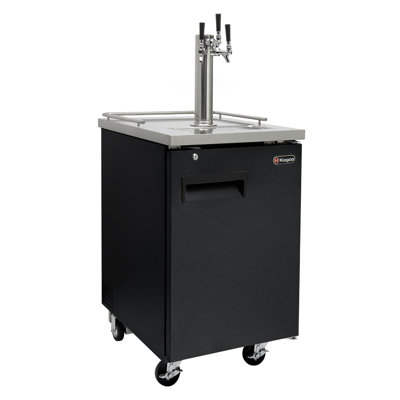
| Single Tap | 80 | 20 x 20 x 48 |
| Double Tap | 100 | 24 x 24 x 48 |
| Triple Tap | 120 | 26 x 26 x 48 |
| Built-in Kegerator | 150 | 24 x 24 x 34 |
Knowing these details also helps you figure out if your kegerator will fit through doorways, hallways, or up the stairs. Measure these spots ahead of time to avoid any "uh-oh" moments. For more tips, check out our guide on moving a built-in kegerator.
Gathering Your Moving Gear
Having the right stuff on hand makes everything smoother. Here’s what you’ll need:
- Furniture Dolly: Saves your back by letting you roll the kegerator instead of lifting it.
- Moving Straps: Keeps the kegerator steady and prevents it from tipping over.
- Protective Blankets: Wrap your kegerator to avoid scratches and dents.
- Packing Tape: Holds the blankets and any loose parts in place.
- Bubble Wrap: Protects delicate parts like the tap and CO2 regulator.
- Zip Ties: Bundles and secures any loose wires or hoses.
- Gloves: Gives you a better grip and protects your hands.
Having these supplies ready will make the move easier and reduce the risk of damage to your kegerator and your home. If you're moving other types of fridges, you might find more tips in our guides on moving a beer fridge or moving a beverage cooler.
By knowing the weight and size of your kegerator and having the right supplies, you're all set to move your kegerator safely and without a hitch.
Emptying and Cleaning Your Kegerator
Moving your kegerator? First things first, you gotta empty and clean it. This keeps it safe during the move and in tip-top shape.
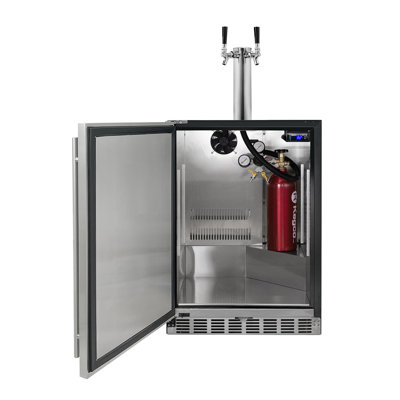
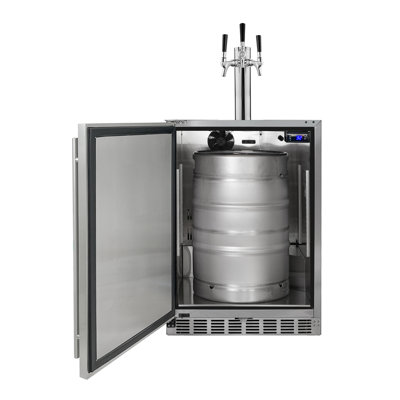
Removing All Kegs and Accessories
Start by getting those kegs outta there. This makes it lighter and avoids any mishaps. Don’t forget the accessories like taps, hoses, and drip trays.
- Turn off the CO2 supply.
- Disconnect the CO2 lines from the kegs.
- Carefully lift and remove the kegs.
- Remove all other accessories.
| Item | Action |
|---|---|
| Kegs | Remove |
| CO2 Lines | Disconnect |
| Taps | Remove |
| Drip Trays | Remove |
Cleaning the Interior and Exterior
With everything out, it’s cleaning time. A clean kegerator is a happy kegerator, ready for its new home.
- Interior Cleaning:
- Mix some mild detergent with warm water.
- Scrub away any spills or stains.
- Rinse with clean water and dry with a soft cloth.
- Exterior Cleaning:
- Wipe down the outside with a damp cloth and mild detergent.
- Focus on handles and grimy spots.
- Dry it off to avoid water spots or rust.
For more tips, check out our guides on how to move a beer fridge and how to move a built-in kegerator.
| Cleaning Step | Action |
|---|---|
| Interior | Clean with mild detergent and warm water |
| Interior | Scrub spills and stains |
| Interior | Rinse and dry |
| Exterior | Wipe with damp cloth and detergent |
| Exterior | Dry thoroughly |
Follow these steps, and your kegerator will be clean and ready for the move. This prep work keeps it safe and makes moving a breeze.
Disconnecting and Securing Components
Moving your kegerator? Let's make sure you do it right. Here's a simple guide to disconnecting and securing everything so your kegerator arrives safe and sound.
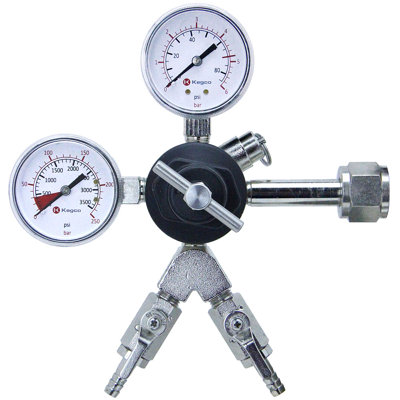
Safely Disconnecting CO2 Tanks and Lines
- Turn Off the CO2 Supply: First, twist that CO2 tank valve to shut off the gas.
- Release Pressure: Hit the pressure release valve on the regulator to let out any leftover gas.
- Disconnect the Regulator: Gently unscrew the regulator from the CO2 tank. Watch out for any sudden gas puffs.
- Remove Gas Lines: Carefully disconnect the gas lines from the kegs. Handle those connections with care to avoid any damage.
| Step | Action |
|---|---|
| 1 | Turn off CO2 tank valve |
| 2 | Release pressure from regulator |
| 3 | Unscrew regulator from CO2 tank |
| 4 | Disconnect gas lines from kegs |
Disconnecting the CO2 tanks and lines properly helps you avoid gas leaks or damage during the move. Need more details? Check out our guide on how to move a beer fridge.
Securing Loose Parts and Accessories
- Remove All Accessories: Take out shelves, taps, drip trays, and any other removable parts from the kegerator.
- Wrap and Pack Components: Wrap each piece in bubble wrap or packing paper. Place them in a secure box to keep them safe during the move.
- Secure Doors and Cables: Use tape or bungee cords to keep the kegerator doors shut. Secure any loose cables or hoses to avoid tripping.
- Label Boxes: Clearly label the boxes with your kegerator parts for easy reassembly later.
| Component | Action |
|---|---|
| Shelves | Remove and wrap individually |
| Taps | Remove and wrap individually |
| Drip Trays | Remove and wrap individually |
| Doors | Secure with tape or bungee cords |
| Cables and Hoses | Secure to avoid tripping hazards |
By securing all loose parts and accessories, you reduce the risk of damage and make reassembly a breeze. For more tips on moving different types of refrigerators, check out our articles on how to move a 2 door refrigerator and how to move a french door refrigerator.
Properly disconnecting and securing components is key to safely moving your kegerator. Follow these steps to ensure a smooth and damage-free move.
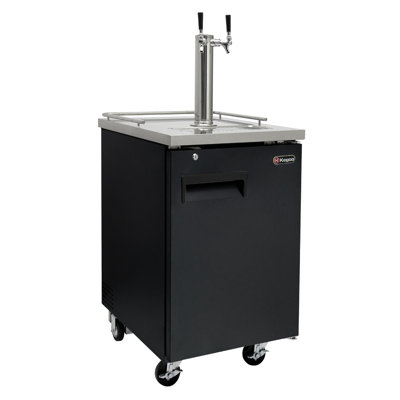
Moving Your Kegerator
Moving your kegerator can be a bit of a challenge, but with the right steps, you can do it safely and efficiently. Here’s how to make sure both you and your kegerator stay in one piece.
Get Some Help
First things first, don’t try to be a hero. Kegerators are heavy and awkward to move alone. Grab a buddy or two to help you out. Trust me, your back will thank you.
| Kegerator Size | Typical Weight (lbs) | Recommended Helpers |
|---|---|---|
| Small (1-2 taps) | 50-70 | 2 |
| Medium (3-4 taps) | 70-100 | 2-3 |
| Large (5+ taps) | 100+ | 3-4 |
Lift Smart, Not Hard
Lifting a kegerator isn’t rocket science, but you do need to be careful. Here’s how to do it right:
- Plan Your Path: Clear the way before you start. You don’t want to trip over anything.
- Bend Your Knees: Squat down by bending your knees, not your back.
- Keep Your Back Straight: A straight back is a happy back.
- Use Your Legs: Let your legs do the heavy lifting, not your back or arms.
- Hold It Close: Keep the kegerator close to your body to stay balanced.
- Teamwork: Make sure you and your helpers are on the same page. Lift and move together.
If your kegerator is super heavy or you’ve got stairs to deal with, take breaks. There’s no rush.
For more tips on moving other types of fridges, check out our articles on how to move a 2 door refrigerator and how to move a beer fridge.
By following these steps, you’ll make sure your kegerator gets to its new spot without any drama. For more advice on moving other appliances, take a look at our guides on how to move a built-in kegerator and how to move a wine cooler.
Moving Your Kegerator
Moving a kegerator isn't rocket science, but it does need some planning to make sure it gets to its new home in one piece. Here’s a no-nonsense guide to getting your kegerator from point A to point B without any hiccups.
Locking Down Your Kegerator in the Car
To make sure your kegerator survives the trip, you gotta secure it right. Here’s how:
- Keep It Upright: Always keep the kegerator standing up. Laying it down can mess up the compressor and other important bits inside.
- Wrap It Up: Use moving blankets to cover the kegerator. This will keep it from getting scratched or dented.
- Strap It In: Use some heavy-duty straps to tie the kegerator to the side of your vehicle. Make sure the straps are snug but not so tight that they damage the kegerator.
Smooth Sailing Tips
These tips will help make sure your kegerator gets to its new spot without any drama:
- Measure Twice, Move Once: Check that your vehicle has enough room for the kegerator to stand up. Measure both the kegerator and the inside of your car.
- Drive Like Grandma: Avoid sudden stops, sharp turns, and bumpy roads. You don’t want the kegerator sliding around or tipping over.
- Watch the Weather: If it’s super hot or cold outside, try to limit the kegerator’s exposure to extreme temperatures. This helps protect its internal parts.
For more tips on moving different types of fridges, check out these articles: how to move a 2 door refrigerator, how to move a beer fridge, and how to move a built-in kegerator.
Follow these steps and tips, and your kegerator will be ready to pour cold ones at its new home in no time. Cheers!
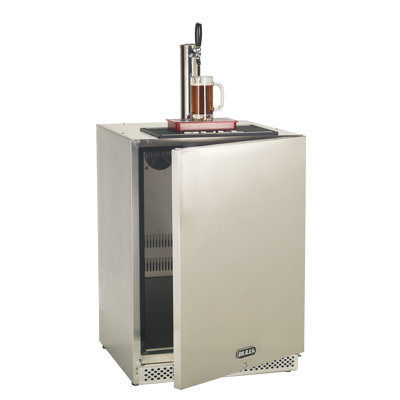
Getting Your Kegerator Up and Running Again
So, you’ve moved your kegerator to its new home. Now, let’s get it set up and ready to pour those perfect pints.
Finding the Perfect Spot
- Pick the Right Place: Choose a flat, well-ventilated area near a power outlet. Make sure there’s enough room around the kegerator for airflow and easy access.
- Set It Up: Carefully place the kegerator in the chosen spot. Ensure it’s stable and level. Adjust the feet if needed to keep it steady.
Hooking Everything Back Up
- Reconnect the CO2 Tanks and Lines:
- CO2 Tank: Secure the CO2 tank in its spot, whether inside or outside the kegerator. Attach the CO2 regulator to the tank and make sure it’s tight.
- Gas Line: Connect the gas line from the CO2 regulator to the keg coupler. Double-check all connections to avoid gas leaks.
- Pressure Check: Open the CO2 tank valve and set the regulator to the right pressure. Use a soapy water solution on the connections to check for leaks. If you see bubbles, tighten things up.
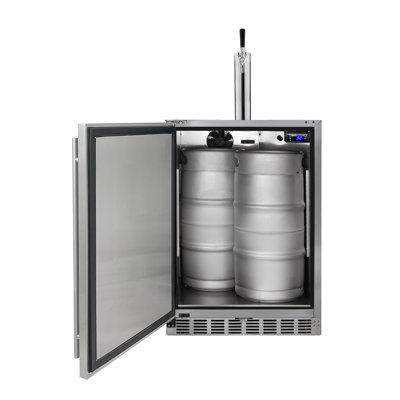
- Reinstall the Kegs and Taps:
- Kegs: Place the kegs back inside the kegerator. Connect the keg couplers to the kegs by attaching the beer and gas lines. Make sure the couplers are locked in place.
- Taps: Reattach the taps to the tower or faucet. Ensure they’re securely fastened.
- Power It Up:
- Plug In: Plug the kegerator into the power outlet. Turn it on and set it to your desired temperature.
- Cool Down: Let the kegerator cool down to the set temperature before moving on.
- Test It Out:
- Pour a Beer: Test the taps by pulling the handles to pour a beer. Look out for issues like foaming or slow flow. Adjust the CO2 pressure if needed to get the perfect pour.
- Check the Temperature: Use a thermometer to check the internal temperature of the kegerator. Make sure it’s holding steady at your set temperature.
By following these steps, your kegerator will be ready to serve up cold, refreshing beer in no time. For more tips on moving different types of fridges and freezers, check out our guides on moving a beer fridge and moving a built-in kegerator.
Get Your Upgrade or New Addition at Fridge.com
Whether you're searching for your perfect fridge, freezer, wine fridge, beer fridge, ice maker, or kegerator, we have what you need.
Shop the world's best brands at Fridge.com.
We also have tons of awesome articles about kitchen stuff and home news. Enhance your home, garage, backyard, patio, and office with the coolest essentials. With every necessary type of residential refrigerator or freezer in our collection, we've got you covered.
Elevate your game and shop now at Fridge.com!