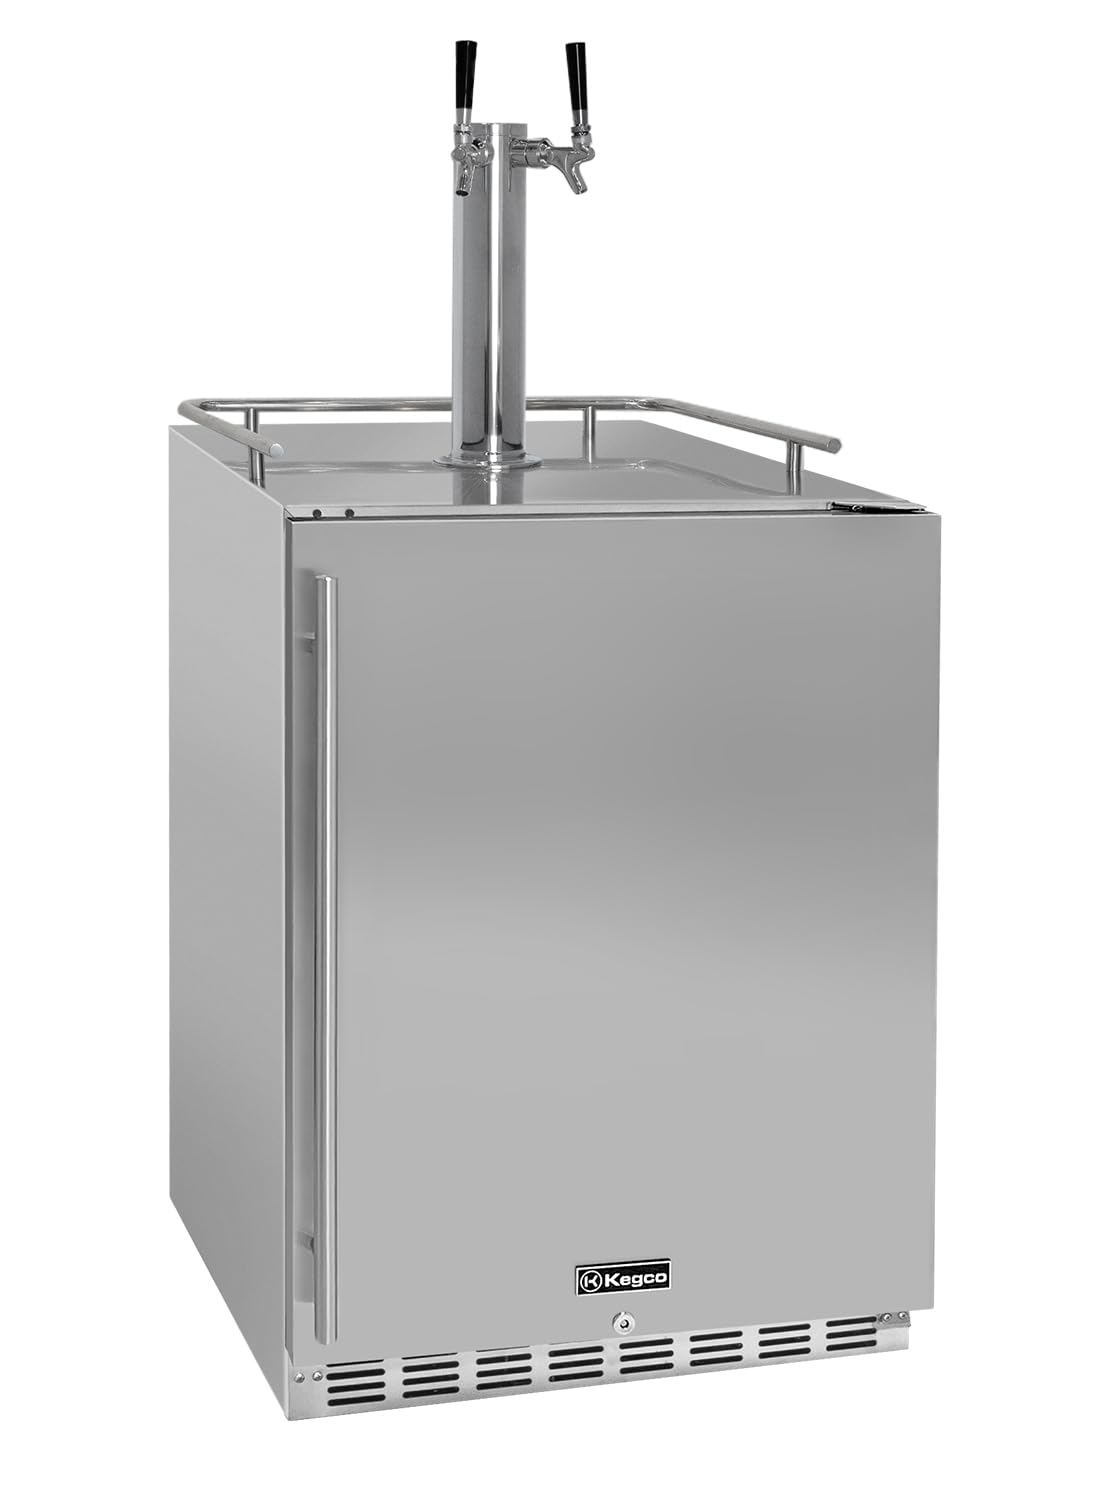
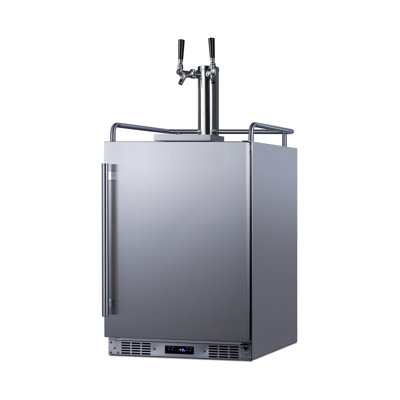
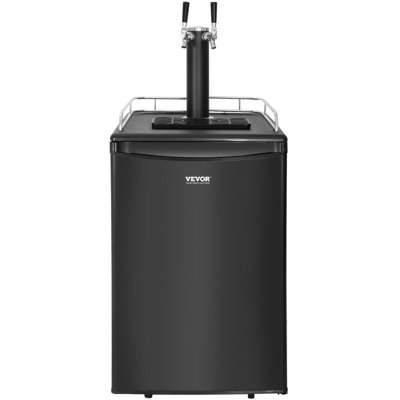
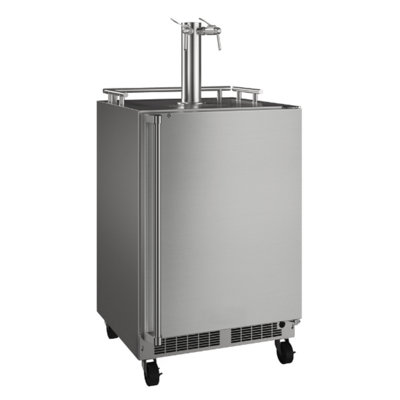
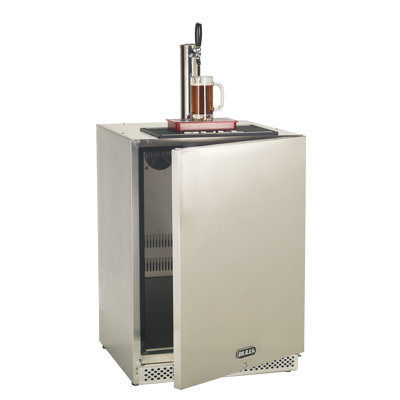
Getting Ready to Move Your Kegerator
Moving a built-in kegerator can be a bit of a hassle, but with the right prep, you can make it a breeze. Let's break down the steps to empty and defrost your kegerator so it's all set for the big move.
Emptying the Kegerator
First things first, you gotta empty that kegerator. Here's how:
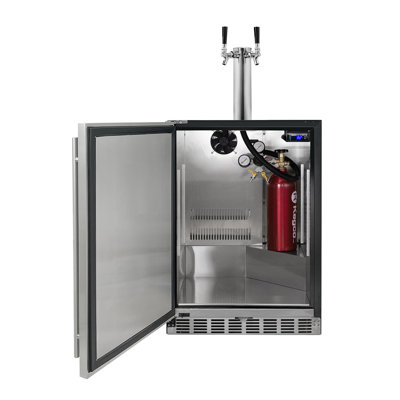
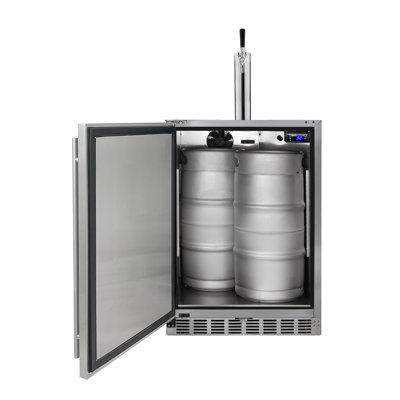
- Remove the Kegs: Disconnect the kegs from the lines. Lift each one carefully and put it somewhere safe.
- Empty the Drip Tray: Take out the drip tray and empty it to avoid any spills.
- Take Out Shelves and Accessories: Remove any shelves or accessories inside. This makes the unit lighter and keeps stuff from rattling around.
Defrosting the Kegerator
Now that it's empty, it's time to defrost. This step is crucial to avoid water damage during the move. Here's what to do:
- Turn Off the Kegerator: Unplug it from the power source to start defrosting.
- Open the Doors: Leave the doors open to help the ice melt faster.
- Remove Excess Ice: If there's a lot of ice, use a plastic scraper to gently remove it. Avoid sharp objects to prevent damage.
- Collect Melted Water: Place towels or a shallow pan at the base to catch the melting ice water.
| Task | Steps |
|---|---|
| Removing Kegs | Disconnect and lift kegs, place safely |
| Emptying Drip Tray | Remove and empty the drip tray |
| Taking Out Shelves | Remove any shelves or accessories |
| Turning Off the Kegerator | Unplug from the power source |
| Opening Doors | Keep doors open to speed up defrosting |
| Removing Excess Ice | Use a plastic scraper to gently remove ice |
| Collecting Melted Water | Place towels or a shallow pan to collect water |
Follow these steps, and your kegerator will be ready for the next part of the move. Need more tips on moving other types of fridges? Check out our guides on how to move a 2 door refrigerator and how to move a beer fridge.
Disconnecting the Kegerator
Taking apart your built-in kegerator the right way is key to a smooth and safe move. Follow these steps to make sure you turn off the power and disconnect the lines without a hitch.
Turning Off the Power
First things first, let's cut the juice to avoid any shocking surprises. Here's how:
- Find the Power Source: Look for the power outlet or circuit breaker that your kegerator is hooked up to.
- Unplug the Kegerator: If it's plugged into a wall, just pull the plug. If it's hardwired, flip the switch on the circuit breaker.
- Double-Check: Make sure the kegerator is completely off. No lights, no hum, nothing. This way, you won't accidentally turn it on while moving it.
Disconnecting the Lines
With the power off, it's time to tackle the lines. This includes the beer lines, CO2 lines, and any other connections.
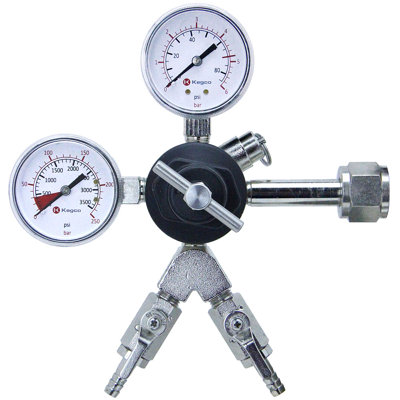
- Turn Off the CO2 Tank: Close the valve on the CO2 tank to stop the gas flow.
- Release Pressure: Gently pull the pressure release valve on the regulator to let out any leftover gas.
- Disconnect the CO2 Line: Unscrew the CO2 line from the regulator. Be careful—there might still be a bit of gas left.
- Remove the Beer Lines: Detach the beer lines from the kegerator. You might need to unscrew some clamps or connectors.
| Step | Action |
|---|---|
| 1 | Turn off CO2 tank |
| 2 | Release pressure |
| 3 | Disconnect CO2 line |
| 4 | Remove beer lines |
Making sure all lines are properly disconnected will prevent leaks and make your kegerator ready for a safe move. For more tips on moving similar appliances, check out our articles on how to move a kegerator and how to move a built-in refrigerator.
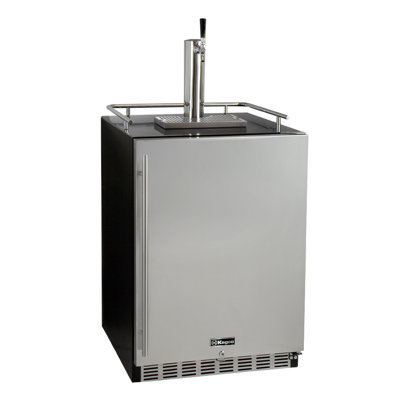
Moving the Kegerator
Moving a built-in kegerator can be a bit of a hassle, but with some prep and the right techniques, you can get it done without breaking a sweat—or your back.
Locking Down Loose Parts
Before you start, make sure everything that can move is locked down. This means taking out any parts that aren't bolted down and securing the ones that are.
- Remove shelves and trays: Take out any shelves, trays, or other removable parts. Wrap these items separately to keep them safe.
- Secure doors: Use tape or straps to keep the doors shut during the move.
- Protect delicate parts: Wrap fragile components, like glass shelves, in bubble wrap or thick towels.
Doing this keeps everything in place and reduces the chance of anything getting damaged.
Lifting Without Breaking Your Back
Lifting heavy stuff can be risky if you don't do it right. Here's how to move your kegerator without hurting yourself.
- Check the weight: Before you lift, see how heavy the kegerator is. If it's too heavy, get some help or use a dolly.
- Lift with your legs: Bend your knees and use your legs to lift, not your back. Keep the kegerator close to your body for balance.
- Use a dolly or hand truck: If you have one, use a dolly or hand truck made for heavy appliances. Strap the kegerator to the dolly to keep it secure.
- Clear the path: Make sure the path you plan to take is free of obstacles. This makes the move smoother and reduces the risk of tripping.
| Step | Action | Tips |
|---|---|---|
| 1 | Check weight | Get help if needed |
| 2 | Lift with legs | Bend knees, not back |
| 3 | Use dolly | Strap it down |
| 4 | Clear path | Remove obstacles |
For more tips on moving big appliances, check out our guides on how to move a 2-door refrigerator and how to move a French door refrigerator.
By following these steps, you can move your built-in kegerator safely and efficiently, avoiding injuries and damage.
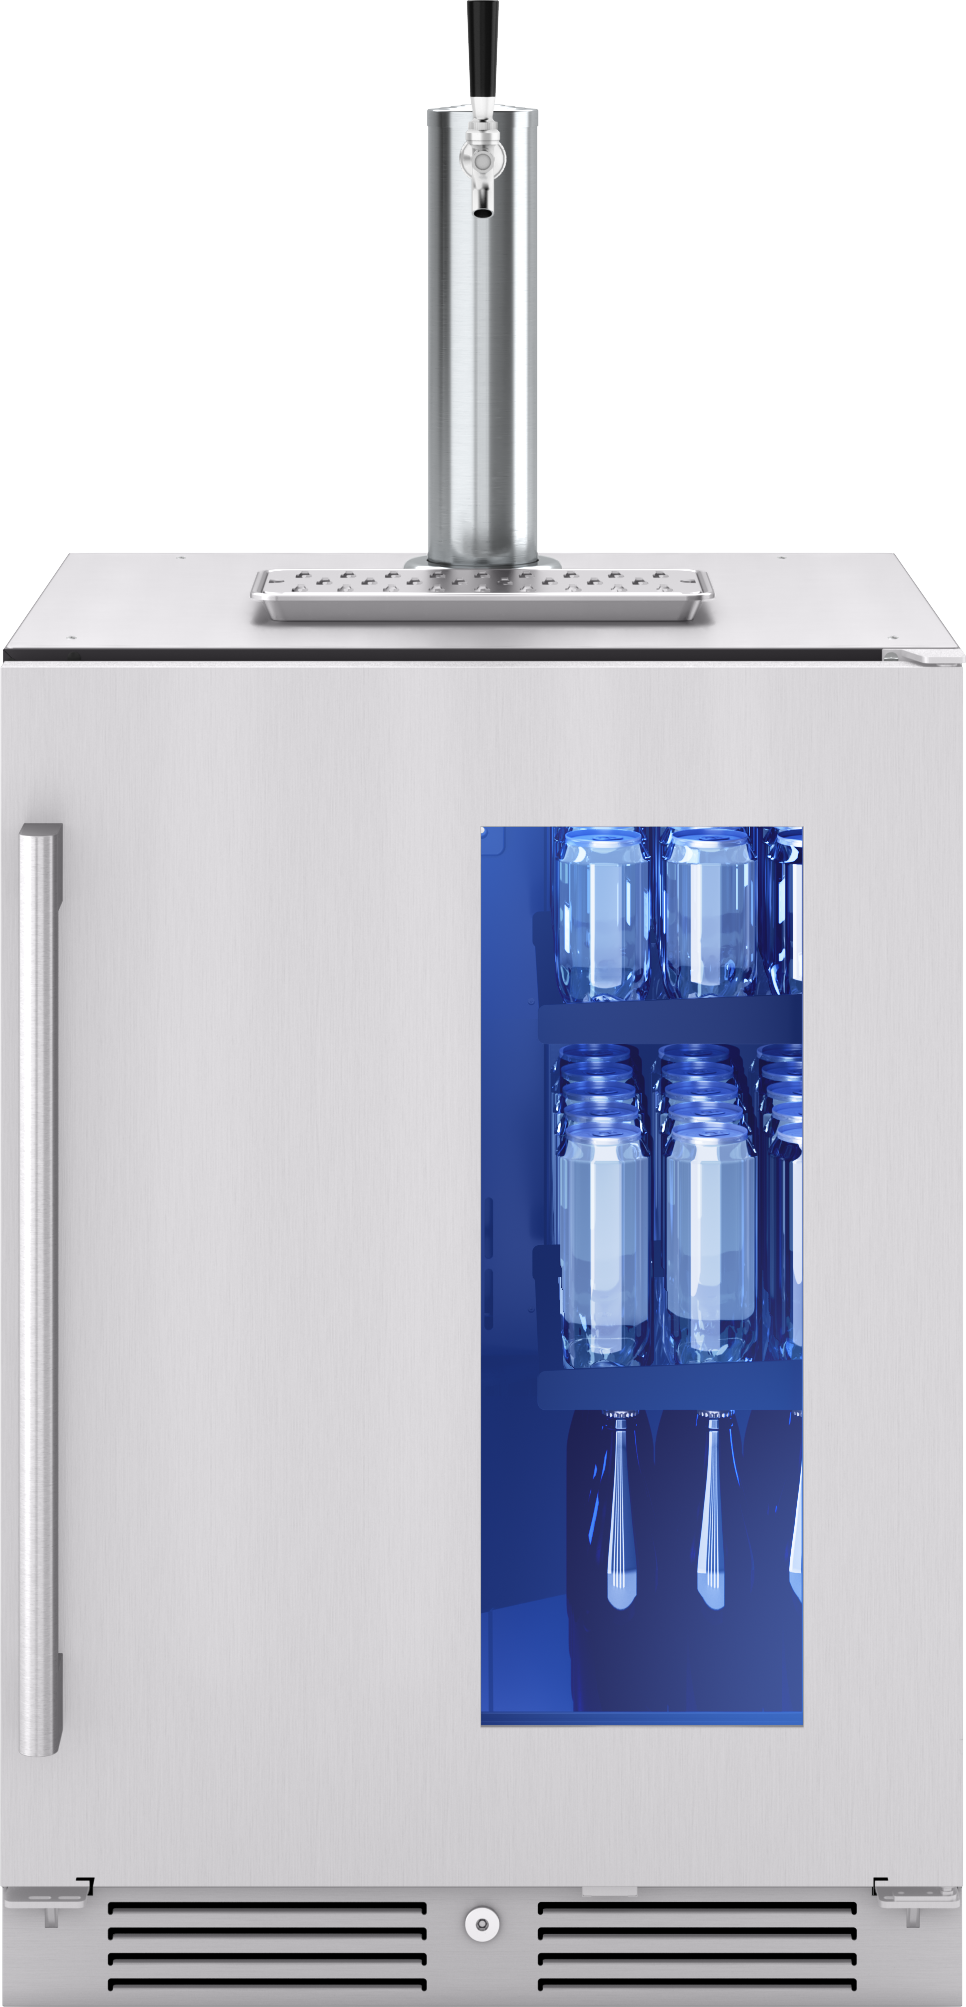
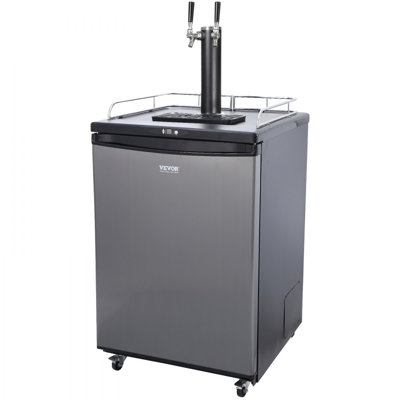
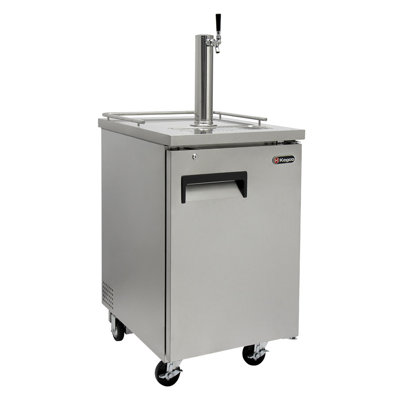
Moving Your Kegerator: A How-To Guide
Got a kegerator that needs to be moved? No sweat! With a bit of planning and the right gear, you can get it from point A to point B without a hitch. Here’s how to do it.
Gear Up: What You’ll Need
Before you start, make sure you’ve got the right tools. Here’s your checklist:
- Dollies: A sturdy appliance dolly will handle the weight and make moving easier.
- Furniture Sliders: These little guys go under the kegerator’s legs to help it glide across the floor without scratching it up.
- Straps and Bungee Cords: Keep the kegerator strapped to the dolly so it doesn’t tip over.
- Padding and Blankets: Wrap it up to avoid any dings or scratches.
Getting It Ready to Move
Now that you’ve got your gear, let’s get that kegerator ready to roll:
- Secure Loose Parts: Take out any shelves or taps, or make sure they’re locked down. You don’t want stuff flying around.
- Lift Smart: Bend your knees, keep your back straight, and lift with your legs. No one wants a back injury.
- Dolly Time: Tilt the kegerator a bit and slide the dolly underneath. Strap it down tight with those bungee cords.
- Maneuver Carefully: Watch out for corners and doorways. It’s a good idea to have a buddy help guide you.
- Load It Up: Use a ramp or lift gate to get the kegerator into the moving truck. Strap it down again so it doesn’t move around during the drive.
| Equipment | What It Does |
|---|---|
| Appliance Dolly | Handles the weight and makes moving easier |
| Furniture Sliders | Helps move without scratching the floor |
| Straps/Bungee Cords | Keeps the kegerator secure |
| Padding/Blankets | Protects from scratches and dents |
Need more tips on moving big stuff? Check out our guides on moving a beer fridge and moving a built-in refrigerator.
Follow these steps, and you’ll have your kegerator safely set up in its new spot in no time. Cheers!
Reinstalling the Kegerator
So, you've lugged your built-in kegerator to its new home. Now what? Time to get it up and running again. Let's make sure you set it up right so you can enjoy those cold brews without a hitch.
Picking the Perfect Spot
Where you place your kegerator matters. Here’s what to keep in mind:
- Ventilation: Your kegerator needs to breathe. Make sure there's enough space around it to prevent overheating, especially if it's built-in.
- Level Surface: Put it on a flat, even surface. This keeps the cooling system happy and your beer flowing smoothly.
- Accessibility: You’ll need to get to it easily for cleaning, maintenance, and swapping out kegs.
- Power Source: Find a spot near an outlet. Avoid extension cords—they're a fire hazard waiting to happen.
Hooking Up the Lines
Getting the lines connected right is key. Here’s how to do it:
- Attach the CO2 Tank: Secure the CO2 tank to the kegerator. Make sure it’s upright and the regulator is snug.
- Connect the Gas Line: Hook the gas line from the CO2 tank to the keg coupler. Tighten it up to avoid leaks.
- Connect the Beer Line: Attach the beer line from the faucet to the keg coupler. Again, make sure it’s tight.
- Check for Leaks: Turn on the CO2 and run a bit of beer through the lines. If you spot any leaks, tighten the connections.
| Step | Description |
|---|---|
| 1 | Attach the CO2 tank to the kegerator. |
| 2 | Connect the gas line to the keg coupler. |
| 3 | Connect the beer line to the keg coupler. |
| 4 | Check for leaks. |
Need more tips on moving and reinstalling other types of fridges? Check out our guides on how to move a built-in refrigerator and how to move a beer fridge.
By following these steps, your kegerator will be back in action in no time. For more advice on moving different kinds of refrigerators, visit our articles on how to move a 2-door refrigerator and how to move a French door refrigerator.
Now, get that kegerator set up and enjoy a cold one! Cheers!
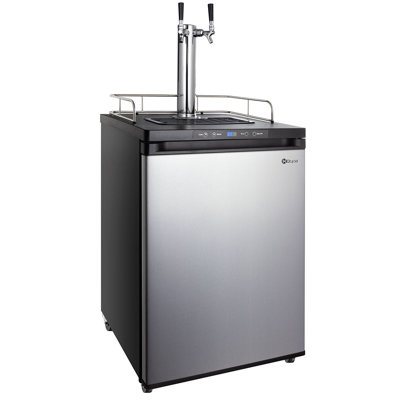
Testing the Kegerator
So, you've managed to move your built-in kegerator without breaking a sweat. Now, let's make sure it's working like a charm. The last steps are all about powering it up and checking for any pesky leaks.
Powering Up the Kegerator
First things first, plug that bad boy back in. Make sure the power cord is snug in the outlet. Once it's connected, flip the switch and let it hum to life. Give it a bit to cool down to the perfect beer-chilling temperature.
| Step | Action |
|---|---|
| 1 | Plug the kegerator into the power outlet. |
| 2 | Turn on the kegerator. |
| 3 | Wait for the kegerator to reach the desired temperature. |
Checking for Leaks
Once your kegerator is nice and frosty, it's time to play detective and hunt for leaks. This means checking the beer lines, CO2 lines, and any other connections.
Beer Lines: Look over the beer lines for any drips or wet spots. Tighten any loose connections and make sure the lines are firmly attached to both the keg and the faucet.
CO2 Lines: Give the CO2 lines a once-over. Check the connections at the regulator and the keg. Tighten any loose fittings and make sure the CO2 tank is secure.
Fittings and Valves: Check all the fittings and valves for leaks. If you spot any drips or moisture, tighten things up or swap out any faulty parts.
Follow these steps, and your kegerator should be good to go. If you run into any issues, don't hesitate to crack open the user manual or call in a pro. For more tips on moving different types of fridges and freezers, check out our articles on how to move a beer fridge and how to move a built-in refrigerator.
Get Your Upgrade or New Addition at Fridge.com
Whether you're searching for your perfect fridge, freezer, wine fridge, beer fridge, ice maker, or kegerator, we have what you need.
Shop the world's best brands at Fridge.com.
We also have tons of awesome articles about kitchen stuff and home news. Enhance your home, garage, backyard, patio, and office with the coolest essentials. With every necessary type of residential refrigerator or freezer in our collection, we've got you covered.
Elevate your game and shop now at Fridge.com!