Moving Your Beverage Cooler
Check Out the Scene
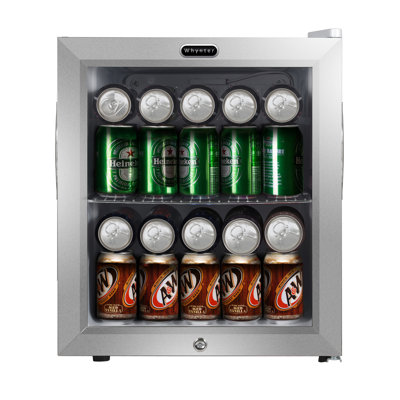
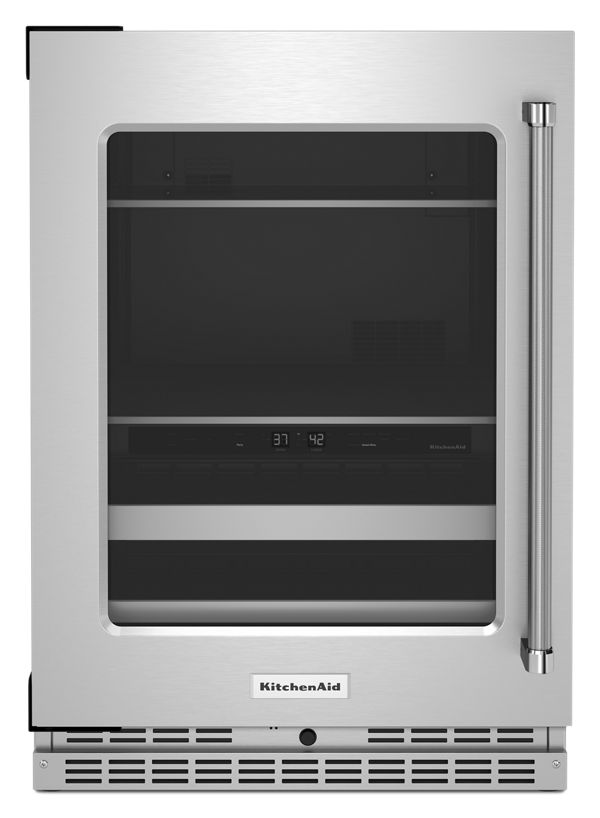
Before you start lugging that beverage cooler around, take a good look at where it is now and where it's going. Measure the cooler and make sure it can squeeze through doorways, hallways, and staircases. Here’s a quick cheat sheet for the dimensions:
| Measurement | Value (inches) |
|---|---|
| Height | 60 |
| Width | 24 |
| Depth | 24 |
Make sure the new spot has enough room and a power outlet nearby. If you’re moving it upstairs or downstairs, double-check that the stairs or elevator can handle the cooler’s size and weight.
Get Ready to Move
Preparation makes everything easier. Start by emptying the cooler—take out all the drinks and stuff. This makes it lighter and avoids any messy spills. Need tips on how to empty and clean it? Check out our removing contents guide.
Gather your moving gear:
- Moving blankets or padding
- Tape or straps
- A dolly or hand truck
- Measuring tape
Secure the cooler doors with tape or straps so they don’t swing open. Wrap it up with moving blankets or padding to keep it scratch-free. For more prep tips, see our mini fridge moving guide.
Get Some Help
Moving a beverage cooler isn’t a one-person job, especially if it’s big or heavy. Call in some friends, family, or even professional movers. Extra hands make the job safer and quicker. Make sure everyone knows the plan and their role.
If you’re moving the cooler between floors, a dolly or hand truck can be a lifesaver. Use proper lifting techniques to avoid injuries. For more on lifting, check out our article on moving a garage refrigerator.
By checking out the scene, getting ready, and getting help, you can move your beverage cooler without a hitch.
Emptying the Cooler
Before you haul your beverage cooler to its new spot, you gotta empty it out. This means taking everything out and giving it a good scrub so it's all set for the move.
Removing Contents
First things first, get all the drinks and stuff out of there.
- Sort Your Drinks: Group similar items together. It'll make restocking a breeze later.
- Use Coolers or Bags: Pop your drinks into coolers or insulated bags to keep them chilled during the move.
- Label Everything: If you've got a ton of stuff, slap some labels on the containers to keep track.
Cleaning the Cooler
Now that it's empty, it's cleaning time. A clean cooler means it's ready to rock in its new home.
- Unplug It: Make sure it's not connected to any power source.
- Remove Shelves and Drawers: Take out all the removable parts for a separate wash.
- Mild Detergent: Clean the inside with some mild detergent and warm water. Skip the harsh chemicals.
- Dry It Out: Wipe down the inside and all the parts with a dry cloth to avoid any moisture buildup.
| Cleaning Steps | What to Do |
|---|---|
| Unplug It | Disconnect from power. |
| Remove Shelves | Take out all removable parts. |
| Mild Detergent | Clean with warm water and mild soap. |
| Dry It Out | Wipe down and ensure it's dry. |
For more tips on moving different types of fridges, check out our guides on how to move a beverage fridge or how to move a mini fridge.
Detaching Accessories
Moving your beverage cooler? First things first, let's make sure you detach all accessories to avoid any mishaps. This means taking out shelves, drawers, and unplugging the power.
Shelves and Drawers
Start by clearing out everything from your cooler. Take out all drinks and items, and stash them somewhere safe. Once it's empty, gently slide out the shelves and drawers. If they give you trouble, check the manual.
| Accessory | Steps to Remove |
|---|---|
| Shelves | Slide out gently |
| Drawers | Lift and pull out |
Wrap each shelf and drawer securely with bubble wrap or towels to keep them safe during the move. Label them so putting everything back together is a breeze.
Disconnecting Power
Safety first! Before moving your cooler, you need to unplug it. Here's how:
- Unplug the Cooler: Find the power cord and pull it out from the wall socket.
- Secure the Cord: Wrap the cord and secure it with a twist tie or tape to keep it from dragging or getting caught.
By doing this, you make sure your cooler is safe to move without any electrical issues. For more tips on moving different types of fridges, check out our guides on how to move a 2 door refrigerator and how to move a built-in refrigerator.
Getting your beverage cooler ready by detaching accessories and unplugging it is a must-do step. Once that's done, you're all set to move it safely to its new spot. For more tips on moving your cooler, see our article on how to move a beverage fridge.
Moving the Cooler
So, you need to move a beverage cooler? Let's make sure you do it without breaking your back or the cooler. Here’s how to get it done right.
Lifting Without the Ouch
Lifting a cooler isn't rocket science, but doing it wrong can land you in a world of hurt. Here’s the lowdown:
- Plan Ahead: Clear your path. You don’t want to trip over a rogue shoe or toy.
- Leg Day: Bend those knees and squat. Use your legs to lift, not your back. Trust me, your spine will thank you.
- Hug It Out: Keep the cooler close to your body. It helps with balance and keeps the strain off your back.
- Buddy System: If it’s too heavy, grab a friend. Lift together and share the load.
Gear Up for the Move
Using the right tools can make moving that cooler a breeze. Here’s what you might need:
- Dolly or Hand Truck: These are lifesavers for heavy stuff. Strap the cooler on tight so it doesn’t tip over.
- Furniture Sliders: Pop these under the cooler and slide it across the floor like it’s on ice skates.
- Moving Straps: These help spread the weight and are great for getting up and down stairs.
| Equipment | Why It Rocks |
|---|---|
| Dolly/Hand Truck | Saves your back, easy to steer |
| Furniture Sliders | Protects floors, smooth sliding |
| Moving Straps | Even weight distribution, stair-friendly |
For more cool tips on moving fridges and freezers, check out our guides on how to move a 2 door refrigerator and how to move a compact freezer.
Follow these steps and you’ll move that cooler like a pro, without any drama or damage. Happy moving!
Moving Your Beverage Cooler
Got a cooler to move? Let's make sure it gets there in one piece. Follow these steps to load and secure your cooler like a pro.
Loading the Cooler
Getting your cooler onto a vehicle without a hitch takes a bit of know-how. Here's how to do it right:
- Grab a Dolly or Hand Truck: Slide the dolly or hand truck under the cooler, making sure it's centered and balanced.
- Strap It Down: Secure the cooler to the dolly or hand truck with straps to keep it from tipping over.
- Lift Smart: Bend your knees, keep your back straight, and lift. No one wants a back injury.
- Get Help if Needed: If it's too heavy, don't be a hero. Ask a friend to help lift and move it.
| Step | Action |
|---|---|
| 1 | Use a dolly or hand truck |
| 2 | Secure the cooler with straps |
| 3 | Lift with proper technique |
| 4 | Team lift if necessary |
Securing for Transport
Once your cooler's on the truck, you need to make sure it stays put. Here's how:
- Find a Solid Spot: Place the cooler against a sturdy surface, like the truck wall, to keep it from sliding around.
- Wrap It Up: Cover the cooler with moving blankets to protect it from scratches and dents.
- Strap It Tight: Use heavy-duty straps or bungee cords to secure the cooler to the truck. Make sure it's snug and won't budge.
- Double-Check: Before you hit the road, give it a shake to make sure it's stable.
| Step | Action |
|---|---|
| 1 | Position against a solid surface |
| 2 | Use moving blankets |
| 3 | Strap down the cooler |
| 4 | Check stability |
Follow these steps, and your cooler will arrive safe and sound. For more tips on moving different types of fridges and freezers, check out our guides on how to move a beer fridge and how to move a built-in beverage center.
Setting Up Your Cooler Again
So, you've moved your beverage cooler to its new home. Now, let's get it back up and running smoothly. Proper placement and reconnection are key to keeping your drinks chilled and your cooler happy.
Finding the Perfect Spot
First things first, find the best place for your cooler. Make sure the spot is flat and has good airflow. Keep it away from direct sunlight, heat, and moisture. This keeps your cooler running efficiently and extends its life.
Here's a quick checklist to make sure the spot is just right:
- Flat Surface: Ensure the floor is even to avoid annoying vibrations and noise.
- Good Airflow: Leave enough space around the cooler for air to move. Check the manual for exact clearance needs.
- Nearby Outlet: Make sure there's a power outlet close by so you don't need long extension cords.
Plugging It In
Once your cooler is in place, it's time to plug it in. Follow these steps to do it safely:
- Check the Power Cord: Look over the power cord for any damage. If it's messed up, replace it before plugging it in.
- Plug It In: Connect the cooler directly to a grounded outlet. Skip the extension cords and power strips to avoid electrical problems.
- Turn It On: Switch on the cooler and set the temperature you want. Let it run for a few hours to stabilize before loading it up with drinks.
For more tips on dealing with different types of fridges and freezers, check out our articles on moving a mini fridge or a wine cooler.
By placing your cooler carefully and plugging it in right, you'll keep it running smoothly in its new spot. For more advice on moving and setting up other coolers, take a look at our guides on moving a garage refrigerator or a built-in beverage center.
Testing the Cooler
So, you've moved your beverage cooler to its new spot. Great! Now, let's make sure it's working like a charm before you start loading it up with your favorite drinks. Follow these steps to test your cooler.
Making Sure It Works
First things first, plug that cooler back in. Give it a few hours to chill out and reach the right temperature. Keep an eye on it during this time to make sure it's doing its job.
Here's what to check:
- Cooling Power: Grab a thermometer and check the inside temperature. It should match the setting you picked.
| Setting | Ideal Temperature |
|---|---|
| Beverage | 35-38°F (1.7-3.3°C) |
| Wine | 45-55°F (7.2-12.8°C) |
- Noise Check: Listen up. Your cooler should be pretty quiet. Any weird noises? That’s a red flag.
- Stability: Make sure it’s not shaking or vibrating too much.
- Leaks: Look for any condensation or leaks. If you see any, there might be an issue with the seals or cooling system.
If something seems off, dig out the manual for troubleshooting tips or call in a pro.
Tweaking the Settings
If your cooler isn't hitting the right temperature or you just want to fine-tune it, here’s what to do:
- Find the Control Panel: It’s usually inside the cooler near the door or on the back.
- Adjust the Temperature: Use the control panel to set the temperature. Check out the table below for the best settings.
| Beverage Type | Recommended Temperature |
|---|---|
| Soft Drinks | 35-38°F (1.7-3.3°C) |
| Beer | 36-39°F (2.2-3.9°C) |
| Wine | 45-55°F (7.2-12.8°C) |
- Check Again: Let the cooler run for a few hours after you make changes. Use your thermometer to see if the temperature is right.
- Monitor: Make sure the cooler keeps the set temperature over time.
For more detailed instructions, check your cooler's user manual. By following these steps, you can make sure your beverage cooler is ready to keep your drinks perfectly chilled in its new home.
Need more tips on moving different types of fridges? Check out our articles on how to move a beer fridge or how to move a wine cooler.
Get Your Upgrade or New Addition at Fridge.com
Whether you're searching for your perfect fridge, freezer, wine fridge, beer fridge, ice maker, or kegerator, we have what you need.
Shop the world's best brands at Fridge.com.
We also have tons of awesome articles about kitchen stuff and home news. Enhance your home, garage, backyard, patio, and office with the coolest essentials. With every necessary type of residential refrigerator or freezer in our collection, we've got you covered.
Elevate your game and shop now at Fridge.com!