Getting Ready to Tap a Keg
Before jumping into the excitement of tapping a keg, make sure you're set with all the things you need to get started. A little prep goes a long way in making sure everyone gets their drink without a hitch.
Understanding the Basics
Tapping a keg means pouring that golden goodness straight into your glass from the barrel. You've probably seen it at parties and events. To do it right, you gotta know the tapping system inside out. You'll typically deal with a keg and a tap, and sometimes a CO2 system to keep the beer flowing. Be sure about which kind you're working with, since different kegs might need their own gadgets.
Here's the rundown:
| Component | What It Does |
|---|---|
| Keg | Houses and serves up the beer. |
| Tap | The gizmo that gets the beer out from the keg into your cup. |
| CO2 Tank | Keeps the pressure up so the beer flows smooth. |
Knowing what each part does makes the job a whole lot simpler.
Gathering the Necessary Supplies
Got your stuff? It's best to have everything on hand to avoid scrambling at the last second. Here's a quick list:
- Keg: Pick the right size based on how wild your shindig is.
- Beer Tap (Coupler): This is your key to getting the beer out.
- CO2 Tank: Comes in handy for pressurized kegs.
- Tap Handle: It's pretty much the beer control lever.
- Glassware: Whether it’s cups or glasses, you’ll need plenty for your crew.
- Ice: Keeps your keg chilled so it pours right and tastes great.
| Supply | Why You Need It |
|---|---|
| Keg | Stores and pours your beer. |
| Beer Tap | The beer comes outta here. |
| CO2 Tank | Keeps things pressurized for easy pouring. |
| Glassware | So your guests don't have to use their hands. |
| Ice | Keeps beer as cool as the party vibes. |
Round up these essentials, and you’ll be good to go for the fun. Stick around for more tips on making your keg tapping party unforgettable.
Tapping the Keg Step by Step
Tapping a keg might sound like a big deal, but it’s pretty straightforward once you get the hang of it. Follow these steps, and you’ll be a keg master in no time.
Step 1: Positioning the Keg
First up, find a good spot for your keg. Set it on a flat, steady area, and if you’re using a fancy electric tap, keep it near an outlet. Make sure there's enough room for you to work your magic as you pour and serve.
Step 2: Preparing the Tap
Before going all in, take a quick look at your tap gear. Give it a good once-over to ensure it’s clean and ready to roll. If you’ve got one of those coupler taps, double-check that it fits your keg type and inspect it for any wear and tear.
Step 3: Tapping the Keg
Let’s jump to the fun part – getting that tap working:
- Insert the Tap: Line the tap up with the opening on your keg.
- Push Down: Gently press the tap into the keg.
- Twist to Lock: Turn that handle clockwise until it’s nice and snug.
| Keg Type | Coupler Type |
|---|---|
| Standard | D-type |
| Craft Beer | S-type |
| European | A-type |
Wait for the satisfying click, which means you’re set. Hold off for a bit to let any extra foam calm down before hitting the pour.
Step 4: Pouring the Beer
Grab a glass and hold it at about 45 degrees under the tap. Pull the handle fully forward, and let the good stuff flow. Fill it up to about three-quarters, then straighten the glass.
This nifty trick cuts down on foam, delivering a smooth pour every time.
| Pouring Technique | Glass Position |
|---|---|
| Initial Pour | 45 degrees |
| Upright Finish | 90 degrees |
Delivering that perfect pour is sure to make everyone smile. If you get too much froth, check your pour angle or maybe the keg's temperature.
Enjoy the whole tapping experience, and once you’re done, don’t forget to clean up. You’ll find all you need to know in our handy after-tap care section. Cheers!
Handling Common Issues
Uh-oh, tapping that keg didn't go as planned, did it? Don't fret. Here are some handy tricks to tackle those pesky foam and temperature glitches.
Foam Troubleshooting
Too much foam got you down? Happens to the best of us. It's usually because of heat, chill, or pressure. Wanna tame that frothy beast? Try these tips:
| Foam Culprit | Quick Fix |
|---|---|
| Over-the-top pressure | Dial down your keg setup to around 10-12 PSI for most brews. |
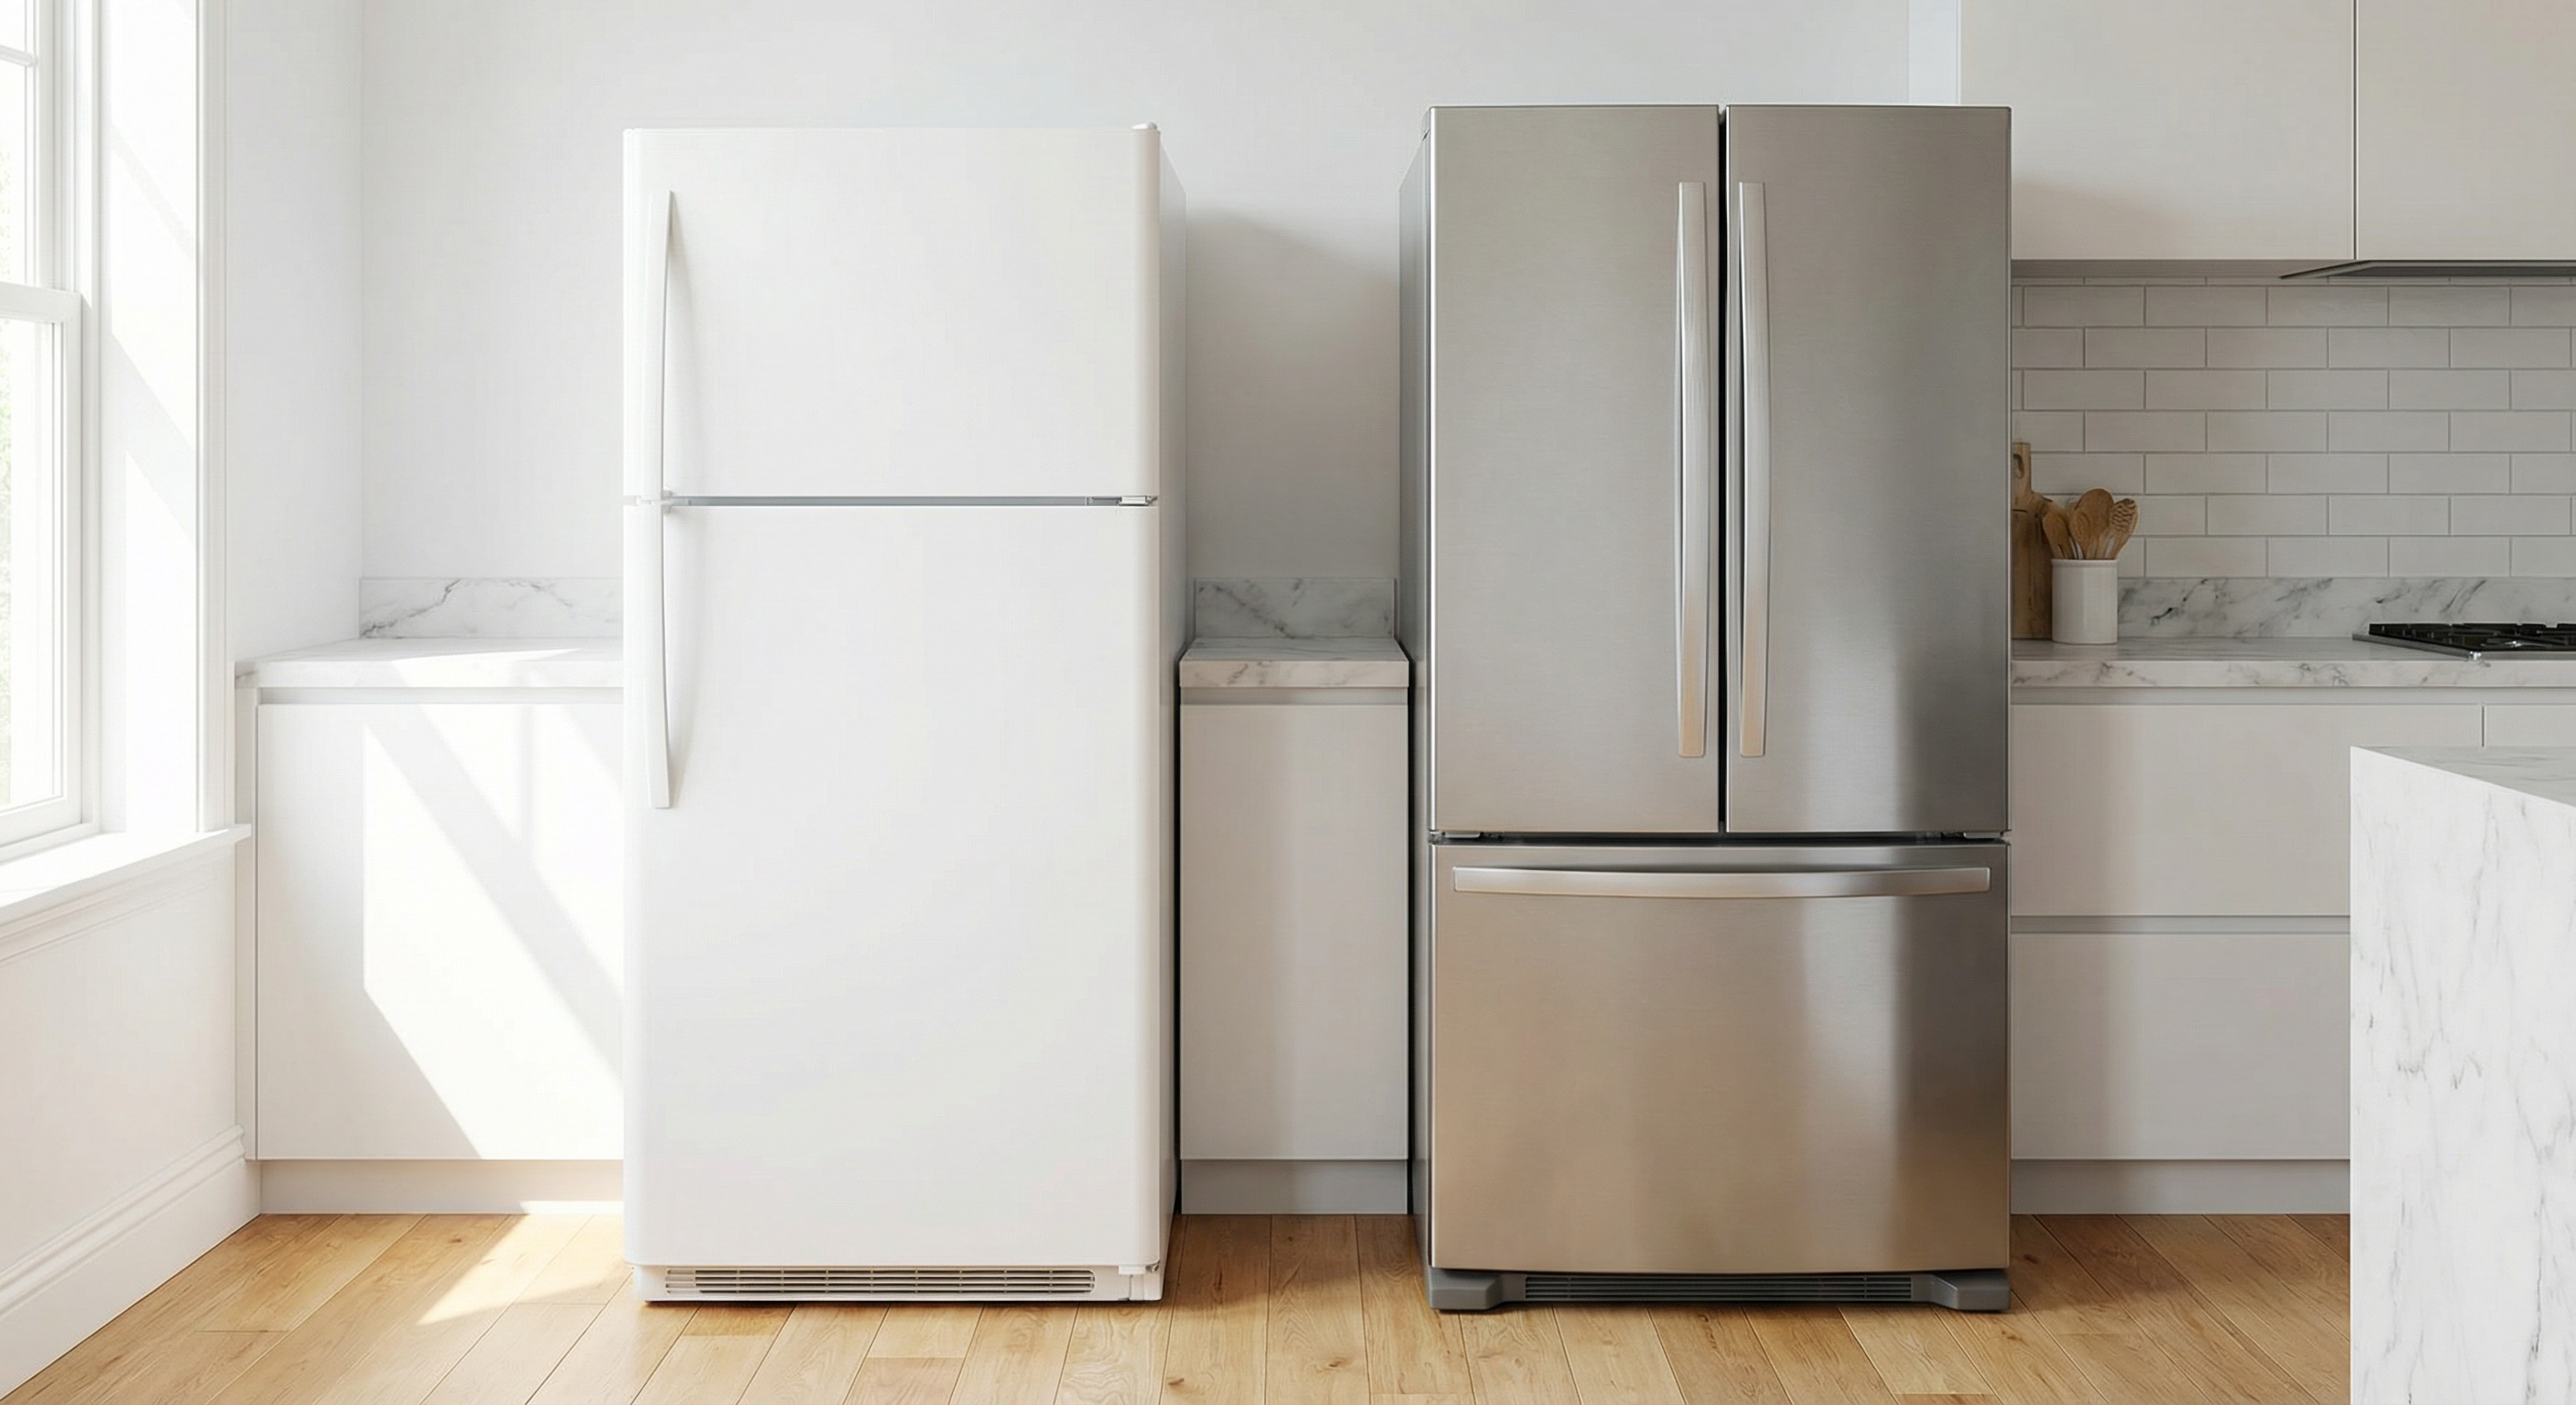
| Heat waves | Keep that keg chillin' between 36-40°F. Peek at the temp now and then to keep it in line. Curious about which fridge settings work best? Check out these fridge temps. |
| Poor tap finesse | Are you holding your glass right? Tilt that bad boy to 45°, pour down the side until it's halfway, then straighten it up for the finish. |
Temperature Tips
Keeping things cool is the name of the game—nobody likes a warm brew or foam explosion. Here's how you can chill like a pro:
- Stick it in the Fridge: Always park the keg in a fridge with a steady chill. Got a special event? Maybe look into a best office fridge to keep things icy.
- Temp Check: Regularly check your keg with a thermometer. Most beer likes it between 36°F and 40°F.
- Fridge Overload: Lay off opening the fridge like it’s 7-Eleven. Too many peeks drop the cool. If you’re noticing temp swings, it might help to check why your fridge isn't as breezy.
Nip these foam and temp troubles in the bud to keep your keg adventure smooth and satisfying. Need more keg wisdom? Dive into tips on giving your fridge a spa day to keep everything just right.
Managing the Flow
Getting the perfect pour from a keg isn't rocket science, but it does require a bit of practice and finesse. Here's how to handle that tap like a pro and keep your parties and BBQs foam-free and flowing.
Adjusting the Tap
This is where the magic happens. Getting that tap just right is vital to making sure your beer flows smoothly.
- Check the Pressure: Make sure your keg is sitting pretty at the right pressure. Most like it around 10-12 psi, unless you enjoy a pint full of foam.
- Lever Love: When you're pouring, give that tap lever a good yank all the way back. None of this halfway business, or you'll end up with a dribble or a science fair volcano.
- Tilt, Baby, Tilt: Initially, lean your glass at about 45 degrees to keep things fizzy but not out of control. As it fills up, gently set it upright.
- Flow Control Smarts: If your tap's fancy with a flow control, use it to scale back the froth. No one likes a beer avalanche.
| Adjustment | What to Do |
|---|---|
| Pressure | Aim for 10-12 psi |
| Tap Lever | Pull it all the way back |
| Glass Angle | Kick things off at 45 degrees |
| Flow Control | Tweak if it’s getting foamy |
Maintaining the Pour
Once you've nailed the adjustments, keep that pour steady and problem-free.
- Keep It Consistent: Keep an eye on how fast it's pouring. If things slow down or act up, check whether the keg needs an air boost or if the tap's having a clogging moment.
- Smooth Operator: Pour with a relaxed hand – no sudden moves. You want beer, not an unexpected foam party.
- Spick and Span: Show those tap lines some love with a regular clean. If your beer starts tasting funky, it’s time for some elbow grease (instructions found in our how to deep clean your sticky fridge guide).
Nail these tips, and you'll be pouring like a champ with zero suds drama. Enjoy your drink without the fuss, impress your pals, and avoid any rookie pouring mistakes!
After-Tap Care
Taking care of your party's prized possession (aka the keg and tap) after a shindig is super important to keep things hygienic and ensure that the future flows of golden goodness remain uninterrupted. Here's the lowdown on cleaning your tap and storing the keg.
Cleaning the Tap
A mucky tap means funky beer, and nobody wants that! Let's keep it fresh with these simple steps:
- Unplug the Tap: First things first, carefully detach the tap from the keg.
- Hit it with Warm Water: Give it a good rinse using warm water. Steer clear of soap—it leaves behind a taste you'll wish it didn't.
- Break Out the Cleaner: For those tough spots, a tap cleaner does wonders. Just follow the label's lead for sparkling results.
- Marinate the Bits: Got bits you can take apart? Soak 'em in the cleaner for 15-30 minutes. Then, rinse well.
- Air Out: Finally, let the parts air dry completely to banish any rebellious mold or bacteria.
Storing the Keg
After you've done the hard work of keeping things spick and span, let's park the keg right to keep that brewsky tasting how it's meant to:
| Thing to Check | What to Do |
|---|---|
| Temperature | Keep it chill between 34°F to 38°F (1°C to 3°C), and stay consistent. |
| Position | Stand tall—keep it upright to stop spills and bad vibes. |
| Time | Not tapping it out? Stored right, your keg's good for a week, maybe longer. |
- Find a Chill Spot: Tuck your keg away in a cool, dark hideout. Seriously, avoid the sun—it’s no friend to your brew.
- Pressure Patrol: If you've got a CO2 setup, keep an eye on that pressure gauge and tweak according to your beer's mood.
- Seal the Deal: Make sure that the tap is nice and tight to keep air out—beer spoilage is a party killer.
For those who love geeking out on clean ideas, hop over to our guide on deep cleaning your fridge. Stick to these pro-tips, and your party kit will be in tip-top shape for the next round, making sure everyone taps into nothing but good times!