Cleaning the inside of a refrigerator takes six steps: empty it completely (perishables keep safely in a cooler for 1–2 hours), remove the shelves and drawers and wash them in warm soapy water, wipe the interior walls and door gasket with mild dish soap or an equal-parts white vinegar and water solution, treat tough stains with a baking soda paste, deodorize with an open box of baking soda, and dry every surface completely before restocking. Wipe the shelves weekly and deep clean the interior monthly to keep food safe and the appliance running efficiently.
Importance of Cleaning Your Refrigerator
Why Regular Cleaning is Essential
Regular cleaning of your refrigerator can extend the life of the appliance and improve its efficiency. Dust and grime can accumulate on the coils and inside surfaces, making the refrigerator work harder to maintain the desired temperature. This can lead to higher energy consumption and potentially shorten the lifespan of the machine.
Additionally, a clean refrigerator helps prevent the growth of mold and bacteria, which can spoil food and cause unpleasant odors. When food spills are not addressed promptly, they can harden and become more difficult to clean over time. Regularly cleaning your fridge helps you stay on top of these issues and maintain a hygienic environment for your food storage.
Reason
Benefit
Extends lifespan
Improved efficiency, lower energy consumption
Prevents mold and bacteria
Reduces food spoilage and odors
Easier maintenance
Simplifies the cleaning process
Health and Safety Concerns
A clean refrigerator is crucial for health and safety. Foodborne illnesses can result from consuming contaminated food stored in an unclean environment. Mold, bacteria, and other pathogens can thrive in a dirty refrigerator, posing risks to you and your family.
Cross-contamination is another concern. Raw meats, dairy products, and unwashed vegetables can leave behind harmful bacteria on refrigerator shelves and drawers. Without regular cleaning, these bacteria can transfer to other foods, increasing the risk of foodborne illnesses. Grime buildup also invites pests such as ants — for what neglect can lead to, see what happens if you don't clean behind your fridge?.
For instance, maintaining proper temperatures in your refrigerator is important in preventing bacterial growth. Learn more about what temperature is a fridge set at to ensure your food stays safe.
Health Concern
Risk
Mold and bacteria
Food spoilage, foodborne illness
Cross-contamination
Increased risk of foodborne illnesses
Improper temperatures
Bacterial growth
By keeping your refrigerator clean, you can reduce these health risks and ensure your food remains safe to consume. For more tips on maintaining your fridge, explore Fridge.com guide on how to clean inside of refrigerator.
To effectively clean the inside of your refrigerator, you need to gather the necessary supplies. Having all your materials ready will make the process smoother and more efficient. Here’s a checklist of items you will need:
Mild dish soap
Warm water
Baking soda
White vinegar
Spray bottle (for applying the vinegar solution)
Microfiber cloths or sponges
Soft-bristle brush or an old toothbrush (for crevices and gasket folds)
Towels or paper towels
Trash bags
Optional: a vacuum cleaner with a hose attachment
Safe Food Storage During Cleaning
Before starting the cleaning process, it's important to ensure that your food is stored safely. Here’s how you can do it:
Coolers or Insulated Bags: Use coolers or insulated bags to store perishable items like dairy, meat, and vegetables. This will keep them at a safe temperature while you clean.
Ice Packs: If you don't have enough cooler space, use ice packs to maintain the temperature of your food.
Temporary Storage: If the cleaning process is quick, you can temporarily store items in another refrigerator or freezer if available.
Emptying the fridge is the best moment to purge. As you pull items out, check every expiration date and discard anything spoiled or past its prime — a less cluttered fridge means fewer odors and safer food. Use these shelf-life benchmarks when deciding what to keep:
Item
Typical Refrigerator Shelf Life
Fresh Vegetables
About 1 week
Dairy Products
1 to 2 weeks
Sauces & Condiments
6 months to 1 year (check the label)
Leftovers
3 to 4 days
Sort what survives the purge into groups — dairy, meats, vegetables, condiments — so restocking is faster, and jot a shopping list of anything you tossed.
Step-by-Step Cleaning Guide
A clean refrigerator ensures your food stays fresh and safe. Follow this step-by-step guide on how to clean the inside of a refrigerator effectively.
Emptying the Refrigerator
Begin by emptying all the contents of your refrigerator. Place perishable items in a cooler to keep them cold during the cleaning process. This step helps you assess what needs to be discarded and what can be kept.
Item Type
Storage Solution
Perishables
Cooler with Ice
Non-perishables
Countertop
Beverages
Separate Cooler
Cleaning Interior Surfaces
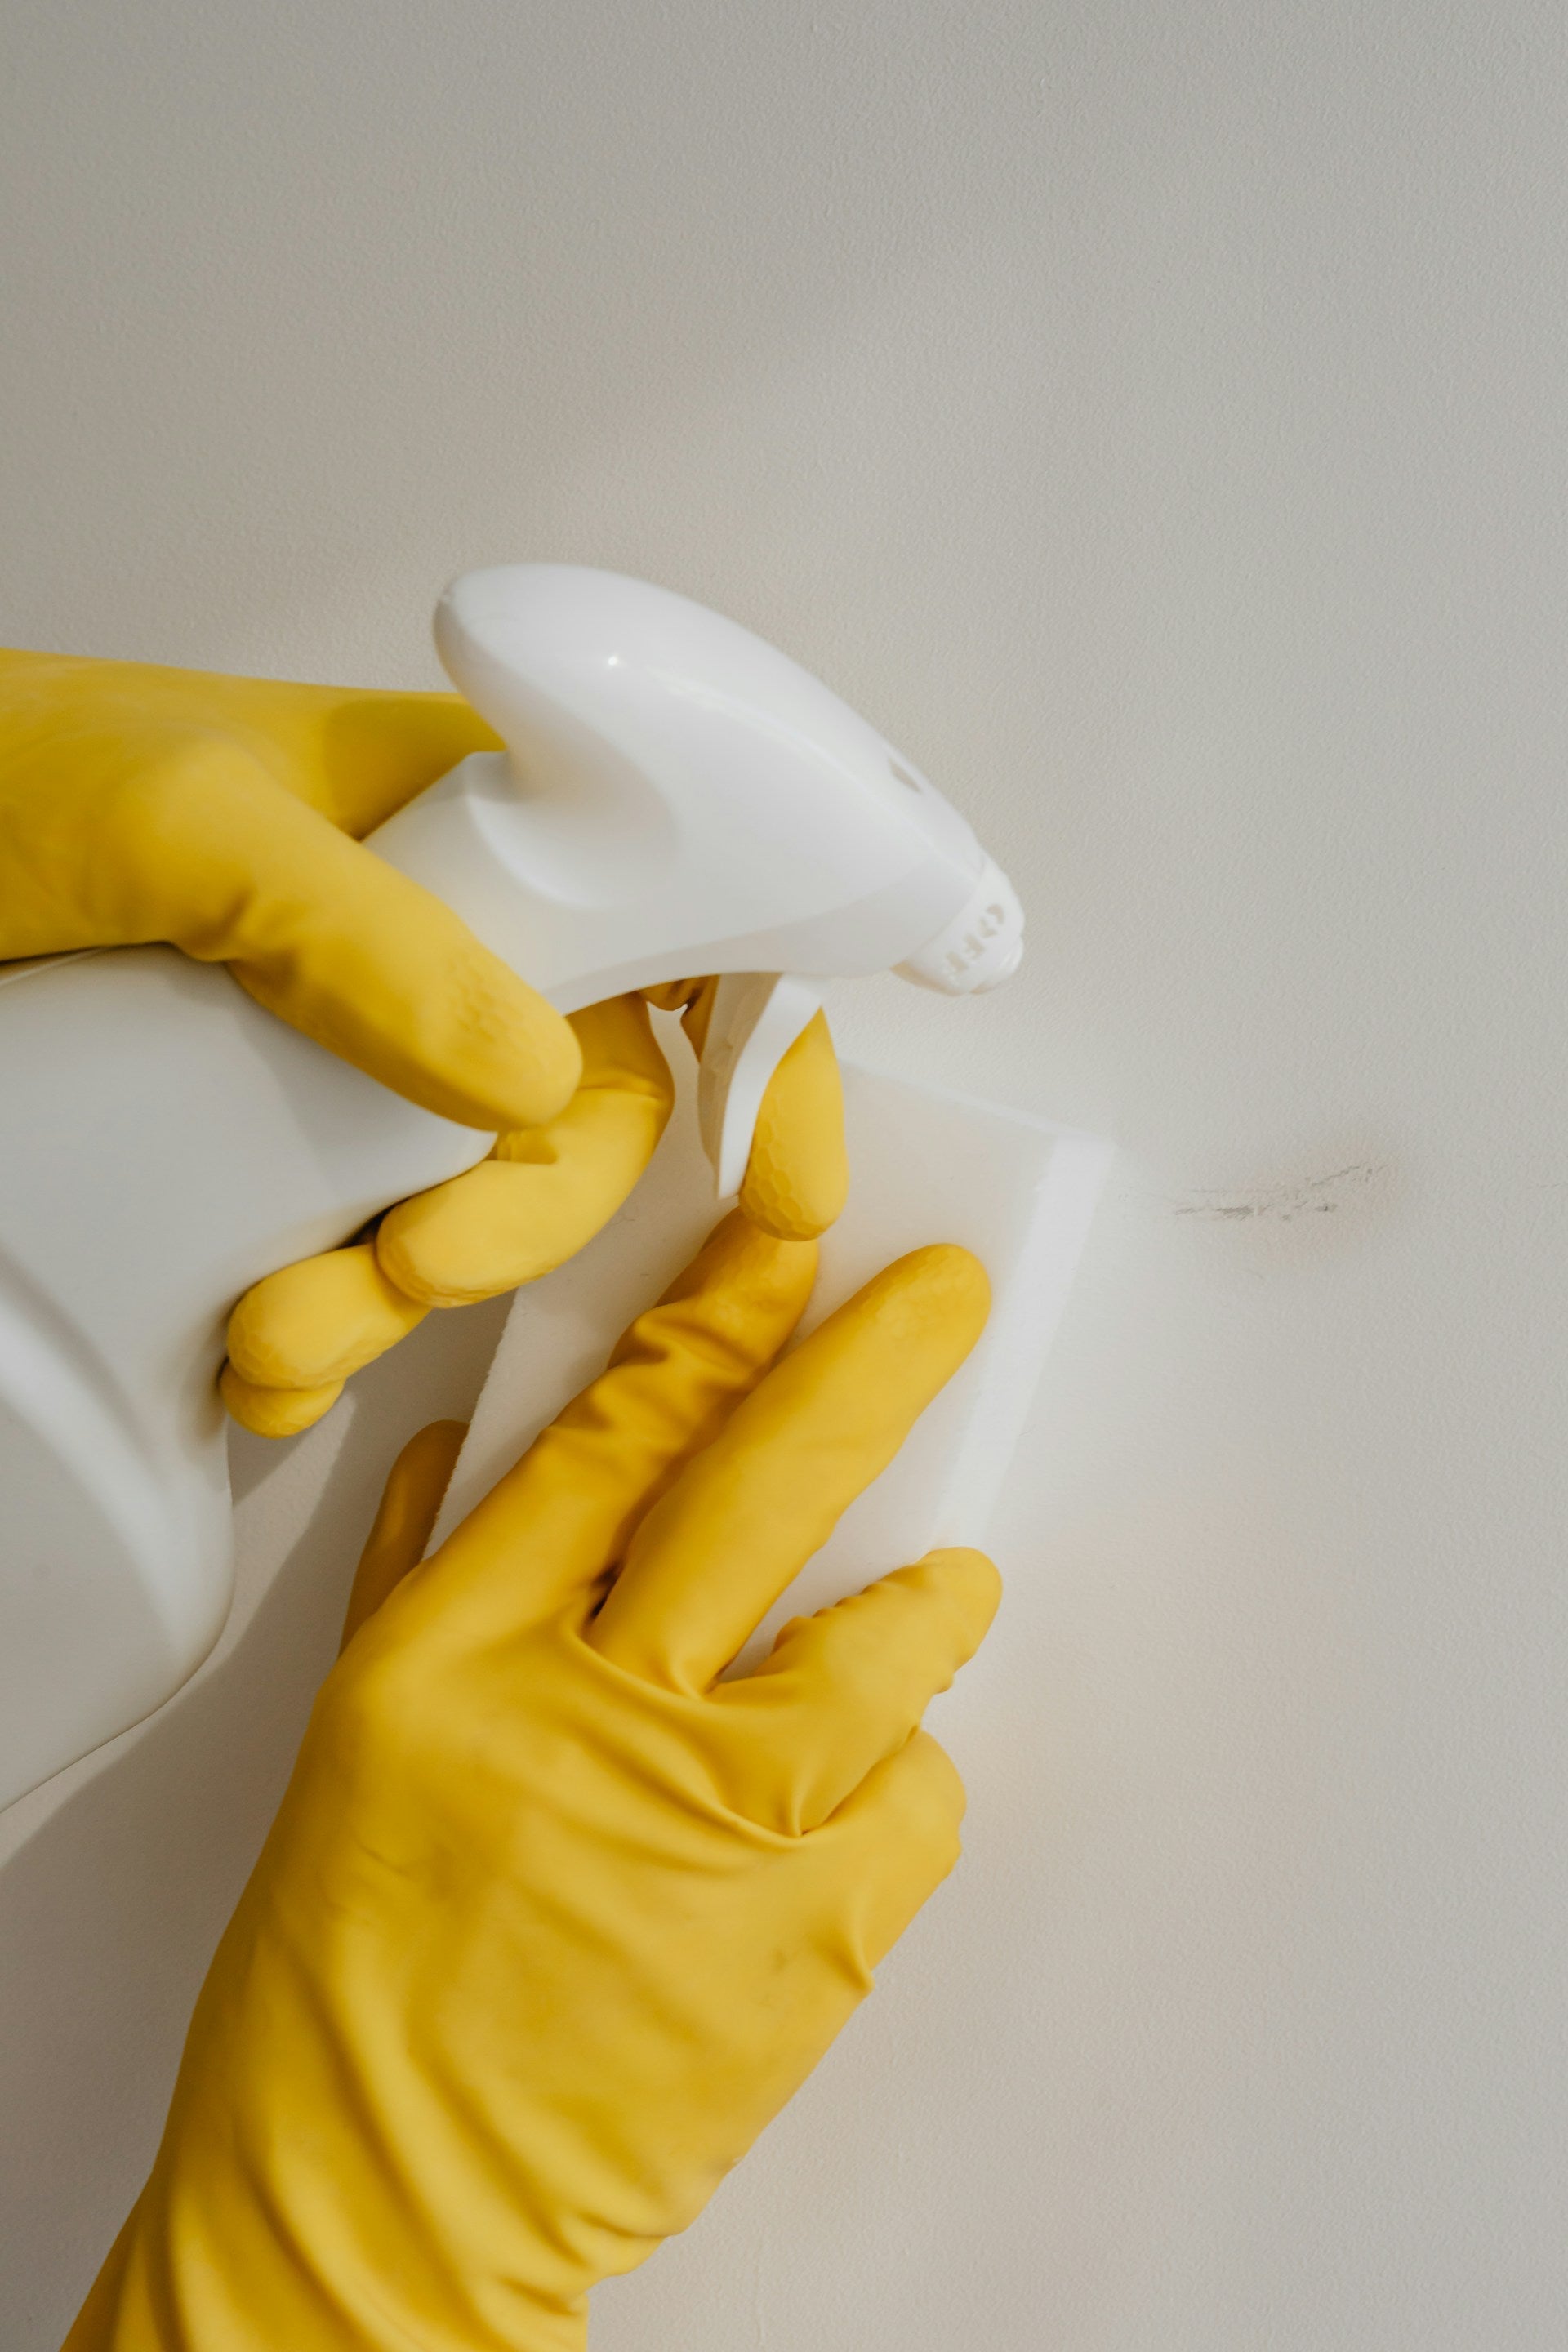
Once the refrigerator is empty, it's time to clean the interior surfaces. You have two effective cleaning solutions: warm water mixed with mild dish soap, or equal parts white vinegar and water in a spray bottle. Dampen a sponge or cloth with your chosen solution and wipe down all surfaces, including walls, shelves, and drawers.
Remove shelves and drawers (for more details, see cleaning the shelves and drawers).
Wipe the interior walls and door.
Clean the rubber gasket around the door.
Rinse with clean water to remove any soap or vinegar residue before it can transfer to food.
For areas that are harder to reach, use a toothbrush or a small brush.
Addressing Tough Stains and Odors
Tough stains and lingering odors can be a challenge. Use a mixture of baking soda and water to create a paste for stubborn stains. Apply the paste to the stained area and let it sit for a few minutes before scrubbing with a sponge.
Different stains respond to different treatments — match the cleaner to the mess:
Stain Type
What to Use
How to Apply
Juice or sauce
Baking soda mixed with water
Apply the paste thickly, let sit 10 minutes, scrub off, rinse clean
Grease
Equal-parts vinegar and water
Spray on, wipe off with a cloth
Food residue
Dish soap in warm water
Sponge down, rinse away
Colored stains
Hydrogen peroxide (3%)
Dab on the stain, wait 5-10 minutes, rinse
Always rinse treated areas with clean water afterward so no cleaning residue lingers near your food.
For odors, place an open box of baking soda in the refrigerator to absorb smells. Alternatively, you can use activated charcoal or coffee grounds in a small container.
Method
Purpose
Baking Soda Paste
Tough Stains
Open Baking Soda Box
Odor Absorption
Activated Charcoal
Odor Absorption
Coffee Grounds
Odor Absorption
Two more odor fixes: wipe the interior down with the vinegar-and-water solution — the vinegar smell dissipates and takes other odors with it — or set a few lemon or orange slices inside to mask lingering smells with a citrus aroma. If an odor keeps returning, hunt down the spoiled item causing it; deodorizers cannot outwork rotting food.
After addressing stains and odors, rinse all surfaces with clean water and dry them with a clean cloth.
These steps ensure your refrigerator is clean and fresh, ready to be reassembled and organized. For more tips on maintaining a clean refrigerator, check out Fridge.com article on regular cleaning schedule.
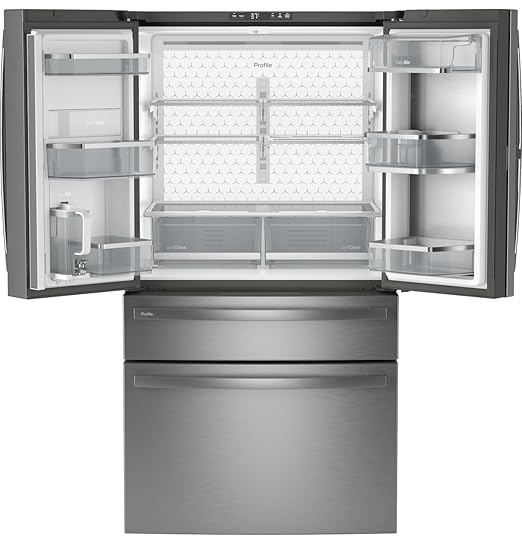
Keeping the shelves and drawers of your refrigerator clean is essential for maintaining a hygienic environment for your food. Here's a detailed guide on how to clean these components effectively.
Removing Shelves and Drawers
First, you need to remove the shelves and drawers from your refrigerator. This step makes it easier to clean them thoroughly without getting in the way of other parts of the fridge.
Empty the Contents: Remove all items from the shelves and drawers. Place perishable items in a cooler to keep them fresh.
Remove Shelves and Drawers: Carefully slide out the shelves and drawers. Most of them can be easily lifted and pulled out, but refer to your refrigerator's manual if you encounter any difficulties.
Washing and Drying Shelves and Drawers
Once you have removed the shelves and drawers, it's time to clean them. Use the following steps to ensure they are spotless and free from bacteria.
Prepare Cleaning Solution: Mix a mild dish soap with warm water in a large sink or basin.
Soak and Scrub: Place the shelves and drawers in the soapy water to soak. Use a soft sponge or cloth to scrub away any dirt, spills, or stains. For tough stains — or seriously dirty crisper drawers — let them soak for several minutes before scrubbing.
Rinse Thoroughly: Rinse the shelves and drawers with clean water to remove any soap residue.
Dry Completely: Air-dry or use a clean towel to dry the shelves and drawers thoroughly. Ensure there is no moisture left, as wet surfaces can lead to mold and bacteria growth.
Step
Description
1
Empty the contents of the shelves and drawers
2
Remove the shelves and drawers from the refrigerator
3
Prepare a cleaning solution with mild dish soap and warm water
4
Soak and scrub the shelves and drawers
5
Rinse thoroughly with clean water
6
Dry completely with a clean towel
For additional tips on maintaining your refrigerator, check out Fridge.com articles on how to clean an undercounter freezer and what should temp of refrigerator be?. Proper maintenance ensures your refrigerator runs efficiently and keeps your food safe.
After thoroughly cleaning your refrigerator, the next step is to reassemble and organize it efficiently. This will ensure that your fridge remains clean and functional.
Reassembling the Refrigerator
Start by carefully reassembling all the components you removed earlier, such as shelves and drawers. Ensure they are completely dry before placing them back to prevent mold or mildew.
Insert the Shelves: Place the shelves back in their original positions. Make sure they are securely fastened.
Replace the Drawers: Slide the drawers back into place. Ensure they glide smoothly and are properly aligned.
Component
Reassembly Steps
Shelves
Insert and secure in original positions
Drawers
Slide back, ensure smooth glide
Door Bins
Attach securely to door
Crisper Drawers
Reinsert, check alignment
Organizing Food Items
Proper organization of food items in your refrigerator can help maintain freshness and ensure easy access. Follow these guidelines for optimal arrangement:
Top Shelves: Place ready-to-eat foods like leftovers, drinks, and prepared meals.
Middle Shelves: Store dairy products such as milk, cheese, and yogurt.
Bottom Shelves: Keep raw meats and seafood in well-sealed containers to prevent cross-contamination.
Crisper Drawers: Use these for storing fruits and vegetables. Adjust humidity settings as needed.
Door Bins: Store condiments, sauces, and beverages. Avoid placing perishable items here as the temperature is less stable.
Three restocking habits keep the clean fridge working better, longer:
Use clear containers: Transparent bins let you see contents at a glance, so small items don't get lost and forgotten until they spoil.
Keep daily items at eye level: Prioritize accessibility so meal prep doesn't mean digging through every shelf.
Don't overstuff: Leave room for air to circulate — good airflow keeps food fresher longer and helps the fridge hold its temperature.
For more tips on organizing your refrigerator, check out Fridge.com article on what temperature is a fridge set at.
Section
Suggested Items
Top Shelves
Leftovers, drinks, prepared meals
Middle Shelves
Dairy products (milk, cheese, yogurt)
Bottom Shelves
Raw meats, seafood (in sealed containers)
Crisper Drawers
Fruits, vegetables (adjust humidity)
Door Bins
Condiments, sauces, beverages
By following these reassembling and organizing tips, you can ensure your refrigerator remains clean, efficient, and easy to use. For additional information on maintaining your fridge, refer to Fridge.com guide on how to clean inside of refrigerator.
Maintenance Tips
Regular Cleaning Schedule
Maintaining a clean refrigerator is essential for ensuring food safety and extending the appliance's lifespan. Establishing a regular cleaning schedule can help keep your fridge in top condition.
Cleaning Task
Frequency
Wipe Down Shelves and Drawers
Weekly
Check for Expired Items
Weekly
Deep Clean Interior Surfaces
Monthly
Clean Door Seals
Monthly
Unplug, Remove and Scrub All Removable Parts
Every 3-6 months
Defrost Freezer (if necessary)
Every 6 months
Regularly wiping down shelves and drawers can prevent spills from becoming stubborn stains. Checking for expired items weekly helps in maintaining a fresh and organized fridge. A monthly deep clean of the interior surfaces, including door seals, ensures thorough sanitation. Two or three times a year, do the full teardown: unplug the refrigerator, remove every shelf and drawer, and scrub each piece separately. If your freezer requires manual defrosting, make sure to do it every six months.
For more detailed steps on cleaning an undercounter freezer, you can refer to Fridge.com guide on how to clean an undercounter freezer.
Preventing Future Spills and Messes
Preventing spills and messes can save time and effort in the long run. Here are some tips to help you keep your refrigerator tidy:
Use Spill-Proof Containers: Store liquids and foods prone to leaking in spill-proof containers.
Label and Date Items: Label and date leftovers and perishable items to keep track of their freshness. This can prevent forgotten items from going bad and creating odors.
Organize by Category: Group similar items together, such as dairy products, vegetables, and condiments. This makes it easier to find what you need and reduces the chances of spills.
Clean Spills Immediately: Address spills as soon as they happen to prevent them from becoming difficult stains.
Line Shelves and Drawers: Use removable mats or liners in shelves and drawers. These can be easily removed and cleaned.
To further understand the ideal temperature for your fridge, visit Fridge.com guide on what temperature is a fridge set at. Keeping your refrigerator at the optimal temperature can also help in maintaining food quality and preventing unnecessary messes.
What is the best thing to clean the inside of a fridge with?
Warm water with mild dish soap, or an equal-parts mix of white vinegar and water in a spray bottle. Both cut everyday grime; for stubborn stains, a paste of baking soda and water applied for about 10 minutes does the heavy lifting. Always rinse with clean water afterward so no residue reaches your food.
Can you use vinegar to clean the inside of a refrigerator?
Yes. Mix equal parts white vinegar and water, spray it on interior walls, shelves, and the door gasket, and wipe with a microfiber cloth. Vinegar is especially effective on grease, and its smell dissipates quickly — taking other fridge odors with it. Rinse surfaces with clean water when you finish.
How do you get smells out of the inside of a fridge?
First find and discard the spoiled food causing the odor — no deodorizer can outwork it. Then place an open box of baking soda, a small container of activated charcoal, or a bowl of coffee grounds inside to absorb remaining smells. A vinegar-and-water wipe-down of all surfaces or a few slices of lemon or orange also help freshen the interior.
How often should you clean the inside of a refrigerator?
Wipe down shelves and drawers and check for expired items weekly. Deep clean the interior surfaces and door seals monthly. Every 3-6 months, remove all shelves and drawers and scrub them separately, and defrost a manual-defrost freezer every 6 months.
Do you have to unplug a refrigerator to clean it?
Not for a routine wipe-down — work quickly with the door open and the fridge running. For the periodic full teardown every 3-6 months, unplug the unit, remove all shelves and drawers, and scrub every removable part before drying and reassembling.
What removes tough stains inside a refrigerator?
Match the cleaner to the stain: a thick baking soda paste (10 minutes) for juice and sauce, an equal-parts vinegar-and-water spray for grease, warm soapy water for general food residue, and 3% hydrogen peroxide dabbed on for 5-10 minutes for colored stains. Rinse every treated spot with clean water.
How long can food sit out while you clean the fridge?
Keep dairy, meat, and poultry in a cooler with ice and finish within 1-2 hours; fruits and vegetables hold for 2-3 hours. If cleaning will run longer, move perishables to a second refrigerator or freezer.
Compare refrigerator prices on Fridge.com
Compare current prices and specifications on Fridge.com, then buy from the retailer you choose; delivery, installation and warranty terms are the retailer’s.
It also has tons of awesome articles about kitchen stuff and home news. Enhance your home, garage, backyard, patio, and office with the coolest essentials. With every necessary type of residential refrigerator or freezer in the collection, you're covered.
Frequently Asked Questions
Warm water with mild dish soap, or an equal-parts mix of white vinegar and water in a spray bottle. Both cut everyday grime; for stubborn stains, a paste of baking soda and water applied for about 10 minutes does the heavy lifting. Always rinse with clean water afterward so no residue reaches your food.