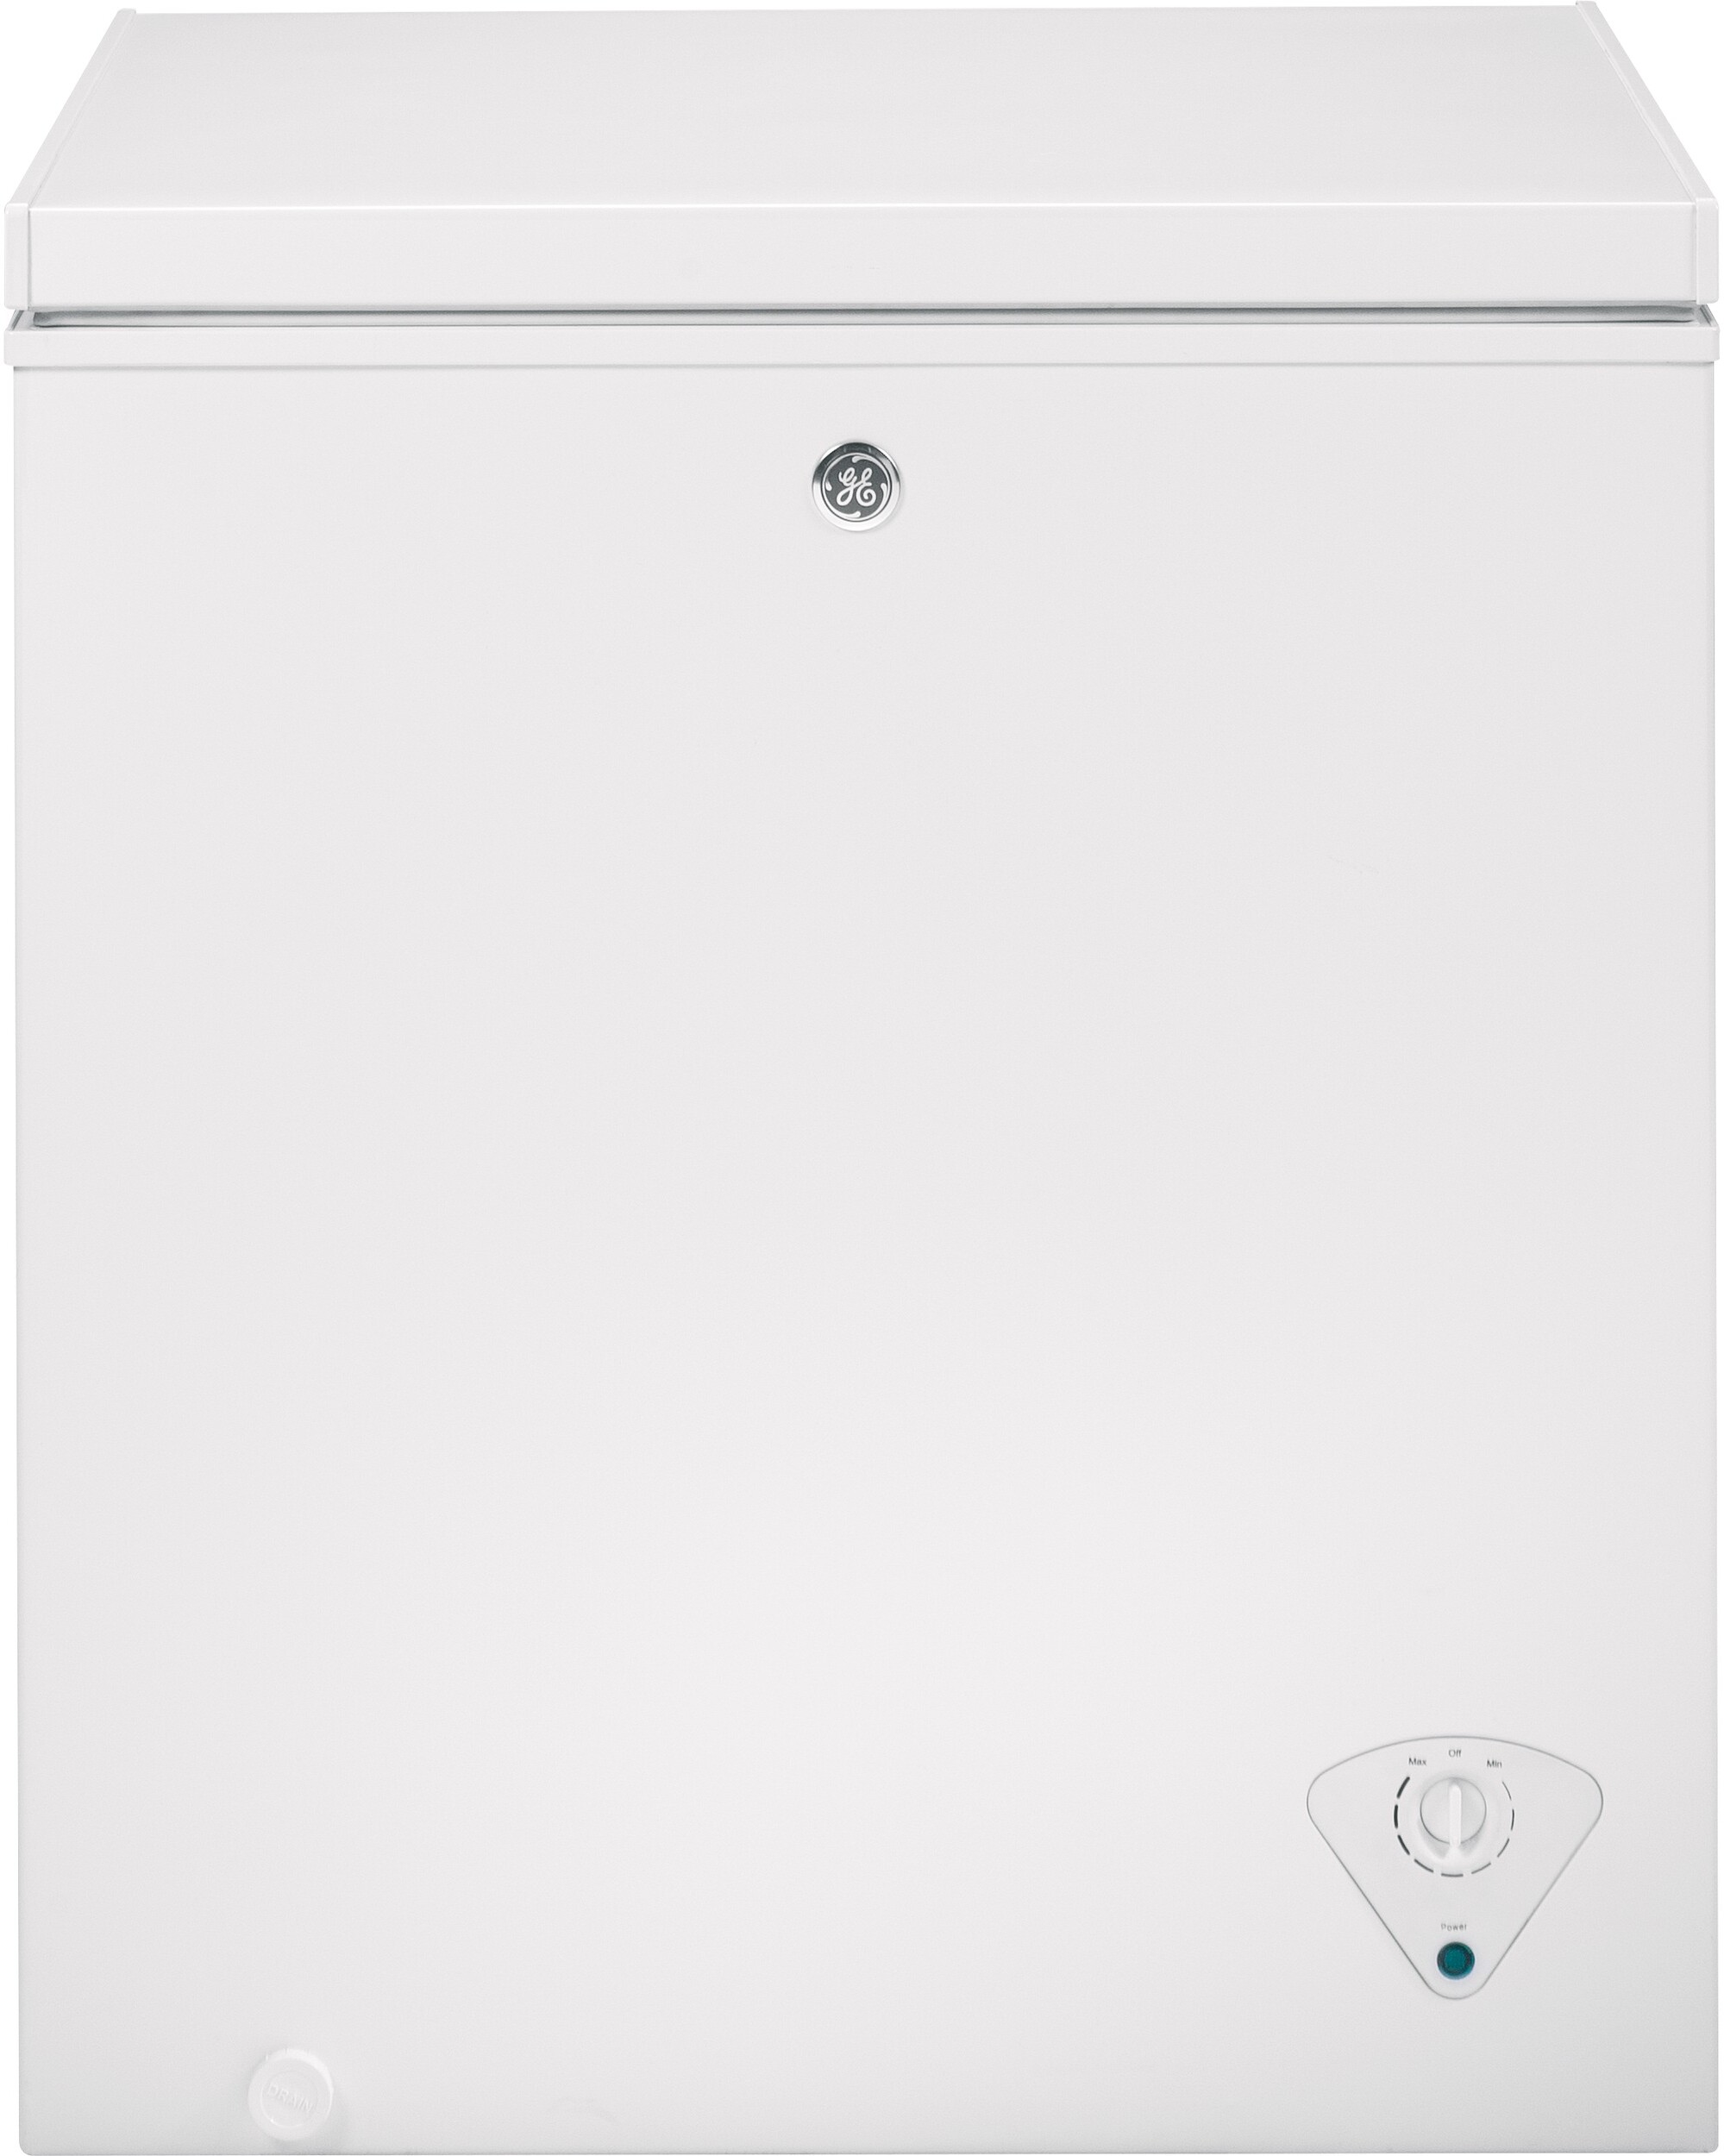
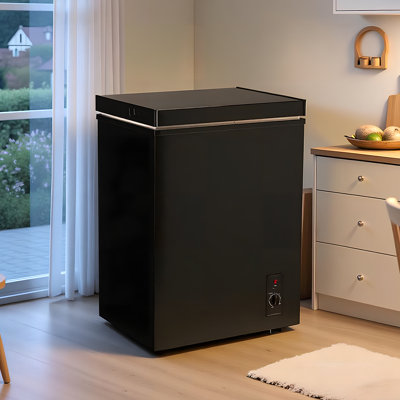
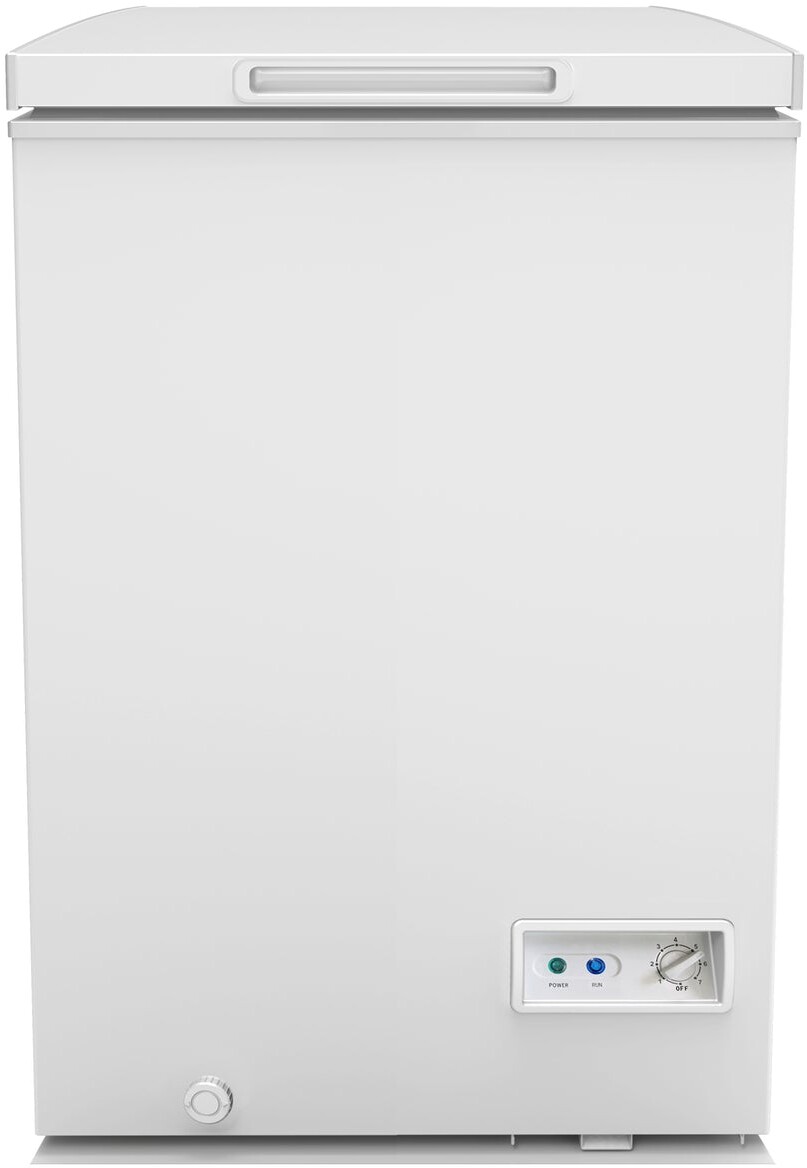
Before you start scrubbing away, make sure you have everything you need and take some safety steps.
What You’ll Need
To get your undercounter freezer sparkling clean, grab these items:
Soft cloths or microfiber towels
Sponge or scrub brush
Bucket of warm water
Mild dish soap or a gentle cleaner
Baking soda
Vinegar
Old toothbrush (for tight spots)
Towels for drying
Plastic spatula (for removing ice)
Rubber gloves (optional)
Safety First
Cleaning your undercounter freezer safely is key. Here’s how to do it:
Unplug the Freezer: Always disconnect it from the power source to avoid any shocks.
Wear Gloves: Protect your hands from cold and cleaning chemicals.
No Sharp Tools: Avoid using sharp objects to remove ice or debris to prevent damage.
Ventilation: Make sure the area is well-ventilated to avoid inhaling fumes.
Handle with Care: Be gentle when removing shelves and drawers to avoid breaking them.
With your supplies ready and safety steps in mind, you’re all set to empty and defrost your freezer. This prep work will make the cleaning process smoother. For more tips on cleaning other types of freezers, check out Fridge.com articles on how to clean a chest freezer and how to clean a built-in freezer.
Emptying and Defrosting the Freezer
First things first, you need to empty and defrost your undercounter freezer to clean it thoroughly.
Removing Items
Take everything out of the freezer and put it in a cooler or another freezer to keep it cold.
Step
Action
1
Turn off the freezer to avoid electrical hazards.
2
Remove all food items and store them in a cooler.
3
If there’s ice buildup, gently chip it away with a plastic scraper.
Defrosting
Defrosting gets rid of any ice buildup. This can take a while, so plan ahead.
Turn Off and Unplug: Start by turning off the freezer and unplugging it.
Leave Doors Open: Open the doors to let the ice melt naturally. Towels around the base can catch the water.
Speed It Up: Place bowls of hot water inside the freezer to melt the ice faster.
Remove Water: Regularly check and remove any water that accumulates.
Defrosting Method
Time Required
Natural Defrosting
4 - 8 hours
Hot Water Bowls
2 - 4 hours
Once defrosted, make sure the interior is completely dry before you start cleaning. For more detailed instructions, check out Fridge.com articles on how to clean a chest freezer and how to clean an upright freezer.
Keeping your undercounter freezer clean helps it run better and last longer. Here’s how to do it right.
Wiping Down Surfaces
Start by wiping down all the inside surfaces with a mix of mild dish soap and warm water. Use a soft cloth or sponge to avoid scratching.
Cleaning Supplies
Description
Mild Dish Soap
Gentle cleanser
Warm Water
Helps dissolve residue
Soft Cloth/Sponge
Prevents scratching
Pay extra attention to corners and crevices. For stubborn spots, let the soapy water sit for a few minutes before wiping clean. Make sure no soap residue is left by wiping down with a clean, damp cloth.
Cleaning Shelves and Drawers
Take out the shelves and drawers and clean them separately.
Remove Shelves and Drawers: Carefully take them out.
Soak in Soapy Water: Fill your sink or a large basin with warm soapy water and soak the shelves and drawers.
Scrub and Rinse: Use a soft brush or cloth to scrub away any stuck-on food or stains. Rinse thoroughly.
Dry Completely: Let them air dry completely before putting them back to prevent mold.
For tough stains, mix warm water and baking soda. This combo is gentle but effective.
Mix the Solution: Combine 2 tablespoons of baking soda with 1 quart of warm water.
Apply the Solution: Use a clean cloth or sponge to apply it to the stains.
Scrub Gently: Scrub in circular motions. For tougher stains, let the solution sit for a few minutes before scrubbing.
Rinse and Dry: Wipe with a damp cloth to remove residue, then dry with a clean towel.
Deodorizing
To keep your freezer smelling fresh, deodorize it after cleaning.
Baking Soda: Place an open box of baking soda inside to absorb odors.
Activated Charcoal: Use activated charcoal for stronger odor absorption. Place a few pieces in a small container inside the freezer.
White Vinegar: Wipe down the interior with a mix of equal parts white vinegar and water.
Deodorizing Method
Materials Needed
Effectiveness
Baking Soda
Open box of baking soda
Moderate
Activated Charcoal
Small container with charcoal pieces
High
White Vinegar
Mix of vinegar and water
High
By following these deep cleaning tips, your undercounter freezer will stay spotless and odor-free. For more detailed guidance, check out Fridge.com articles on how to clean a bottom freezer refrigerator and how to clean a compact freezer.
Don’t forget the outside of your undercounter freezer. A clean exterior keeps it looking good and running well.
Wiping Down the Outside
Unplug your freezer for safety. Use a soft cloth or sponge with a mild detergent solution to wipe down the exterior. Focus on removing dust, grime, or fingerprints. Avoid abrasive materials that could scratch the surface.
For stainless steel models, use a stainless steel cleaner for extra shine. Always follow the grain to avoid streaks.
Cleaning Material
Usage
Notes
Soft Cloth
Wiping down surfaces
Gentle on surfaces
Mild Detergent
Cleaning solution
Avoid harsh chemicals
Stainless Steel Cleaner
Polishing stainless steel
Follow the grain
Cleaning the Door Seal
The door seal (gasket) is crucial for maintaining the freezer’s temperature. Over time, it can collect dirt and debris.
Use a mix of warm water and mild detergent to clean the gasket. Gently scrub with a soft brush, getting into all the crevices. Wipe it down with a damp cloth to remove soap residue and dry thoroughly.
Regularly cleaning the door seal prevents mold and ensures a tight seal. For more tips, check out Fridge.com guide on how to clean a built-in freezer.
Keep your undercounter freezer in top shape with a regular cleaning schedule.
Task
Frequency
Wiping down surfaces
Weekly
Deep cleaning
Every 3 months
Defrosting (if manual)
Every 6 months
For detailed steps on cleaning various types of refrigerators, refer to Fridge.com guides on how to clean a compact refrigerator and how to clean a mini freezer.
Preventing Frost Buildup
Preventing frost buildup is essential for your freezer’s efficiency.
Check Door Seal: Ensure the seal is intact and free from cracks.
Avoid Overloading: Don’t overcrowd the freezer to allow proper air circulation.
Cover Food: Seal all food items properly to prevent moisture release.
Regular Defrosting: Schedule regular defrosting if your freezer requires it.
Implementing these practices will keep your undercounter freezer running smoothly. For more tips, check out Fridge.com guide on how to clean a built-in freezer.
Final Checks
Temperature Adjustment
After cleaning, set the freezer temperature to 0°F (-18°C). Use the control dial or digital display and let it stabilize for a few hours.
Temperature Setting
Ideal Range
Freezer
0°F (-18°C)
Proper temperature ensures your food stays frozen and safe. For more guidance, read about how to clean a built-in freezer.
Checking Functionality
Make sure your freezer is working correctly:
Listen for the Compressor: Ensure it’s running smoothly.
Check the Door Seal: Make sure it seals tightly.
Monitor Temperature: Use an external thermometer to confirm the internal temperature.
Examine for Frost: Ensure there’s no excessive frost buildup.
If you notice any problems, consult the user manual or a professional technician. For ongoing maintenance tips, explore Fridge.com article on how to clean a garage freezer.
By following these final checks, your undercounter freezer will be ready for use and running efficiently. For more cleaning tips, visit Fridge.com guide on how to clean a compact freezer.
Compare freezer prices on Fridge.com
Compare current prices and specifications on Fridge.com, then buy from the retailer you choose; delivery, installation and warranty terms are the retailer’s.
It also has tons of awesome articles about kitchen stuff and home news. Enhance your home, garage, backyard, patio, and office with the coolest essentials. With every necessary type of residential refrigerator or freezer in the collection, you're covered.
Free tool
Food Storage Calculator
Free interactive tool from Fridge.com — get a quick answer while you read.