Ice Machines Installation Guide
Introduction: My Experience with Ice Machines
When I jumped into the world of owning an ice machine at home, I quickly discovered its magic at my family get-togethers and friend hangouts. Who knew endless ice cubes could crank up the fun? But oh boy, did I get schooled fast—an ice machine under your roof ain't just about flipping a switch and voila. You actually gotta strategize and get all the details right.
You see, the setup is kinda like understanding a pet. You gotta know what it wants and where it wants to be. From my own escapades, I’m here to spill the beans (or should I say, ice) on making your ice machine's debut smooth and drama-free.
Understanding the Importance of Proper Installation
Get this: your ice machine isn’t just another appliance. Nail the setup bit, and you're looking at steady ice cubes that are there when you want 'em. It’s like having your own icy sidekick on speed dial.
Here's why you don't wanna mess around and just wing it:
| Thing to Keep in Mind | Why it's a Big Deal |
|---|---|
| Efficiency | Hook it up right, and you'll see those energy bills take a chill pill. |
| Ice Quality | When it's set up properly, say hello to ice that doesn’t taste like the fridge. |
| Longevity | Less breakdown, more ice parties in your future. |
| Safety | Keep things safe with solid electrical and water setup. Avoid sparks and floods. |
Botch the setup, and you might be stuck with rattling ice or worse—puddles quieter than a church mouse but costly to sort. Trust me, taking the time to set things up right from the get-go can save you a headache later. And if you're itching for more icy hacks, check out tips on organizing your freezer contents or how to make the most of freezer accessories.
As I stumbled and triumphed through my ice saga, I picked up a bagful of tips. So stick around, I’ll show you how a bit of homework up front leads to ice-box bliss.
Preparing for Installation
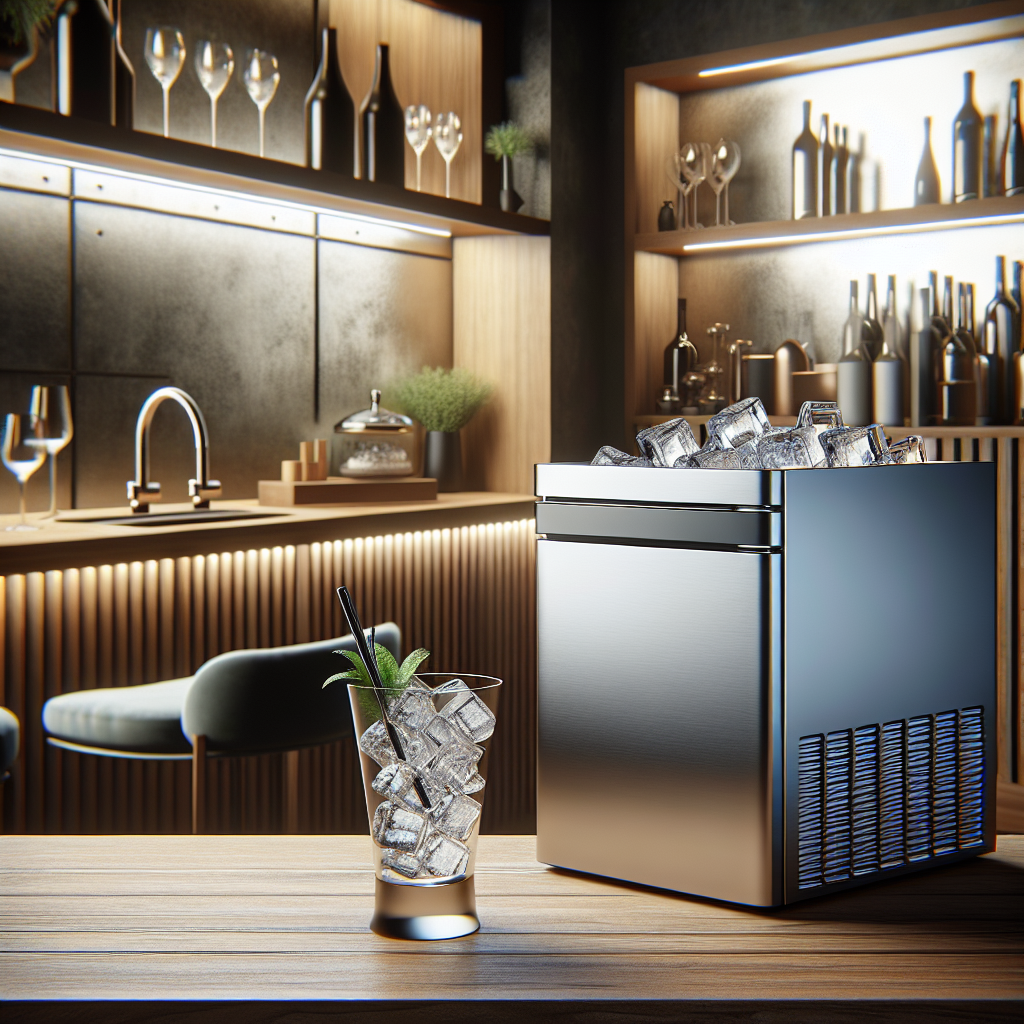
Getting set up for an ice machine at home is like getting a personal glacier - a chill treasure trove waiting to be tapped. When I got mine, I noticed picking the right spot and making sure it could breathe easy was a game-changer.
Selecting the Right Location
Picking a killer spot for your ice machine is half the battle won. Make it handy and happy, and you're golden. Here's what you should keep in mind:
| Factor | Tips |
|---|---|
| Accessibility | Park it close to where you’ll most often use the ice—like the kitchen island or wet bar. |
| Plumbing | A water hookup nearby saves a lot of future headaches. |
| Stability | Flat and steady wins the race—no one likes a tipping ice tower! |
| Protection | Not in the sun's glare or in places with mood swings in temperature. |
Smart placement means your ice buddy works like a champ every time.
Ensuring Proper Ventilation and Space Requirements
Breathing room—that’s what every ice machine needs to keep its cool. Avoid heat hang-ups with these tips:
- Leave Space Around the Machine: Keep a few inches on all sides for letting air do its thing.
- Check Manufacturer Guidelines: Always glance over the manual for clearance quirks. Some might have unique space rules.
- Avoid Crowded Areas: Don't sandwich your ice maker with heat-loving friends—like ovens or dryers.
By giving your machine enough airflow, you'll keep it running smoothly and lasting like your grandma's vintage fridge. Check out our stackable fridge storage guide if you're planning a kitchen revamp.
In a nutshell, my aim was always to fit my ice machine into my home's flow, without sacrificing a sound setup or style.
Installation Steps
Getting your ice machine up and running can really jazz up your parties (who doesn’t love a cold drink?). Follow my steps, and you’ll be cooling those beverages in no time.
Unpacking and Inspecting the Ice Machine
First things first, I unwrap the ice machine like it’s a present on my birthday. Carefully tossing aside the packaging, keeping an eye out for any bumps or bruises from delivery. In my manual, I jot down a quick checklist:
| What's to Check | How I Do It |
|---|---|
| Dents or Dings | Peek for scratches or dents |
| Got Goods? | Make sure all the bits and bobs are there (hoses, connectors) |
| Handy Manual | Did I get the installation guide? |
| Model Maker | Is it what I ordered? |
Once I tick off all the boxes, I grab a comfy seat and flip through the installation guide. Knowing the ins and outs saves me a headache later.
Connecting the Water Supply
Hooking up the water supply is like the lifeline for my ice machine. Here’s my play-by-play:
- Spot the Cold Line: I look around for a cold water line nearby.
- Water Off: Spin that faucet to stop the flow before doing any work.
- Tighten the Connector: With the supplied connector, I latch the water line to the machine. Firm twists keep the water where it belongs.
Nervous about the pipes? No shame in calling in the pros. Getting the water to flow right is key for my machine’s marathon ice-making sessions.
Powering Up the Ice Machine
All hooked up with water, I’m ready to give my ice box some juice:
- Plug and Play: I slot the plug into a suitable outlet, double-checking the voltage—manual doesn’t lie!
- Fire It Up: I push the power button, usually on a cool control panel.
- Get Set: Some machines need a little configuration, like picking how chunky I want the ice.
After flipping the switch, I chill (literally) while the machine warms up. I listen for a beep or look for a light to tell me it’s ready to start chucking out cubes.
By sticking to these steps, my ice machine’s performance hits the bullseye. Curious about making the most of your machine? Check out tips on optimal ice production.
Testing and Troubleshooting
After wrangling that ice machine into place, I like to put it through its paces right off the bat. Catching any hiccups now means less stress and more chill later.
Conducting Initial Testing
Once I've flipped the switch and water’s ready to roll, I dive into some simple tests to check the basics:
- Water Flow: Gotta see that water's cruising into the machine like it owns the joint.
- Ice Production: I keep an eye on how long it takes to crank out that first batch of ice cubes.
- Temperature Settings: Double-check those chilly settings are just right.
- Noise Level: Listen for any funky sounds that might be a cry for help.
To make sure I don't miss a beat, here's a handy checklist:
| Test Component | Expected Outcome | Action If Failure |
|---|---|---|
| Water Flow | Steady and non-stop | Check the water line |
| Ice Production | Ready in 1-2 hours | Give the machine a once-over |
| Temperature Setting | Nice and frosty | Tweak those dials |
| Noise Level | Quiet as a church mouse | Time to play detective |
Troubleshooting Common Installation Issues
Even if I’ve been thorough, things can still go haywire. Here's how I tackle some usual suspects:
| Issue | Possible Cause | Solution |
|---|---|---|
| No ice on the way | Water supply on the fritz | Reconnect those water lines |
| It's squeaky city | Parts strut their stuff too loud | Tighten up those parts, or call for backup |
| Puddles on the floor | A leak in the connections | Seal those connections or try again |
| Ice cubes got a funky smell | Something’s up with the water or machine | A good scrub and a fresh water line should do it |
If none of my tinkering does the job, I crack open that user manual or give a service tech a holler. And if you fancy some tips on keeping other gear in top shape, check out my piece on how to keep coffee liqueur fresh in the freezer. Spoiler: clean and functional is the way to go.
By nailing these tests and fixes, I can rest easy, sipping iced drinks with friends and family without a care in the world.
Maintenance and Care
Keeping my ice machine humming smoothly is key to making sure it churns out top-notch ice. Here are my favorite tips for cleaning, maintaining, and keeping it running longer than the energizer bunny.
Cleaning and Maintenance Tips
Cleaning your ice machine regularly is like brushing your teeth—skip it, and things get gross fast. Depending on how much ice you're cranking out, I suggest putting a cleaning routine in place every month to three months. Here’s my cleaning game plan:
| Task | How Often |
|---|---|
| Empty and scrub the bin | Once a month |
| Tidy up surfaces | Every week |
| Big scrub (deep clean) | Every 3 months |
- Bin blitz: Chuck any old ice to keep it fresh and clean.
- Surface swipe: Grab some mild soap and give the outside and inside a quick wash.
- Deep dive: Bust out the manufacturer's guide and follow their steps to descale and sanitize. For those who like more profound cleaning methods, don't miss our write-up on how to keep coffee liqueur fresh in the freezer.
Ensuring Longevity and Efficiency
Keeping my ice machine in mint condition isn’t rocket science. Here are some simple tips that I follow like gospel:
| Tip for Maintenance | What's in It for You |
|---|---|
| Give it Room to Breathe | Stops it from overheating |
| Swap out water filters | Ensures tasty, clean ice |
| Peek under the hood regularly | Catches issues before they boom |
- Breathing space: Clear any stuff cluttering around the machine so air can flow free.
- Water filter swap: Got a filter? Make sure you’re popping in a new one as often as it says on the schedule.
- Inspect the bits and bobs: Regularly eyeball hoses, fixtures, and other parts to spot wear and tear early. It’s way cheaper and less of a hassle in the long run.
Following these steps keeps my ice game strong and my machine from calling it quits early. P.S., for those looking to kick their ice game up a notch, check out our feature on installation of ice machines and become the ice kingpin of your block.
Enjoying Your Ice Machine
When I first set up my ice machine at home, I didn't expect how handy it would become. I've picked up some nifty tricks to get the best out of it and discovered the many perks that come with having an ice machine in my own kitchen.
Tips for Optimal Ice Production
Here are some of my go-to strategies to keep the ice flowing:
| Tip | Description |
|---|---|
| Regular Cleaning | Scrubbing the ice machine regularly keeps it humming along and the ice tasting fresh. Check out freezer accessories for cleaning tools that work wonders. |
| Maintain Water Quality | Switching to filtered water has been a game-changer in taste and clarity. I can't believe the difference it makes. |
| Monitor Temperature | Keeping tabs on the temperature settings makes sure everything's running like a champ. Curious about the best settings? Take a peek at fridge freezer temps. |
| Avoid Overloading | I make sure there's always room for the ice to do its thing without overflowing the bin. Each machine's got its quirks, so following the manual is smart. |
These little hacks help me keep the ice looking great and ready to cool our drinks any time.
Benefits of Having an Ice Machine at Home
An ice machine at home has upped my hosting game and keeps things easy daily. Let me fill you in on how:
-
Always-Ready Ice: No more mad dashes to the store for ice bags. It's there when I need it, perfect for parties or just a chilled drink after a long day.
-
Party Game Changer: Parties are more fun with endless ice for drinks. Whether it’s cocktails or iced tea, I’ve got everybody’s preferences covered.
-
Cool for Cooking: Ice isn't just for drinking; it helps in the kitchen too! Whether it's whipping up frozen espresso shots for DIY iced lattes or keeping snacks cold, it's versatile.
-
Kitchen Cool Factor: Having an ice machine adds a touch of class and convenience, making my kitchen a fun place for everyone to hang out.
Owning an ice machine has been an awesome upgrade, making everyday life and special get-togethers smoother and cooler.