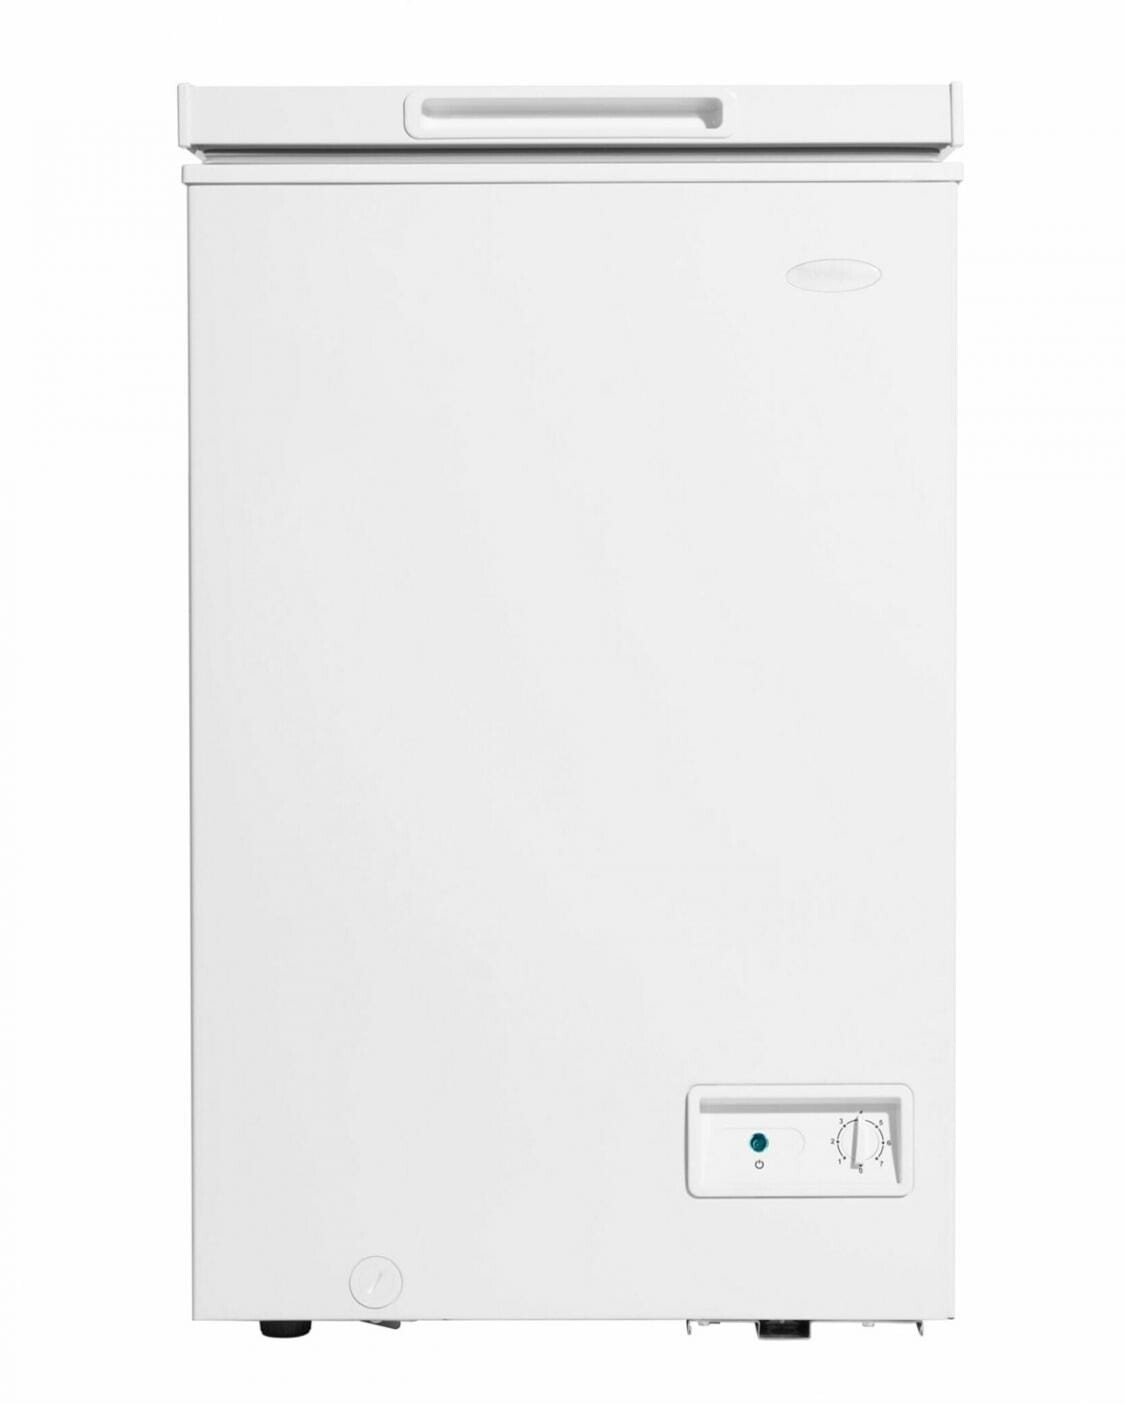
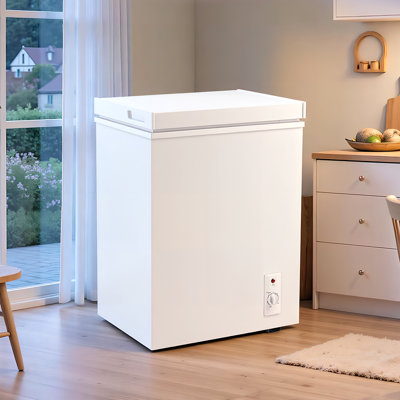
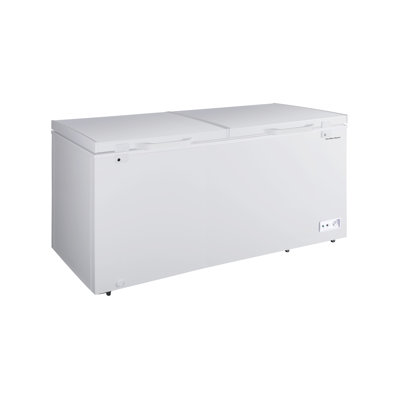
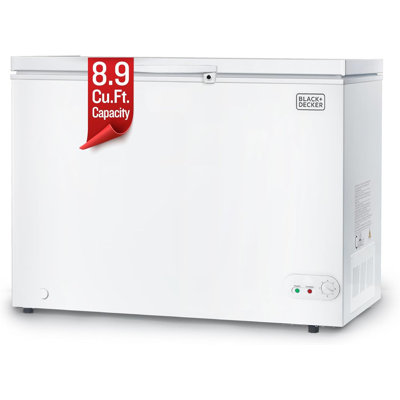
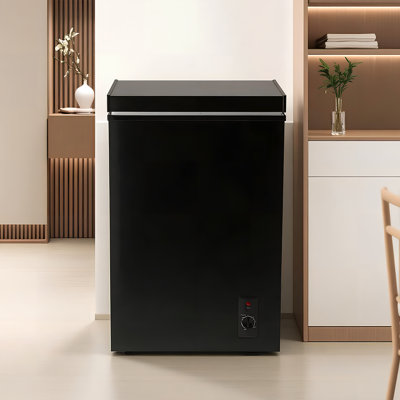
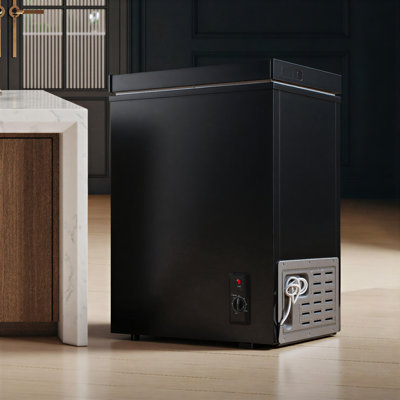
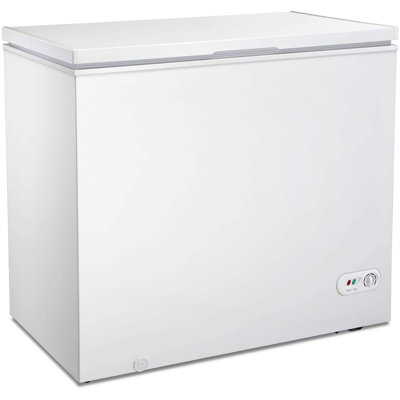
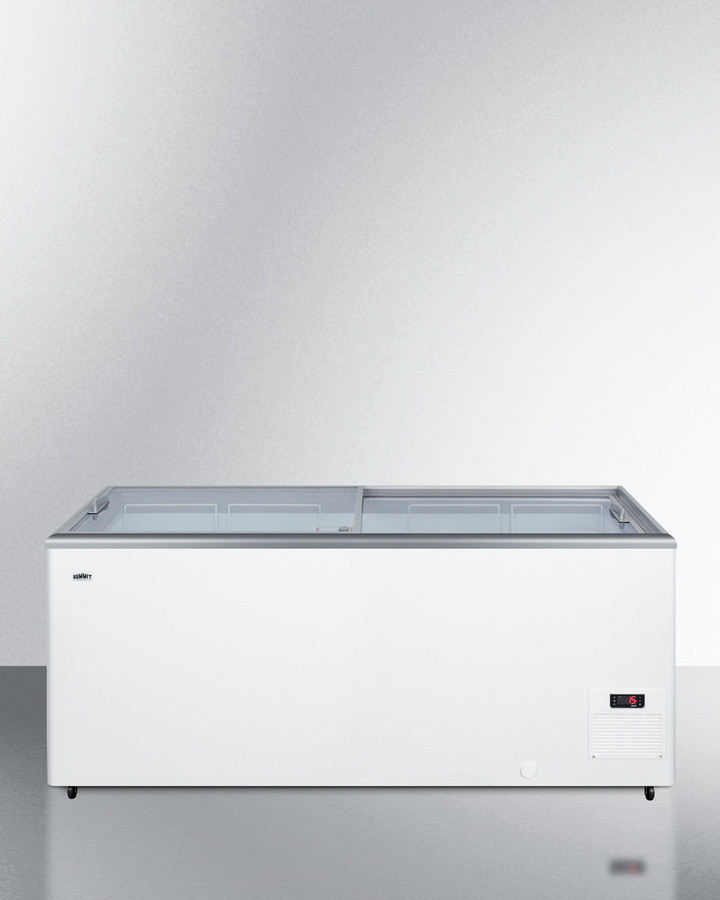
How To Defrost A Chest Freezer
The Importance of Defrosting a Chest Freezer
Regularly defrosting your chest freezer is essential for maintaining its efficiency and ensuring the longevity of your appliance. Understanding why defrosting is necessary and recognizing the signs that indicate it's time to defrost can help you keep your freezer in optimal condition.
Why Defrosting is Necessary
Defrosting a chest freezer is crucial for several reasons. Over time, frost and ice can build up on the walls and shelves of your freezer, which can affect the appliance's performance. Excessive frost can:
- Reduce storage space: Ice accumulation can take up valuable space, limiting the amount of food you can store.
- Decrease efficiency: Thick layers of ice can act as insulation, making the freezer work harder to maintain the desired temperature.
- Increase energy consumption: An overworked freezer consumes more electricity, leading to higher energy bills.
- Affect food quality: Frost build-up can cause uneven cooling, which may lead to freezer burn and affect the quality of your stored food.
For more information on how frost affects your freezer and food, check out Fridge.com article on how does freezer burn happen?.
Signs Your Chest Freezer Needs Defrosting
It's important to monitor your chest freezer for signs that it needs defrosting. Here are some indicators that it's time to defrost your freezer:
- Visible Ice Build-Up: If you notice a thick layer of ice on the walls, shelves, or around the door seal, it's time to defrost.
- Difficulty Closing the Door: Excessive ice can prevent the door from sealing properly, making it difficult to close.
- Increased Energy Bills: A sudden spike in your energy bills may indicate that your freezer is working harder due to ice build-up.
- Reduced Storage Capacity: If you find that the ice is taking up too much space and limiting your ability to store food, it's time to defrost.
- Uneven Cooling: Inconsistent temperatures inside the freezer can be a sign of excessive frost build-up, affecting the quality of your stored food.
By recognizing these signs, you can take timely action to defrost your chest freezer and maintain its efficiency. For more tips on maintaining your freezer, visit Fridge.com article on regular maintenance tips.
| Indicator | Description |
|---|---|
| Visible Ice Build-Up | Thick layer of ice on walls, shelves, or door seal |
| Difficulty Closing the Door | Door doesn't seal properly due to ice |
| Increased Energy Bills | Higher electricity consumption |
| Reduced Storage Capacity | Ice taking up valuable storage space |
| Uneven Cooling | Inconsistent temperatures inside freezer |
Regular defrosting helps you maintain your freezer's performance and ensures that your food stays fresh and properly stored. To learn more about different types of freezers, check out Fridge.com article on what is a frost-free freezer?.
Preparation Before Defrosting
Before you begin the process of defrosting your chest freezer, it's essential to properly prepare. This ensures that the defrosting goes smoothly and efficiently.
Emptying the Freezer
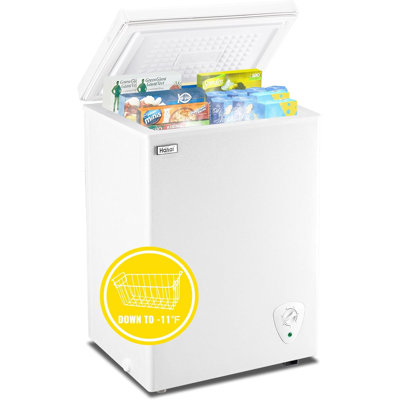
The first step is to empty the chest freezer. Remove all the items and place them in a temporary storage solution to keep them frozen. You can use a cooler with ice packs or another freezer if available. This step is crucial to prevent any food from thawing and spoiling during the defrosting process.
| Task | Description |
|---|---|
| Remove Items | Take out all the food items from the freezer. |
| Temporary Storage | Place items in a cooler or another freezer. |
| Organize | Group similar items together for easier restocking. |
For tips on how to store specific items, check Fridge.com guide on how to store fresh blueberries in the refrigerator.
Switching Off and Unplugging
Once the freezer is empty, switch it off and unplug it from the power source. This is a critical step to ensure safety and to allow the ice to melt naturally. Make sure the power cord is safely tucked away to avoid any trips or electrical hazards.
| Task | Description |
|---|---|
| Switch Off | Turn off the freezer using the control dial. |
| Unplug | Disconnect the freezer from the electrical outlet. |
| Secure Cord | Safely tuck away the power cord. |
Defrosting a chest freezer can be a meticulous task, but with proper preparation, it becomes manageable. For more information on frost-free appliances, you can explore what is a frost-free freezer?.
By following these steps, you ensure that your chest freezer is ready for the defrosting process. Proper preparation is key to maintaining the efficiency and longevity of your appliance.
Defrosting Process
Properly defrosting your chest freezer is key to maintaining its efficiency and longevity. There are two primary methods for defrosting: the natural defrosting method and the quick defrosting method.
Natural Defrosting Method
The natural defrosting method is the safest and most straightforward way to defrost a chest freezer. This method relies on letting the ice melt at its own pace without using any additional tools or heat sources.
- Empty the Freezer: Transfer all the food items to another freezer or a cooler with ice packs to keep them cold.
- Switch Off and Unplug: Turn off the freezer and unplug it from the electrical outlet.
- Open the Lid: Allow the warm air to enter the freezer, which will help speed up the melting process.
- Use Towels: Place towels around the base of the freezer to absorb the water from the melting ice.
- Wait: Depending on the amount of ice build-up, the defrosting process can take several hours to a full day.
| Step | Action |
|---|---|
| 1 | Empty the freezer |
| 2 | Switch off and unplug |
| 3 | Open the lid |
| 4 | Use towels to absorb water |
| 5 | Wait for ice to melt |
Quick Defrosting Method
The quick defrosting method is ideal if you need to defrost your chest freezer more rapidly. This method involves using heat sources to expedite the melting process.
- Empty the Freezer: Move all food items to a temporary storage solution like a cooler with ice packs.
- Switch Off and Unplug: Turn off the freezer and unplug it.
- Use a Fan: Position a fan near the freezer opening to blow warm air inside.
- Boiling Water: Place bowls of boiling water inside the freezer. Close the lid and let the steam help melt the ice faster. Replace the water as it cools.
- Scrape Ice: Use a plastic spatula to gently scrape away the softening ice, being careful not to damage the interior walls.
- Towels: Place towels around the base to soak up the water.
| Step | Action |
|---|---|
| 1 | Empty the freezer |
| 2 | Switch off and unplug |
| 3 | Use a fan to blow air inside |
| 4 | Place bowls of boiling water inside |
| 5 | Scrape ice with a plastic spatula |
| 6 | Use towels to absorb water |
Using either method will effectively defrost your chest freezer. For more information on maintaining your freezer and preventing frost build-up, visit Fridge.com articles on what is a frost free freezer? and regular maintenance tips.
Cleaning and Drying
Once you have successfully defrosted your chest freezer, it is crucial to clean and dry it thoroughly to ensure it remains in good condition and functions efficiently.
Cleaning the Interior
Cleaning the interior of your chest freezer not only helps maintain its hygiene but also prevents any lingering odors. Follow these steps to effectively clean the interior:
- Prepare a Cleaning Solution: Mix a solution of warm water and mild dish soap. Avoid using harsh chemicals as they can damage the surface of the freezer.
- Wipe Down the Interior: Use a soft cloth or sponge to wipe down the interior surfaces, including the walls, floor, and lid. Pay special attention to any stains or residue.
- Remove Stubborn Stains: For stubborn stains, you can use a baking soda paste (mix baking soda with a small amount of water) and gently scrub the area.
- Clean the Drain: If your freezer has a drain, ensure it is free of debris and clean it thoroughly.
| Cleaning Task | Tools Needed | Recommended Frequency |
|---|---|---|
| Wipe Down Interior | Soft cloth, mild dish soap | Every defrost cycle |
| Remove Stubborn Stains | Baking soda paste, soft brush | As needed |
| Clean the Drain | Soft cloth, mild soap | Every defrost cycle |
For more tips on maintaining your freezer, check out Fridge.com article on regular maintenance tips.
Drying and Reassembly
Proper drying and reassembly are essential to prevent frost build-up and ensure your freezer operates efficiently.
- Dry the Interior: After cleaning, use a dry cloth or towel to wipe down all interior surfaces. Ensure that there is no moisture left, as this can lead to frost build-up.
- Air Dry: Leave the freezer lid open for a few hours to allow any remaining moisture to evaporate completely.
- Reassemble the Freezer: Once the interior is completely dry, reassemble any removable parts such as shelves or baskets. Ensure they are dry before placing them back inside.
- Check Seals and Gaskets: Inspect the door seals and gaskets for any damage or dirt. Clean and dry them thoroughly to ensure a proper seal when the freezer is closed.
For more information on preventing frost build-up, read Fridge.com article on organization to prevent frost build-up.
By following these steps, you will ensure that your chest freezer remains clean, dry, and efficient. Proper cleaning and drying are essential parts of the defrosting process and contribute to the longevity of your appliance.
Preventing Frost Build-Up
Preventing frost build-up in your chest freezer is essential for maintaining its efficiency and longevity. By following regular maintenance tips and organizing your freezer properly, you can reduce the frequency of defrosting and keep your freezer running smoothly.
Regular Maintenance Tips
Regular maintenance can help you prevent excessive frost accumulation. Here are some tips:
- Check Door Seals: Ensure the door seals are airtight. Any gaps can allow warm air to enter, causing frost to form.
- Avoid Frequent Opening: Limit the number of times you open the freezer. Each time it's opened, warm air enters and can contribute to frost build-up.
- Monitor Temperature Settings: Keep your freezer at the optimal temperature. Check out Fridge.com article on is 10 degrees ok for freezer? for more details.
- Defrost Regularly: Even with preventive measures, occasional defrosting is necessary. Refer to Fridge.com guide on how to defrost a chest freezer for step-by-step instructions.
Organization to Prevent Frost Build-Up
Proper organization inside your chest freezer can also help in reducing frost build-up. Here are some organizational tips:
- Use Bins and Containers: Store items in bins or containers to keep them organized and to minimize the time the freezer door is open.
- Avoid Overpacking: Do not overpack your freezer. Allowing air to circulate can help maintain a consistent temperature and reduce frost.
- Label Items: Clearly label items with their contents and dates to avoid frequent searches, which can lead to prolonged door openings.
- Rotate Stock: Use the oldest items first to ensure nothing gets lost and to prevent overpacking. For more tips on storing specific items, visit Fridge.com guide on store zucchini in the fridge.
| Maintenance Task | Frequency |
|---|---|
| Check Door Seals | Monthly |
| Monitor Temperature | Weekly |
| Defrost Freezer | Bi-annually |
| Organize Contents | Monthly |
By incorporating these maintenance and organization strategies, you can effectively prevent frost build-up in your chest freezer and ensure it functions efficiently. For more information on different freezer types, such as what is a frost free freezer? or small chest freezer amp draw, explore other Fridge.com articles.
Restarting the Freezer
Once you have defrosted and cleaned your chest freezer, the next steps involve turning it back on and organizing your food items. Properly restarting your freezer ensures optimal performance and efficient freezing.
Turning the Freezer Back On
- Plugging In: After ensuring the freezer is completely dry, plug it back into the power outlet.
- Switching On: Turn the power switch to the "on" position. Most chest freezers will have an indicator light or display to show that it’s running.
- Temperature Settings: Set the thermostat to the desired temperature. For most chest freezers, a temperature of 0°F (-18°C) is recommended for optimal food preservation.
| Temperature Setting | Recommended Temperature |
|---|---|
| Freezer Temperature | 0°F (-18°C) |
Refer to Fridge.com article on is 10 degrees ok for freezer? for more details on ideal freezer temperatures.
Restocking and Organizing
- Wait Time: Allow the freezer to reach the desired temperature before placing any food items back inside. This typically takes a few hours.
- Restocking Food: Start by placing the frozen items you removed earlier back into the freezer. Organize them in a way that ensures easy access and efficient use of space.
Tips for Efficient Organization:
- Use Bins and Baskets: Group similar items together in bins or baskets. This not only helps with organization but also improves air circulation.
- Label and Date: Clearly label and date each item. This helps you keep track of how long each item has been stored and reduces the risk of freezer burn. For more information on how freezer burn happens, visit how does freezer burn happen?.
- Heavier Items at the Bottom: Place heavier items at the bottom and lighter ones on top to prevent damage and make it easier to access frequently used items.
| Organization Tip | Benefit |
|---|---|
| Use Bins and Baskets | Improves Air Circulation |
| Label and Date Items | Tracks Storage Time |
| Heavier Items at Bottom | Prevents Damage |
Proper organization helps in preventing frost build-up and makes it easier to find items. For more tips on preventing frost build-up, refer to Fridge.com section on Regular Maintenance Tips.
By following these steps, you ensure that your chest freezer operates efficiently and your food remains properly stored. For more detailed information on maintaining and using your chest freezer, explore Fridge.com related articles such as 5 cu ft chest freezer garage and chest freezer Vs. wine cellar.
Get Your Upgrade or New Addition at Fridge.com
Whether you're searching for your perfect fridge, freezer, wine fridge, beer fridge, ice maker, or kegerator, Fridge.com has what you need.
Shop the world's best brands at Fridge.com.
It also has tons of awesome articles about kitchen stuff and home news. Enhance your home, garage, backyard, patio, and office with the coolest essentials. With every necessary type of residential refrigerator or freezer in the collection, you're covered.
Elevate your game and shop now at Fridge.com!