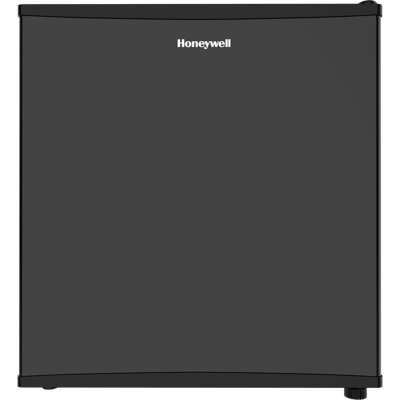
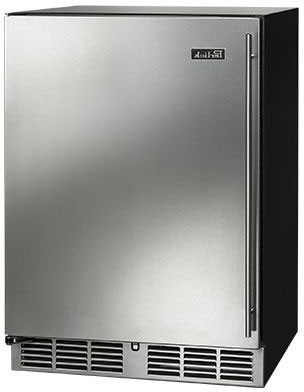
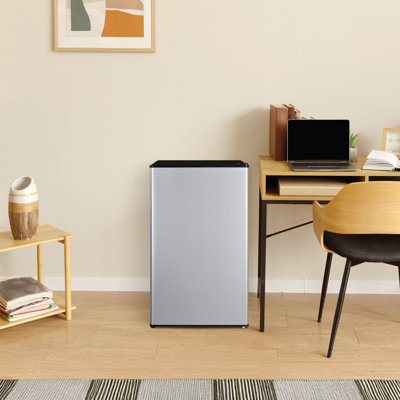
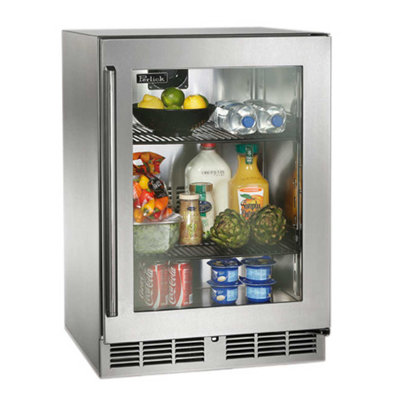
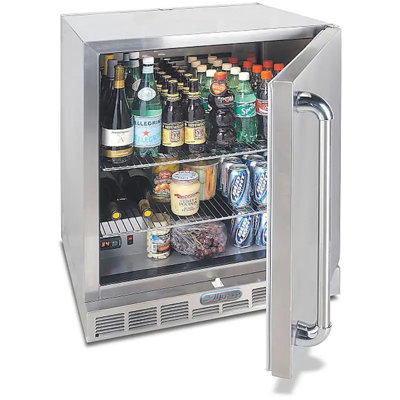
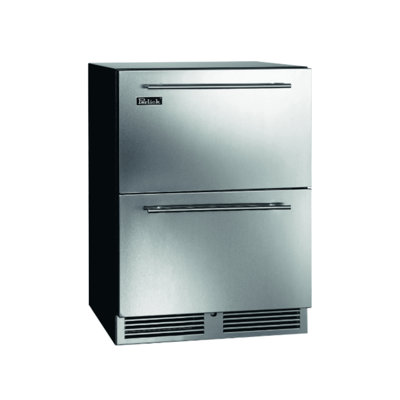
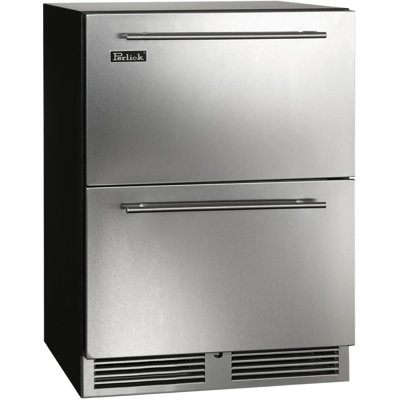
Introduction to Sprucing Up Your Mini Fridge
Why Keeping Your Mini Fridge Pristine Matters
Keeping your mini fridge sparkling and tidy is vital for a bunch of reasons. First off, it keeps the little guy running longer and working like a charm. Less grime means no rust or funky smells, thanks to fewer spills and less moisture chillin' around. Plus, a clean fridge makes sure your yummy snacks taste just as they should—fresh and unspoiled.
And let's face it, a gleaming mini fridge can totally up your style game. Perfect if you're showing off your culinary skills to friends, family, or your Instagram followers as a momfluencer or foodie. A beautiful fridge can transform your kitchen or any hangout spot, making it a nicer place to be for everyone involved.
How to Get Your Mini Fridge Shiny
If you want your fridge to sparkle, there’s a bit of a game plan to follow. The process usually includes getting the fridge ready, picking the best polish products, applying them, and sticking to a regular cleaning schedule.
-
Getting Ready: Before diving into the greasy work, take some precautions and make sure the fridge is free from dust, sticky spots, or leftover food goo.
-
Picking the Right Polish: Choose your cleaning products wisely—make sure they’re good for metal and won’t mess up your fridge’s finish.
-
Polishing to Perfection: Spread that polish evenly to bring out the shine. You might need some special tools or methods that suit your fridge's surface best.
-
Keep It Up: After polishing, keep the sparkle alive by regularly maintaining your fridge. Knowing when to give it another shine is key to keeping it looking top-notch.
Stick to this routine, and soon that mini fridge will be the highlight of your space. Want more tips on keeping your fridge the star of the show? Check out our articles on refrigerator organization ideas and see how a little TLC can make it last.
Preparing Your Mini Fridge for Polishing
Before sprucing up your mini fridge, there's some prep work to do. This isn't just about making it shiny—it's about doing it safely and getting the best results.
Safety Precautions
Playing it safe with appliances is key. Here's what you should do:
- Pull the Plug: Yanking the power cord from the outlet is step one. You don’t want any electric surprises.
- Gear Up: Pop on some gloves to keep your hands happy and sport some goggles if you're worried about cleaning splashes.
- Breathe Easy: Crack a window or turn on a fan. You do not want to huff all those cleaning fumes.
- Keep it Dry: Water and electric stuff? Bad combo. Go for a damp cloth, not a wet one, around those zappy bits.
Cleaning the Surface Before Polishing
Before you make your fridge sparkle, you gotta scrub it clean. Dirt and polish don't play well together. Follow these moves for a squeaky clean fridge:
- Round Up Your Gear:
- Gentle soap or a catch-all cleaner
- Soft rags or microfiber buddies
- A bucket of warm water
-
Dust Off: Swipe over the outside to kick out any loose crumbs or cobwebs. A plain dry cloth does the trick.
-
Mix Your Potion: Splash a bit of that mild soap in a bucket with warm water. Ditch the rough stuff—they're fridge spoilers.
-
Wipe Down: Dunk your soft cloth in your suds, squeeze it out, and give that fridge a loving wipe. Focus where the grime sets in but don't rub like a maniac.
-
Rinse Off: Take a fresh cloth, get it damp with plain water, and wipe away the soap.
-
Dry Up: Grab a dry microfiber rag and make sure your fridge is bone dry. Nothing sticks well to wet.
| Cleaning Steps | Action |
|---|---|
| Dust Off | Wipe with a dry cloth |
| Mix Potion | Mix soap with water |
| Wipe Down | Use a damp cloth |
| Rinse Off | Wipe with plain water |
| Dry Up | Use a dry cloth |
Stick to these safety steps and cleaning tips, and your mini fridge will be all set for a polishing session. It’s not just about keeping it safe—it’s about making sure the polish does its best work so your fridge looks top-notch. Want to know how to polish that mini fridge to perfection? Check out the next section for those pro tips!
Polishing Techniques for Mini Fridge Appliances
Hey there, fridge owner! You wanna make that mini fridge of yours shine like a star at a disco? Let's dive into the secrets to a gleaming, spotless surface without making your appliance look like it's been through a rough patch.
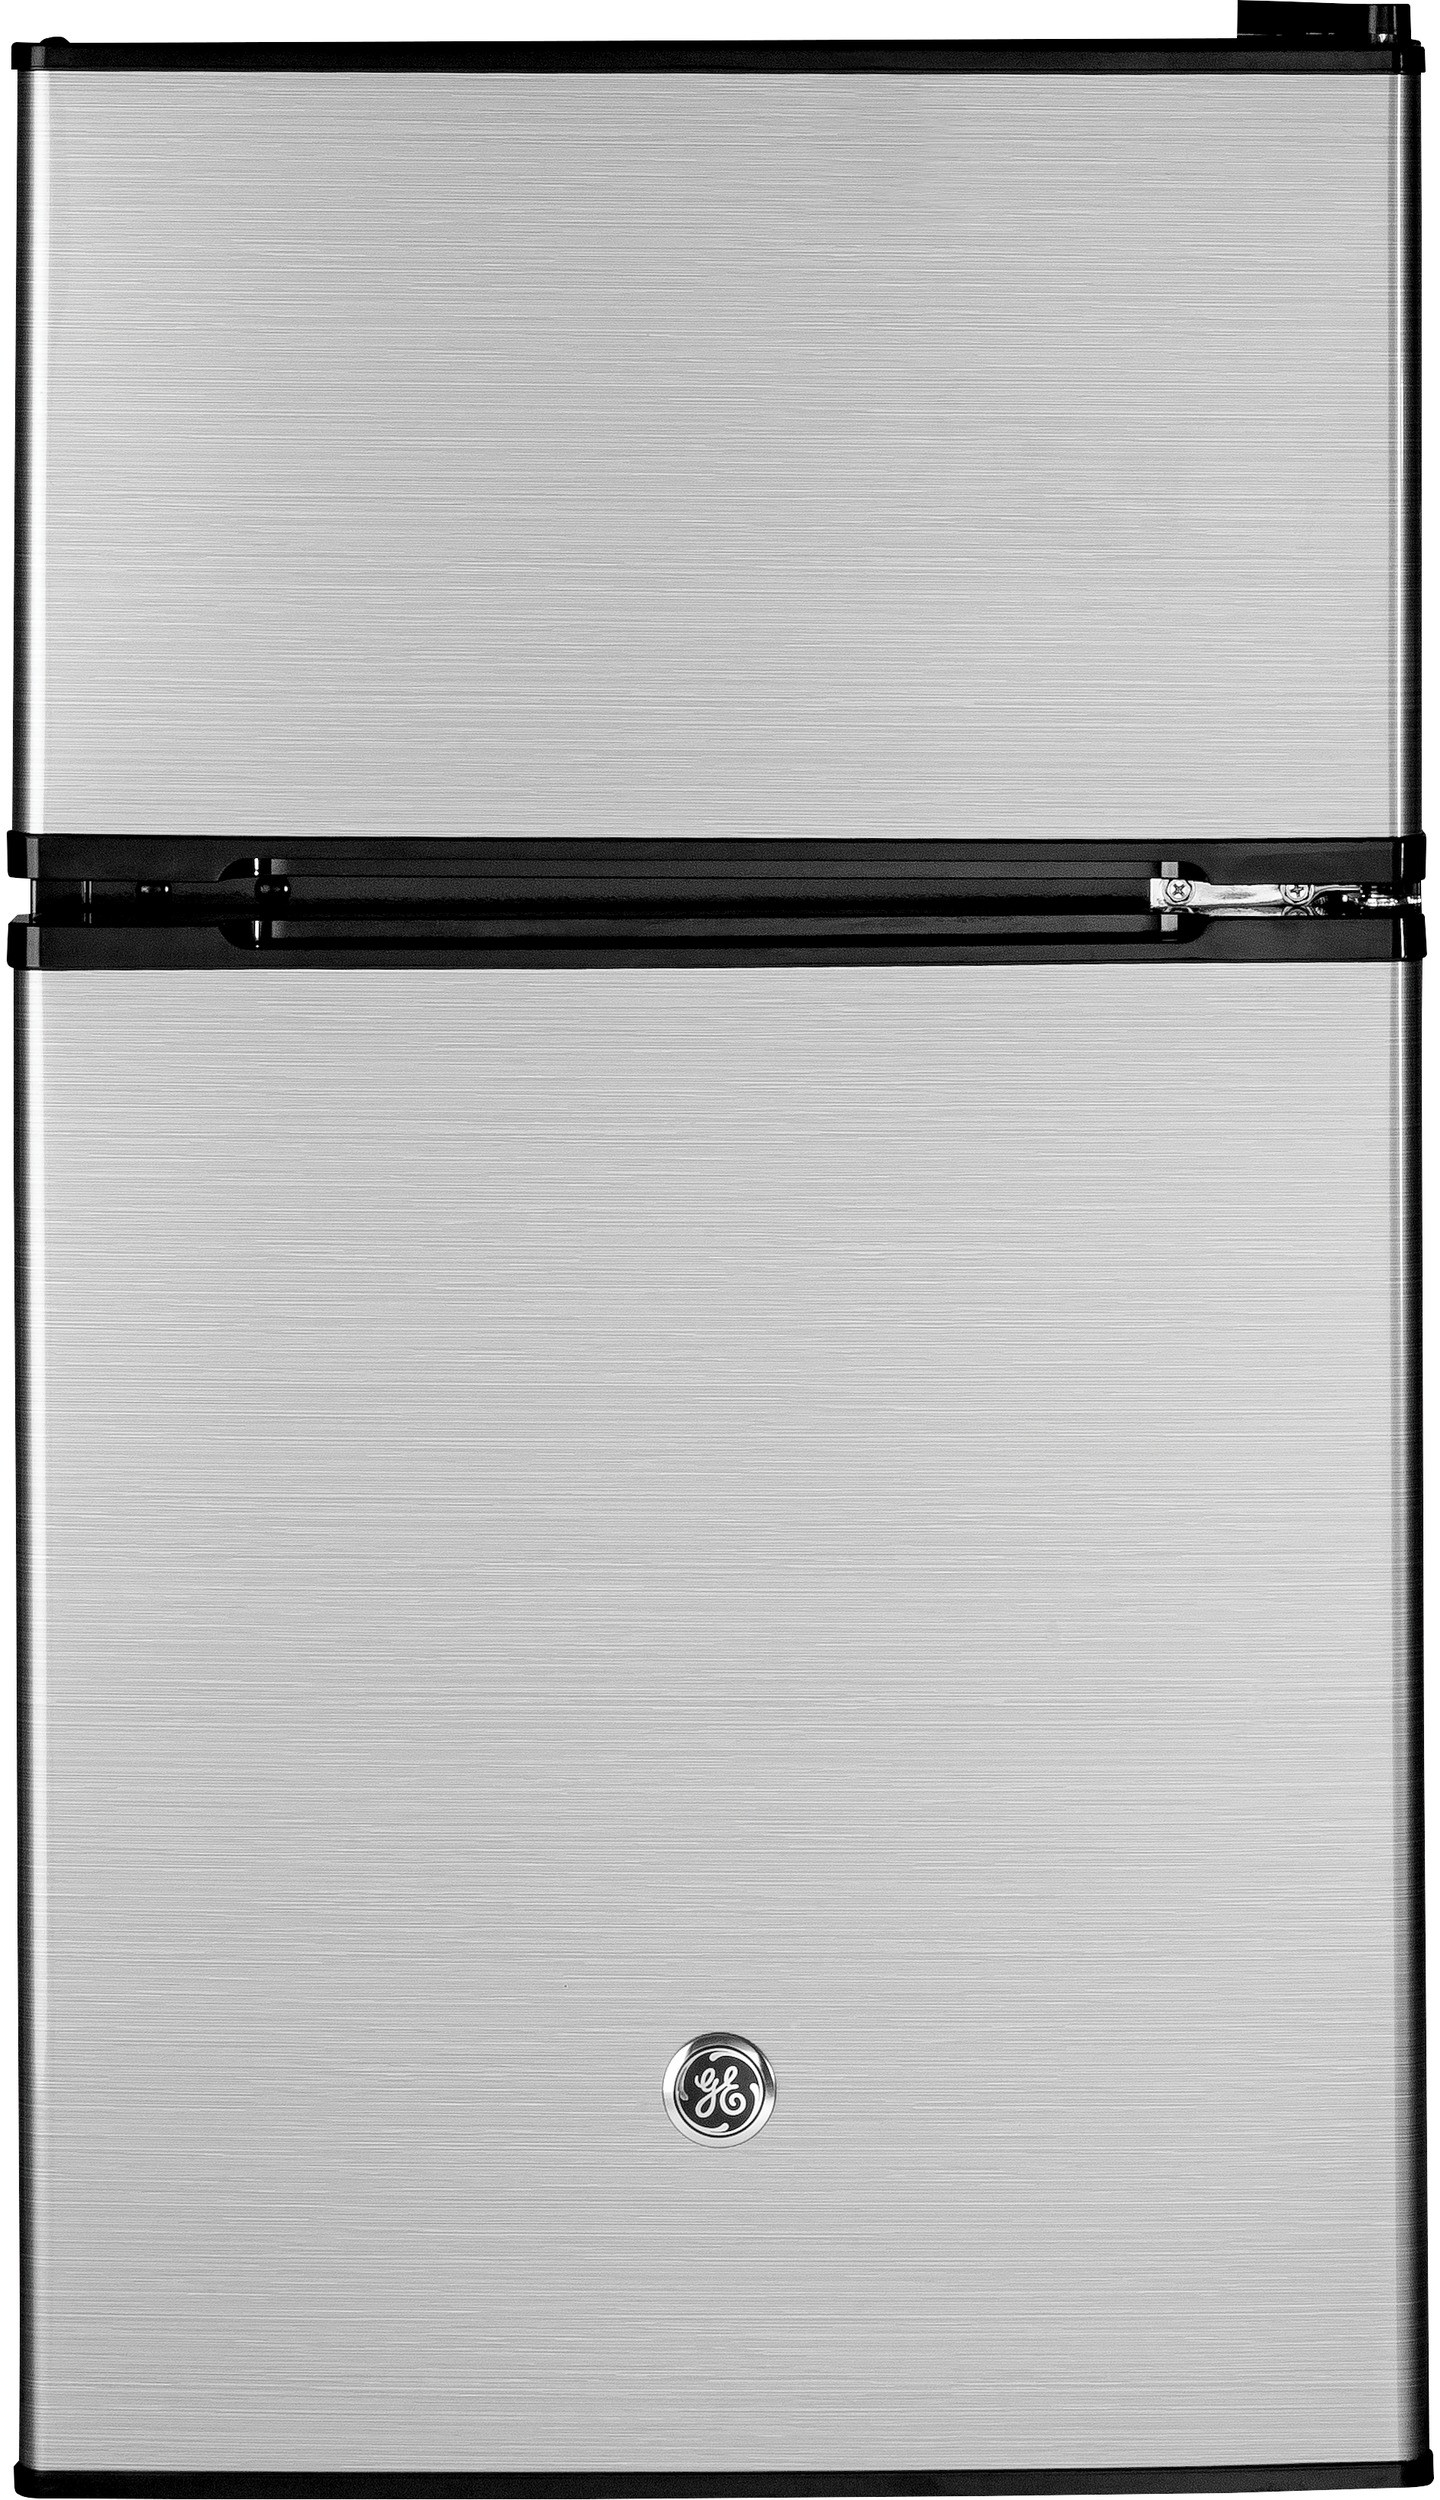
Selecting the Right Polish Product
Okay, first things first: know your fridge. The material of your mini fridge decides what kind of polish you'll need. You wouldn't wash a cat with dog shampoo, right? Here’s the lowdown on what polish works best where:
| Polish Type | Best For | Perks |
|---|---|---|
| All-purpose Polish | Stainless steel & plastic | Easy-peasy, and good for all |
| Metal Polish | Stainless steel | Shiny revival, says goodbye to dullness |
| Plastic Polish | Plastic surfaces | Cleans and keeps scratches at bay |
| Wax Polish | Many surfaces | Shields while adding sparkle |
Grab those reading glasses, Sherlock, and check that polish label to make sure it suits your fridge’s cloak. The right sling helps your appliance's finish stay perky and extends its good looks.
Applying the Polish to Achieve a Shine
Got your polish in hand? Great! Let’s not muck it up. Here’s the way to get your fridge looking fab:
-
Clean the Surface: The grime’s gotta go first. Give it a good wipe with a damp cloth and let it air out until bone dry.
-
Test a Small Area: Don't go crazy right away. Try it out on a sneaky spot first just to be sure the polish isn't gonna throw a tantrum.
-
Application:
- Dab a bit of polish on a soft, microfiber cloth—just a smidge.
- Go circle dance on your fridge with the cloth; circular moves work that polish evenly so nothing gets left behind.
- Buffing:
- Grab a clean cloth side, and buff it out. This is where you get rid of any extra polish hanging around.
- Buff until the fridge surface screams, "Mirror, mirror on the fridge."
- Final Check: Take a good look. Make sure your polishing job is tight, and admire that glow.
Follow these steps, and that mini fridge will stay the shining jewel of the kitchen. Want more handy-dandy kitchen tips? Don’t be a stranger and check out how to keep your coolers organized right here.
Tips for Effective Polishing
Want to keep that mini fridge looking slick and ready for action? Give it a little shine now and then to keep it looking its best and running longer. Check out these tips that'll have your fridge beaming.
Using the Right Tools and Materials
You don't need a truckload of tools for this job, just a few right ones. Here's your go-to list:
| Tool/Material | What's It For |
|---|---|
| Microfiber Cloths | Buff up without leaving a scratch |
| Soft Bristle Brush | Reach those pesky corners |
| Polish Product | Make sure it's made for your fridge's material (stainless, plastic…) |
| Non-abrasive Cleaner | Clean it up before the polish party starts |
| Spray Bottle | Handy for spritzing cleaning solutions |
Using those soft microfiber cloths not only avoids scratches but makes sure the polish gets on nice and even. Always grab a polish that's made for whatever your fridge is wrapped in, whether it's stainless or plastic. Need to do a clean sweep before you get to polishing? We've got just the thing; check out our other article on cleaning techniques.
Techniques for Tackling Stubborn Stains
Got those stubborn stains that won't take the hint? Here's how you can nudge them out:
- Check Out the Stain: First off, figure out if it's greasy, gooey, or just plain hard.
- DIY Cleaning Paste: For tough cookies, mix some baking soda and water. Slap that paste on, let it chill for a bit, then scrub with a soft brush.
- Vinegar Splash: For mineral headaches, mix vinegar and water equal parts. Spray, wait a while, then wipe with your trusty microfiber.
- Rinse and Dry Properly: After making it squeaky clean, wash off any leftover cleaner and dry it fast to keep spots away.
Skip the harsh cleaners; they'll do more harm than good on your fridge's finish. If you want more ideas on keeping the fridge organized or figuring out how to pack a top freezer type, hop over to our other reads at refrigerator organization ideas and how to pack a top freezer refrigerator?.
Keeping Your Mini Fridge Sparkling
Making sure your mini fridge remains spotless and shiny needs regular attention. With a little dedication and a few easy routines, your appliance will keep dazzling.
Tips to Keep It Shiny
To keep that sparkle going, wipe down your mini fridge often with a gentle, moist cloth. Steer clear of harsh scrubbers that could leave marks. Here’s how you can keep it gleaming:
| Method | How Often | Pointers |
|---|---|---|
| Wipe Down | Weekly | Use a microfiber cloth to prevent scratches. |
| Light Polishing | Once a Month | Add a touch of polish for an extra glow. |
| Deep Clean | Every 6 Months | Give it a thorough clean and polish. |
Alongside regular cleaning, arranging your items neatly can stop unsightly smudges or marks. A tidy fridge means less need for heavy-duty cleaning.
How Often to Polish for Best Results
How often you polish your mini fridge really hinges on how much you use it and what's going on around it. Generally, here’s a solid polishing game plan:
| How Much You Use It | When to Polish |
|---|---|
| Light Use | Every 3–4 Months |
| Moderate Use | Every 2–3 Months |
| Heavy Use | Monthly |
If it starts losing its shine or those fingerprints are too obvious, it might be polish time again. Keeping tabs on how it looks is the best way to figure out when it needs some extra attention.
Setting up a regular cleaning and polishing routine will make sure your mini fridge remains a head-turner. For more handy tips on caring for your fridge, check out our article on how to polish mini fridge appliances?.
Final Touches and Care
Aftercare Instructions for Polished Mini Fridge Appliances
You've polished your mini fridge to a brilliant shine, but what's next? To keep that glossy finish looking sharp and your fridge running smoothly, follow these aftercare steps:
| Step | Instruction |
|---|---|
| 1 | Let the polish dry completely before using your fridge again. This should take around 15-30 minutes—just enough time to grab a coffee and admire your work. |
| 2 | Keep the outside looking fresh by wiping it down regularly with a soft, damp cloth. Steer clear of any scratchy materials that could undo your hard work. |
| 3 | Give it a polish touch-up every few months, or whenever you feel it needs a little extra love. It’ll keep the glow going. |
| 4 | Make sure your fridge sits in a clean, dry spot—think about keeping dust and moisture at bay to help it stay spick and span. |
These simple steps will preserve your fridge's shine and keep it looking as snazzy as the day you polished it. Be sure to give it a quick clean now and then to keep up appearances.
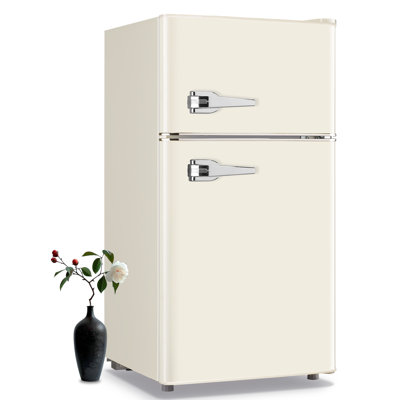
Enhancing the Appearance of Your Mini Fridge
Want to give your mini fridge a bit of pizzazz? Check out these fun ideas:
-
Decorative Magnets: Slap on some funky or colorful magnets to jazz up the front of your fridge. Show off your style without commitment!
-
Organized Interior: Use fridge bins to keep your stuff neat and easy to find. More organization means less frustration when hunting for that midnight snack.
-
LED Strip Lights: Brighten things up with LED lights inside or outside your fridge. It'll give the space a modern vibe and a cozy glow in dim rooms.
-
Color Matching: Coordinate your storage containers with the fridge’s color for a look that just feels right. Harmony in the kitchen starts with little details.
-
Seasonal Switch-Ups: Keeping things lively with changing decorations and fridge art can freshen up the look without spending a dime.
These small tweaks can transform your mini fridge into a stylish part of your home that echoes your personality. Feel free to check out our other article on refrigerator organization ideas for more inspiration that'll kick your fridge game up a notch!