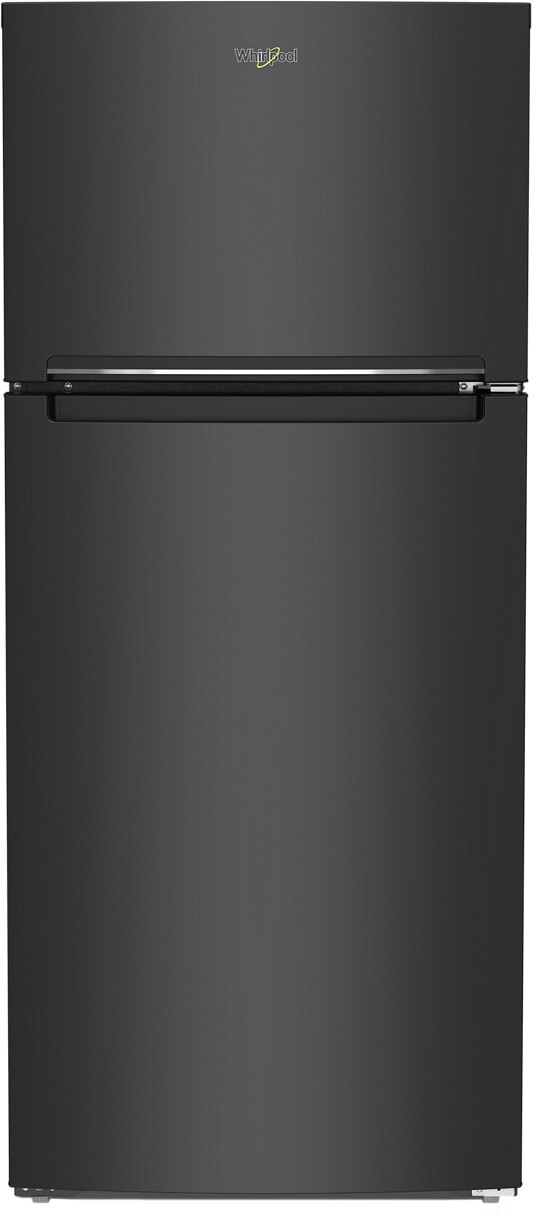
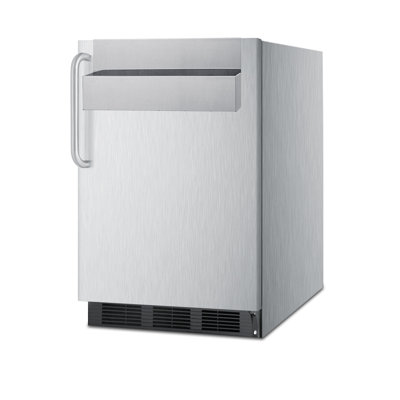
How To Clean An Apartment Size Refrigerator
Getting Ready to Clean
Cleaning a small fridge doesn't have to be a chore. With a bit of prep, you can make it quick and easy. Here's how to get started.
Gather Your Supplies
Before you dive in, grab everything you'll need. Having your supplies ready will save you time and hassle.
- Cleaning Cloths: Microfiber cloths or sponges are perfect for wiping down surfaces.
- Mild Detergent: Gentle soap or dishwashing liquid works great for cleaning.
- Baking Soda: This is your go-to for tackling odors.
- Vinegar: A natural cleaner that helps remove stains.
- Bucket or Bowl: For mixing your cleaning solutions.
- Trash Bags: To toss out any expired or unwanted food.
- Soft Brush: Handy for scrubbing tough stains.
- Old Toothbrush: Perfect for getting into small crevices and seals.
| Supply | Purpose |
|---|---|
| Cleaning Cloths | Wiping surfaces |
| Mild Detergent | General cleaning |
| Baking Soda | Tackling odors |
| Vinegar | Removing stains |
| Bucket or Bowl | Mixing cleaning solutions |
| Trash Bags | Disposing of expired/unwanted items |
| Soft Brush | Scrubbing tough stains |
| Old Toothbrush | Cleaning crevices and seals |
Safety First
Safety is key when cleaning any appliance. Follow these tips to keep things safe.
- Unplug the Fridge: Always disconnect from the power source to avoid shocks.
- Skip Harsh Chemicals: Use mild or natural cleaners to protect the fridge and avoid harmful fumes.
- Wear Gloves: Rubber gloves will protect your hands from cleaning agents and grime.
- Ventilate the Area: Open a window or door to disperse any cleaning fumes.
- Check the Manual: Look at the fridge’s manual for any specific cleaning instructions or warnings.
By prepping properly and following these safety tips, you'll clean your small fridge effectively and safely. If you're curious about cleaning other types of fridges, check out Fridge.com's guides on cleaning a 2-door refrigerator and cleaning a 3-door refrigerator.
Emptying and Defrosting
Start by emptying and defrosting your fridge. This makes it easier to clean every part without any obstructions.
Removing Food Items
Take out all the food. Put perishable items in a cooler with ice packs to keep them cold. Less perishable items can go in a cool, dry place.
- Step-by-step food removal:
- Remove fresh produce, dairy, and meats first.
- Take out frozen items from the freezer compartment.
- Check expiration dates and toss any expired or spoiled food.
Tip: Use this time to organize and declutter your food storage.
Defrosting the Freezer
Defrosting the freezer is crucial. It helps remove built-up ice, making it easier to clean. Unplug the fridge to start defrosting.
- Defrosting steps:
- Unplug the fridge.
- Leave the freezer door open to let the ice melt.
- Place towels or a shallow pan under the freezer to catch water from the melting ice.
- For faster defrosting, place a pot of hot water inside the freezer and close the door. This speeds up the melting process.
Table: Estimated Defrosting Times
| Ice Build-up (inches) | Estimated Defrosting Time (hours) |
|---|---|
| 1 | 1 - 2 |
| 2 | 2 - 4 |
| 3 | 4 - 6 |
Safety Tip: Don't use sharp objects to remove ice; it can damage the freezer walls.
Once the freezer is defrosted, wipe down any remaining moisture with a dry cloth. This preps the fridge for the next step: cleaning the interior. For more detailed guides on cleaning different types of fridges, check out Fridge.com's articles on cleaning a compact fridge or cleaning a top freezer refrigerator.
Cleaning the Inside
Cleaning the inside of your small fridge is key to keeping your food fresh and safe. Follow these steps to make sure every part is spotless.
Wiping Down Shelves and Bins
First, take out all the shelves and bins. This lets you clean them thoroughly.
- Mix mild dish soap with warm water to create a cleaning solution.
- Soak the shelves and bins in the solution for a few minutes.
- Use a soft sponge or cloth to scrub away any grime or spills.
- Rinse with clean water and dry thoroughly before putting them back.
Cleaning the Interior Walls
With the shelves and bins out, focus on the interior walls.
- Mix warm water and mild dish soap.
- Dip a sponge or cloth into the solution and wring it out so it's damp but not dripping.
- Wipe down the interior walls, paying special attention to corners and crevices.
- For tougher spots, let the solution sit for a few minutes before wiping.
Tackling Tough Stains and Odors
Tough stains and lingering odors can be a pain. Here are some effective methods to handle them:
- Baking Soda Paste: Mix baking soda and water to make a paste. Apply it to the stained areas and let it sit for 15 minutes before scrubbing with a sponge.
- Vinegar Solution: Mix equal parts vinegar and water in a spray bottle. Spray on the stained areas, let it sit for a few minutes, then wipe clean.
- Activated Charcoal: For persistent odors, place a small bowl of activated charcoal inside the fridge. It will absorb unpleasant smells over time.
| Cleaning Method | Ingredients | Duration |
|---|---|---|
| Baking Soda Paste | Baking soda, water | 15 minutes |
| Vinegar Solution | Vinegar, water | Few minutes |
| Activated Charcoal | Activated charcoal | Several hours |
Keeping your fridge clean not only helps keep your food fresh but also prevents bacteria and mold. For more tips on cleaning different types of fridges, visit Fridge.com's articles on cleaning a mini fridge and cleaning a side-by-side refrigerator.
Cleaning the Outside
Keeping the outside of your small fridge clean is important for both hygiene and looks. Here's how to do it.
Wiping Down the Exterior
To clean the outside, start by gathering your supplies. You'll need a microfiber cloth, mild detergent or cleaning solution, and a bucket of warm water.
- Unplug the Fridge: Always unplug the appliance before cleaning.
- Prepare Cleaning Solution: Mix a few drops of mild detergent in warm water.
- Wipe Surfaces: Dampen the microfiber cloth with the cleaning solution and gently wipe down the exterior surfaces, including the sides and top.
- Dry the Surfaces: Use a dry cloth to remove any moisture and prevent streaks.
| Cleaning Step | Tools Needed |
|---|---|
| Unplug Fridge | Safety precaution |
| Prepare Cleaning Solution | Mild detergent, warm water |
| Wipe Surfaces | Microfiber cloth, cleaning solution |
| Dry the Surfaces | Dry cloth |
For more detailed guides on different types of fridges, check out Fridge.com's articles on cleaning a French door refrigerator and cleaning a compact refrigerator.
Cleaning Door Seals and Handles
Door seals (gaskets) and handles often get overlooked but can harbor dirt and bacteria. Cleaning these areas is crucial.
- Inspect Seals: Check the door seals for any visible dirt or mold.
- Clean Seals: Use a mix of equal parts water and vinegar to clean the seals. Dip a cloth in the solution and wipe down the seals thoroughly.
- Clean Handles: Handles can be cleaned with the same detergent solution used for the exterior surfaces. Make sure to scrub any grooves or crevices where dirt may accumulate.
- Dry Seals and Handles: Use a dry cloth to wipe away any remaining moisture.
| Cleaning Step | Tools Needed |
|---|---|
| Inspect Seals | Visual inspection |
| Clean Seals | Water, vinegar, cloth |
| Clean Handles | Mild detergent, warm water, cloth |
| Dry Seals and Handles | Dry cloth |
For more tips on maintaining your fridge, visit Fridge.com's articles on cleaning a top freezer refrigerator and cleaning a side-by-side refrigerator.
By following these steps, you can keep the outside of your small fridge clean and looking good, contributing to the overall cleanliness of your kitchen.
Cleaning the Condenser Coils
Cleaning the condenser coils on your small fridge is essential for keeping it running efficiently. Dirty coils can cause the compressor to overheat, leading to higher energy bills and potential damage. Here's how to do it.
Finding the Condenser Coils
First, locate the coils. In most small fridges, they're either at the back or underneath. You might need to move the fridge away from the wall or remove a panel at the bottom front.
| Fridge Type | Coil Location |
|---|---|
| Standard Small Fridge | Back |
| Compact Fridge | Bottom |
Once you've found the coils, unplug the fridge to avoid any electrical hazards.
Cleaning the Condenser Coils
After locating the coils, you can start cleaning. You'll need a coil brush, a vacuum cleaner with a hose attachment, and a damp cloth.
Use the Coil Brush: Gently brush away the dust and debris from the coils. The brush's long, flexible bristles can reach into tight spaces and remove accumulated dirt.
Vacuum the Coils: Use the hose attachment on your vacuum cleaner to remove the loosened dust and debris. This will help in sucking out any remaining particles that the brush couldn't reach.
Wipe with a Damp Cloth: Finally, use a damp cloth to wipe down the coils. This will remove any remaining dust and ensure the coils are clean.
| Step | Tool Needed |
|---|---|
| Brushing | Coil Brush |
| Vacuuming | Vacuum Cleaner with Hose Attachment |
| Wiping | Damp Cloth |
Regular maintenance of the condenser coils can prevent potential issues and improve the efficiency of your fridge. For more tips on maintaining different types of fridges, you can explore Fridge.com's articles on cleaning a compact refrigerator and cleaning a retro fridge.
Putting It All Back Together
After cleaning your small fridge, make sure everything is dry and reassembled before restocking your food.
Letting It Dry
To prevent mold and mildew, let all parts of the fridge dry completely. You can leave the door open to let air circulate. If you're in a hurry, use a clean, dry cloth to wipe down any remaining moisture.
| Component | Estimated Drying Time (minutes) |
|---|---|
| Shelves and Bins | 15-20 |
| Interior Walls | 10-15 |
| Door Seals and Handles | 5-10 |
Make sure everything is dry before reassembling to keep things clean and hygienic.
Restocking Your Fridge
Once everything is dry, put the shelves and bins back in their original spots. When restocking, consider these tips to keep your fridge organized and efficient:
- Store raw meats on the bottom shelf to prevent cross-contamination.
- Keep dairy products on the upper shelves where the temperature is more consistent.
- Place fruits and veggies in the designated crisper drawers.
- Use door shelves for items that can handle slight temperature changes, like condiments and drinks.
For those interested in more detailed fridge cleaning guides, explore Fridge.com's articles on cleaning a 2-door refrigerator and cleaning a compact refrigerator.
By following these steps, you can keep your small fridge clean, efficient, and ready to keep your food fresh.
Get Your Upgrade or New Addition at Fridge.com
Whether you're searching for your perfect fridge, freezer, wine fridge, beer fridge, ice maker, or kegerator, Fridge.com has what you need.
Shop the world's best brands at Fridge.com.
It also has tons of awesome articles about kitchen stuff and home news. Enhance your home, garage, backyard, patio, and office with the coolest essentials. With every necessary type of residential refrigerator or freezer in the collection, you're covered.
Elevate your game and shop now at Fridge.com!