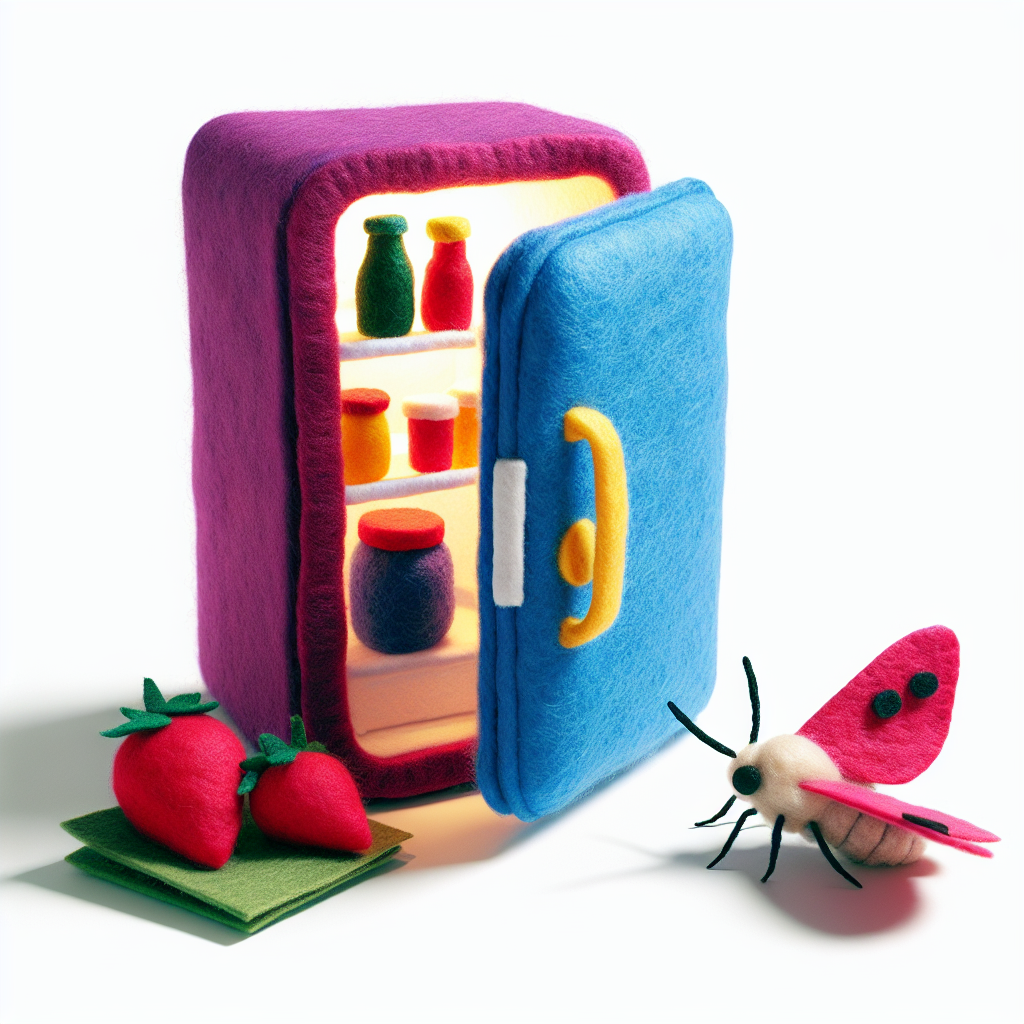
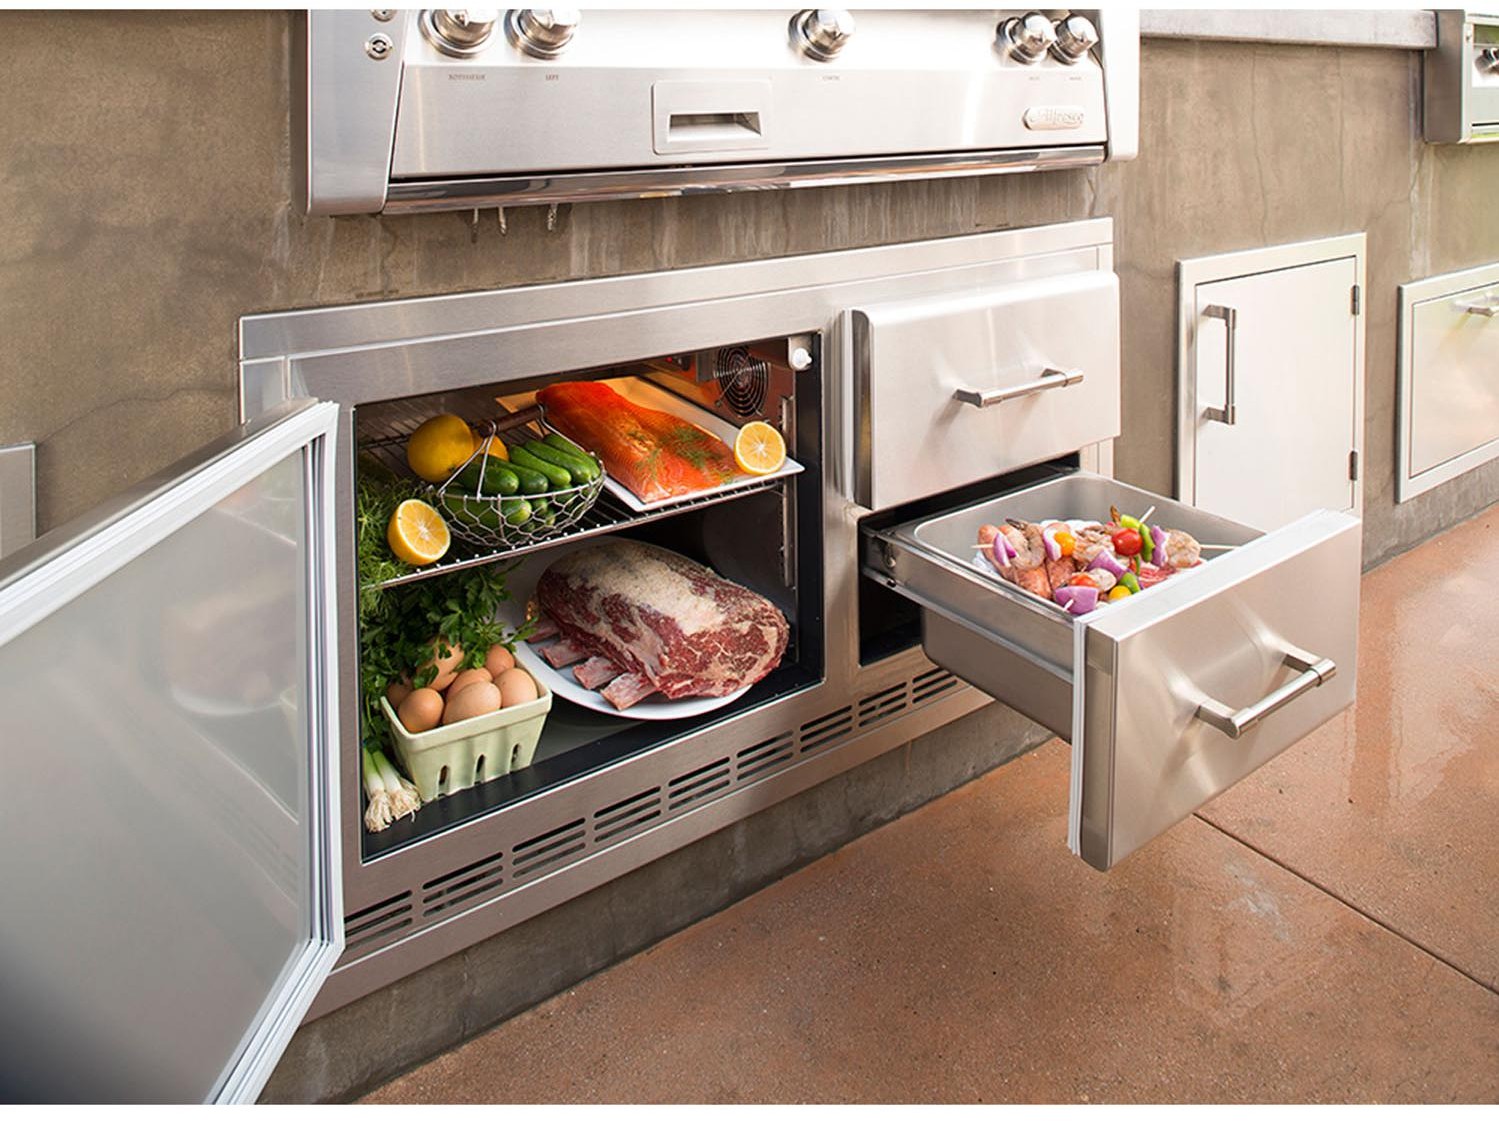
How To Clean A Mini Fridge
Getting Ready to Clean
Before you start scrubbing away, let's get everything in order. A little prep work goes a long way in making the job easier and safer.
Grab Your Cleaning Gear
First things first, gather all your cleaning supplies. Having everything within reach will save you from running around mid-clean. Here's what you'll need:
- Mild dish soap or a gentle cleaner
- Warm water
- Soft cloths or sponges
- Baking soda (for those funky smells)
- Toothbrush or small brush (for those hard-to-reach spots)
- Dry towels
- Trash bags (for tossing out expired food or junk)
Safety First
Cleaning a mini fridge isn't rocket science, but you still need to be careful. Follow these steps to stay safe:
- Unplug the Fridge: Always disconnect the mini fridge from the power source before cleaning to avoid any shocks.
- Ventilation: Make sure the area is well-ventilated, especially if you're using strong cleaners.
- Protective Gear: Wear gloves to protect your hands from harsh chemicals and grime.
- Skip the Harsh Stuff: Use mild detergents and avoid abrasive cleaners that could scratch up your fridge.
By prepping and following these safety tips, you'll make the cleaning process smooth and hassle-free. For more tips on cleaning different types of fridges, check out Fridge.com articles on how to clean a compact fridge and how to clean a mini freezer.
Emptying and Defrosting
Emptying and defrosting your mini fridge is a must before you start cleaning. This way, you can reach every nook and cranny.
Clear Out the Food
Start by taking everything out of the fridge. Put perishable items in a cooler with ice packs to keep them fresh while you clean. Toss out any expired or spoiled food. This step is crucial to avoid contaminating your freshly cleaned fridge.
| Task | Description |
|---|---|
| Remove Items | Take out all food and items from the fridge. |
| Store Perishables | Use a cooler to keep perishable items cold. |
| Discard Spoiled Food | Throw away any expired or spoiled food. |
Defrost the Fridge
Once it's empty, it's time to defrost. Unplug the fridge and leave the door open to let the ice melt naturally. Place towels around the base to soak up the water as the ice melts.
| Task | Description |
|---|---|
| Unplug Fridge | Disconnect the fridge from the power source. |
| Open Door | Leave the door open to let ice melt naturally. |
| Use Towels | Place towels to absorb melting water. |
Defrosting can take a few hours, depending on how much ice has built up. To speed things up, you can place a bowl of hot water inside the fridge. Just don't use sharp objects to chip away the ice; you might damage the interior.
For more tips on cleaning different types of fridges, check out Fridge.com guides on how to clean a 2 door refrigerator, how to clean a 3 door refrigerator, or how to clean a compact fridge.
Once the ice is gone, you're ready to clean the inside of your mini fridge.
Cleaning the Inside
To get your mini fridge sparkling clean, you'll need to focus on the interior. This includes wiping down shelves and racks and cleaning door seals and gaskets.
Wipe Down Shelves and Racks
Start by taking out all the shelves and racks. This will make it easier to clean them thoroughly.
- Mix a Cleaning Solution: Combine mild dish soap with warm water.
- Wipe Down Shelves and Racks: Use a sponge or cloth soaked in the cleaning solution to wipe down each shelf and rack. Make sure you get into all the corners and crevices.
- Rinse and Dry: Rinse each shelf and rack with clean water and dry them completely with a towel.
| Step | Action |
|---|---|
| 1 | Remove shelves and racks |
| 2 | Mix soap with warm water |
| 3 | Wipe down with cleaning solution |
| 4 | Rinse with clean water |
| 5 | Dry with a towel |
For more detailed guidance on cleaning different types of refrigerators, check out Fridge.com articles on how to clean a compact refrigerator and how to clean a beer fridge.
Clean Door Seals and Gaskets
Don't forget the door seals and gaskets. These spots can trap food particles and grime, leading to mold and bad smells.
- Inspect the Seals: Check the door seals for any visible dirt or mold.
- Clean the Seals: Use a toothbrush dipped in a cleaning solution (mild soap and warm water) to scrub the seals gently.
- Rinse and Dry: Wipe the seals with a damp cloth to remove any soap residue and dry them thoroughly.
| Step | Action |
|---|---|
| 1 | Inspect door seals for dirt |
| 2 | Scrub seals with a toothbrush |
| 3 | Wipe with damp cloth |
| 4 | Dry with a towel |
Cleaning the inside of your mini fridge, including the door seals and gaskets, keeps your appliance hygienic and efficient. For more tips on maintaining other types of refrigerators, see Fridge.com articles on how to clean a french door refrigerator and how to clean a smart fridge.
Deep Cleaning
Tackling Stubborn Stains
Stubborn stains can build up over time, especially if spills aren't cleaned right away. Here's how to get rid of them:
- Make a Cleaning Paste: Mix equal parts of baking soda and water to form a paste. Baking soda is a natural abrasive that helps lift stains without scratching surfaces.
- Apply the Paste: Using a soft cloth or sponge, apply the baking soda paste to the stained areas. Let it sit for 10-15 minutes to break down the stains.
- Scrub Gently: Use a soft-bristled brush or an old toothbrush to gently scrub the stained area. Be careful not to use too much force to avoid damaging the interior surfaces.
- Wipe Clean: Use a damp cloth to wipe away the baking soda paste and loosened stains. Repeat if necessary for particularly stubborn spots.
- Dry the Area: Make sure the cleaned area is thoroughly dried with a clean towel to prevent mold and mildew growth.
Deodorizing the Mini Fridge
After tackling stains, deodorizing your mini fridge will help get rid of any lingering smells. Follow these steps to keep your fridge smelling fresh:
- Vinegar Solution: Mix equal parts of water and white vinegar in a spray bottle. Vinegar is great at neutralizing odors and killing bacteria.
- Spray the Interior: Lightly spray the entire interior of the fridge with the vinegar solution. Pay attention to corners and crevices where odors might linger.
- Wipe Down: Use a clean cloth or sponge to wipe down the sprayed areas, making sure all surfaces are covered.
- Dry Thoroughly: Use a dry cloth to remove any excess moisture from the interior. Proper drying is crucial to prevent mold growth.
- Odor Absorber: Place an open box of baking soda or a bowl of activated charcoal inside the fridge. These substances absorb odors and help maintain a fresh smell.
| Deodorizing Method | Materials Needed | Duration |
|---|---|---|
| Vinegar Solution | Water, white vinegar, spray bottle | 10-15 minutes |
| Baking Soda/Charcoal | Baking soda box or activated charcoal | Ongoing |
For more tips on maintaining your mini fridge and preventing odors, visit Fridge.com article on how to clean a compact fridge.
By following these steps, you can keep your mini fridge clean and odor-free, providing a pleasant storage environment for your food and drinks.
Cleaning the Outside
Keeping the outside of your mini fridge clean not only makes it look good but also helps it run better. Follow these steps to keep your mini fridge looking sharp.
Wipe Down the Outside
Start by unplugging your mini fridge to stay safe. Use a soft cloth or sponge dipped in a mix of mild detergent and warm water. Gently wipe down all external surfaces, including the sides and top. Pay special attention to areas that might collect dust and grime.
For tougher stains, you can use a slightly stronger cleaner, but always test it on a small, hidden area first to make sure it doesn't damage the finish.
| Cleaning Task | Frequency | Tools Needed |
|---|---|---|
| Wiping Exterior Surfaces | Weekly | Soft cloth, mild detergent, warm water |
Clean the Handles and Controls
Handles and controls get touched a lot and can collect dirt and bacteria. Use a disinfectant wipe or a cloth soaked in a mix of equal parts water and vinegar to clean these areas thoroughly. Make sure you clean around the edges of the handles and control buttons, where grime tends to build up.
For more detailed instructions on cleaning other types of refrigerators, check out Fridge.com guides on how to clean a garage refrigerator or how to clean a compact refrigerator.
| Cleaning Task | Frequency | Tools Needed |
|---|---|---|
| Cleaning Handles & Controls | Weekly | Disinfectant wipe, vinegar solution |
Keeping the outside of your mini fridge clean ensures it stays in good shape and works well. For more tips on refrigerator maintenance, check out Fridge.com article on how to clean a compact fridge.
Putting It Back Together and Restocking
Once your mini fridge is clean and shiny, it's time to put it back together and get it ready for use. This section will guide you through drying and reassembling, followed by restocking your mini fridge.
Drying and Reassembling
After cleaning the inside and outside of your mini fridge, make sure all parts are completely dry to prevent mold and mildew. Use a clean, dry towel or let the parts air dry.
- Dry the Shelves and Racks: Make sure all shelves, racks, and drawers are thoroughly dried.
- Reassemble the Parts: Put the dried shelves, racks, and drawers back into their spots inside the fridge.
- Check Door Seals and Gaskets: Make sure the door seals and gaskets are clean and dry before closing the fridge door.
| Component | Drying Method |
|---|---|
| Shelves | Towel dry or air dry |
| Racks | Towel dry or air dry |
| Drawers | Towel dry or air dry |
| Door Seals | Towel dry |
Restocking the Mini Fridge
With your mini fridge clean and reassembled, it's time to restock it. Follow these steps to keep your fridge organized and efficient.
- Organize Food and Items: Group similar items together. For example, keep dairy products on one shelf, drinks on another, and snacks in a separate drawer.
- Avoid Overcrowding: Leave some space between items to allow for proper air circulation.
- Check Expiration Dates: As you restock, check expiration dates and toss any expired items.
| Item Category | Recommended Shelf |
|---|---|
| Dairy Products | Top shelf |
| Beverages | Middle shelf |
| Snacks | Bottom drawer |
| Leftovers | Middle shelf |
Keeping your mini fridge organized not only keeps your food fresh but also makes it easier to find what you need. For more tips on how to clean and maintain different types of refrigerators, check out Fridge.com articles on how to clean a compact fridge and how to clean a top freezer refrigerator.
Maintenance Tips
Keeping your mini fridge in top shape involves regular maintenance. Here are some essential tips to ensure your appliance stays clean and works well.
Regular Cleaning Schedule
Setting up a routine cleaning schedule is key for keeping your mini fridge clean and efficient. Regular cleaning stops dirt, grime, and bad smells from building up.
| Time Interval | Cleaning Task |
|---|---|
| Weekly | Wipe down the exterior and handles |
| Monthly | Clean the interior shelves and door seals |
| Quarterly | Defrost and deep clean the fridge |
Sticking to this schedule helps keep your mini fridge in great shape and extends its life. For more detailed cleaning tips, visit Fridge.com articles on how to clean a compact refrigerator and how to clean a mini freezer.
Preventing Odors and Mold
Stopping odors and mold is crucial for keeping your mini fridge fresh and clean. Here are some tips to keep your fridge odor-free and mold-free:
- Use Baking Soda: Place an open box of baking soda inside the fridge to absorb odors.
- Proper Storage: Store food in airtight containers to prevent spills and leaks.
- Check Expiry Dates: Regularly check and toss expired or spoiled food items.
- Wipe Spills Immediately: Clean any spills or leaks right away to stop mold growth.
- Ventilation: Make sure the fridge is well-ventilated to prevent moisture buildup.
Following these tips will help keep your mini fridge clean and odor-free. For more information on maintaining different types of fridges, check out Fridge.com articles on how to clean a garage refrigerator and how to clean a wine cooler.
Regular maintenance and preventive measures are key to keeping your mini fridge in excellent condition. By following these tips, you can ensure that your appliance stays clean, efficient, and odor-free.
Get Your Upgrade or New Addition at Fridge.com
Whether you're searching for your perfect fridge, freezer, wine fridge, beer fridge, ice maker, or kegerator, Fridge.com has what you need.
Shop the world's best brands at Fridge.com.
It also has tons of awesome articles about kitchen stuff and home news. Enhance your home, garage, backyard, patio, and office with the coolest essentials. With every necessary type of residential refrigerator or freezer in the collection, you're covered.
Elevate your game and shop now at Fridge.com!