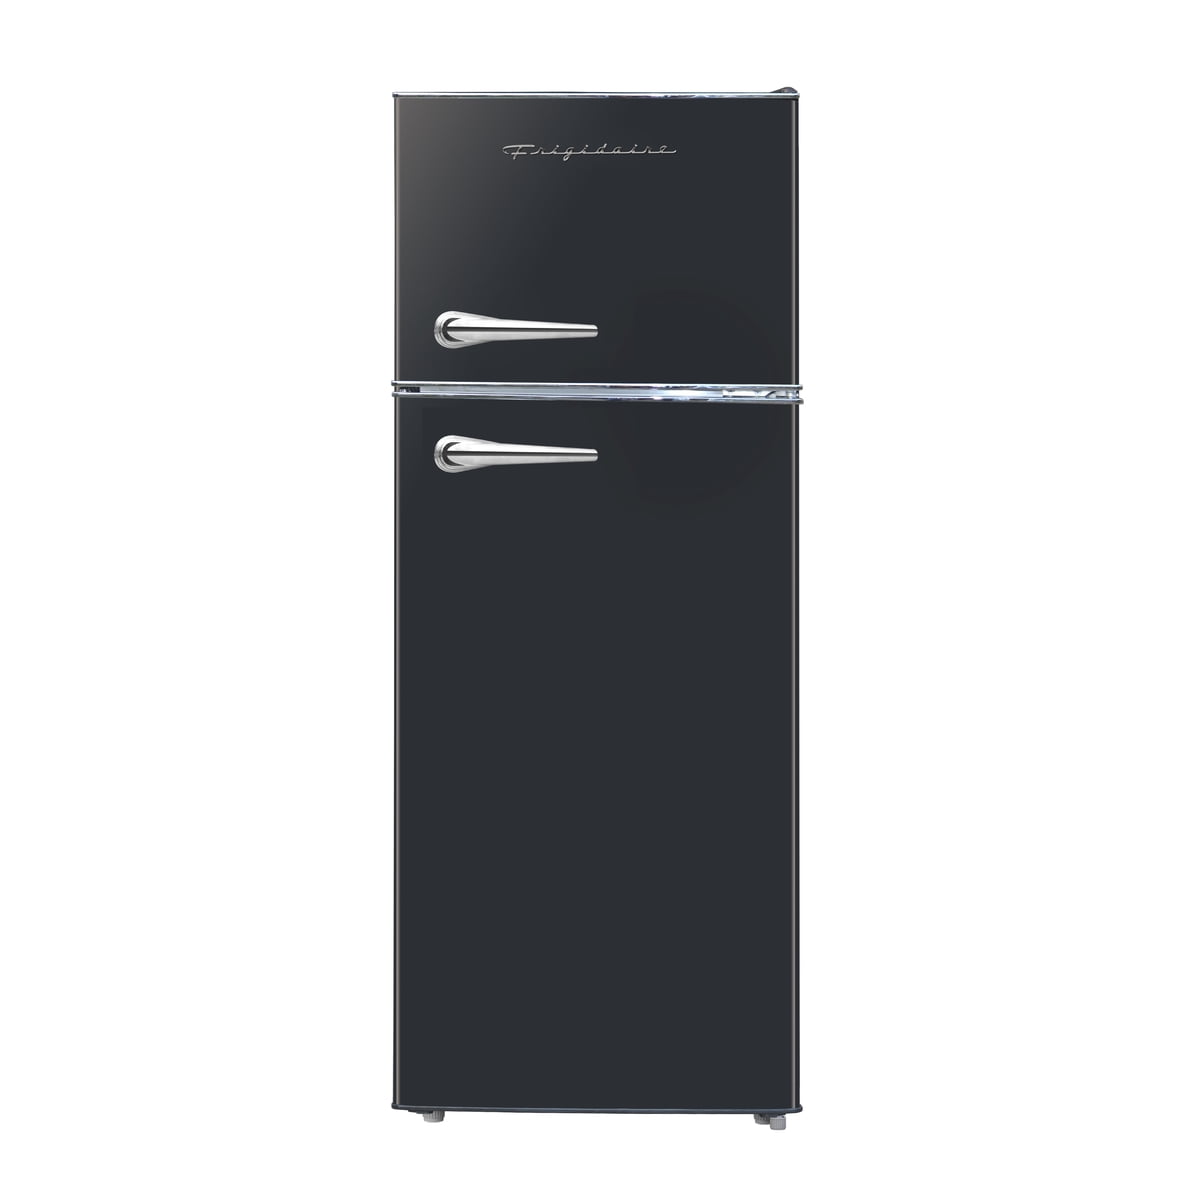
Understanding the Importance of the Condenser Coil
Ever wondered how your fridge stays cool? Well, thank the condenser coil! This little guy kicks the heat out of the fridge, letting the coolant get cold again, keeping everything fresh. But if it gets gunked up, your fridge can become a food-wasting energy hog. By keeping that coil clean, your fridge runs better and your electricity bill won't leave you broke.
Common Indicators of a Clogged Condenser Coil
Spotting a clogged condenser coil before it spirals out of hand can save your groceries and some cash. Check out these warning signs:
Indicator
Description
Increased Energy Bills
Seeing a spike in your energy costs? Your fridge might be struggling and using extra juice.
Overheating
If your fridge's sides are hot enough to fry an egg, there might be trouble brewing in the coil department.
Insufficient Cooling
Food warmer than a summer day? It could mean a tangled-up coil is stopping the cool flow.
Unusual Noises
Hearing huffs and puffs from the fridge? The compressor might be working its butt off over clogged coils.
Frost Buildup
Frosty layers take over? This could be poor airflow waving hello, courtesy of the coil.
Frequent Cycling
If it's off and on more than a toddler with a light switch, that’s a hint of cooling chaos.
Watch out for these red flags, and don't let your fridge take over your monthly budget. Need more guidance? Check out our refrigerators nearby section for all the nitty-gritty on fridge TLC.
Making a quick check on your fridge's condenser coil can nip trouble in the bud. Spotting an issue early can save you from a fridge meltdown!
How to Locate the Condenser Coil
Don't worry, finding the condenser coil isn't like looking for Atlantis. Usually, it's chilling (pun intended) at the back or underneath your fridge. To make it easy on you, here's a handy table:
Refrigerator Type
Coil Location
Top Freezer
Back of the unit
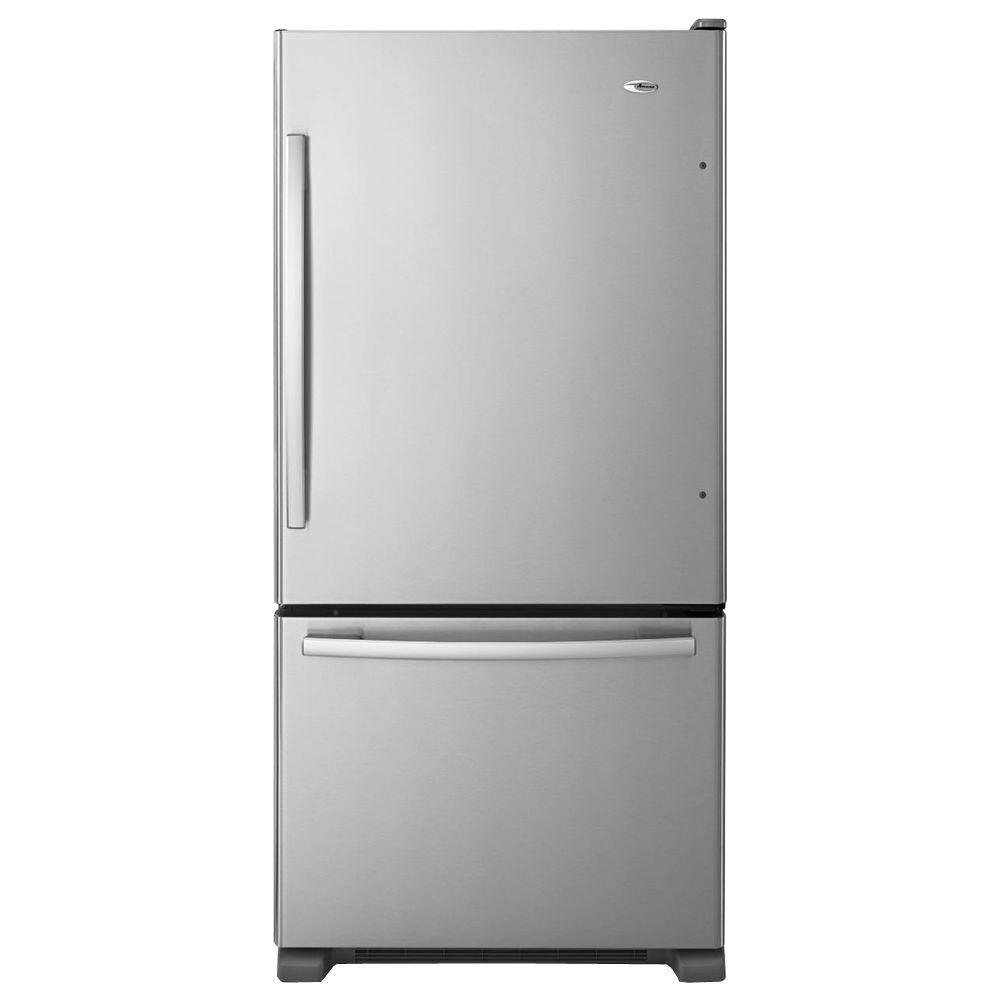
Bottom Freezer
Bottom on the back
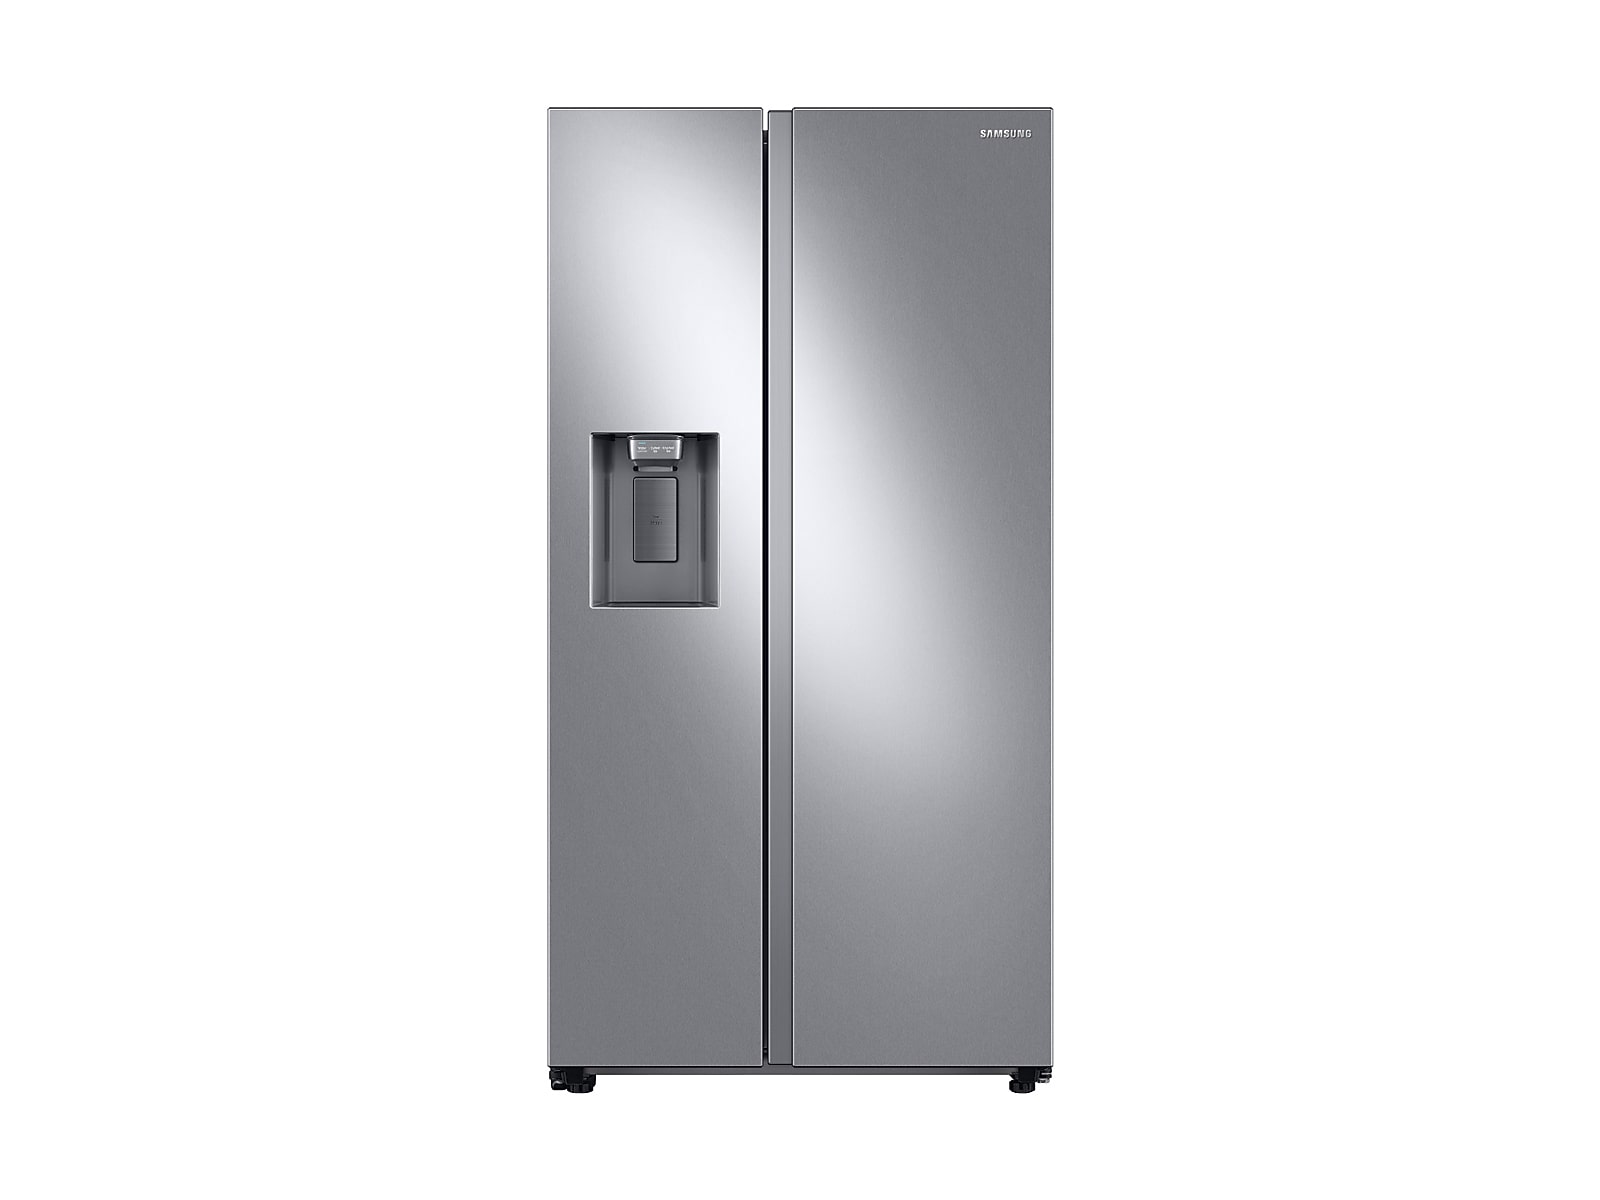
Side-by-Side
Behind the grill
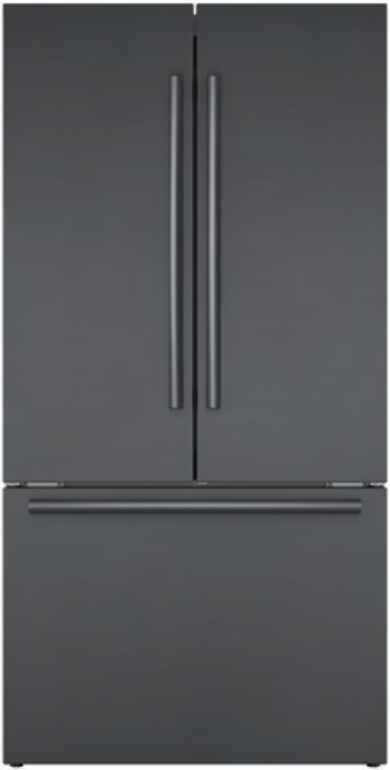
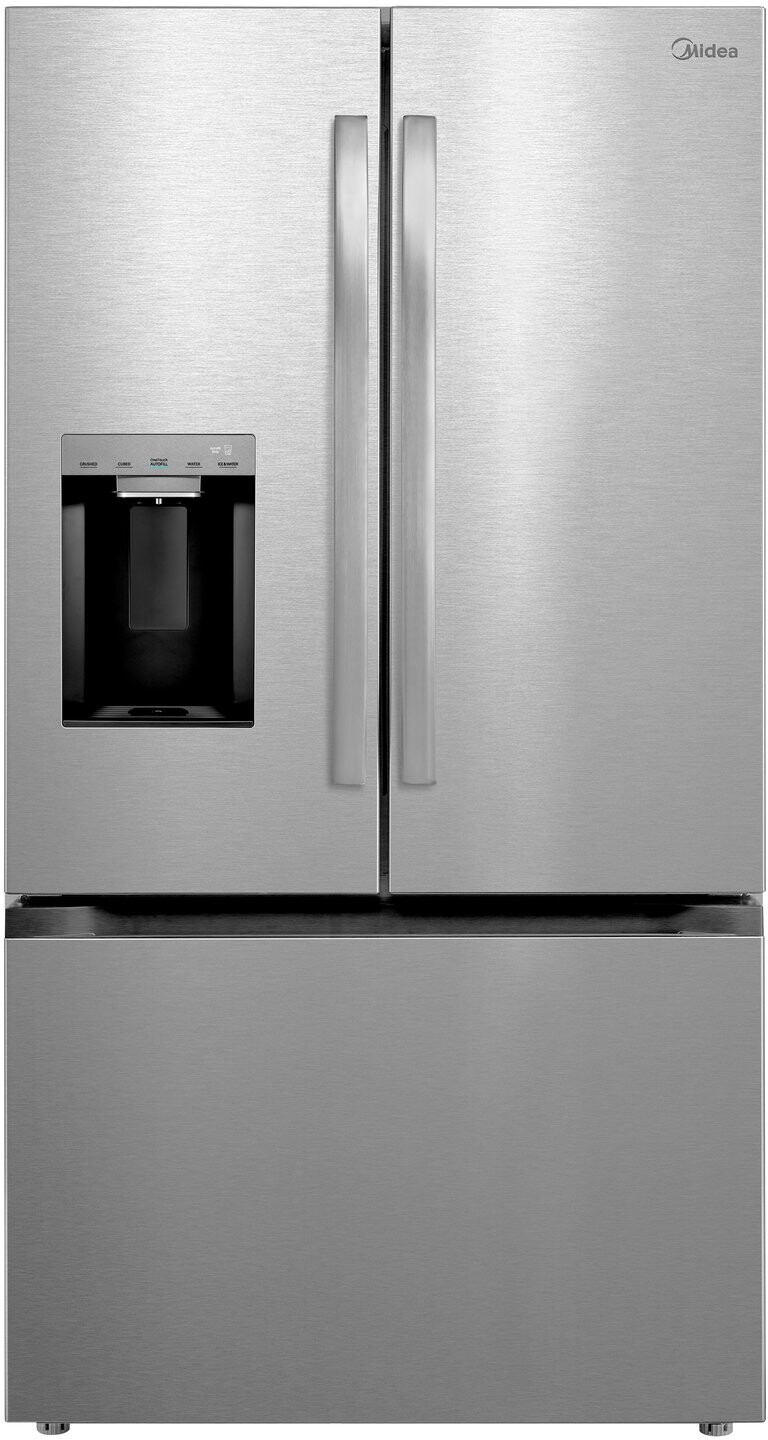
French Door
Underneath or at the back
Once you've found it, give the area a once-over. Clear out any gunk or stuff clogging up the works.
Visually Assessing the Condition
Now that you've found your coil, it's detective time. Look out for dust, pet fur, or any sneaky dirt caking up the coil and messing with your fridge's mojo. Here’s what to keep an eye on:
Dust Overload: A layer of fuzz can cook your coil and make your fridge work overtime.
Signs of Damage: Bent fins or other boo-boos can throw a monkey wrench in the coil’s game.
Rust Alert: Any orange fuzz could mean there's moisture lurking where it shouldn't.
Is it Shakin’?: If it’s wobbly, your coil might stage a walkout.
A flashlight really helps you see what's what. Spotted anything fishy? Might be time for a clean-up mission. For some handy hacks on keeping your fridge fresh as a daisy, check out Fridge.com piece on how to keep your refrigerator odor free.
Keeping tabs on your condenser coil not only snuffs out clogs but also keeps your fridge running smooth year after year. Happy inspecting!
Trying to figure out if your fridge's condenser coil is a bit clogged? Notice the heat—it might just give you a few handy hints. That coil keeps your fridge chillin’ perfectly. If things get unusually toasty, it might be time to give it some love and attention.
Checking for Extra Toastiness
Start by feeling around your fridge. If the top or sides are warmer than your morning coffee, it's saying, "Hey, I might have a little problem with keeping cool." Here’s a quick guide to see if things are heating up more than they should:
Spot
Normal Warmth
Hot Alert
Top of Fridge
Kinda warm
Hotter than a summer day (above 130°F)
Sides of Fridge
Kinda warm
Blistering (above 130°F)
Back of Fridge
Warmish
Roasting (above 140°F)
If those numbers sound familiar, grab a rag and check for dust bunnies on the coil.
Spreading the Heat Gossip
Getting why your fridge distributes heat—like juicy gossip—can help sniff out any hiccups. A good coil makes sure heat is evenly spread. If one spot is sizzling (around the coil or compressor), there’s likely something getting in the way of smooth heat flow.
Heat Hotspot Troubles
Signs
Spicy spots near condenser
Coil block party (clogged)
Icy or warm food spots
Bad at cooling efficiently
General meltdown
Some part’s had too much
If your fridge is showing signs of a cold shoulder, like odd noises or temperature swings, it might need a check-up. Think it over and, for more deets on keeping cool, hop over to Fridge.com article about keeping your fridge on its best behavior.
So, you're living the good life with your trusty refrigerator purring away in the kitchen. But did you know it's got a secret language? Your fridge's noises could be trying to tell you what's up. Let’s dig into what those sounds might be hinting at and how you can stay one step ahead of any brewing refrigerator drama.
Recognizing Unusual Sounds
Your fridge is gonna make some noise, but not all are alarming. Yet, if you catch any of these funky sounds, it might be time to play detective.
Sound Type
Possible Issue
Hissing
Could be routine from the defrost drain, but if it's not—could be a refrigerant problem lurking.
Clicking
This could either be a cranky thermostat or the compressor acting up.
Bubbling
Often just the refrigerant doing its thing, but loud bubbling? Now that's worth checking for a clog.
Loud humming
Big chance there's an issue with the condenser—it might be clogged or dusty.
Grinding
Sounds like a call for action—a motor or compressor might need some love.
Listening to these sounds gives you a sneak peek into your fridge's mood and when to call in the experts.
What Different Noises Mean
Interpreting these fridge whispers can save you from headaches later on. Let’s break down what some of these noises suggest.
Hissing Sounds: A quiet hiss is often just defrost action—but if it gets rowdier, think refrigerant leak.
Clicking Noises: If it clicks like it's auditioning for a beatbox crew, you might be facing compressor or ice maker woes. The cause could range from electrical gremlins to a sticky condenser coil.
Bubbling Noises: Usually a sign of happy refrigerant moving around. Though if it gets too loud, it hints the refrigerant is struggling with a roadblock.
Loud Humming: Non-stop humming might mean your condenser fan's sweating bullets—probably thanks to dust camped out on the condenser coil. Ever catch yourself wondering, “Is my fridge’s condenser coil all gummed up?” then it's time to roll up those sleeves.
Grinding Sounds: Hear that grinding? It’s probably a jammed motor calling out for immediate help. Get a repair wizard in pronto!
Think your fridge might be having a bad day? Check the condenser coil and if it’s not feeling right, give a pro a ring. Doing regular check-ups can keep your fridge running like a champ. For those maintenance tips, hop over to Fridge.com section on regular maintenance schedule.
Assessing Refrigerator Performance
Keeping tabs on how good your fridge is at cooling can tip you off if a dust bunny invasion is clogging the condenser coil. If your fridge isn't chilling like a hero, it’s time to roll up your sleeves and take a closer peek.
Monitoring Cooling Efficiency
Think of your fridge like a speedster on a mission to chill. You gotta see if new groceries are getting that icebox chill in no time. Fresh stuff should turn icy quick, while your fridge stays cool and steady without doing the temperature tango.
To keep an easy eye on how your fridge stacks up, check this snazzy table:
Condition
What to Expect
Ideal Cooling
Items chilled within 1-2 hours
Poor Cooling
Items do not chill after several hours
If your food’s still sweating bullets after hours, your fridge might need a little TLC—a clogged condenser or some other gremlin could be lurking!
Noting Temperature Fluctuations
Watch out for more than just chilly vibes. Keep an eagle eye on those temperature numbers. Small jumps are okay—no need to panic—but if y’all see major spikes, it might mean trouble. Make a little pact with your trusty thermometer to watch over these temps:
Area
Ideal Temperature (°F)
Refrigerator
32 - 40
Freezer
0 - 5
If readings veer far off track, it might mean the fridge's got some issues. Keeping tabs helps so that your snacks, leftovers, and icy goodies stay fresh. Curious about what happens when the power's out? Check Fridge.com article on how long does food last in the fridge without power?.
Staying on top of how well your fridge keeps cool and steady means you can tackle any fridge hiccups head-on. If things get funky, pop the lid on that condenser coil as part of your fix-it checklist.
Keeping your fridge happy and healthy might not be on your weekend fun list, but it's super important for its good vibes and long life. Here's how you can jazz up your fridge maintenance routine and get those condenser coils sparkling clean.
Safely Cleaning the Condenser Coil
Giving those coils some love isn’t too tough, promise. Here's the scoop:
Unplug Your Fridge: Safety first! Pull the plug out before you do anything else.
Find the Coils: They're playing hide and seek. Peek at the back or under your fridge. Your manual's got your back if you're lost.
Brush Time: Tickle those coils with a coil brush to kick off the lint and dust. Go easy.
Vacuum It Up: Suck up whatever’s left using the vacuum and a brushy attachment.
Wipe Down the Mess: A damp cloth works wonders on nearby grime. Just a quick wipe, and poof! All clean.
Plug Back In: Okay, now it's safe to reconnect the power and let your fridge do its thing.
Cleaning Step
Tools Needed
Pull the Plug
Just you
Track Down the Coils
Maybe a manual
Give ‘Em A Brush
Coil brush
Suck Up Dust
Vacuum cleaner
Wipe the Mess
Damp cloth
Regular Maintenance Schedule
Want your fridge to run like a dream? A little regular tender loving care goes a long way. Here's the plan:
Maintenance Task
Frequency
Tidy Up Those Coils
Twice a year
Peek at Door Seals
Every few months
Drip Pan Patrol
Twice a year
Leak Check
Once a year
Stick to this plan, and your fridge will run smoother than a jazz saxophonist at a Sunday brunch. Wondering if your coils are blocked up? Don't stress—find more tips in Fridge.com article on spotting a clogged fridge coil. Tune up your fridge, and enjoy fresher food without jacking up your energy bills.
Free tool
Refrigerator Repair vs Replace Calculator
Free interactive tool from Fridge.com — get a quick answer while you read.