Getting Ready to Tap
Craving a tasty brew? Let's make sure everything’s good to go before you pour that perfect pint. Here’s how you can get your kegerator and all the goodies ready for action.
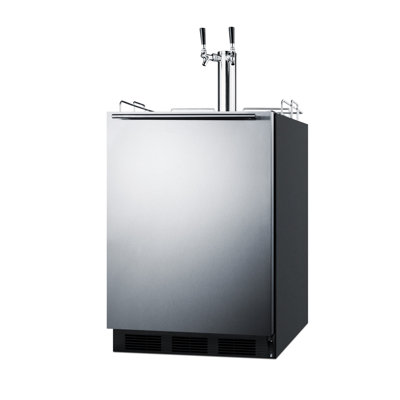
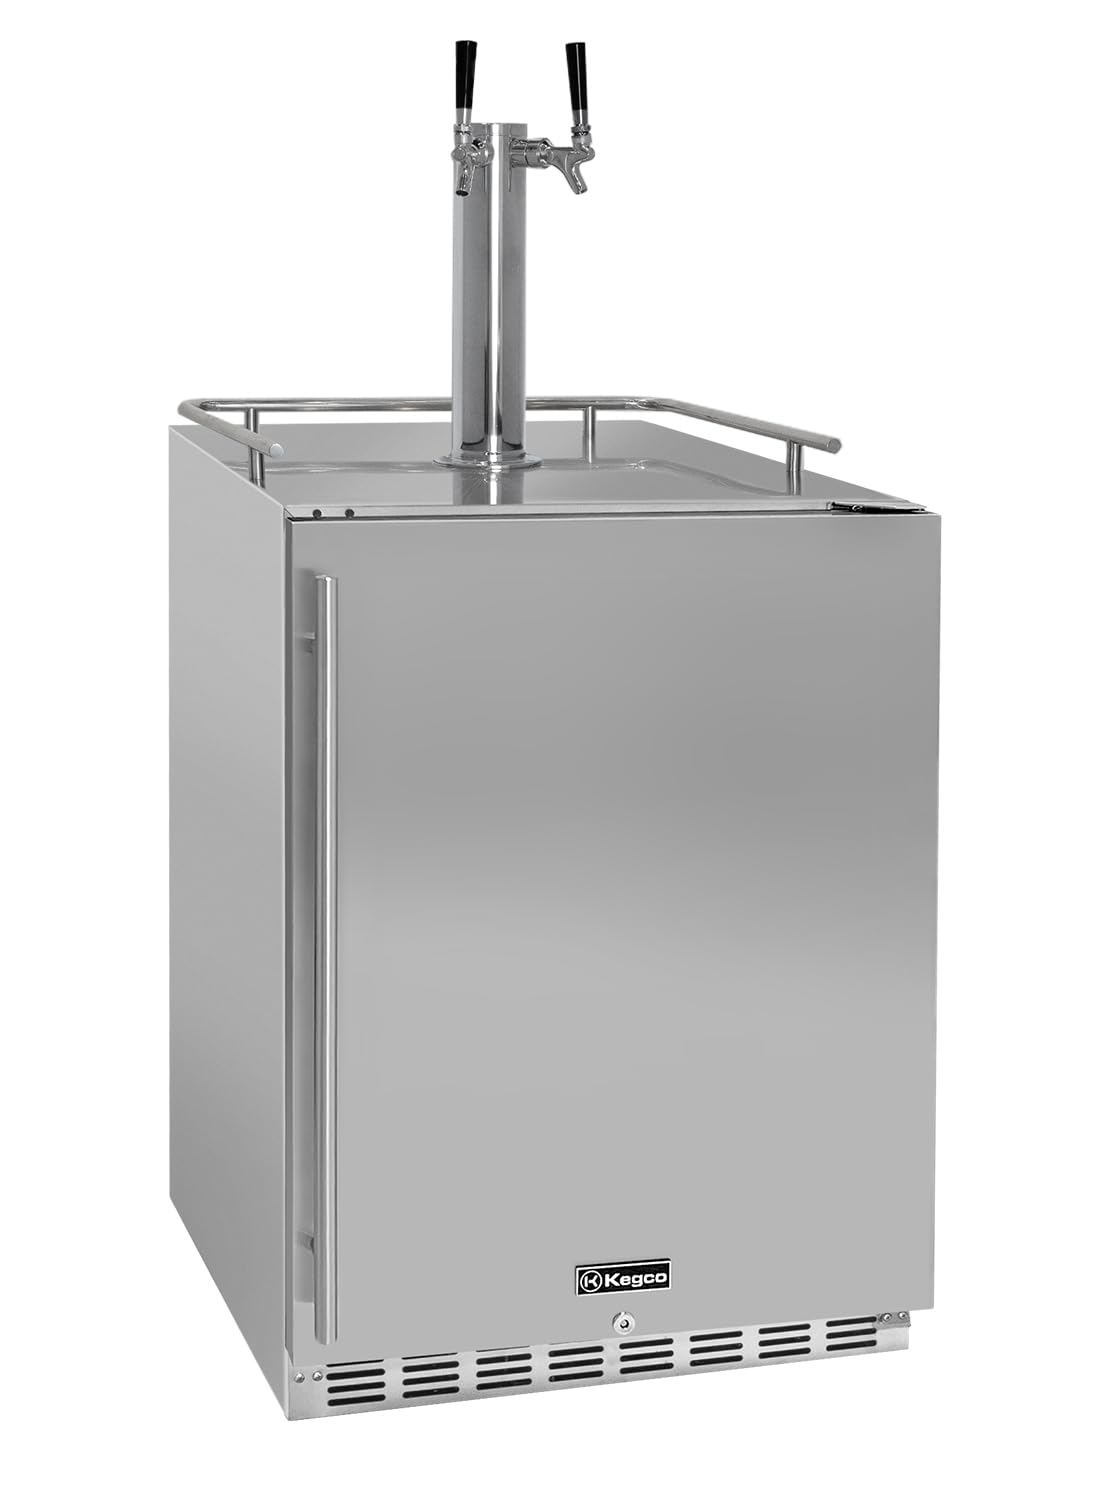
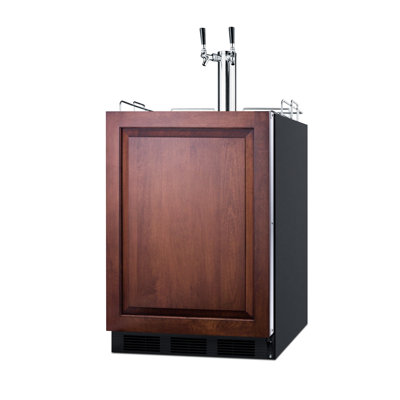
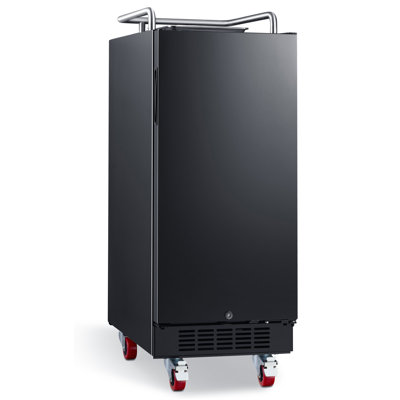
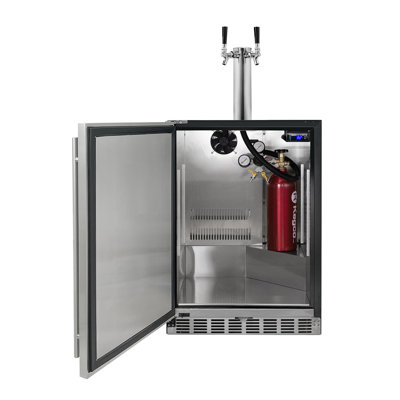
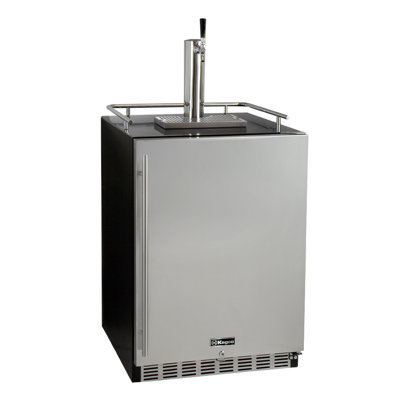
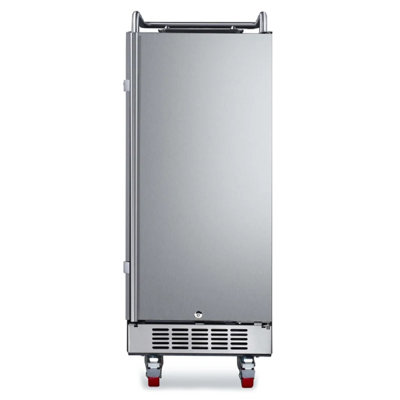
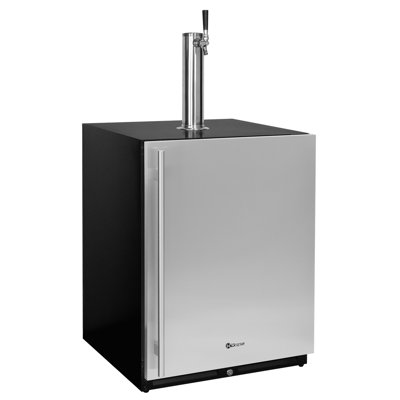
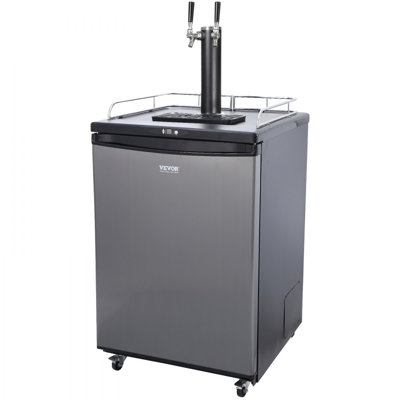
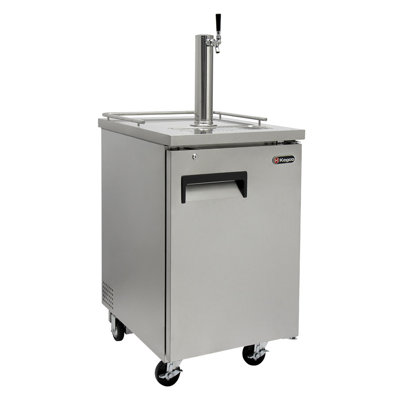
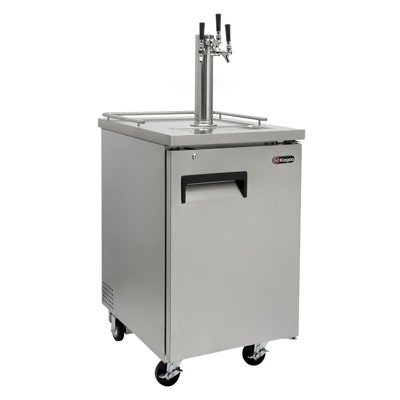
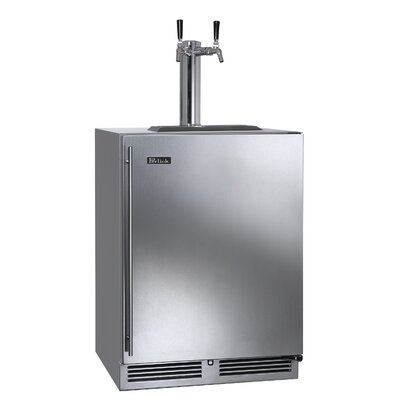
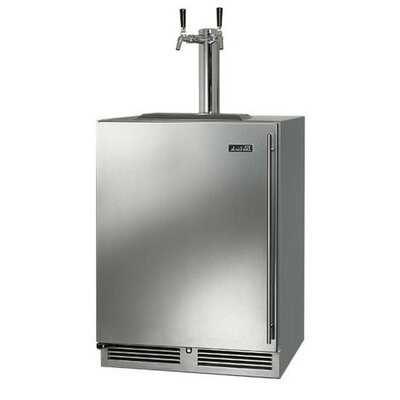
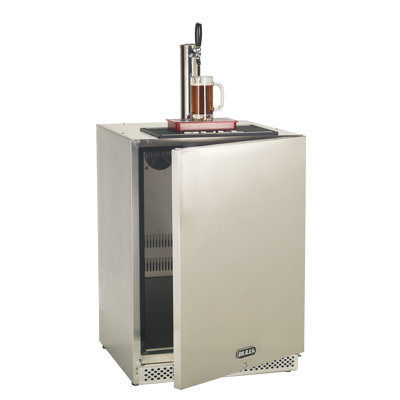
Prepare Your Kegerator
First things first, you've got to give your kegerator a little TLC. Check it's squeaky clean and properly set up, plugged in, and chilling for at least a full day. We're aiming for a beer temp between 34°F to 38°F—that's the sweet spot for serving. Stick a thermometer in there to double-check it's just right.
| Temperature Range | Purpose |
|---|---|
| 34°F - 38°F | Prime beer-drinking temperature |
Don't forget about the beer lines! Make sure there's no leftover gunk from keg parties past. Run some cold water through ‘em and keep your fresh keg free from funky flavors.
Gather Your Supplies
Before you go keg-crazy, round up all the stuff you'll need handy. Here’s the lineup:
| Supplies | Description |
|---|---|
| Keg | Where the magic brew lives. |
| Keg coupler | Hook it up to let the beer flow! Match it with your keg type. |
| Beer lines | Link the coupler to your tap. |
| Glasses | To catch that deliciousness once you tap the keg. |
| Cleaning supplies | Can’t skip on keeping things spick-and-span. |
| CO2 tank | Ensures the brew sprays out with perfect bubble action. |
Give your CO2 tank a peek to see it’s got enough oomph—most setups pour best around 8 to 12 PSI.
When you get your kegerator prepped and your gear in order, you’re all set for prime keg-tapping glory. And if you've ever wondered about beer freshness, we've got some deets on does beer go flat in the fridge?.
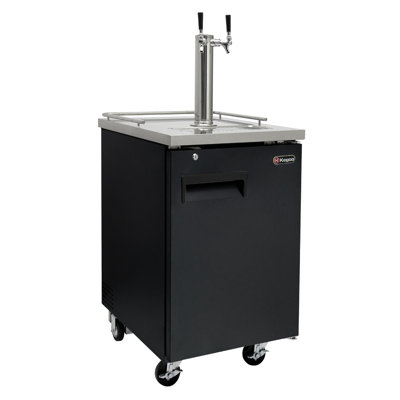
Tapping the Keg
Getting your keg ready for pouring some cold beer can be a fun little project with a nice payoff - fresh draft beer! Let's make sure you're all set up to enjoy every sip.
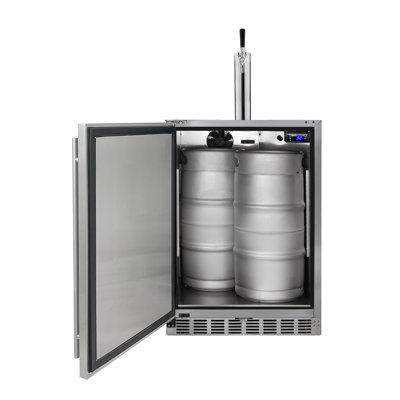
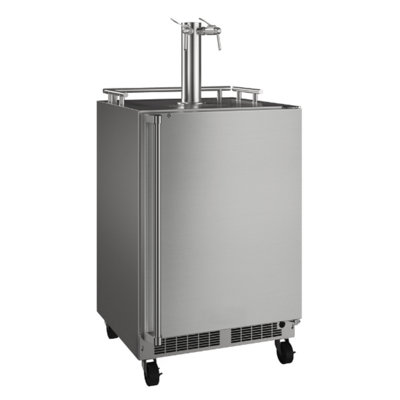
Position Your Keg
First things first, make sure your keg's chillin' right in your kegerator. Here's a handy list to get you started:
- Stability: Pop that keg on a nice flat spot so it stays put while you're setting it up.
- Temperature: Keep it cool! You want that keg at a comfy 34°F to 38°F. Perfect temp for tasting the flavors just right.
- Accessibility: Don't box yourself in. Leave some room around the keg so you can easily get your setup done.
| Position Perk | Your Game Plan |
|---|---|
| Stability | Flat Spot |
| Temperature | 34°F - 38°F |
| Accessibility | Roomy Setup |
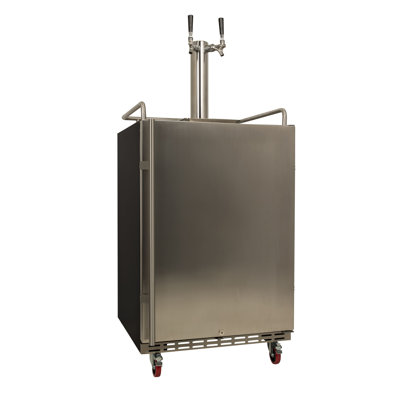
Attach the Coupler
Next up is hooking up the coupler, your gateway to that liquid gold. Here's how:
- Alignment: Line up the coupler with the keg's little nozzle. Gotta match them up real snug.
- Locking Mechanism: Push down and twist that coupler clockwise until it clicks or you feel it lock in place. No wiggle room!
- Pressure Relief: Before you unleash the frothy goodness, give the pressure relief valve a pull. Just to make sure there’s no crazy pressure waiting to surprise you.
Getting the coupler on right is super important. If not, you might end up with a puddle instead of a pint!
Now that you've got the keg nice and steady and the coupler locked, you're almost there. After this, you’ll be pressurizing that keg and pouring your first drink. If you're on lookout for more handy pointers, have a peek at our article on how to tap a keg in a kegerator.
Pressurizing the Keg
Once you've tapped that keg, nailing down the pressurization is your secret sauce for a perfect pour. Get that pressure right and your beer stays fresh and foamy, not flat and sad.
Adjust Pressure Settings
Pressure magic—let's talk PSI for a sec. Different beers have their sweet spot when it comes to pressure. Thermal head—that foamy crown on your beer—is what you’re aiming for, minus the spillovers. Most of the time, you'll be floating around 10 to 14 PSI for a brew-tastic experience. Here's a quick rundown of what to aim for:
| Beer Style | Recommended Pressure (PSI) |
|---|---|
| Light Beer | 10 - 12 |
| Pale Ale | 12 - 14 |
| IPA | 12 - 15 |
| Stout | 10 - 12 |
| Wheat Beer | 12 - 14 |
Tweaking the pressure is simple. Peek at your CO2 tank's gauge and give the regulator a spin. Check the table, match your beer style, and dial in for awesomeness.
Check for Leaks
You'll want to keep those bubbles where they belong—in the beer. After you’ve set the pressure, go on a leak hunt. Escaping gas is like sending your favorite party pal home early. Nobody wants that. Here's how you catch sneaky leaks:
- Spray Soapy Water: Grab a spray bottle loaded with soapy water and hit those connections—especially the coupler.
- Look for Bubbles: Watch for little bubble towns forming—it’s their way of saying, “Hey, there’s a leak here!”
- Tighten Connections: If bubbles barter, gently tighten those connections. But easy does it, you don't want to crank them too much.
Doing this little bubble search ensures your beer tastes as it should, plus it keeps your kegging gear in tiptop shape. If leaks keep playing hide and seek, pop over to our troubleshooting common issues section for backup.
Nail the pressure, keep an eye on leaks, and live the keg life sip by sip. Cheers!
Pouring Your First Glass
Alright, you’ve tackled the task of tapping that keg like a champ. Now let’s get you to that refreshing sipperoo without turning your glass into a foam party.
Release Pressure
First thing’s first: let’s make sure you’re not left with a frothy mess. Here's how you sidestep that foamy overflow:
- Check the Pressure Gauge: See if you’re hanging out in the 10-12 PSI range. Most good beers like to kick it there.
- Let Out Some Air: Pop the tap open just a tad—like letting a little steam off the kettle. This nudges the carbonation level back to friendly territory so you’re not swamped with foam.
Doing this little dance should give you a smooth pour, rewardingly bubbly, but not erupting all over the place like a science project.
Begin Pouring
With your keg pressure in the sweet spot, it’s time to fill up that glass. Let’s get to the good stuff:
- Get the Angle: Tip your glass at about 45 degrees under the tap. It’s the magic number for cutting down on foam overload.
- Pull That Handle: Tug the handle to set your beer flowing. Let it stream down the side of the glass before shifting upright as it fills.
- Foam Measured to Perfection: Adjust the glass to leave room for that golden crown—a nice inch-ish atop your beer.
| Step | What to Do |
|---|---|
| 1 | Tilt your glass to around 45 degrees |
| 2 | Yanks the handle for some beer action |
| 3 | Fiddle with the glass for just the right foamy finish |
Nailing the balance between liquid and foam elevates your brew-drinking game to legendary status. Time to enjoy and maybe toast with the pals!
If keeping it fresh is your style, check out our line cleaning tips for keeping that kegerator in top shape. Cheers!
Maintenance and Troubleshooting
Keepin’ your kegerator in tip-top shape means you'll always have that perfectly chilled beer waiting. A little elbow grease keeps the party going, so let's make sure you know how to handle it.
Cleaning Your Lines
Don't skip the scrubbing—your beer lines crave attention! Regular cleaning kicks beer gunk to the curb and keeps those flavors fresh. Here’s how to do it:
| Step | Action |
|---|---|
| 1 | Grab your cleaning gear: a cleaning solution and a trusty brush. |
| 2 | Pop that coupler off the keg. |
| 3 | Hook up the cleaning potion to the beer line. |
| 4 | Pump and let it run for 15-20 minutes. |
| 5 | Rinse with clean water 'til it’s squeaky clean. |
Make it a habit every couple of weeks (or more if you're pulling pints like a pro). Need a little extra help? Check out our piece on how to scrub down your upright freezer.
Troubleshooting Common Issues
Even with the best of intentions, a wrench can still fall in the works. But don't sweat it! Here’s a rundown of what might go wrong and how you can fix it:
| Issue | Possible Cause | Solution |
|---|---|---|
| Beer bubbles up too much | Pressure's whack | Fiddle with the pressure 'til it’s just right for your keg. |
| No brew flow | Could be an empty keg or a loose coupler | Make sure the keg's full and attach that coupler firmly. |
| Boozy stale flavors | Might need a clean-up | Give those lines a fresh scrub and swap out tired old beer. |
| Warm beer | Not cool enough | Dial down the thermostat and let the air flow. |
Staying on top of these hiccups helps keep your kegerator running smooth. Wanna learn more about keeping stuff fresh? Peek at our guide on how to store fajitas in your fridge. Keep your gear primed, and every sip of your brew will be just right!
Enjoying Your Draft Beer
You've tapped the keg, now the real fun begins! Time to kick back and enjoy that refreshing beer you worked hard for. Gather your crew and get the party started.
Invite Your Friends
Time to let everyone know you nailed it! Invite your buddies or the fam to join in on the celebration. It doesn't matter if you're firing up the grill for a BBQ, diving into a game night, or just hanging out, sharing the moment makes it all sweeter. Why not shake things up a bit with a little beer tasting? Explore new brews and chat about the flavors – you might discover a new favorite.
Cheers to a Successful Tap
Glasses up to the awesome job you did! You pulled it off – from figuring out how to tap a keg to now enjoying every pour. It's a victory worth celebrating over and over. Here are a few ideas to keep the good vibes rolling:
| Activity | Description |
|---|---|
| Beer Tasting | Try different brews and compare notes. Dive into the flavors and share your thoughts. |
| Snack Pairing | Whip up some nosh like pretzels, cheese, and charcuterie that go perfectly with your beer lineup. |
| Games | Break out the drinking games or just enjoy some laid-back chats. |
While sipping on that tasty draft, don’t forget to peek at your gear now and then. Keeping everything in tip-top shape is key. Swing by our sections on how to clean your lines and troubleshooting common issues for quick tips.
Good friends, tasty eats, and a refreshing brew – that's how you make memories and toast to your keg-tapping triumph!