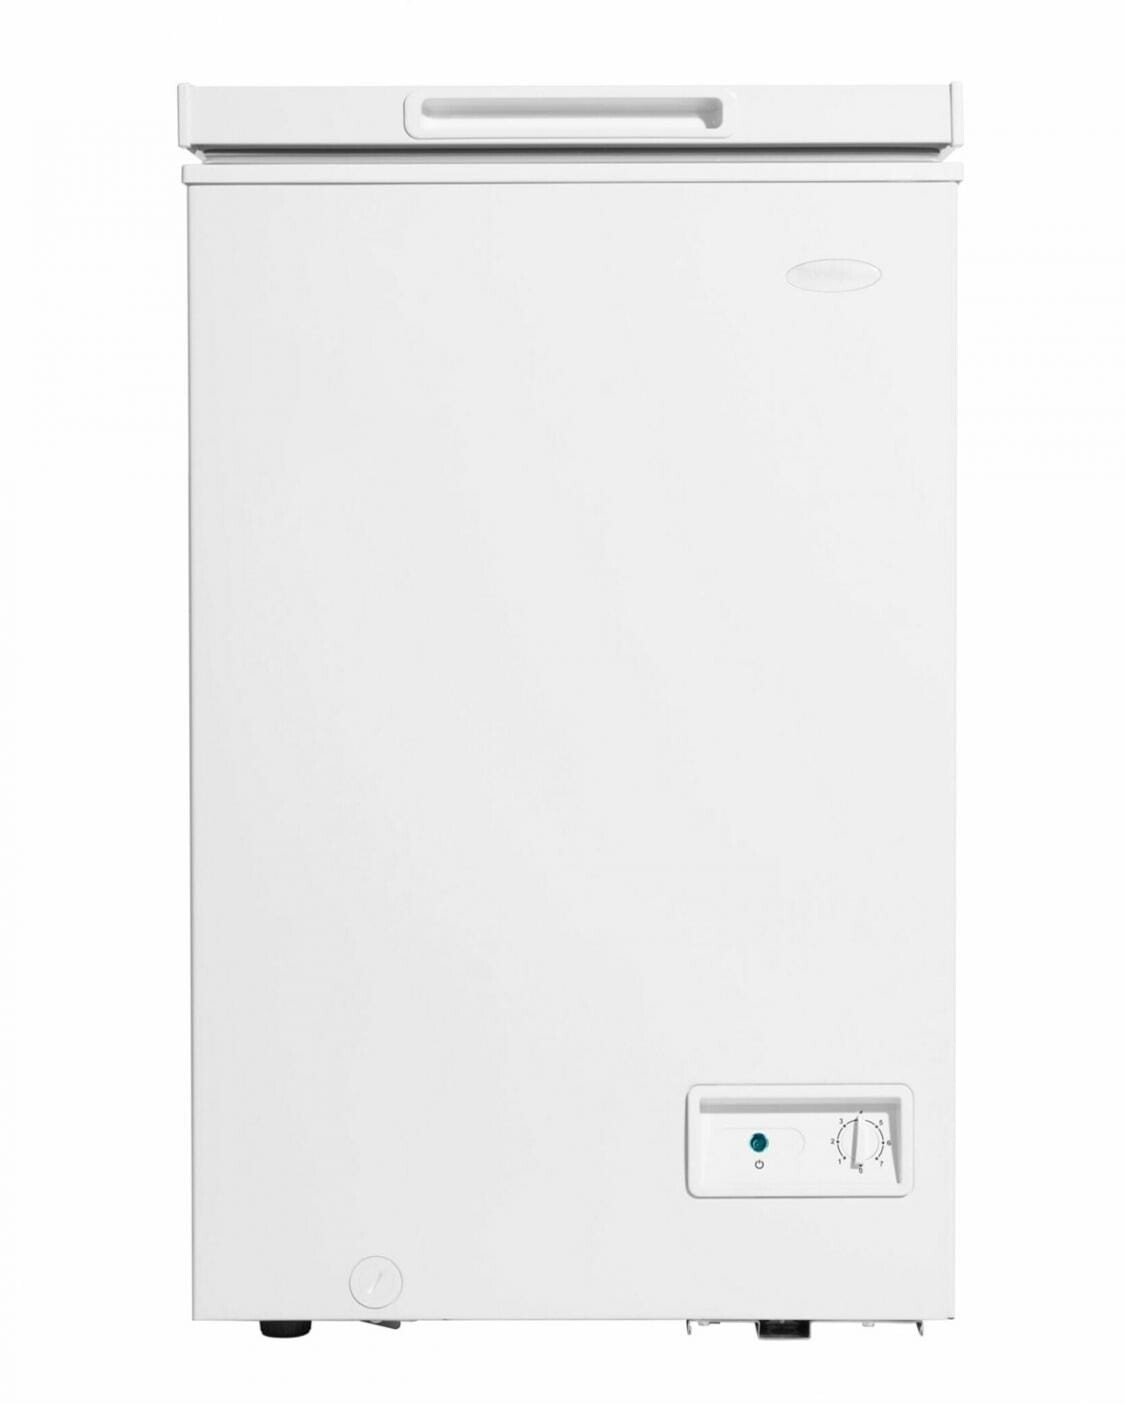
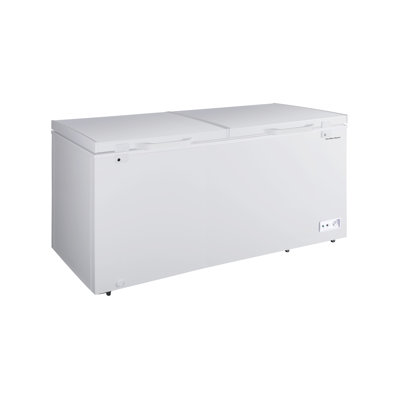
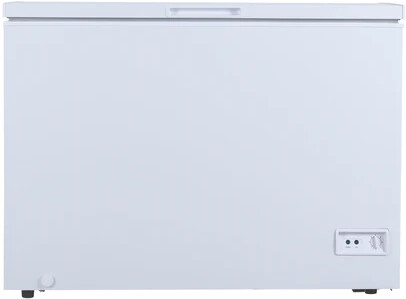
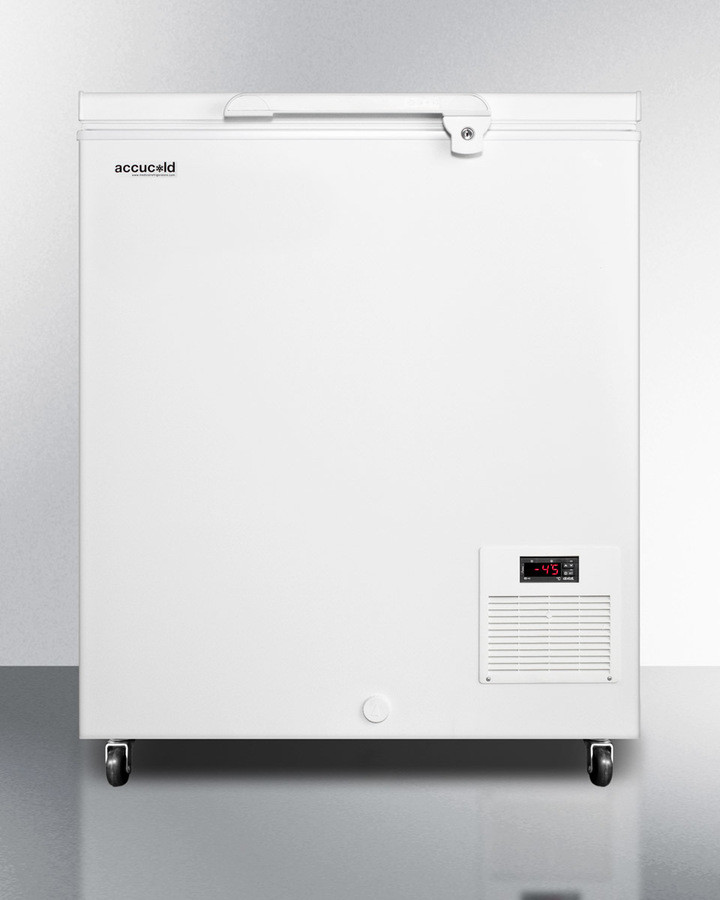
How To Move A Chest Freezer
Getting Ready to Move Your Chest Freezer
Moving a chest freezer isn't just about muscle—it's about smarts too. With a bit of planning and the right gear, you can make the move smooth and safe.
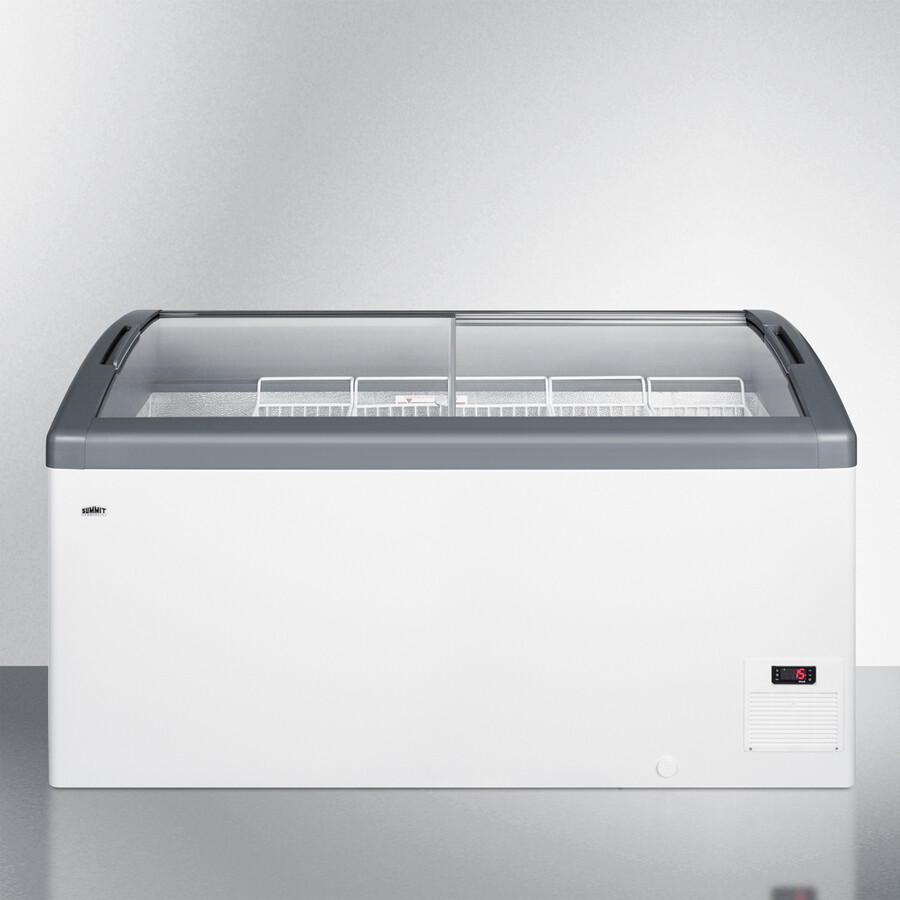
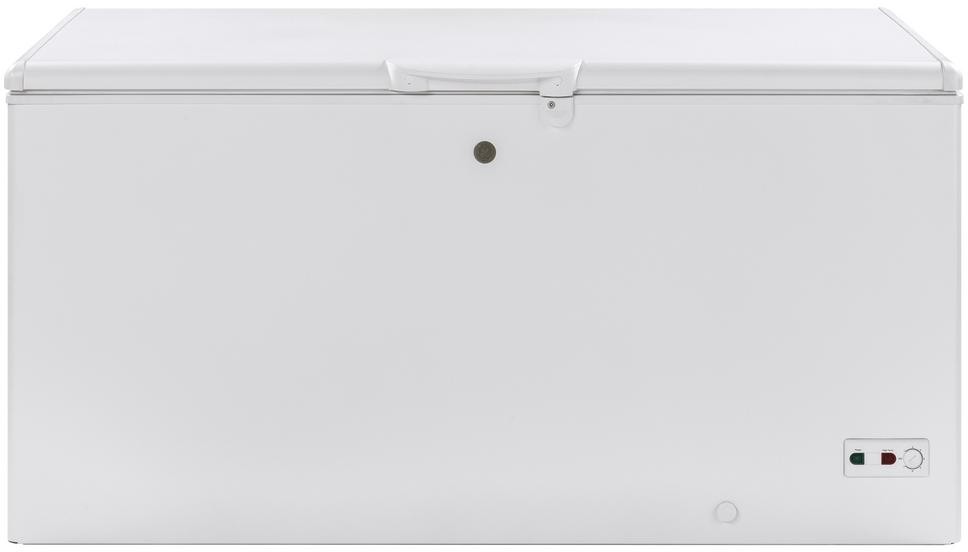
Size and Weight Check
First things first, you need to know what you're dealing with. The size and weight of your freezer will dictate your game plan and how many buddies you'll need to rope in.
| Freezer Size | Approx. Weight (lbs) | Dimensions (inches) |
|---|---|---|
| Small (5-7 cu. ft.) | 60-100 | 30-40 x 20-25 x 30-35 |
| Medium (8-15 cu. ft.) | 100-200 | 40-60 x 25-30 x 30-35 |
| Large (16-25 cu. ft.) | 200-350 | 60-85 x 30-35 x 30-35 |
Knowing these details helps you figure out the best way to move it and how many hands you'll need. If you're scratching your head about the specifics, grab the manual or do a quick online search for your model.
Gear Up
You wouldn't go into battle unarmed, right? Same goes for moving a chest freezer. Here's your checklist:
- Moving blankets or pads: Keep that freezer looking fresh by avoiding scratches and dents.
- Dolly or hand truck: Your back will thank you.
- Straps or bungee cords: Keep the freezer from doing the cha-cha during the move.
- Packing tape: Secure any loose bits and bobs.
- Gloves: Save your hands from the heavy lifting.
With these tools, you're all set to move your freezer without a hitch. For more tips on moving other types of coolers, check out Fridge.com guides on moving a 2-door refrigerator, moving a beer fridge, and moving a compact freezer.
By knowing the size and weight of your chest freezer and gathering the right supplies, you're on your way to a hassle-free move.
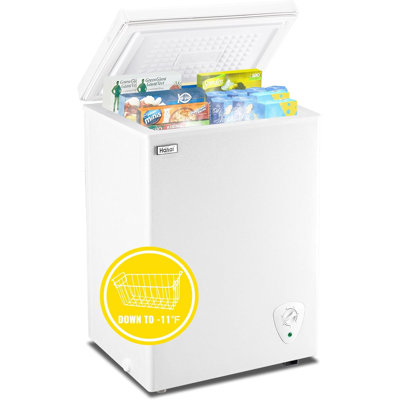
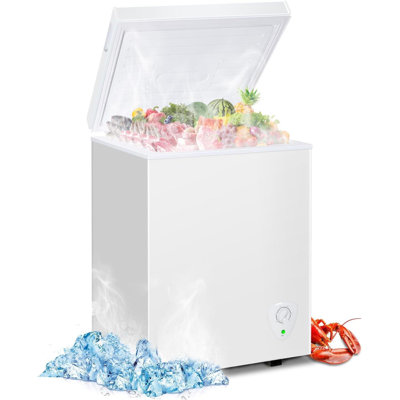
Clearing and Cleaning the Freezer
Getting ready to move your chest freezer? Let's make sure it's done right so you don't end up with a soggy mess or spoiled food. Here's a simple guide to help you clear and clean your freezer before the big move.
Emptying the Freezer
First things first, get everything out of the freezer. This isn't just about making it lighter; it's also about keeping your food safe.
- Take Out the Food: Open the freezer and start pulling out all the goodies.
- Store Safely: Put your frozen items in coolers or insulated bags. If you have another freezer, now's the time to use it.
- Keep It Cold: Make sure your perishables stay at a safe temperature during the move.
Defrosting and Cleaning
Now that the freezer is empty, it's time to defrost and clean it. This will prevent any leaks and make it easier to handle.
- Unplug the Freezer: Pull the plug and disconnect it from the power source.
- Melt the Ice: Leave the door open and let the ice melt naturally. This can take a few hours, so be patient.
- Soak Up Water: Use towels to soak up any water that collects at the bottom.
After defrosting, it's time to give the freezer a good scrub to get rid of any leftover gunk or smells.
- Mix Cleaning Solution: Combine some mild dish soap with warm water.
- Wipe It Down: Use a sponge or cloth to clean the inside of the freezer.
- Dry It Out: Make sure the freezer is completely dry before you move it.
| Step | Action |
|---|---|
| 1 | Unplug the freezer |
| 2 | Melt the ice |
| 3 | Soak up water |
| 4 | Clean the interior |
| 5 | Dry it out |
Clearing and cleaning your chest freezer is a must-do before moving. For more handy tips on moving different types of refrigerators and freezers, check out Fridge.com articles on how to move a top freezer refrigerator and how to move a small chest freezer.
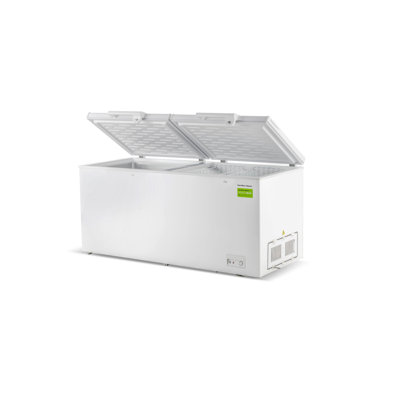
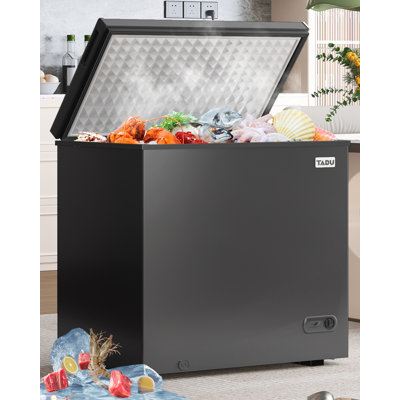
Moving Your Freezer Without a Hitch
Moving a chest freezer can feel like a big task, but with the right steps, you can make sure it gets to its new home safe and sound. Here's how to do it:
Unplug and Empty
First things first, you gotta unplug and empty that freezer. Here's the lowdown:
- Unplug the Freezer: Pull the plug from the outlet. This stops any electrical mishaps while you're moving it.
- Clear It Out: Take out everything inside. Food, shelves, compartments—everything's gotta go.
- Defrost Time: If there's ice, let it melt completely. This stops water from leaking all over your stuff. Need more on defrosting? Check out our defrosting and cleaning guide.
| Step | Action | Why |
|---|---|---|
| 1 | Unplug the freezer | Avoid electrical issues |
| 2 | Clear it out | Lighten the load, no spills |
| 3 | Defrost time | No water mess |
Lock Down the Lid
Once it's empty and dry, you gotta make sure the lid stays shut during the move. Here's how:
- Shut the Lid: Make sure it's closed tight.
- Tape It Up: Use some strong tape to keep it shut. Wrap it around the freezer if you need to.
- Strap It Down: For extra security, use moving straps. This is super important if you're going a long distance.
| Step | Action | Why |
|---|---|---|
| 1 | Shut the lid | Keep it from opening |
| 2 | Tape it up | Make sure it stays closed |
| 3 | Strap it down | Extra security for long trips |
Follow these steps, and you'll have your chest freezer ready to move without any drama. For more tips on moving different types of freezers, check out Fridge.com guides on moving a small chest freezer and moving an upright freezer.
Moving the Chest Freezer
Moving a chest freezer isn't rocket science, but it does need some planning and the right moves. Here’s how to get it done without breaking your back or the freezer.
Lifting and Carrying Techniques
When it comes to lifting and carrying your chest freezer, doing it right is key to avoiding injury and keeping your freezer in one piece.
- Buddy System: Don’t be a hero. Always have at least one other person to help you lift and carry the freezer. Sharing the load makes it safer and easier.
- Leg Power: Bend your knees and keep your back straight. Use your legs to lift the freezer, not your back. Trust me, your spine will thank you.
- Firm Grip: Make sure you have a solid grip on the freezer. If you’ve got moving straps, use them for extra support.
- Close and Personal: Hold the freezer close to your body. This helps you keep your balance and reduces the chance of dropping it.
- Clear the Way: Before you start moving, make sure the path is free of obstacles. You don’t want to trip over a rogue shoe.
These tips will help you move heavy stuff like a chest freezer without turning it into a disaster.
Using Moving Equipment Safely
Using the right tools can make moving your chest freezer a breeze. Here’s how to use them without any hiccups:
- Dolly or Hand Truck: These are lifesavers for moving heavy appliances. Place the freezer securely on the dolly, making sure it’s balanced. Strap it down so it doesn’t slide off.
- Furniture Sliders: These little gadgets are great for sliding the freezer across floors. Stick them under the corners to reduce friction and make it easier to move.
- Ramps: If you’ve got stairs or need to load the freezer into a vehicle, ramps are your best friend. Make sure they’re stable and can handle the freezer’s weight.
| Equipment Type | Purpose | Safety Tips |
|---|---|---|
| Dolly/Hand Truck | Moving heavy items | Secure with straps |
| Furniture Sliders | Sliding across floors | Place under corners |
| Ramps | Handling stairs/loading | Ensure stability |
Using these tools correctly will make the move smoother and safer. For more tips on moving different types of refrigerators and freezers, check out Fridge.com detailed guides on how to move a compact freezer and how to move a garage freezer.
By following these lifting and carrying techniques and using moving equipment safely, you can move your chest freezer without any injuries or damage.
Moving Your Freezer
Getting It into Your Ride
So, you need to move that chest freezer, huh? First things first, make sure your vehicle can handle it. Measure both the freezer and your car or truck to avoid any "uh-oh" moments.
- Grab a Dolly or Hand Truck: Slide the dolly under one side of the freezer and tilt it back gently. Secure it with straps so it doesn't decide to take a tumble.
- Lift Smart, Not Hard: If you're lifting it by hand, get a buddy to help. Bend your knees, keep your back straight, and lift with your legs. No one wants a backache.
- Slide It In: Once you've got it up, carefully slide the freezer into your vehicle. Keep it upright to avoid messing up the compressor.
Keeping It Steady
You don't want your freezer bouncing around like a pinball during the drive. Here's how to keep it steady:
- Strap It Down: Use heavy-duty straps or ropes to secure the freezer. Attach them to anchor points in your vehicle to make sure it stays put.
- Pad It Up: Wrap the freezer in blankets or padding to protect it from bumps and bruises.
- Double-Check: Make sure the freezer is stable and won't shift around. Adjust the straps and padding if needed.
For more tips on moving different types of freezers, check out these articles:
- How to Move a Deep Freezer
- How to Move a Garage Freezer
- How to Move a Mini Freezer
Follow these steps, and your freezer will make it to its new home safe and sound.
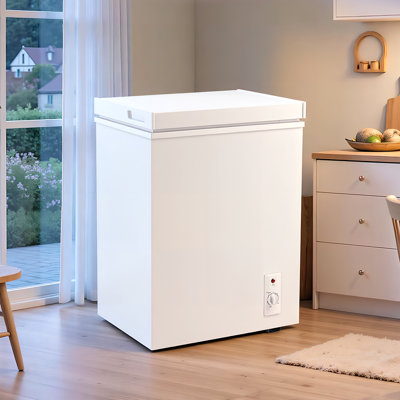
Setting Up the Freezer in the New Location
Alright, you’ve lugged that chest freezer to its new home. Now, let’s get it set up so it runs like a dream and lasts forever (or at least a good long while).
Positioning and Leveling
First things first, find a good spot. You want it somewhere you can easily get to and open the lid all the way without bumping into stuff. Make sure it’s on a flat, stable surface to avoid any weird vibrations or uneven cooling.
Grab a level and check that the freezer is sitting nice and flat. If the floor’s a bit wonky, adjust the feet of the freezer until it’s perfectly horizontal. This helps the compressor run smoothly and keeps the internal parts from getting messed up.
| Step | Action |
|---|---|
| 1 | Find a flat, stable surface |
| 2 | Position the freezer in an accessible spot |
| 3 | Use a level to ensure the freezer is horizontal |
| 4 | Adjust the feet if necessary |
Allowing for Proper Air Circulation
Your freezer needs to breathe. Make sure there’s enough space around it for air to flow. This helps get rid of the heat from the compressor and keeps it from overheating.
Leave at least 2-3 inches between the back of the freezer and the wall. Same goes for the sides. Give the top a bit more room, around 4-6 inches. This keeps the cooling system working efficiently and extends the life of your freezer.
| Area | Minimum Clearance |
|---|---|
| Back | 2-3 inches |
| Sides | 2-3 inches |
| Top | 4-6 inches |
Follow these steps, and your chest freezer will be set up just right in its new spot. Good positioning and air circulation are key to keeping it running smoothly for years. For more tips on moving different types of refrigerators and freezers, check out Fridge.com articles on how to move a small chest freezer and how to move an upright freezer.
Plugging in and Testing
Letting It Settle
Alright, you’ve got your chest freezer in its new spot. Now, hold your horses before plugging it in. Moving it around can mess with the coolant inside, and you don’t want to wreck the compressor. Give it some time to chill out and settle down.
How Long to Wait:
| Freezer Size | Wait Time (Hours) |
|---|---|
| Small | 2-4 |
| Medium | 4-6 |
| Large | 6-8 |
During this waiting period, make sure the freezer stays upright and don’t move it again. This helps the coolant get back where it belongs.
Making Sure It Works
Once you’ve waited, it’s time to plug in your chest freezer and see if it’s doing its job. Here’s how to check:
- Plug It In: Connect the freezer to a grounded power outlet. No sparks, please.
- Set the Temp: Turn the thermostat to your desired setting. Aim for 0°F (-18°C) for best results.
- Wait for It: Let the freezer run for a few hours to hit the set temperature. Use a thermometer to double-check.
- Listen Up: Pay attention to the compressor. It should hum along smoothly without any weird noises.
| Step | What to Do | What Should Happen |
|---|---|---|
| Plug It In | Connect to power | Freezer turns on |
| Set the Temp | Adjust thermostat | Hits 0°F inside |
| Wait for It | Give it a few hours | Thermometer shows correct temp |
| Listen Up | Check compressor sound | Smooth operation |
If something’s off, grab the manual for troubleshooting tips or call in a pro.
Need more moving tips? Check out Fridge.com guides on moving a 2-door fridge, moving a 3-door fridge, and moving a top-freezer fridge.
Get Your Upgrade or New Addition at Fridge.com
Whether you're searching for your perfect fridge, freezer, wine fridge, beer fridge, ice maker, or kegerator, Fridge.com has what you need.
Shop the world's best brands at Fridge.com.
It also has tons of awesome articles about kitchen stuff and home news. Enhance your home, garage, backyard, patio, and office with the coolest essentials. With every necessary type of residential refrigerator or freezer in the collection, you're covered.
Elevate your game and shop now at Fridge.com!