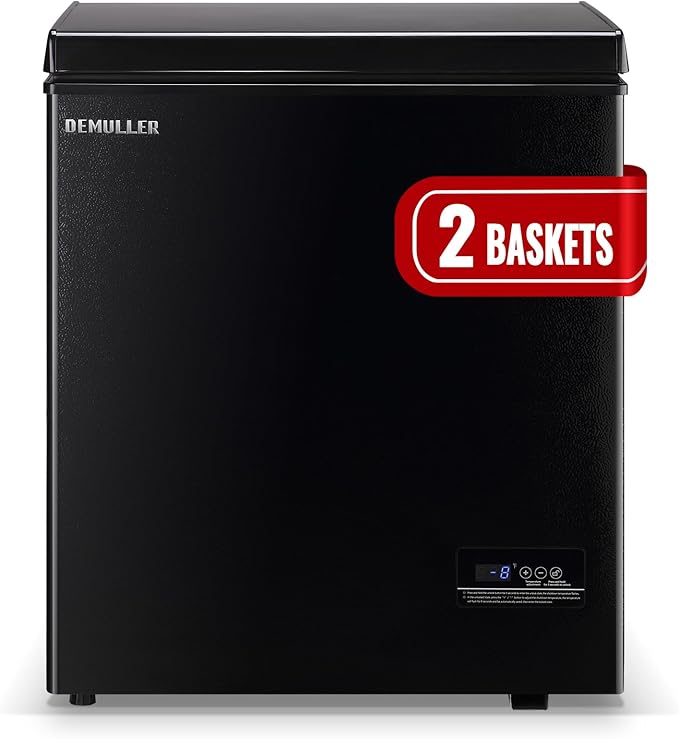
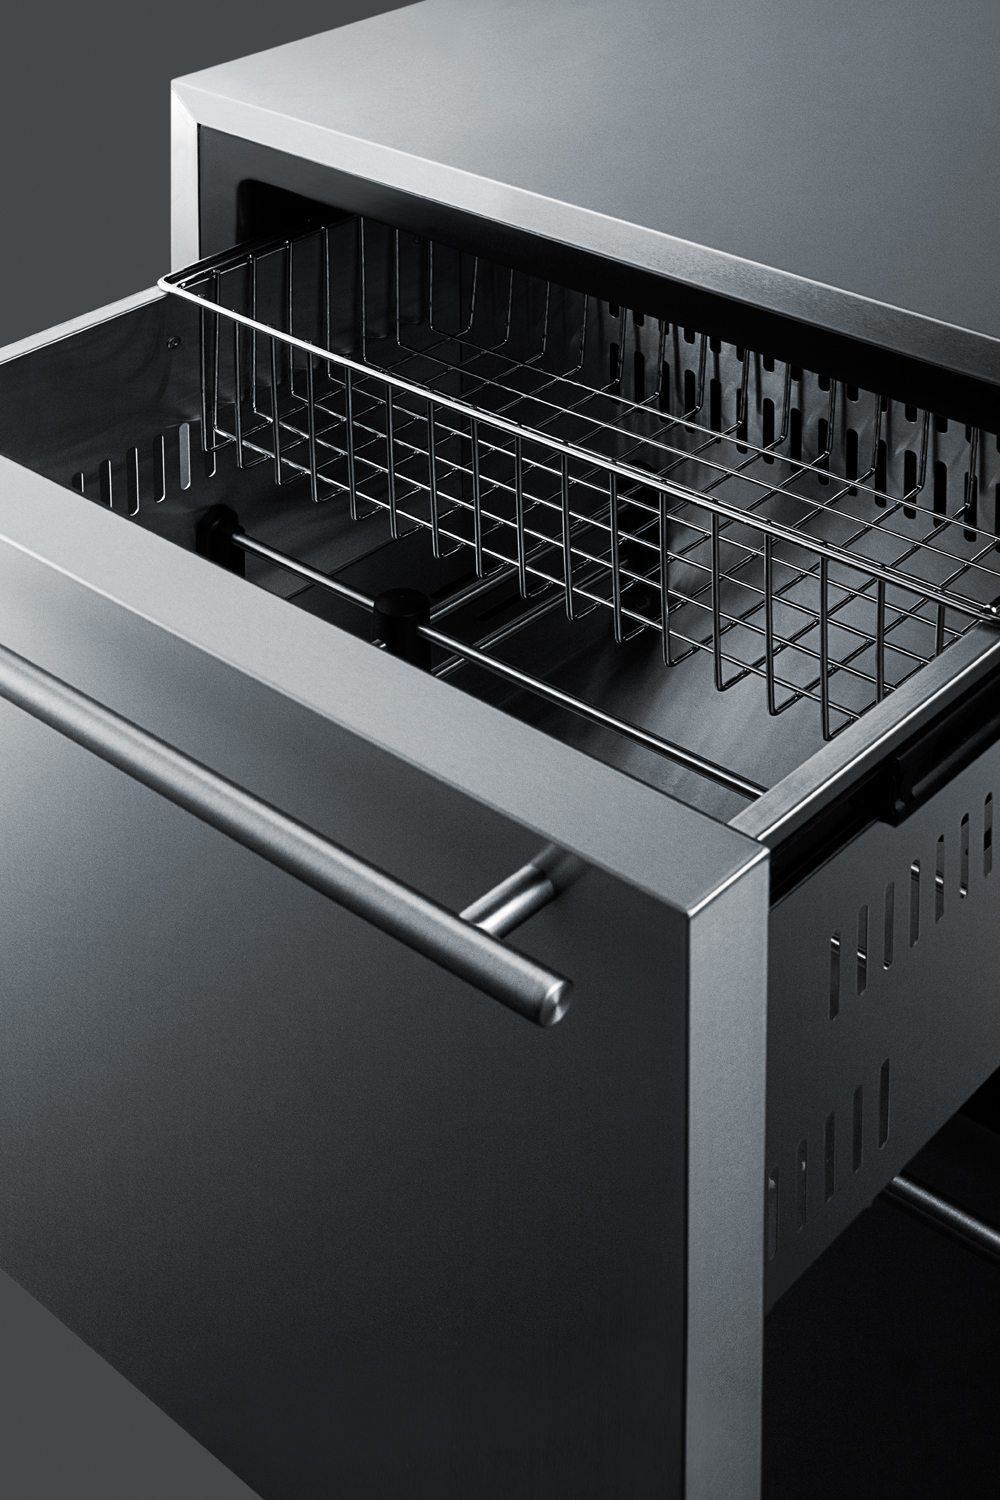
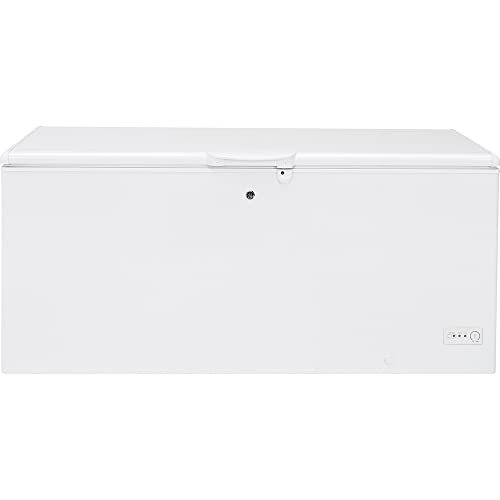
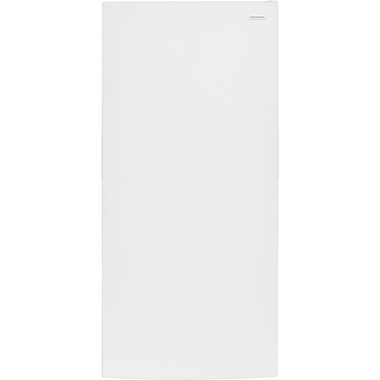
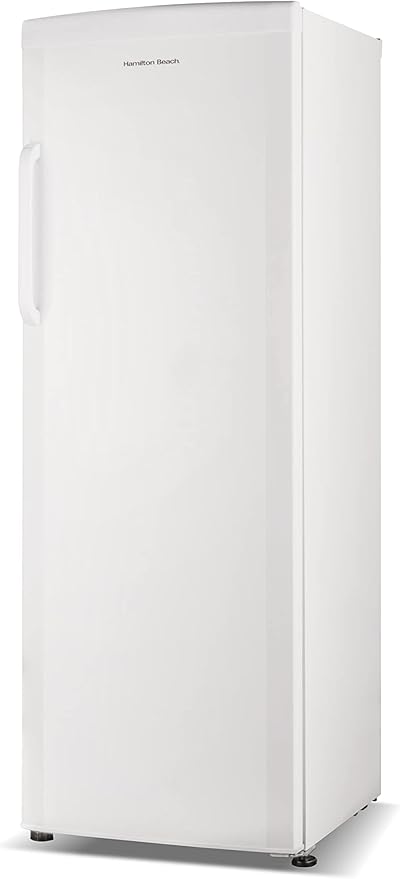
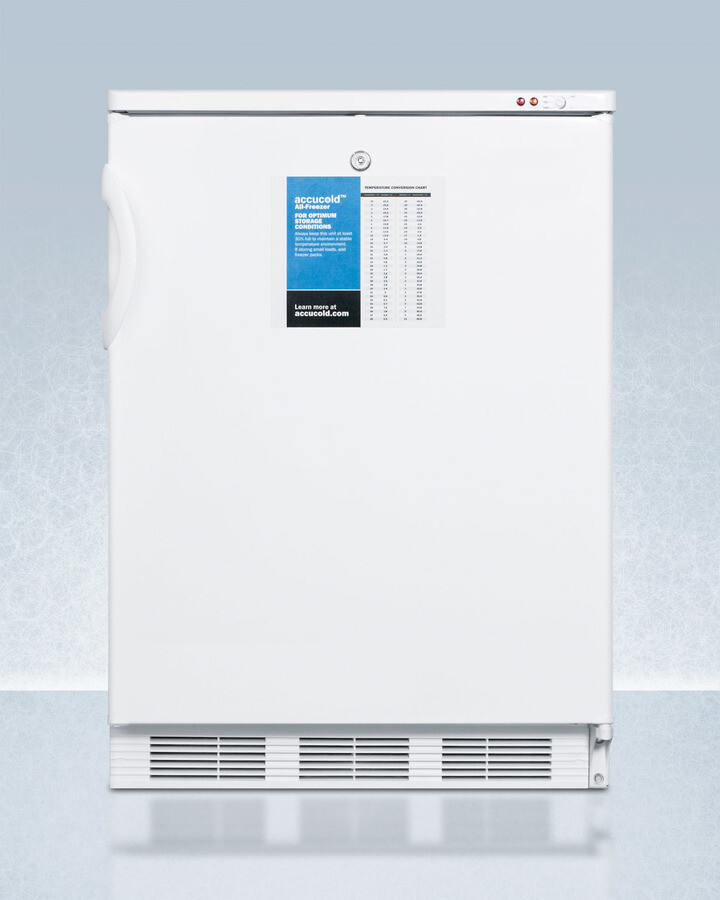
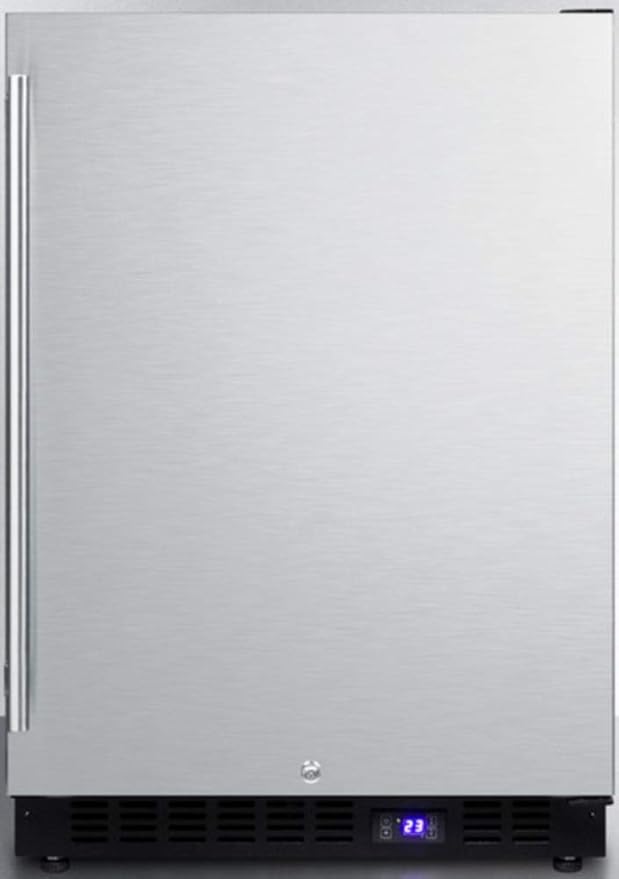
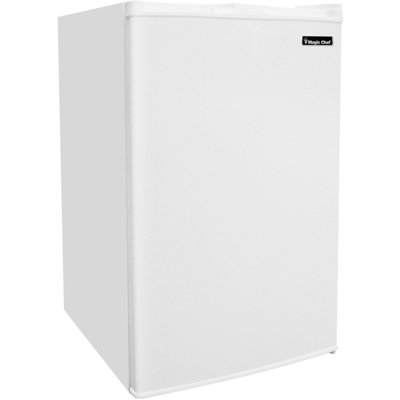
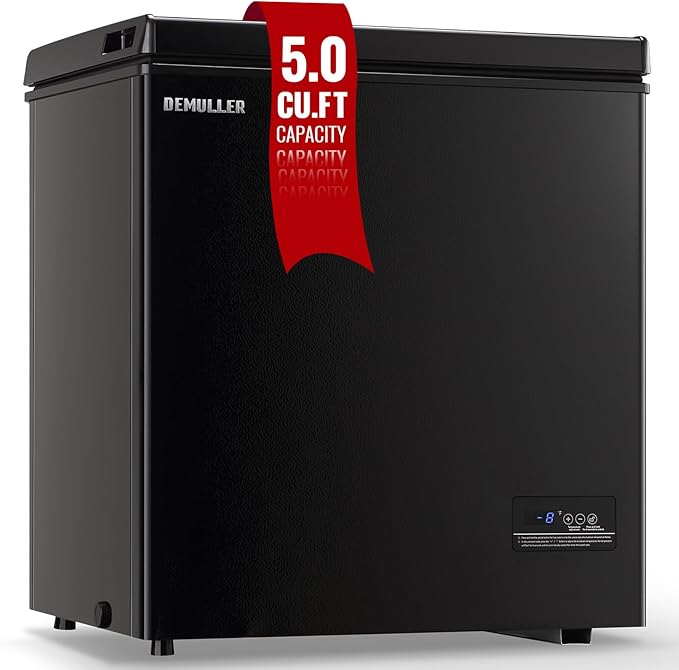
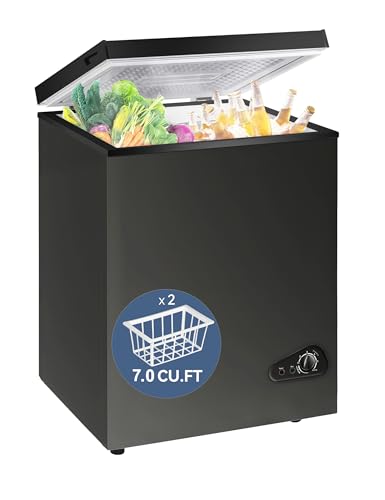
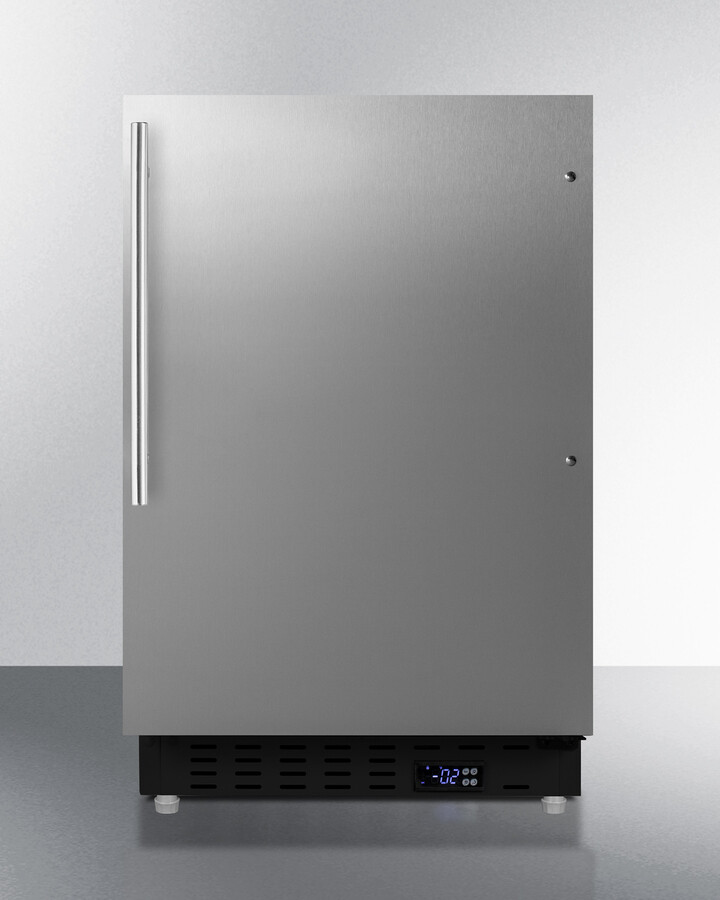
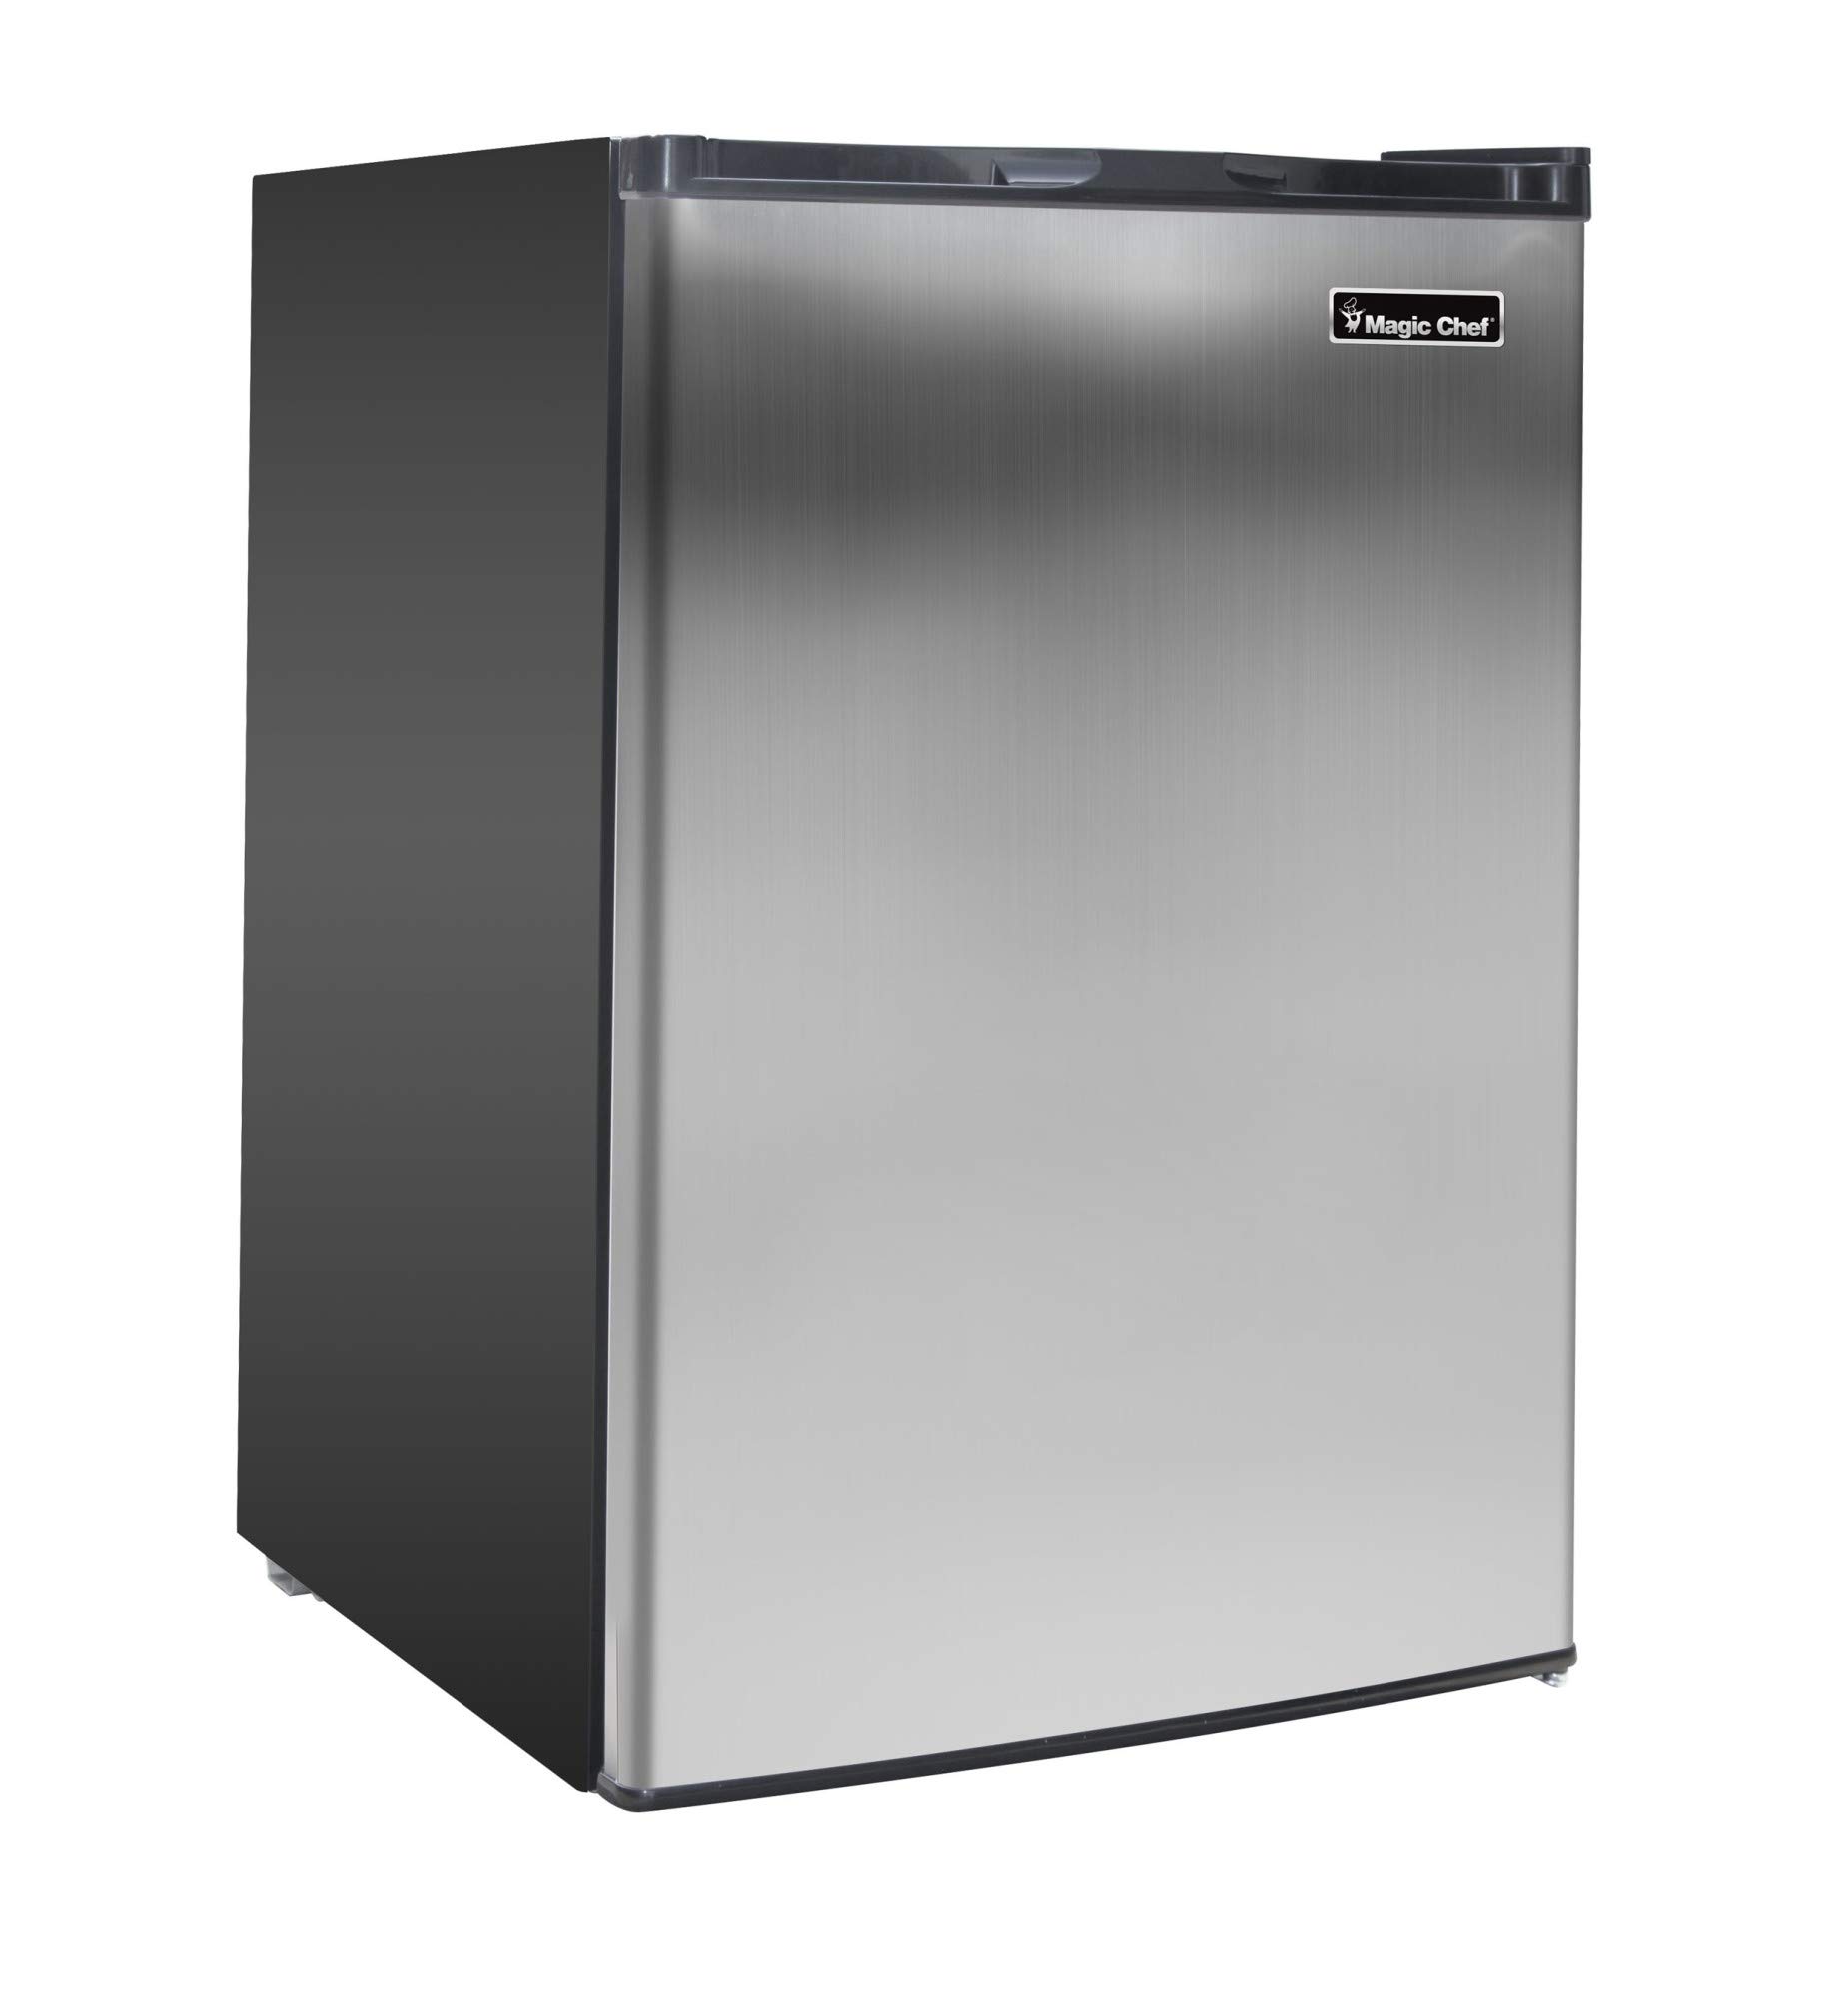
Before you start moving your compact freezer, take a moment to size up your space and empty the freezer properly. This will make the move smoother and safer.
Check Out Your Space
First, give the area around your compact freezer a good once-over and figure out the path it needs to take to get to its new spot. Keep these things in mind:
Doorways: Measure the doorways to make sure the freezer can fit through without a hitch.
Stairs: If stairs are involved, plan how you'll tackle them. You might need a buddy for this part.
Obstacles: Clear any clutter or obstacles along the way to avoid accidents or damage.
Flooring: Make sure the floor can handle the freezer's weight, especially if you're moving it over carpets or delicate surfaces.
Emptying the Freezer
Emptying your compact freezer is key to avoiding spills or damage during the move. Here's how to do it right:
Remove All Items: Take out all the food and stash it in a cooler with ice packs or another freezer for the time being.
Toss Perishables: Get rid of any perishable items that can't be stored elsewhere. This is a great chance to declutter and toss expired or unwanted food.
Unplug the Freezer: Disconnect the freezer from the power source. This is crucial for defrosting and cleaning, which you can read more about in Fridge.com section on defrosting the freezer.
Remove Shelves and Drawers: Take out any removable shelves and drawers to make the freezer lighter and easier to move. This also keeps them from shifting around during the move.
By checking out your space and emptying your compact freezer, you're setting yourself up for a smooth move. For more tips on moving different types of refrigerators and freezers, check out Fridge.com articles on how to move a chest freezer and how to move a mini fridge.
Moving a compact freezer doesn't have to be a headache. With the right prep and some handy supplies, you can make the whole process a breeze.
What You’ll Need
Before you start, gather everything you’ll need. Having the right stuff on hand will save you time and keep your freezer and home in one piece.
Here’s your shopping list:
Moving blankets or pads
Packing tape
Bubble wrap
Moving straps
Dolly or furniture sliders
Screwdriver or wrench (for taking off doors, if needed)
Permanent marker (for labeling parts)
Locking Down Loose Items
Loose items inside your freezer can turn into projectiles during a move. Here’s how to keep everything in place:
Take Out Shelves and Drawers: Remove all shelves, drawers, and bins. Wrap them up in moving blankets or bubble wrap and secure with packing tape. Label each piece so you know where it goes later. Need more tips? Check out Fridge.com guide on moving a compact refrigerator.
Seal Doors and Lids: Use packing tape to keep the freezer door or lid shut. Painter’s tape works great because it won’t leave sticky residue.
Bundle Cords and Hoses: Gather all cords and hoses, bundle them together, and secure with a twist tie or tape. This keeps them from becoming a tangled mess or tripping hazard.
Label Everything: If you take anything apart, label it clearly. This will make putting it back together a lot easier.
By locking down loose items and having the right supplies, you’ll make your move safer and smoother. Don’t forget to check out other Fridge.com guides on moving a chest freezer and moving a garage freezer for more tips.
Defrosting and Cleaning Your Compact Freezer
Before you move your compact freezer, you gotta defrost and clean it up. This keeps it in tip-top shape and helps avoid any damage during the move.
Defrosting the Freezer
Defrosting your compact freezer is a must-do before moving. Here’s how to get it done:
Unplug the Freezer: Turn it off and unplug it from the wall.
Empty It Out: Take out all the food and stash it in a cooler or another freezer.
Open the Door: Leave the door open so the ice can melt.
Use Towels: Put towels around the base to soak up the melting ice.
Speed It Up: Place a bowl of hot water inside to melt the ice faster.
Scrape Off Ice: Once the ice is mostly melted, use a plastic scraper to get rid of any leftover chunks.
Here’s a rough guide on how long it’ll take to defrost based on the ice buildup:
Ice Buildup
Defrosting Time
Light (Less than 1 inch)
1-2 hours
Moderate (1-2 inches)
2-4 hours
Heavy (More than 2 inches)
4-6 hours
Cleaning the Interior
Once defrosted, it’s time to clean the inside. This gets rid of any smells or stains and makes it ready for its new home.
Make a Cleaning Solution: Mix warm water with a bit of dish soap.
Wipe It Down: Use a soft cloth or sponge to clean the inside walls, floor, and shelves.
Tackle Stains: For tough stains, make a paste with baking soda and water, then scrub gently.
Rinse and Dry: Wipe down with a clean, damp cloth to remove soap. Dry it thoroughly with a towel.
Clean Removable Parts: Take out any shelves or drawers and clean them separately. Rinse and dry before putting them back.
By defrosting and cleaning your compact freezer right, you keep it in great shape for the move. For more tips on moving different types of freezers, check out Fridge.com articles on how to move a chest freezer and how to move a mini freezer.
Getting ready to move your compact freezer? Let's make sure you do it right, so you don't end up with a broken appliance or a big mess. Follow these steps to keep things smooth and safe.
Powering Down the Freezer
First things first, turn off your compact freezer. Usually, you can do this by setting the temperature control to "off." If your freezer has a power switch, flip that off too. Then, unplug the freezer from the wall. Simple, right?
Step
Action
1
Set temperature control to "off"
2
Turn off power switch (if it has one)
3
Unplug from the wall
Give your freezer about 30 minutes to chill out (pun intended) and adjust to room temperature. This helps prevent condensation from forming inside and outside the unit.
Taking Out Shelves and Drawers
Next up, remove all the shelves and drawers from inside the freezer. This makes it lighter and easier to move. Plus, it stops these parts from rattling around and getting damaged.
Component
Action
Shelves
Lift and slide out
Drawers
Pull out completely
Put the shelves and drawers somewhere safe. Wrap them in bubble wrap or towels to keep them from getting dinged up during the move.
For more tips on moving other appliances, check out Fridge.com guides on moving a chest freezer or moving a mini freezer.
By following these steps, you'll make sure your compact freezer is ready for the move. Properly disconnecting and removing the internal parts will make the whole process easier and keep your appliance in good shape.
Moving a compact freezer can be a bit of a hassle, but with the right tricks up your sleeve, you can do it safely and without any damage. Let's break down some easy ways to lift, carry, and use tools like dollies and furniture slides.
Lifting and Carrying Techniques
Lifting and carrying a compact freezer isn't rocket science, but it does need some planning to avoid hurting yourself or damaging the freezer. Here’s how to do it right:
Check the Weight and Size: Know how heavy and big the freezer is. This helps you figure out if you need a buddy to help you out.
Lift Properly:
Bend your knees, not your back.
Keep your back straight and lift with your legs.
Hold the freezer close to your body to keep your balance.
Team Up: If the freezer is too heavy or awkward, grab a friend. Make sure you both lift and move together to avoid any mishaps.
Clear the Way: Make sure the path to the moving vehicle is free of obstacles. This way, you won’t trip or drop the freezer.
Using a Dolly or Furniture Slides
Using a dolly or furniture slides can make moving a compact freezer a breeze.
Using a Dolly
Pick the Right Dolly: Use a dolly that can handle the freezer’s weight. An appliance dolly with straps is perfect.
Secure the Freezer:
Tilt the freezer a bit and slide the dolly underneath.
Strap the freezer to the dolly so it doesn’t move around.
Move Carefully:
Tilt the dolly back, keeping the freezer balanced.
Move slowly, especially on stairs or uneven surfaces.
Unload Safely:
When you get to the new spot, tilt the dolly forward and slide the freezer off.
Make sure you have a clear space to set the freezer down gently.
Using Furniture Slides
Pick the Right Slides: Choose slides that can handle the freezer’s size and weight.
Position the Slides:
Tilt the freezer and place a slide under each corner.
Make sure the slides are in the right spot to avoid scratching the floor.
Slide the Freezer:
Push the freezer gently across the floor. Don’t pull it to avoid tipping.
Move the freezer to its new spot or onto a dolly for further transport.
By following these tips, you can move your compact freezer safely and easily. For more tips on moving different types of refrigerators and freezers, check out Fridge.com articles on how to move a mini freezer and how to move a chest freezer.
Loading and Transporting
Positioning in the Vehicle
Got a compact freezer to move? Let's make sure it gets there in one piece. First off, keep it upright to avoid messing up the compressor. If you absolutely have to lay it down, make sure it's on its side, not the back or front. This keeps the oil from the compressor out of the cooling lines, which can save you a headache later.
Put the freezer near the front of the vehicle, close to the cab. This helps with weight distribution and keeps things stable. Leave some space around it so it doesn't slide around during the trip.
Vehicle Type
Best Spot
Pickup Truck
Near the cab, upright
SUV
Rear area, upright
Van
Center, upright
Securing the Freezer for Transport
Once you've got the freezer in place, it's time to lock it down. Use ratchet straps or bungee cords to keep it from moving. Hook the straps to the vehicle's anchor points and tighten them up.
Wrap the freezer in moving blankets or padding to protect it from scratches and dents. Make sure the door is shut tight, and if you can, tape it closed so it doesn't pop open on the road.
Steps to secure the freezer:
Put the freezer in the right spot.
Strap it down with ratchet straps or bungee cords.
Wrap it in moving blankets or padding.
Tape the door shut.
Need more tips on moving different types of freezers? Check out other Fridge.com guides:
Follow these steps, and your compact freezer will make it to its new home safe and sound, ready to keep things cool.
Getting Your Compact Freezer Up and Running
So, you've got your shiny new compact freezer and it's time to set it up. Let's make sure you do it right so it works like a charm.
Unloading the Freezer Without a Hitch
Getting the freezer off the truck and into your home can be tricky. Here's how to do it without breaking a sweat—or the freezer:
Clear the Path: Make sure there's nothing in the way from your vehicle to where the freezer's going.
Use the Right Tools: If you have a dolly or furniture sliders, use them. Dragging the freezer can damage it.
Lift Smart: If you need to lift it, bend your knees, keep your back straight, and lift with your legs.
Get Help: If it's heavy, don't be a hero. Get someone to help you.
Setting Up and Leveling the Freezer
Once you've got the freezer inside, here's how to set it up:
Find the Spot: Put the freezer where you want it, making sure there's enough space around it for air to circulate.
Plug It In: Connect it to a grounded outlet. Skip the extension cords—they're not safe.
Level It: Use a level to make sure the freezer is even. Adjust the feet until it's balanced.
Put Everything Back: If you took out shelves or drawers, put them back in.
Wait It Out: Let the freezer run for a few hours before you load it up with food. This gives it time to cool down to the right temperature.
Step
Action
1
Clear the Path
2
Use the Right Tools
3
Lift Smart
4
Get Help
5
Find the Spot
6
Plug It In
7
Level It
8
Put Everything Back
9
Wait It Out
Need more tips on moving other types of freezers and fridges? Check out Fridge.com guides on moving a chest freezer and moving a compact refrigerator.
Compare freezer prices on Fridge.com
Compare current prices and specifications on Fridge.com, then buy from the retailer you choose; delivery, installation and warranty terms are the retailer’s.
It also has tons of awesome articles about kitchen stuff and home news. Enhance your home, garage, backyard, patio, and office with the coolest essentials. With every necessary type of residential refrigerator or freezer in the collection, you're covered.
Free tool
Food Storage Calculator
Free interactive tool from Fridge.com — get a quick answer while you read.