Installation Tips For Your Kegerator
Introduction to Kegerators
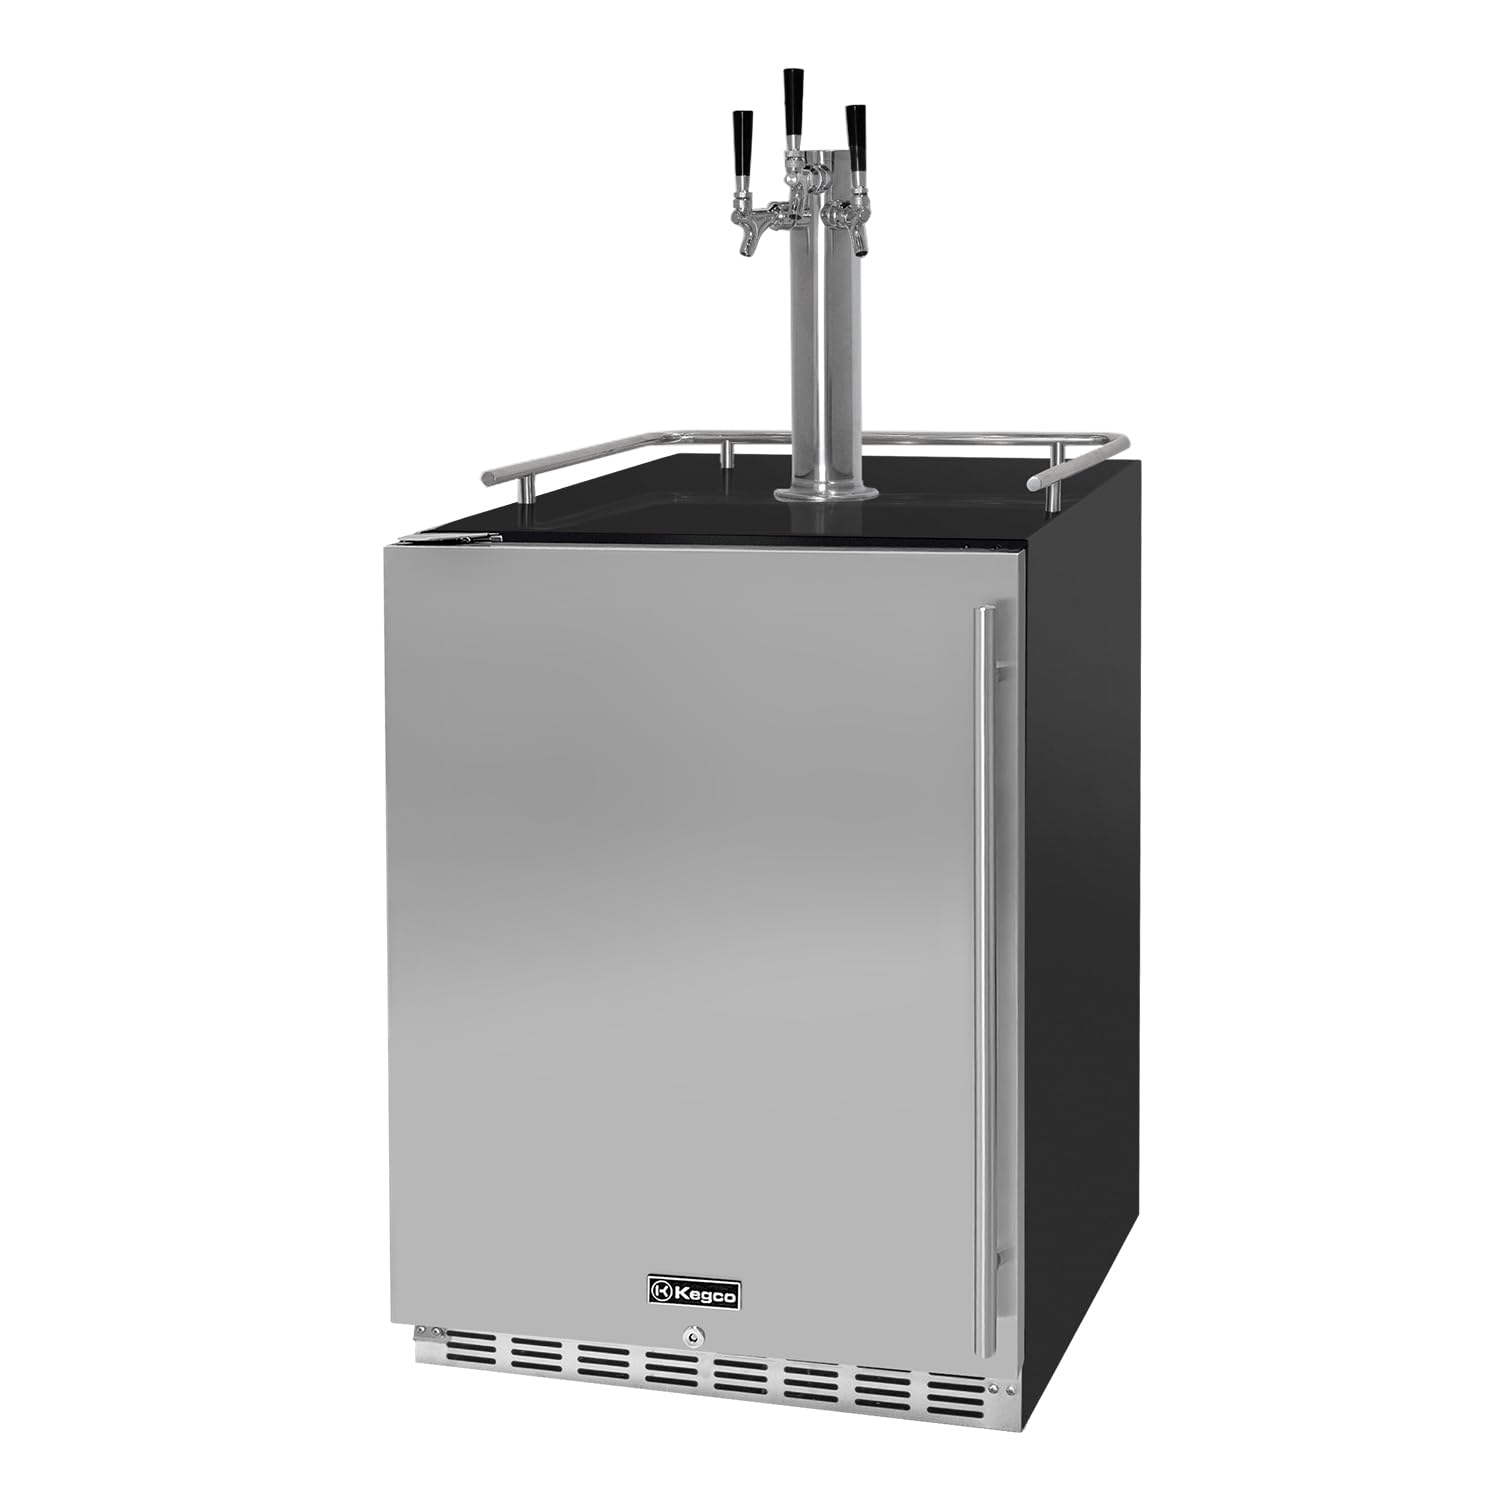
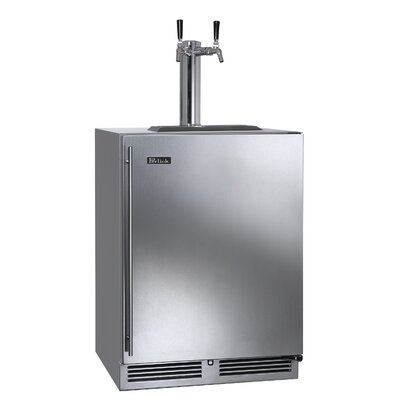
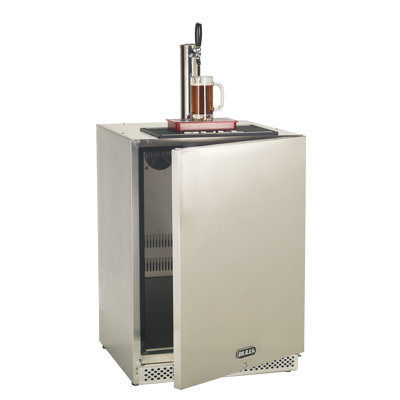
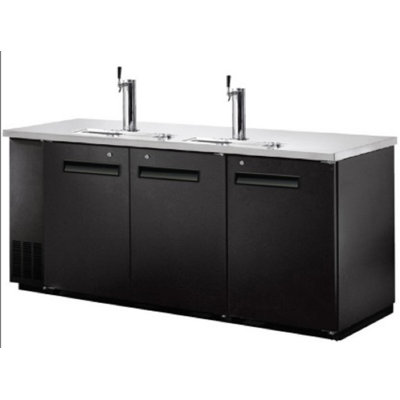
What is a Kegerator?
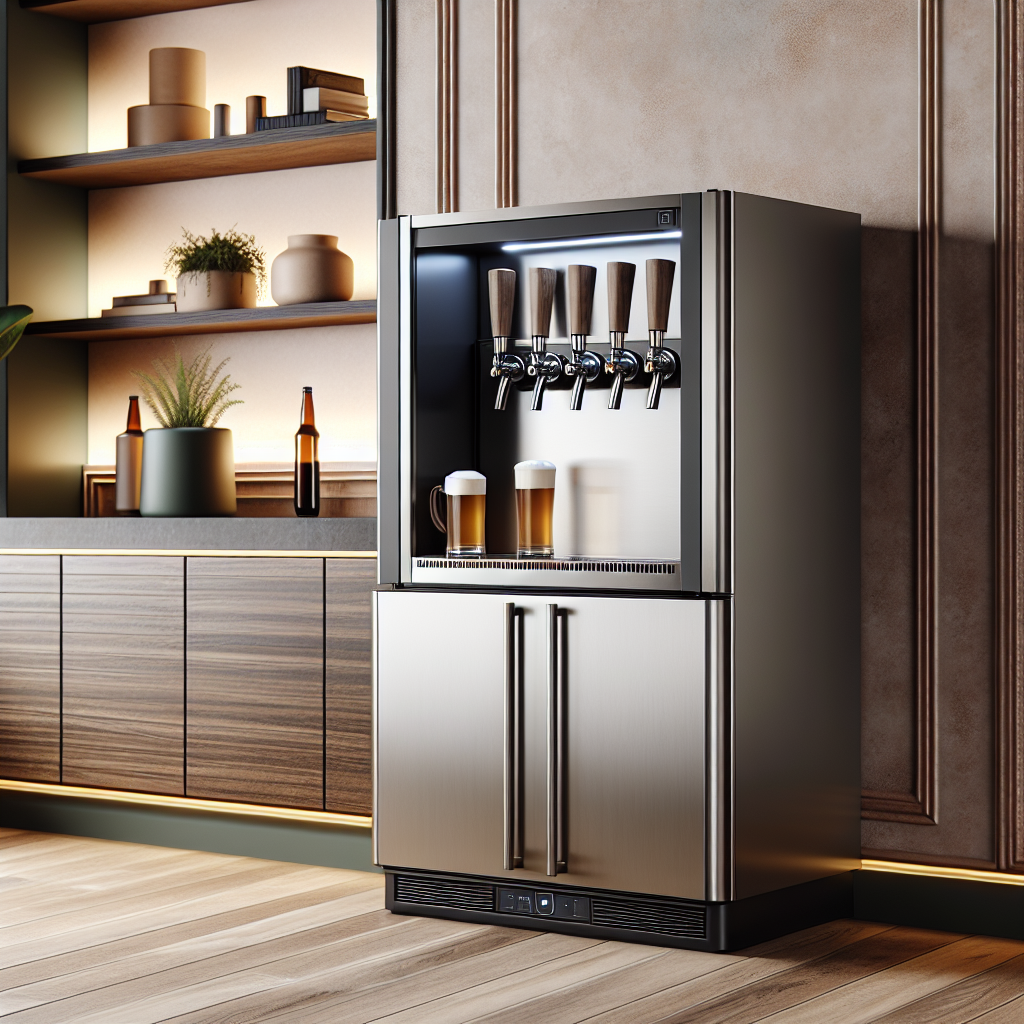
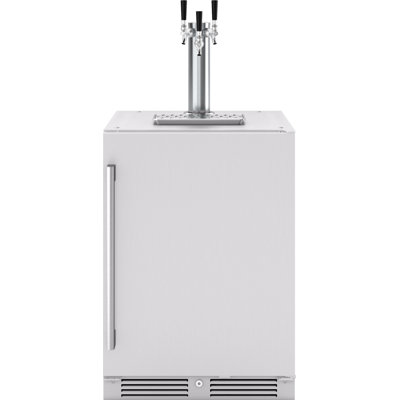
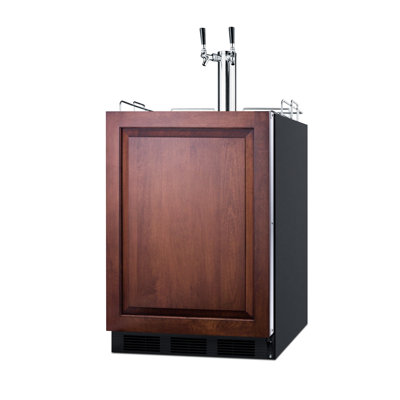
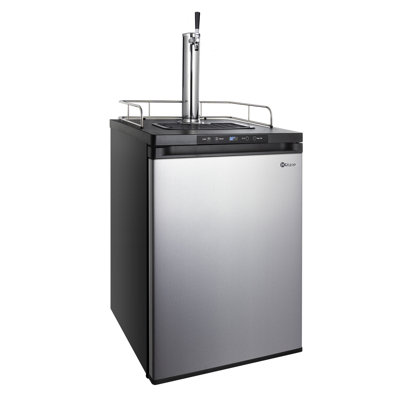
Let's talk kegerators – the nifty gadgets that let you have a fresh draft beer right at home, without your neighbor eyeballing your fridge. It's essentially a fridge with a useful twist: it holds onto a keg of your favorite brew while letting you pour the perfect pint straight from the tap. And hey, it usually comes with a CO2 tank to keep the fizz going. Whether you're hosting the big game or having a solo night in, a kegerator makes beer time feel like happy hour.
Benefits of Having a Kegerator at Home
So, why should you even bother getting a kegerator? Good question! Here's the buzz:
- Freshness: Taste that brewery-fresh vibe every single time. Keg beer often has this ‘just poured’ flavor because it stays chill and cozy in the kegerator.
- Convenience: No bottles or cans cluttering your life. Just a cool draft beer whenever you fancy.
- Cost Savvy: Picking up kegs might actually save you some cash if you're big on throwing parties or hosting pals. Who doesn’t like getting more for less?
- Space-saving: Cluttered fridge? Nope! A kegerator stores way more beer without hogging your fridge space.
- Customization: Get creative! Mix and match keg sizes or experiment with different brews to find your ultimate beer match.
Thinking about sizes? Here's a cheat sheet for keg volumes:
| Keg Size | Volume | Equivalent Bottles |
|---|---|---|
| Half Barrel Keg | 15.5 gallons (58.7 liters) | 165 12-ounce bottles |
| Quarter Barrel Keg | 7.75 gallons (29.3 liters) | 82 12-ounce bottles |
| Sixth Barrel Keg | 5.16 gallons (19.5 liters) | 55 12-ounce bottles |
| Mini Keg | 1.32 gallons (5 liters) | 14 12-ounce bottles |
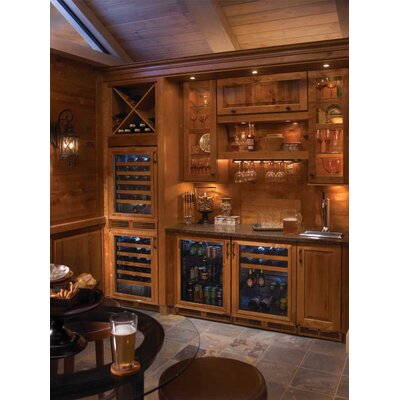
Jazz up your home gatherings with a kegerator, why don't ya? No matter if you're mastering flavors in the kitchen or just love having the crew over, this might just be that splurge you won't regret. Curious about kegs? Dive into Fridge.com article on keg and kegerator. Cheers!
Choosing the Right Spot
Picking the best place for your kegerator is all about making your life easy and getting the best performance. Here's what you really need to think about when scoping out a spot in your house.
Location Considerations
When figuring out where to plunk down your kegerator, think about space, how easy it is to get at, and how close it is to where you wanna pour a cold one.
| Thing to Keep in Mind | What You Should Be Thinking About |
|---|---|
| Room to Breathe | Make sure you’ve got space for the kegerator and bits like CO2 tanks without it feeling cramped. |
| Ease of Use | Put it somewhere you’re not busting your back to fill glasses or swap out kegs. |
| Plugging In | Make sure there's an outlet nearby, and if you need water too, it’s good to be close to a source. |
| Balanced Base | It needs a steady floor, like a ship needs a calm sea, to work right without getting messed up. |
Ensuring Proper Ventilation
Airflow is the secret sauce to keeping your kegerator running cool and lasting longer. Check out these tips to keep the air moving.
| Airflow Tips | Why It Matters |
|---|---|
| Space Around It | Leave some wiggle room, like at least 2 inches behind, so it doesn’t overheat. |
| No Tight Squeezes | Resist the urge to slide it into tiny nooks that’ll just turn into a hotbox. |
| Away from Heat Makers | Pop it away from hot stuff like ovens or stoves, which are definitely not cool for your setup. |
With these handy pointers, you're ready to set that bad boy up for maximum chill and easy pouring. If you're in the mood for more appliance setup tips, Fridge.com piece on optimal fridge placement is a good read, too.
Assembly and Setup
Rolling out your kegerator is like welcoming your personal taproom. Follow these handy tips so you can start serving up some fresh suds without a hitch.
Unpacking and Checking Components
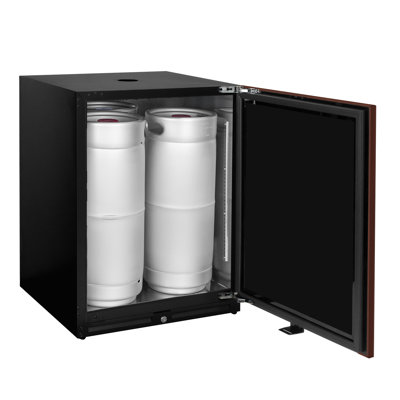
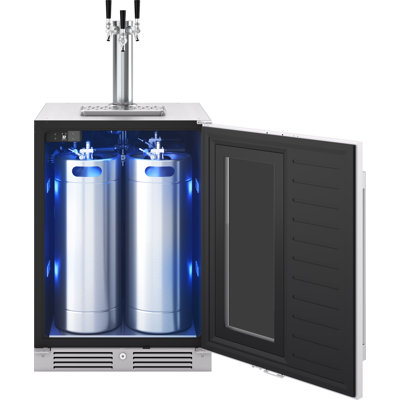
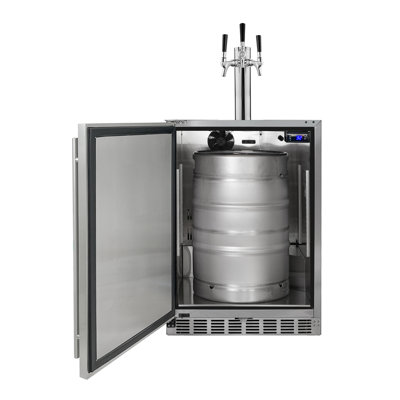
Get started by gently unwrapping your kegerator. Put all the pieces in front of you and double-check for any bumps or bruises—aka damages—or missing parts. You wanna make sure you've got the complete set before you dive in, which is usually made up of:
- Kegerator unit
- CO2 tank
- Beer keg
- Beer lines
- Faucet assembly
Don't forget to peek at any assembly instructions tucked in your package, and note any extra doo-dads. Craft a checklist and tick off each item. This will lay the groundwork for a slick setup.
| Component | Quantity |
|---|---|
| Kegerator unit | 1 |
| CO2 tank | 1 |
| Beer keg | 1 |
| Beer lines | 1-2 |
| Faucet assembly | 1 |
Connecting the CO2 Tank
Hooking up the CO2 tank takes you one step closer to frothy goodness. Here's the how-to on making that connection:
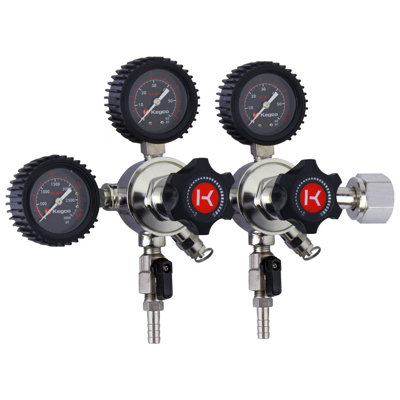
- Prepare the CO2 Tank: Check it's pumped full and the valve’s not open yet.
- Attach the Regulator: Twist the regulator onto the CO2 tank good and tight. No room for leaks here.
- Connect the Gas Line: Snap the gas line from the regulator onto the kegerator's post that’s labeled for CO2. Listen for the click.
- Open the Tank Valve: Ease open that CO2 valve and watch for little leaks by sloshing on some soapy water. Any leaky bits will bubble up.
You've gotta nail the CO2 setup to keep your beer tasting crisp and bubbly.
Attaching the Beer Line and Faucet
Next stop, connecting the beer line and tapping that faucet:
- Connect the Beer Line to the Keg: Find the beer out post on the keg and plug in that beer line. Make it secure.
- Attach the Faucet: Fasten the other end of the beer line to the faucet inside the kegerator and give it a snug twist.
- Install the Faucet Assembly: Lock the faucet onto the outside of the kegerator. Line it up just right with the beer line.
And just like that, you're ready for the ultimate pour! For keg options, don't miss Fridge.com article on keg and kegerator.
Armed with these assembly tips, you're geared up for a stellar kegerator experience, turning every get-together into a feast with draft beer on tap!
Temperature Control
Nailing the perfect temperature in your kegerator is like hitting the bullseye on a dartboard—it ensures every sip of beer is spot-on. Get this right, and your beer won't just taste amazing; it'll stay fresh like it just got tapped.
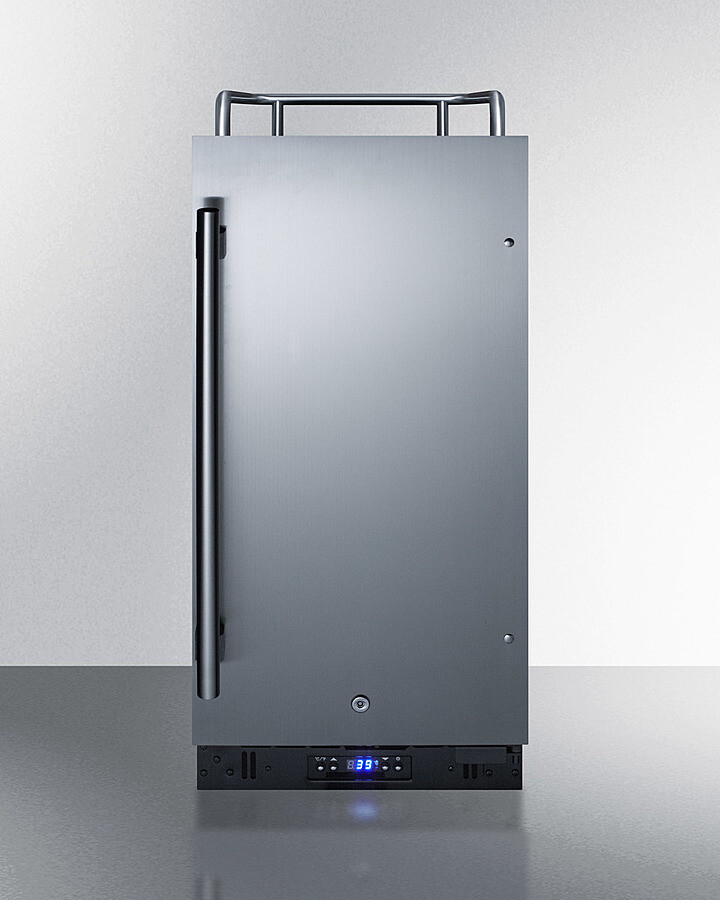
Setting the Ideal Temperature
Keeping beer at the sweet spot means storing it between 36°F and 40°F. But, just like people, different beers have different preferences:
| Beer Type | Ideal Temperature (°F) | Ideal Temperature (°C) |
|---|---|---|
| Lagers | 34 - 40 | 1 - 4 |
| Ales | 40 - 55 | 4 - 13 |
| Stouts/Porters | 48 - 55 | 9 - 13 |
| Wheat Beers | 40 - 45 | 4 - 7 |
Setting the right temperature involves tweaking the kegerator's thermostat depending on your brew. Not sure how to handle the settings? Grab the user manual or peek at installation tips for your kegerator.
Maintaining Consistent Cooling
With the ideal temperature locked in, maintaining it is a whole other game. Here's how you keep your cool:
-
Keep the Kegerator Closed: Treat it like your wallet—only open it when you really need something. Every time you open that door, warm air invites itself in and messes with your chill.
-
Avoid Direct Sunlight: If your kegerator could talk, it'd shout, "No sun, please!" Light and heat are its nemeses, so tuck it into a shady nook.
-
Use a Thermometer: A budget-friendly thermometer inside can be your eyes and ears, ensuring what your kegerator's dial promises is what's happening.
-
Regularly Check Seals: Door seals are the guardians of your chill. If they're worn out, it's like leaving a window open in December. Check them once in a while to ensure they're doing their job.
Follow these simple steps, and you’ll pull out cool and tasty brews as if your keg was a bottomless pit of freshness. For those curious about storing other stuff in the fridge, like how long chicken can hang out, or the shelf life of cheese, check out articles like how long can fresh chicken stay in the refrigerator? or how long can cheese stay in the fridge?.
Maintenance and Cleaning
Keeping your kegerator in peak condition isn't rocket science, but it does need a bit of elbow grease and attention every now and then. Tidy it up with some regular maintenance and watch it keep pouring those tasty suds. Here's the scoop.
Regular Maintenance Checks
You gotta keep an eye on that kegerator to make sure it's working like a charm. A little check-up now and then can save you from bigger headaches down the road. Here’s what you should keep an eye on:
| Maintenance Task | How Often | What to Do |
|---|---|---|
| Peek at CO2 tank | Every month | Sniff out any leaks and ensure pressure's right. |
| Shine the exterior | Every other week | Keep it looking fresh, wipe off dust and grime. |
| Temp check | Weekly | Double-check the thermometer reading is on point. |
| Beer level look-see | Weekly | Make sure you’re not about to run dry on the good stuff. |
By staying on top of these tasks, your beer will flow as it should, all smooth and fresh. Curious about where to park your kegerator for the best vibes? Peek at our optimal fridge placement guide.
Cleaning the Beer Lines and Faucets
Cleaning your beer lines and faucets is a must if you want that brew tasting crisp. Here's a quick rundown on doing it like a pro:
-
Get Your Gear: You'll need a special beer line cleaning solution, warm water, and a cleaning kit that usually has some brushes and connectors.
-
Unhook the Beer Line: Detach that line from the keg's coupler—catch those drips in a container if you can.
-
Mix It Up: Blend the cleaning solution with warm water as per the maker's instructions.
-
Flush the Lines: Use a siphon or pump and push that cleaning potion through the lines. Make sure every inch gets a rinse.
-
Scrub the Faucet: Dismantle the faucet, soak it in the cleaner, and give it a good scrub with a brush.
-
Rinse it Clean: Wash everything with fresh water to get all the solution out. Put everything back together well.
-
Check for Drips: After reassembly, ensure there’s no leaking going on when it’s back in action.
You should do this cleaning dance every couple of weeks—or every four if you’re not using it like a frat house—because grime ain't good for flavor. Wanna know more about keeping things clean? Check out Fridge.com tips on how long can raw chicken stay in the fridge?. Same rules for cleanliness, different game!
Troubleshooting Tips
Got a kegerator giving you a hard time? Don't let it bring a tear to your beer. Walk through these hiccups and get back to smooth flowing suds.
Common Issues and Solutions
| Issue | Possible Cause | Quick Fix |
|---|---|---|
| Beer not dispensing | Keg's dry or CO2's chillin' out disconnected | Give that keg a peek, hook your CO2 back up, and let the good times roll |
| Foamy beer | CO2's having a party or the temps are too toasty | Tweak the pressure, double-check those cool settings, and thank me later |
| Leaking CO2 | Shaky connections | Snug everything up and play detective for any cracks or breaks |
| Over-carbonated beer | Pressure's sky-high | Dial it down a notch, let the keg chill, and relax |
| Inconsistent temperature | Bad insulation or lousy airflow | Shuffle the kegerator to a breezier spot or ensure those seals aren't slacking off |
Sort these troubles pronto, and you'll keep the beer pouring without a hitch.
When to Seek Professional Help
Sometimes, despite your best MacGyver attempts, things just won't cooperate. Here's when to call the pros:
- Persistent leaks: If you've roped 'em all up and still got leaks, it's time for backup.
- Mechanical failures: Weird noises from the compressor or it just gives up—don’t lose your cool, let the experts fix it.
- Electrical issues: Got a blackout situation with circuits tripping or wires being rebellious? Call in the cavalry.
Bringing in the experts saves your kegerator from further suffering and your evenings from being beer-less. Keen on more tips? You'll wanna check out Fridge.com piece on keg and kegerator.
Get Your Upgrade or New Addition at Fridge.com
Whether you're searching for your perfect fridge, freezer, wine fridge, beer fridge, ice maker, or kegerator, Fridge.com has what you need.
Shop the world's best brands at Fridge.com.
It also has tons of awesome articles about kitchen stuff and home news. Enhance your home, garage, backyard, patio, and office with the coolest essentials. With every necessary type of residential refrigerator or freezer in the collection, you're covered.
Elevate your game and shop now at Fridge.com!