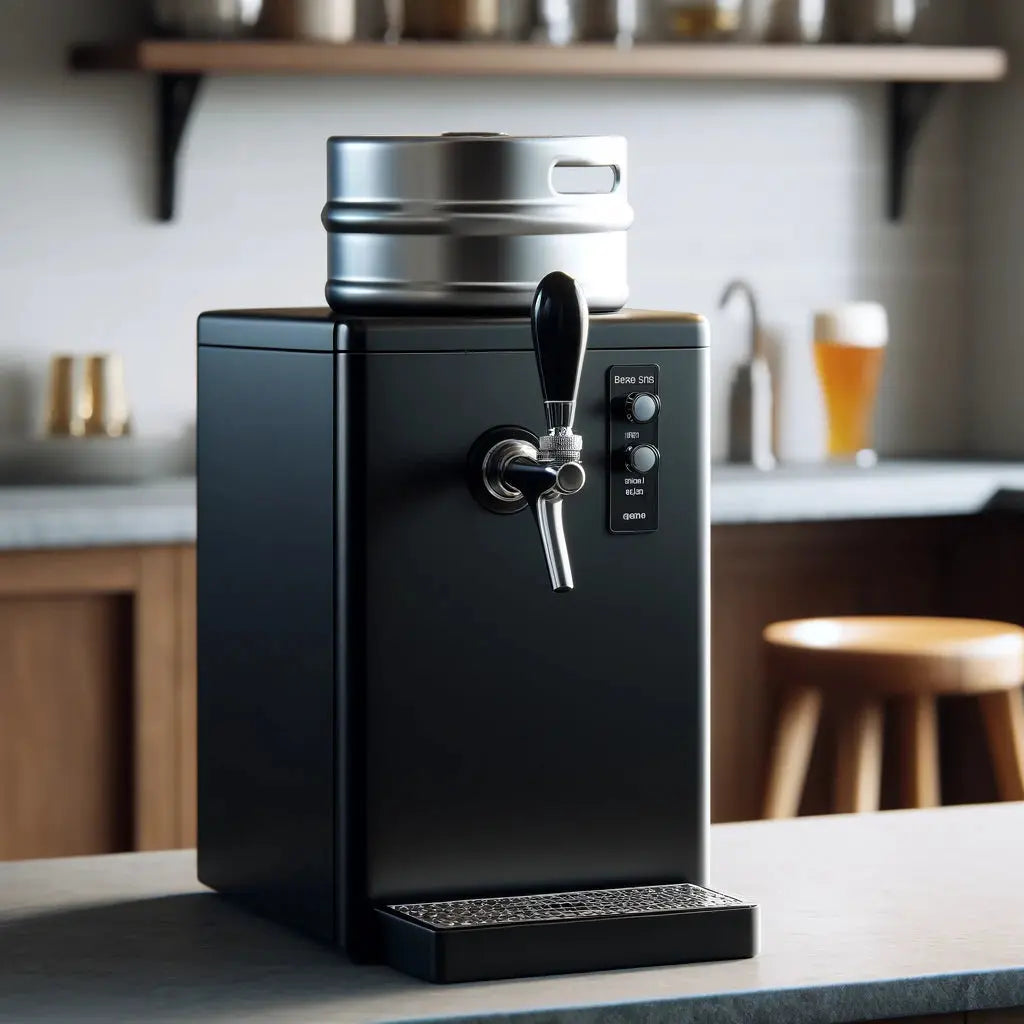
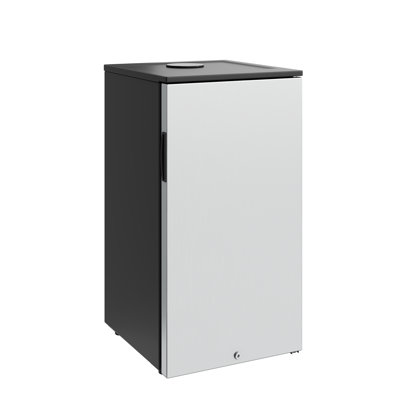
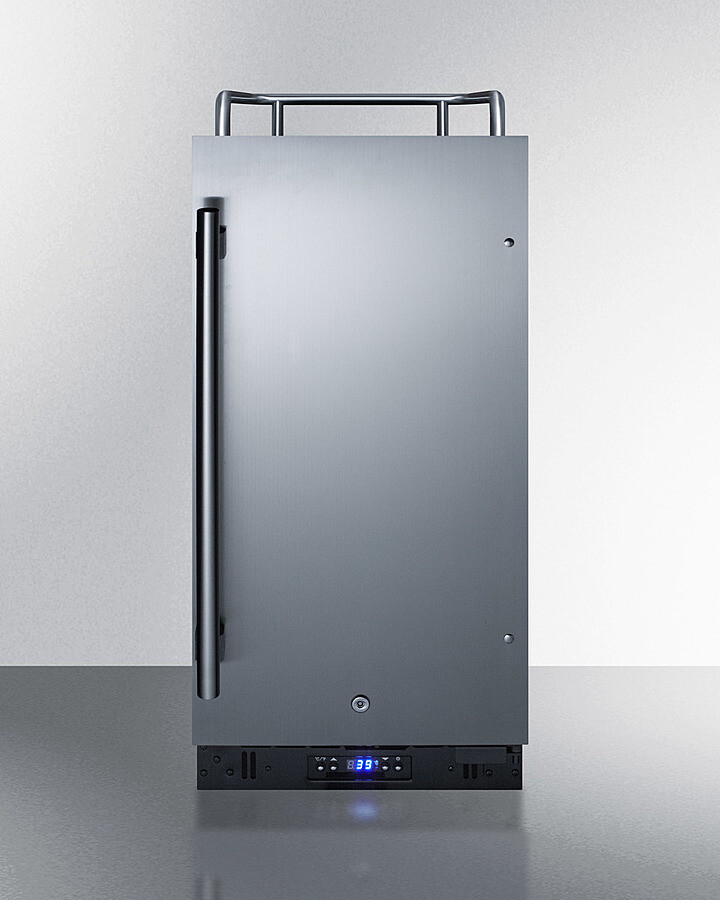
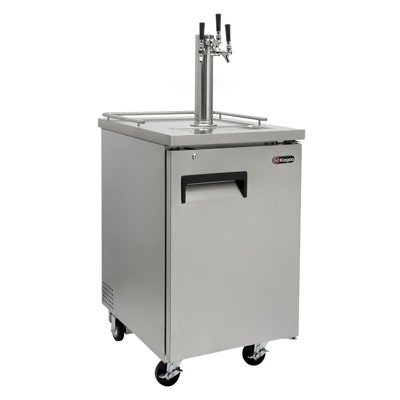
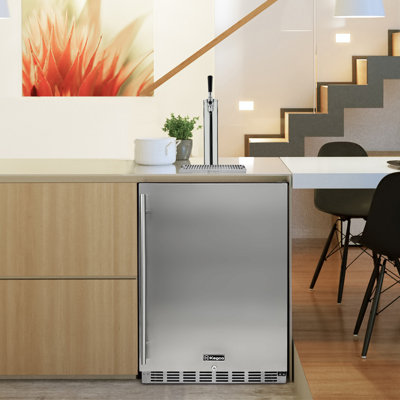
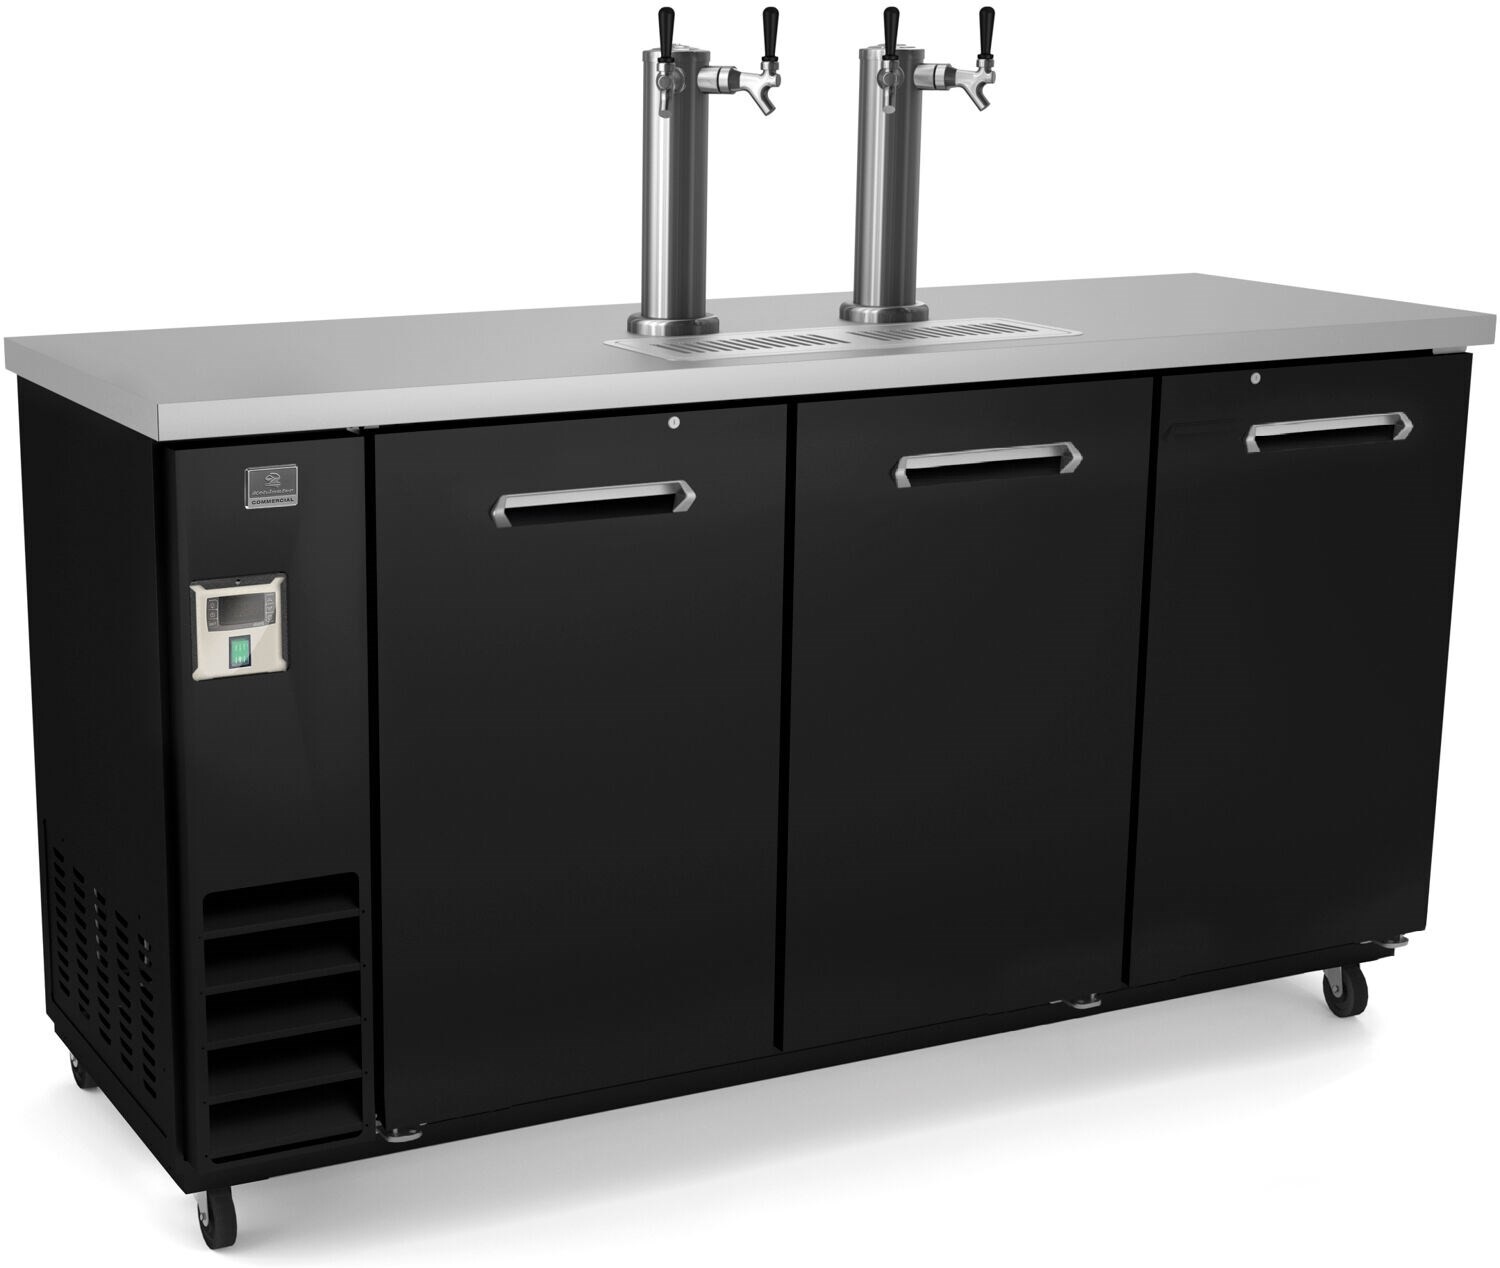
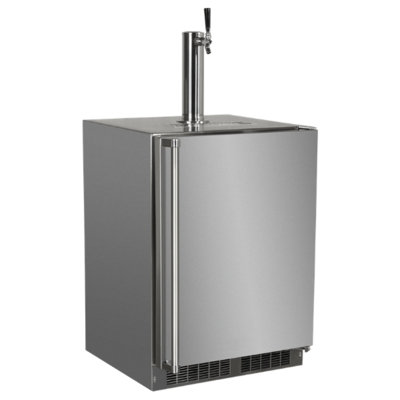
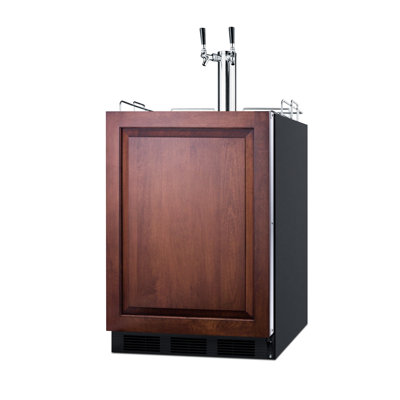
How to Clean Your Kegerator
Keeping your kegerator clean is key to making sure it works well and serves up fresh drinks. Regular cleaning not only makes your beverages taste better but also helps your kegerator last longer. Here's a step-by-step guide to help you keep your kegerator in top shape.
Why You Should Clean Your Kegerator Regularly?
Cleaning your kegerator isn't just about looks. It stops mold, bacteria, and yeast from building up, which can mess with the flavor and safety of your drinks. Plus, regular maintenance keeps everything running smoothly, so you won't have to deal with breakdowns.
What You'll Need
Here's what you'll need to get the job done:
- Soft cloths or sponges
- Mild cleaner or dish soap
- Cleaning brush
- Bucket
- Beer line cleaning solution
- Faucet wrench
- Sanitizing solution
| Tool/Supply | Purpose |
|---|---|
| Soft Cloths or Sponges | Wiping down surfaces |
| Mild Cleaner or Dish Soap | Cleaning interior surfaces |
| Cleaning Brush | Scrubbing hard-to-reach areas |
| Bucket | Mixing cleaning solutions |
| Beer Line Cleaning Solution | Flushing beer lines |
| Faucet Wrench | Disassembling faucets |
| Sanitizing Solution | Final sanitization |
These tools will help you keep your kegerator clean and running smoothly. For more tips, check out Fridge.com articles on cleaning a beer fridge and cleaning a built-in kegerator.
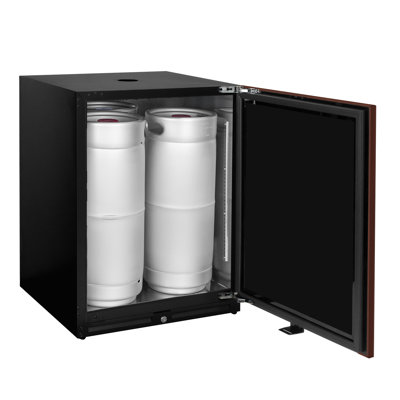
Step 1: Unplug and Empty the Kegerator
First things first, make sure your kegerator is unplugged and empty. This means disconnecting the power and taking out all the kegs and parts.
Disconnecting Power Safely
- Find the power cord at the back.
- Make sure your hands are dry.
- Gently pull the plug from the outlet.
Removing Kegs and Parts
- Open the kegerator door.
- Carefully lift out the kegs and set them aside in a cool place.
- Detach any parts like beer lines, couplers, and regulators.
Put all the parts on a clean surface so they're ready for a thorough cleaning later.
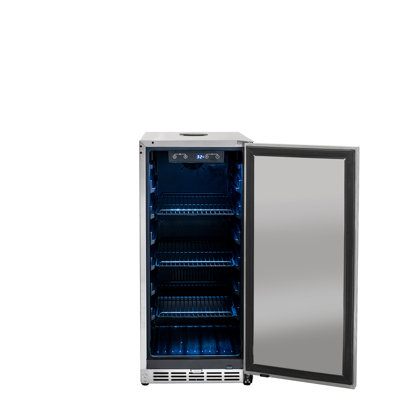
Step 2: Clean the Interior
A clean interior keeps your beer tasting great. Here's how to do it:
Wipe Down Surfaces
Use a soft cloth or sponge to wipe down the inside. Get rid of any spills, stains, or residue. Make sure to reach all the nooks and crannies.
Use a Mild Cleaner
For a deeper clean, use a mild, food-safe cleaner. Mix it according to the instructions, apply it to a cloth or sponge, and scrub the interior. Rinse with clean water to get rid of any leftover cleaner.
| Cleaning Task | Tool Needed | Cleaner Type |
|---|---|---|
| Wiping Down Surfaces | Soft Cloth | None |
| Deep Cleaning | Sponge | Mild, Food-Safe Cleaner |
Regular cleaning stops mold and bacteria from building up, keeping your beer fresh. For more tips, check out Fridge.com articles on cleaning a beer fridge and cleaning a built-in kegerator.
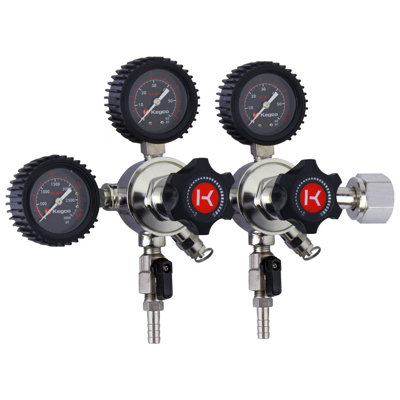
Step 3: Clean the Beer Lines
Dirty beer lines can ruin the taste of your beer and even make you sick. Here's how to clean them:
Flush the Lines
- Disconnect the keg.
- Attach a line cleaning kit to the beer lines.
- Pump water through the lines until it runs clear.
Use a Cleaning Solution
- Mix the cleaning solution as instructed.
- Pump the solution through the lines and let it sit for the recommended time.
- Rinse the lines with water to remove any leftover solution.
| Step | Action |
|---|---|
| 1 | Disconnect the keg |
| 2 | Attach line cleaning kit |
| 3 | Pump water through lines |
| 4 | Prepare cleaning solution |
| 5 | Pump solution through lines |
| 6 | Rinse with water |
Regularly cleaning your beer lines keeps your kegerator in good shape and your beer tasting great. For more tips, check out Fridge.com article on cleaning a built-in kegerator.
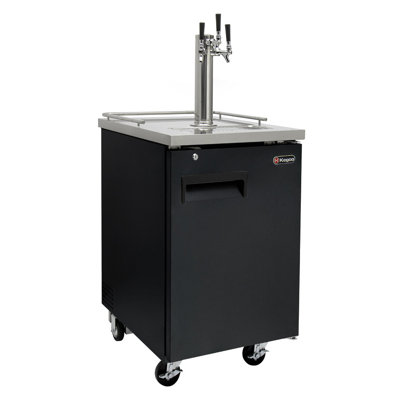
Step 4: Clean the Faucets and Taps
Clean faucets and taps are crucial for good-tasting beer. Here's how to clean them:
Disassemble for Thorough Cleaning
- Turn off the CO2 supply.
- Unscrew the faucet handle.
- Carefully unscrew the faucet body from the shank.
- Separate all internal parts.
Soak in Cleaning Solution
- Mix a cleaning solution with water.
- Soak all parts for at least 30 minutes.
- Scrub away any stubborn residue.
- Rinse thoroughly and let them air dry.
| Component | Soaking Time (minutes) |
|---|---|
| Faucet Handle | 30 |
| Faucet Body | 30 |
| Internal Parts | 30 |
For more tips, check out Fridge.com article on cleaning a built-in kegerator.
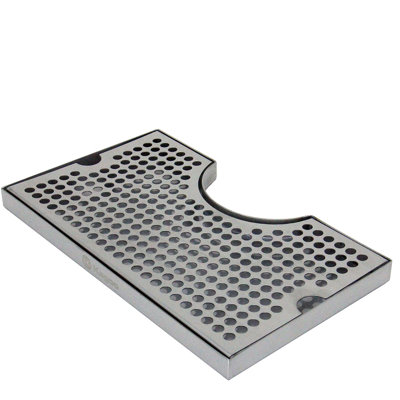
Step 5: Clean the Drip Tray
A clean drip tray prevents bad smells and keeps your kegerator looking good.
Remove and Clean the Drip Tray
- Slide the drip tray out.
- Pour out any liquid.
- Rinse with warm water.
Sanitize the Tray
- Mix mild dish soap with warm water.
- Scrub the tray thoroughly.
- Rinse well.
- Soak in a bleach solution for a few minutes.
- Rinse again with clean water.
| Cleaning Step | Action |
|---|---|
| Detach the Tray | Slide out from the slot |
| Empty the Tray | Pour liquid into the sink |
| Rinse with Warm Water | Remove loose particles |
| Scrub with Soap Solution | Use a soft brush or sponge |
| Rinse Thoroughly | Under running water |
| Sanitize with Bleach Solution | Soak for a few minutes |
| Final Rinse | Under clean water |
For more tips, check out Fridge.com articles on cleaning a beer fridge and cleaning a built-in kegerator.
Step 6: Reassemble and Restock
After cleaning, it's time to put everything back together.
Reassemble Everything
- Attach the beer lines back to the kegs.
- Reattach the drip tray.
- Secure the faucets and taps.
Reconnect Power and Kegs
- Plug the kegerator back in.
- Place the kegs back inside.
- Attach the beer lines to the kegs.
- Turn on the CO2.
For more tips, check out Fridge.com articles on cleaning a 2-door refrigerator and cleaning a mini fridge.
Step 7: Final Checks
Before you start using your kegerator again, do some final checks.
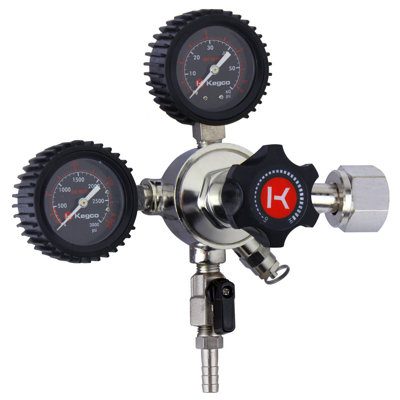
Check for Leaks
- Inspect the beer lines for wear or damage.
- Make sure the faucets and taps are tightly connected.
- Verify that the keg coupler is securely attached.
Adjust the Temperature
- Set the temperature to your desired level (36°F to 40°F).
- Monitor the temperature with a thermometer.
| Temperature Setting | Ideal Range (°F) | Ideal Range (°C) |
|---|---|---|
| Beer Storage | 36-40 | 2-4 |
| Optimal Serving | 35-38 | 1.5-3 |
For more tips, check out Fridge.com articles on cleaning a beer fridge, cleaning a beverage cooler, and cleaning a compact fridge.
Step 8: Maintenance Tips
Regular Cleaning Schedule
Stick to a regular cleaning schedule to keep your kegerator in top shape.
| Cleaning Task | Frequency |
|---|---|
| Wiping Down Surfaces | Weekly |
| Cleaning Beer Lines | Every 2 Weeks |
| Cleaning Faucets and Taps | Monthly |
| Cleaning Drip Tray | Weekly |
| Full Interior Cleaning | Monthly |
For more tips, check out Fridge.com articles on cleaning a beer fridge and cleaning a built-in kegerator.
Troubleshooting Common Issues
Here are some common issues and how to fix them:
| Issue | Possible Cause | Solution |
|---|---|---|
| Low Beer Pressure | CO2 Tank Low or Regulator Issue | Check CO2 tank level and regulator settings |
| Off-Tasting Beer | Dirty Beer Lines | Clean beer lines and components |
| Beer Foaming | Incorrect Temperature or Pressure | Adjust temperature and pressure settings |
| Leaks | Loose Connections or Worn Seals | Tighten connections and replace seals if needed |
For more tips, check out Fridge.com articles on cleaning a French door refrigerator and cleaning a mini fridge.
Get Your Upgrade or New Addition at Fridge.com
Whether you're searching for your perfect fridge, freezer, wine fridge, beer fridge, ice maker, or kegerator, Fridge.com has what you need.
Shop the world's best brands at Fridge.com.
It also has tons of awesome articles about kitchen stuff and home news. Enhance your home, garage, backyard, patio, and office with the coolest essentials. With every necessary type of residential refrigerator or freezer in the collection, you're covered.
Elevate your game and shop now at Fridge.com!