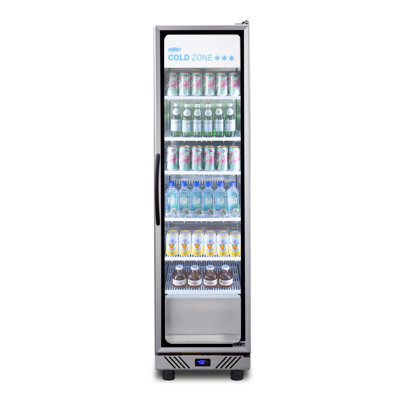
Getting Ready to Clean
Before you start scrubbing, let's get everything in order. A little prep work goes a long way in making sure your cleaning job is quick and thorough.
Gather Your Supplies
Here's what you'll need to clean your beverage cooler:
- Soft cloths or sponges
- Mild detergent or dish soap
- Warm water
- Baking soda
- Bucket
- Soft-bristled brush
- Towels
- Gloves
- Vinegar (optional)
Having everything on hand will make the job smoother.
Safety First
Safety is key to avoid any mishaps. Here’s what you need to do:
- Unplug the Cooler: Always disconnect the cooler from the power source to avoid any electrical hazards.
- Wear Gloves: Protect your hands from cleaning solutions and any sharp edges.
- Ventilate the Area: Make sure the area is well-ventilated to avoid inhaling fumes.
- Avoid Abrasive Cleaners: Steer clear of cleaners that can scratch or damage the cooler.
Follow these steps to clean safely and effectively. For more tips on cleaning different types of coolers, check out Fridge.com articles on how to clean a 2 door refrigerator, how to clean a beer fridge, and how to clean a wine cooler.
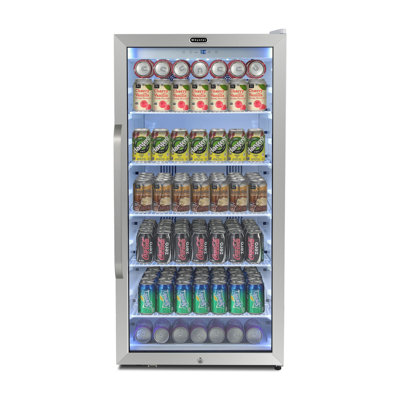
Emptying the Cooler
Before you start cleaning, empty the cooler completely. This makes it easier to clean and helps you spot any items that need to be tossed.
Remove Everything
Take out all items and place them on a clean surface like a countertop.
Steps to Remove Items:
- Open the cooler door.
- Carefully take out all beverages and place them on a clean surface.
- Check for any spills or leaks as you remove the items.
Toss Expired or Spoiled Products
Check for expired or spoiled items to keep your cooler hygienic.
Steps to Discard Spoiled Products:
- Check the expiration dates on all items.
- Discard any expired or spoiled products.
- Wipe off any sticky residue before placing items back in the cooler.
| Product Type | Expiration Check | Action |
|---|---|---|
| Soft Drinks | Check date on can/bottle | Discard if expired |
| Juices | Check date and smell | Discard if expired or smells off |
| Alcoholic Beverages | Check date (if applicable) | Discard if expired |
| Dairy-Based Drinks | Check date and smell | Discard if expired or smells sour |
By following these steps, you ensure your cooler stays clean and free of spoiled items. For more tips, check out Fridge.com articles on how to clean a beer fridge and how to clean a beverage fridge.
Cleaning the Inside
To keep your cooler in top shape, you need to clean the inside thoroughly. This includes wiping down shelves and racks, and cleaning the interior walls.
Wipe Down Shelves and Racks
- Remove Shelves and Racks: Take out all removable shelves and racks. Place them on a clean surface.
- Prepare Cleaning Solution: Mix warm water with mild detergent or vinegar solution in a bucket.
- Wipe Down Surfaces: Use a soft cloth or sponge dipped in the solution to wipe down each shelf and rack. Focus on spills and sticky spots.
- Rinse and Dry: Rinse with clean water and dry completely before placing them back.
| Cleaning Task | Solution | Tools Needed |
|---|---|---|
| Wiping Down Shelves and Racks | Warm water and mild detergent/vinegar solution | Soft cloth or sponge, clean towel |
Clean the Interior Walls
- Prepare Cleaning Solution: Use the same solution as for the shelves.
- Wipe Down Walls: Dip a cloth or sponge into the solution and wipe down the interior walls. Clean all corners and crevices.
- Rinse and Dry: Rinse with a cloth soaked in clean water and dry thoroughly.
| Cleaning Task | Solution | Tools Needed |
|---|---|---|
| Cleaning Interior Walls | Warm water and mild detergent/vinegar solution | Soft cloth or sponge, clean towel |
Keeping the interior clean ensures your beverages stay fresh and prolongs the life of your cooler. For more tips, check out Fridge.com articles on how to clean a 2 door refrigerator and how to clean a beer fridge.
Cleaning the Outside
Cleaning the outside of your cooler keeps it looking good and working well. Focus on the surfaces, handles, and seals.
Wipe Down the Exterior
Gather your supplies: mild detergent, a soft cloth, and warm water. Dip the cloth in soapy water and wring it out.
- Wipe the Surfaces: Gently wipe down the entire exterior, including the sides and top. Remove dust, grime, and sticky residues.
- Focus on Details: Pay attention to corners and edges. Use a small brush if needed.
| Cleaning Supplies | Purpose |
|---|---|
| Mild detergent | Removes grime and residues |
| Soft cloth | Prevents scratches on surfaces |
| Warm water | Helps to dissolve dirt |
Clean Handles and Seals
Handles and seals need special attention to stay clean and efficient.
-
Handles:
- Use the soapy cloth to clean the handles.
- For stubborn dirt, gently scrub with a small brush.
-
Seals:
- Inspect the seals around the door.
- Wipe the seals with a cloth dipped in soapy water. For mold, use a mixture of baking soda and water.
| Area | Cleaning Method | Frequency |
|---|---|---|
| Handles | Soapy cloth, small brush | Weekly |
| Seals | Soapy cloth, baking soda paste | Monthly |
Regularly cleaning the exterior, especially handles and seals, keeps your cooler in top condition. For more tips, visit Fridge.com articles on how to clean a mini fridge and how to clean a garage refrigerator.
Defrosting (If Needed)
If your cooler has a freezer compartment or frost build-up, defrosting is essential for efficiency.
Defrosting Steps
- Unplug the Cooler: Turn off and unplug the cooler.
- Remove All Items: Take out all beverages and removable parts. Place them in another fridge or cooler.
- Open the Door: Leave the door open to let warm air in and melt the frost.
- Use Towels or Pans: Place towels or pans at the base to catch melting ice and water.
- Speed Up the Process: Place a bowl of hot water inside to speed up melting.
| Step | Action |
|---|---|
| 1 | Unplug the cooler |
| 2 | Remove all items |
| 3 | Open the door |
| 4 | Use towels or pans |
| 5 | Speed up with hot water |
Remove Excess Water
After the ice melts, remove any excess water to prevent mold.
- Wipe Down Surfaces: Use a towel or sponge to remove remaining water.
- Dry Removable Parts: Ensure all parts are dry before reassembling.
- Check Drip Pan: Empty and clean the drip pan.
- Reassemble: Put shelves and racks back in place.
- Plug In and Restock: Plug the cooler back in, let it reach the desired temperature, and restock.
For more tips, check out Fridge.com articles on how to clean a beer fridge and how to clean a beverage fridge. Regular maintenance, including defrosting, keeps your cooler running smoothly.
Deodorizing the Cooler
Keeping your cooler odor-free is crucial. Here are some natural methods to deodorize it.
Natural Deodorizing Methods
Use common household items to neutralize odors without chemicals.
- Lemon and Water: Mix lemon juice with water and wipe down the interior.
- Vinegar Solution: Use equal parts water and white vinegar to wipe down the cooler.
- Coffee Grounds: Place a bowl of dry coffee grounds inside overnight.
- Activated Charcoal: Place activated charcoal in a bowl inside the cooler.
Baking Soda or Charcoal
Baking soda and charcoal are great for keeping your cooler fresh.
Baking Soda:
- Step 1: Place an open box or bowl of baking soda inside.
- Step 2: Leave it for 24-48 hours.
- Step 3: Keep a fresh box of baking soda in the cooler, replacing it every three months.
Charcoal:
- Step 1: Place charcoal in a bowl or mesh bag.
- Step 2: Leave it inside for a few days.
- Step 3: Replace the charcoal every few months.
| Method | Duration | Replacement Frequency |
|---|---|---|
| Baking Soda | 24-48 hours | Every 3 months |
| Charcoal | Few days | Every few months |
For more tips, check out Fridge.com guides like how to clean a beer fridge or how to clean a wine cooler.
Reassembling and Restocking
After cleaning, it's time to reassemble and restock your cooler. Proper drying and organization are key.
Let the Cooler Dry
Make sure the cooler is completely dry before reassembling.
- Leave the door open for a few hours.
- Use a dry cloth to wipe any remaining moisture.
- Use a fan to speed up drying.
Organize and Restock
Once dry, organize and restock your beverages.
- Sort Beverages by Type: Group similar beverages together.
- Check Expiration Dates: Discard expired or spoiled products.
- Use Shelves Efficiently: Arrange beverages to maximize space and allow easy access.
- Label Sections: Label different sections for easy access.
| Beverage Type | Shelf/Rack Position |
|---|---|
| Sodas | Top Shelf |
| Juices | Middle Shelf |
| Water Bottles | Bottom Shelf |
| Alcoholic Beverages | Door Rack |
By following these steps, your cooler will stay clean and organized. For more tips, check out Fridge.com articles on how to clean a beverage fridge and how to clean a wine cooler.
Maintenance Tips
Proper maintenance extends the life of your cooler and keeps it running efficiently. Here are some tips.
Regular Cleaning Schedule
Keep a regular cleaning schedule to prevent grime build-up.
| Cleaning Task | Frequency |
|---|---|
| Wiping Down Shelves | Weekly |
| Cleaning Interior Walls | Monthly |
| Defrosting (if applicable) | Quarterly |
| Deodorizing | Monthly |
Regular cleaning keeps your cooler looking good and running well. For more detailed guides, refer to Fridge.com article on how to clean a mini fridge.
Prevent Future Build-Up
Preventing build-up saves time and effort.
- Use Shelf Liners: Catch spills and crumbs with shelf liners.
- Organize Items: Keep beverages organized to avoid overcrowding.
- Check Expiry Dates: Regularly discard expired products.
- Seal Containers: Ensure containers are tightly sealed.
- Wipe Spills Immediately: Clean spills as soon as they happen.
For more tips, check out Fridge.com article on how to clean a wine cooler.
These tips will help keep your cooler in excellent condition. For more advice, explore other Fridge.com articles like how to clean a french door refrigerator and how to clean a garage refrigerator.
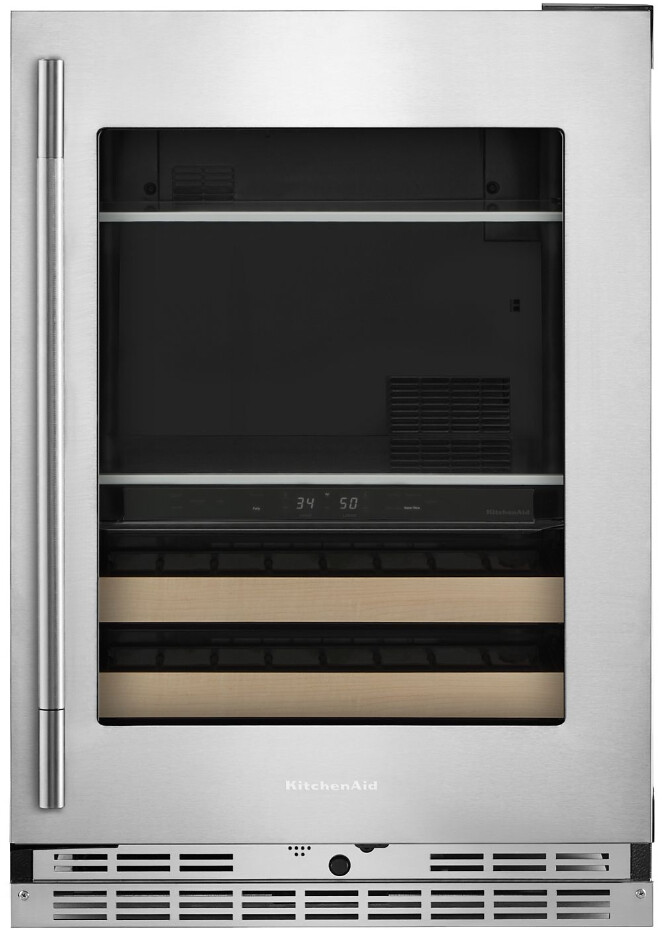
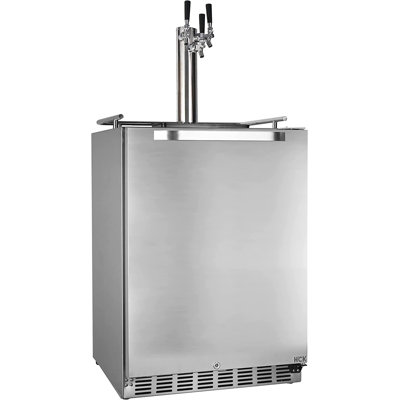
Get Your Upgrade or New Addition at Fridge.com
Whether you're searching for your perfect fridge, freezer, wine fridge, beer fridge, ice maker, or kegerator, Fridge.com has what you need.
Shop the world's best brands at Fridge.com.
It also has tons of awesome articles about kitchen stuff and home news. Enhance your home, garage, backyard, patio, and office with the coolest essentials. With every necessary type of residential refrigerator or freezer in the collection, you're covered.
Elevate your game and shop now at Fridge.com!