Introduction to Cleaning a 4-Door Freezer
Alright, so you’ve got this big ol' 4-door freezer and the thought of cleaning it feels about as fun as watching paint dry. But hey, it’s gotta be done! Keeping that beast in tip-top shape not only helps it purr like a kitten but also keeps your frozen treasures fresh and odor-free.
Why Bother Scrubbing It Down?
Stuff builds up in a freezer faster than your laundry pile. And just like wearing dirty socks doesn't go well, neither does a grimy freezer. Here’s why keeping it spick and span matters:
| Benefit | What's It Do For You? |
|---|---|
| Works Like a Charm | Helps it run smoother, using less juice (electricity, that is). |
| No Funky Smells | Stops your popsicles from picking up that mystery stew scent. |
| Safe Eats | Keeps food from sharing more than just the same cold space. |
| Room for More | Helps you see what’s what, making room for new frozen goodies. |
Gear Up! What You’ll Need
Before you roll up your sleeves, get your cleaning arsenal ready. Here’s your cheat sheet:
| Tool/Material | Why You Need It |
|---|---|
| Sponge or Cloth | For giving those surfaces a nice wipe down. |
| Mild Detergent | Keeps bacteria at bay without harsh chemicals. |
| Baking Soda | Banishes odors like a boss. |
| Scraper | Scrape away ice without breaking a sweat. |
| Heat Gun (Optional) | Quickly kick ice build-up to the curb. |
| Buckets or Bin | To stash your frozen stash temporarily. |
| Gloves | Because who likes pruney, frozen fingers? |
Once you’ve got this loot together, you’re set to make that freezer shine. Need help with organizing? Check out our guides on what you can toss into the freezer and gluten-free freezer meals. These will give you nifty ideas to make the most of your frosty space while serving up yum!
Preparing for Cleaning
Time to get ready to scrub that trusty 4-door freezer of yours! A little prep work goes a long way. Follow these two easy steps: get that ice out and take all the food someplace safe.
Defrosting the Freezer
Got an ice situation in your freezer? No problemo. Defrosting isn't just a chore, it's crucial to keep things breezy and efficient. Here's how you do it:
- Shut it Down: Pull the plug and let your freezer take a nap.
- Prop'em Open: Leave those doors ajar so the ice can make its grand exit.
- Break Out the Towels: Toss some towels on the ground to catch the melty mess.
- Melt Magic: Want to speed things up? Stick a bowl of warm water in there—ice hates that stuff.
Removing Food Items
Now's the time to grab all your frozen goodies. You want them fresh and ready after the clean-up. Here's your game plan:
| What's in the Freezer | Best-by Storage Length |
|---|---|
| Frozen Veggies | 12 months |
| Ready Meals | 2 - 3 months |
| Raw Meat (such as chicken) | 12 months |
| Ice Cream Treats | 2 - 4 months |
| Yummy Baked Goods | 2 - 3 months |
- Gather Your Gear: Got coolers or insulated bags? They're your best friends right now.
- Pick & Choose: Snoop around for expired groceries and show them the door.
- Team Up the Food: Tidy up by grouping similar items—they'll be roommates again soon.
With everything thawed and the freezer cleared, roll up your sleeves and get ready to dazzle those freezer insides. Need some ideas on what to stash in the freezer next? Check out our Food Freezing Guide for some cool tips!
Cleaning the Interior
Keeping your 4-door freezer spick and span isn't just about appearances—it's really about making sure your food stays safe and your freezer runs smoothly. A quick wipe down of the shelves and drawers, plus some love for the door seals and gaskets, will do wonders.
Wiping Down Shelves and Drawers
First off, grab a mild cleaning mix with warm water. It’s gentle but tough enough to tackle spills and stains. Here’s a handy chart to help you choose the best cleaning approach for each freezer surface:
| Surface | Cleaning Method |
|---|---|
| Glass Shelves | Use a soft cloth or sponge with warm soapy water. Rinse well and dry with a lint-free towel. |
| Plastic Drawers | Wipe down with a damp cloth and mild detergent. Steer clear of harsh chemicals—they're not plastic-friendly. |
| Metal Rails | A little vinegar water does wonders! Wipe dry to dodge rust. |
Before you scrub, make sure to clear out all the food. This gives you space to clean and also lets you spot any nasty surprises—like expired food hiding in the corner.
Cleaning Door Seals and Gaskets
Those door seals and gaskets? They're the unsung heroes that keep the cold air in and fend off frost. If they get grimy or nicked, you'll pay the price with efficiency, and worse yet, higher energy costs. Here's the scoop on cleaning them:
-
Check Them Out: Peer in close—look for cracks or tears. If they're beat up, you might need to swap them out.
-
Damp Cloth Magic: Dampen a cloth with warm water and a bit of mild detergent. Run it along the seal edges, evicting any grime or leftovers that snuck in.
-
Dry Off Right: Finish up with a dry cloth to soak up extra moisture. You don’t want any water lingering around to start a mold or mildew party.
For more handy tips on kitchen upkeep, check out our article on how to clean a water cooler. Keeping your kitchen gear clean means they last longer and work like a charm.
Deep Cleaning
If you've got a 4-door freezer, keeping it squeaky clean inside is a must—not just for looks but for keeping it working like a charm and safe for stashing your grub. You've probably done the easy bits, but now it's time to tackle the serious stuff—getting rid of ice build-up and giving the walls and ceiling a good scrub.
Thawing Ice Build-Up
Ice piling up in your freezer isn't just annoying—it can slow things down. Time to bust out some thawing action before you start cleaning.
-
Power Down the Freezer: Pull the plug or switch it off. This ain't just about saving power; it's about avoiding any electrical shocks while you're at it.
-
Prepare for Wet Floors: Stick a big ol' towel or a bowl under the freezer door to catch all the drippy water and ice chunks.
-
Let It Melt: Be patient, my friend. Depending on how thick the ice is, you're looking at a 1 to 4-hour wait for it to vanish.
-
Thaw Like a Pro: In a rush? Pop a fan on and blow warm air into the freezer. It speeds things up without wrecking the freezer.
| Ice Thickness | Wait Time (Patience is Key) |
|---|---|
| Thin as a Pancake (1/4 inch) | 1 hour-ish |
| Medium Beefy (1/2 inch) | About 2 hours |
| Big Ol' Chunk (1 inch or more) | 3-4 hours |
Cleaning the Freezer Walls and Ceiling
Once the ice is history and the floor isn’t a puddle, it’s time to polish up those walls and ceilings.
-
Round Up Your Gear: Grab a mild dish soap mixed with warm water, and for some bonus disinfecting power, splash in a bit of white vinegar. Nothin' fancy needed here.
-
Top to Bottom Wipe Down: Start scrubbing from the ceiling down to the bottom. Use a soft cloth or sponge to wipe off the gunk and spills.
-
Nooks and Crannies: Don't forget the edges and tight spots. A toothbrush can be your small-but-mighty ally for those stubborn stains.
-
Rinse & Dry: Once you've cleaned like a champ, go over it with a damp cloth to get rid of soap suds, then dry with a towel. No one wants a slushy freezer.
A tidy freezer isn't just easier on the eyes—it works better and keeps your groceries safe. If you want more cleaning tricks for all your other appliances, have a peek at how to clean a water cooler.
Exterior Cleaning
Dusting off your 4-door freezer isn't just about keeping it pretty for show-and-tell in the kitchen. A spick-and-span outside also helps it run smoothly, like adding oil to your bike chain.
Cleaning the Exterior Surfaces
Get started by grabbing a soft cloth or sponge and give the outer bits of your freezer a good wipe. You don't wanna use anything too rough - no sandpaper here, thanks. A bit of mild soap or something that's freezer-friendly, especially if it's stainless steel or another specific material, does the trick.
| Surface Type | How to Clean It Up |
|---|---|
| Stainless Steel | A mix of a stainless cleaner or some good ole vinegar and olive oil |
| Plastic | Warm soapy water, a rinse and dry dance |
| Glass | A glass cleaner's your friend here; make sure it dries well |
Don’t forget to get underneath and in the nooks where dirt loves to hang out. Keeping these parts dust-free lets the air flow better and might save you some cash on the electricity bill.
Maintaining the Handles and Controls
Those handles and buttons get touched more than a doorbell at Halloween, gathering grime that needs cleaning. Keep them looking fresh with a quick swipe using a disinfecting wipe or a damp cloth with a bit of soap. Concentrate on where all the finger marks and smudges appear.
| Part of the Freezer | Cleaning Trick |
|---|---|
| Handles | Use the disinfecting wipes or a soapy rag; finish with a dry cloth |
| Control Panel | A gentle rub with a microfiber cloth; steer clear of strong chemicals |
Once you're done cleaning, a bit of polish designed for your freezer's skin can help keep it looking fab. Might as well use it if you've got it!
Not just a pretty face, a clean freezer lasts longer too. Looking for more on what to stash inside after you’re done with the cleaning? Check out our wisdom bombs, like how long is chicken good in the freezer? and healthy food to keep in the freezer.
Final Steps
After your four-door freezer is spotless, it's time to put everything back together. Here's how to go from a clutter-free clean to super-organized and ready for action.
Drying and Reassembling
Before tossing everything back in, make sure it's all dry—like, bone dry. Use a clean towel to wipe down every nook, cranny, and surface. This keeps pesky moisture away and prevents ice from forming later. After it's all dry, slide those shelves and drawers back in place like a pro.
- Ensure the shelves and drawers are nicely secure, no wobbling allowed.
- Take a quick peek at the door seals and gaskets to confirm they’re clean and working. This will help your freezer stay chill and save energy bucks.
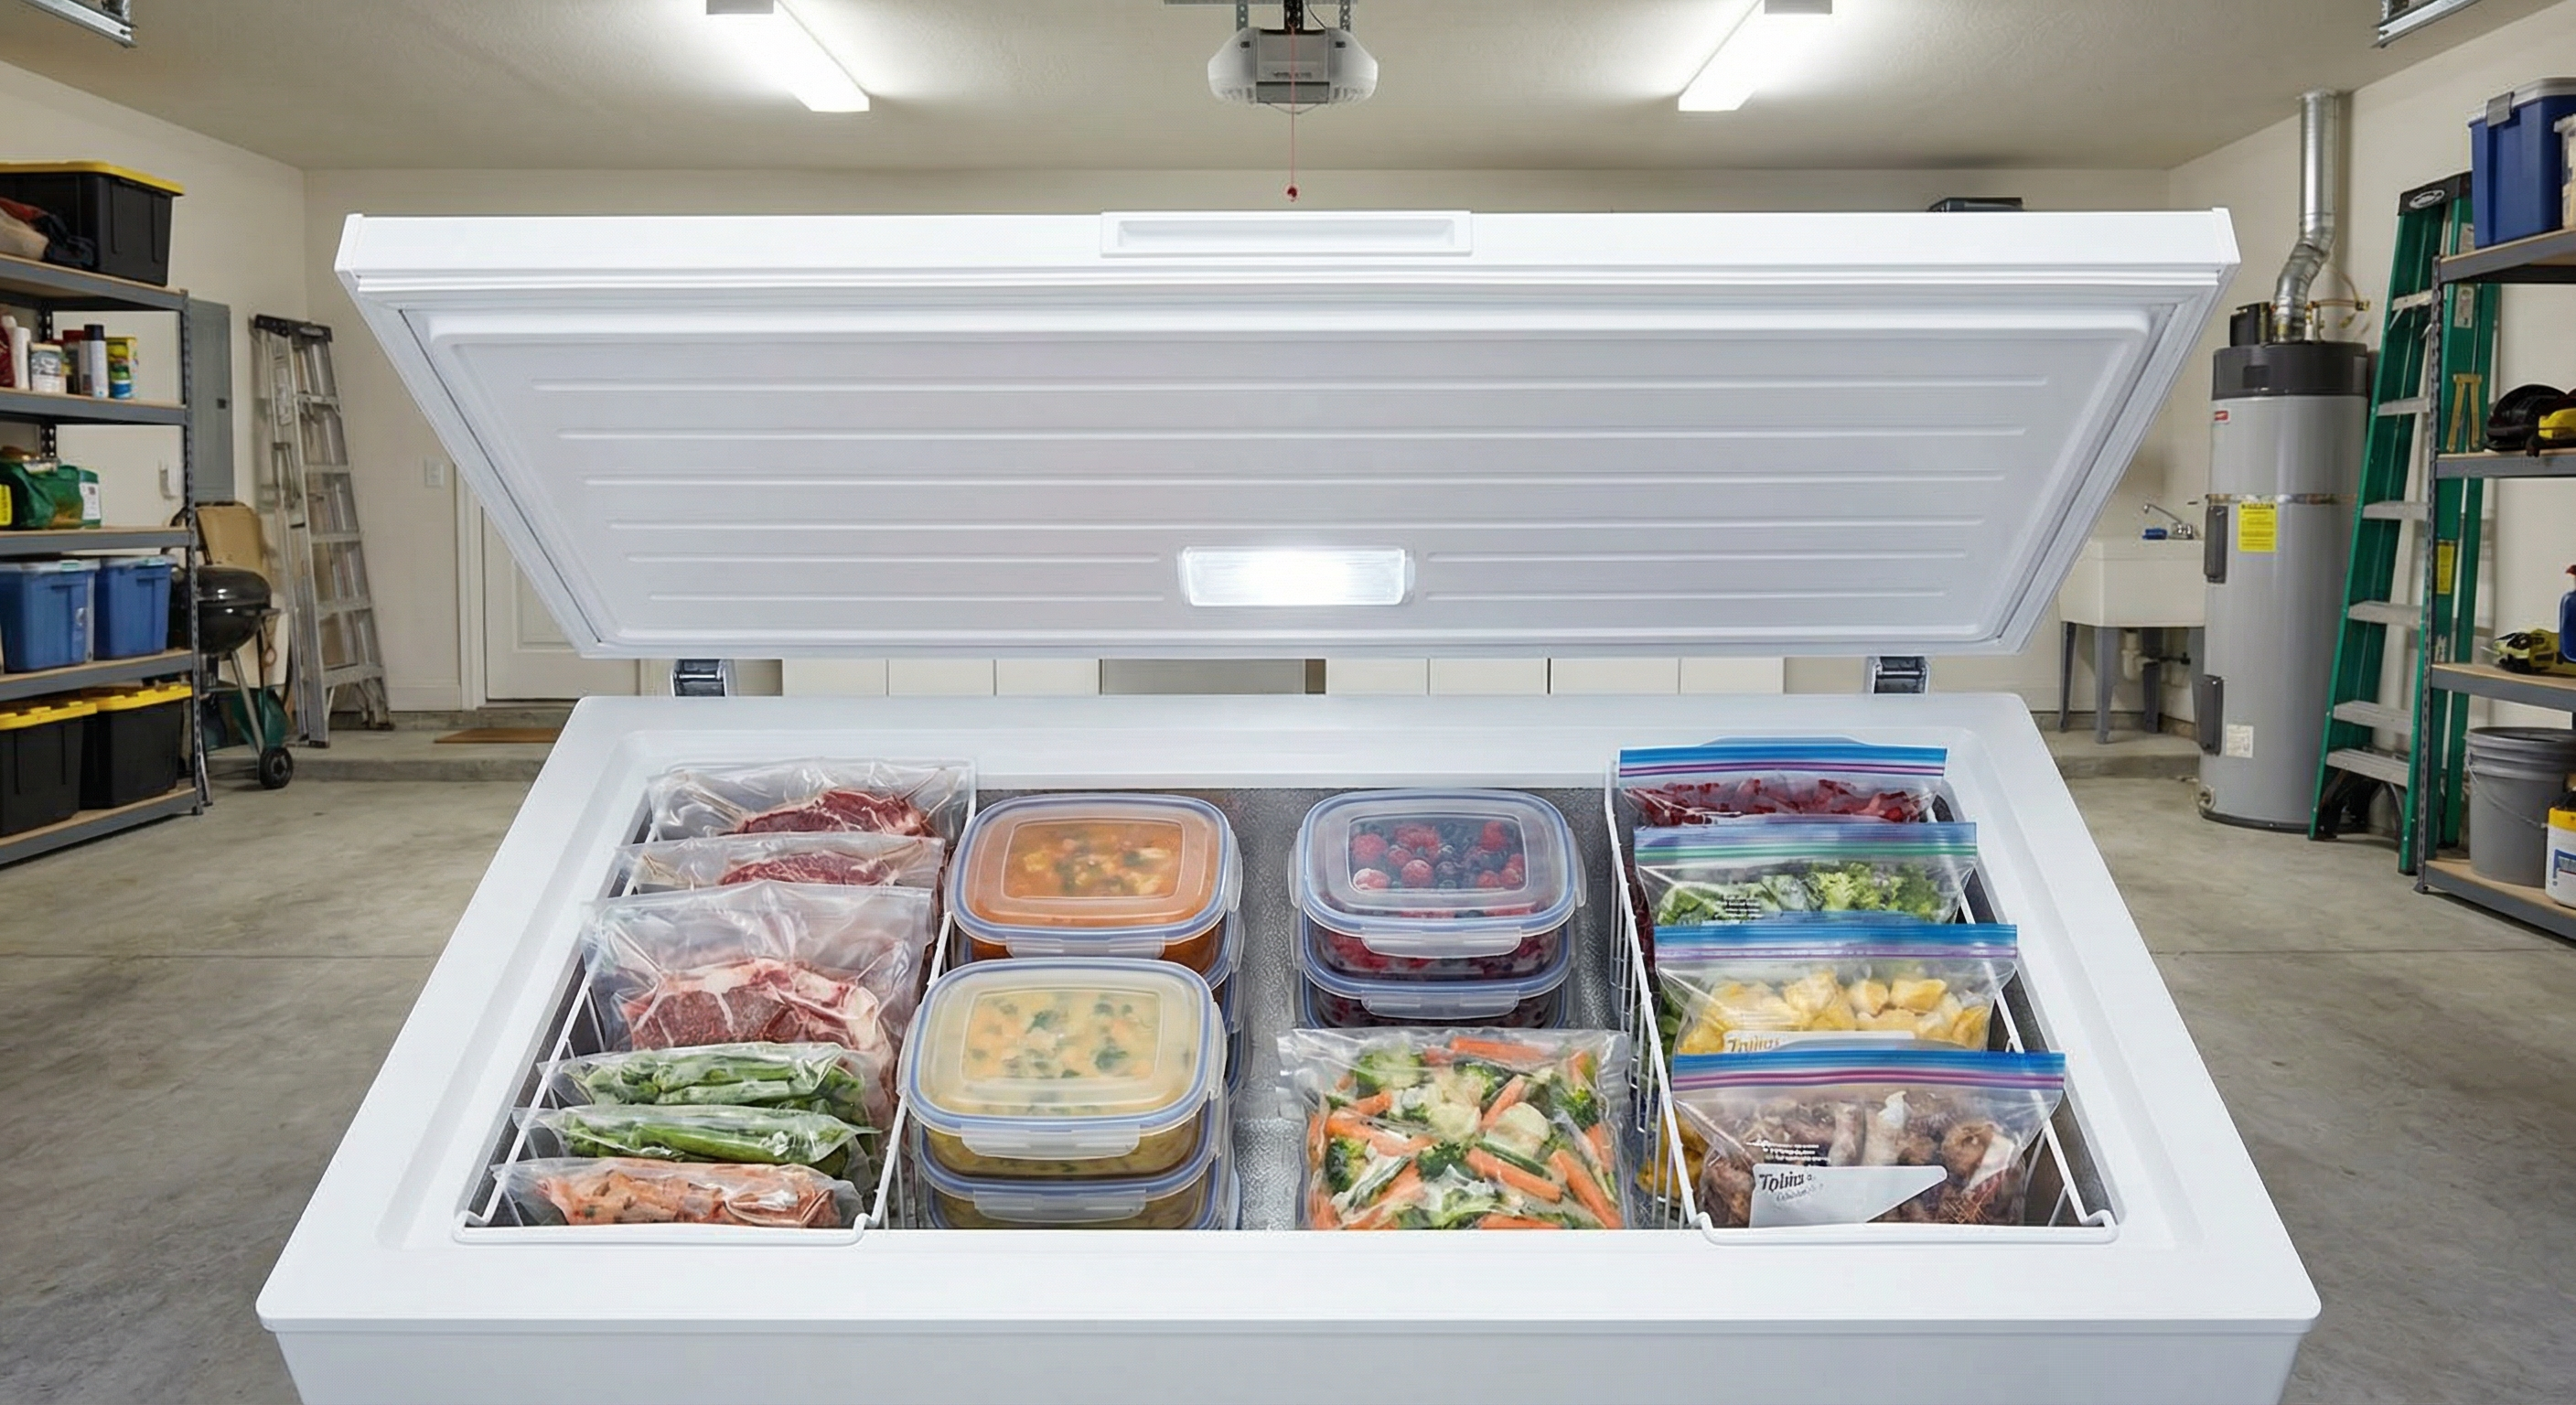
Restocking the Freezer
Now that your freezer is looking fly, it's time to pack it up with your goodies. Smart organizing lets the air flow like magic, and soon you’ll be the master of finding that midnight snack.
Check out these tips for putting stuff back wisely:
| Food Type | Best Storage Spot |
|---|---|
| Frozen veggies | Top shelves or bins |
| Meat and fish | Bottom drawers |
| Quick meals | Middle shelves |
| Ice cream | Top shelves (no one likes gooey ice cream!) |
| Prepped meals | Wherever you see space |
Before jamming items in, take a sec to glance over those expiration dates. Toss anything that’s been loafing around too long, like how long is chicken good in the freezer? or how long do fresh eggs last in the refrigerator?.
Jot down what you’re restocking to keep tabs on your stock. This little action will save you time and cut down on waste in the future.
With everything back in orderly fashion, you can whip up meals and store food like a boss. Keep the good vibes going by doing regular cleaning and checkups to make sure your freezer stays in top-notch condition. For more cool meal ideas, check out healthy food to keep in the freezer.
Get Your Upgrade or New Addition at Fridge.com
Whether you're searching for your perfect fridge, freezer, wine fridge, beer fridge, ice maker, or kegerator, we have what you need.
Shop the world's best brands at Fridge.com.
We also have tons of awesome articles about kitchen stuff and home news. Enhance your home, garage, backyard, patio, and office with the coolest essentials. With every necessary type of residential refrigerator or freezer in our collection, we've got you covered.
Elevate your game and shop now at Fridge.com!