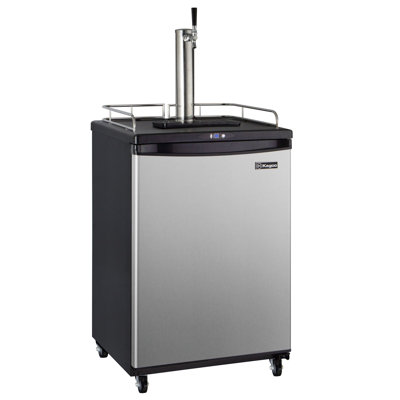
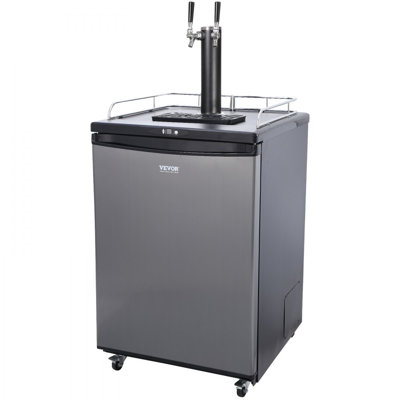
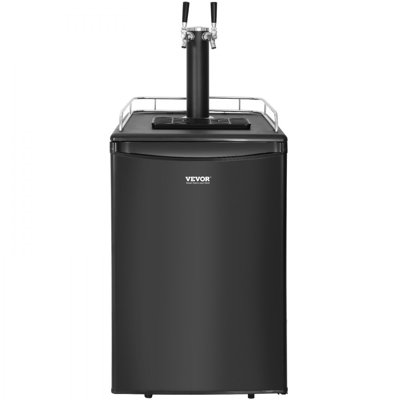
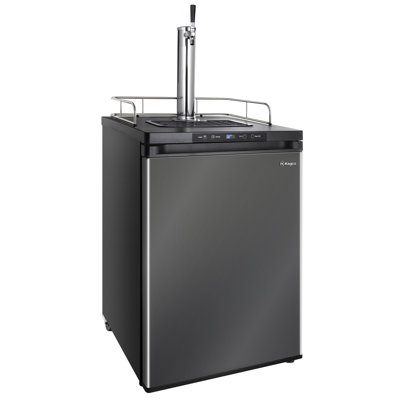
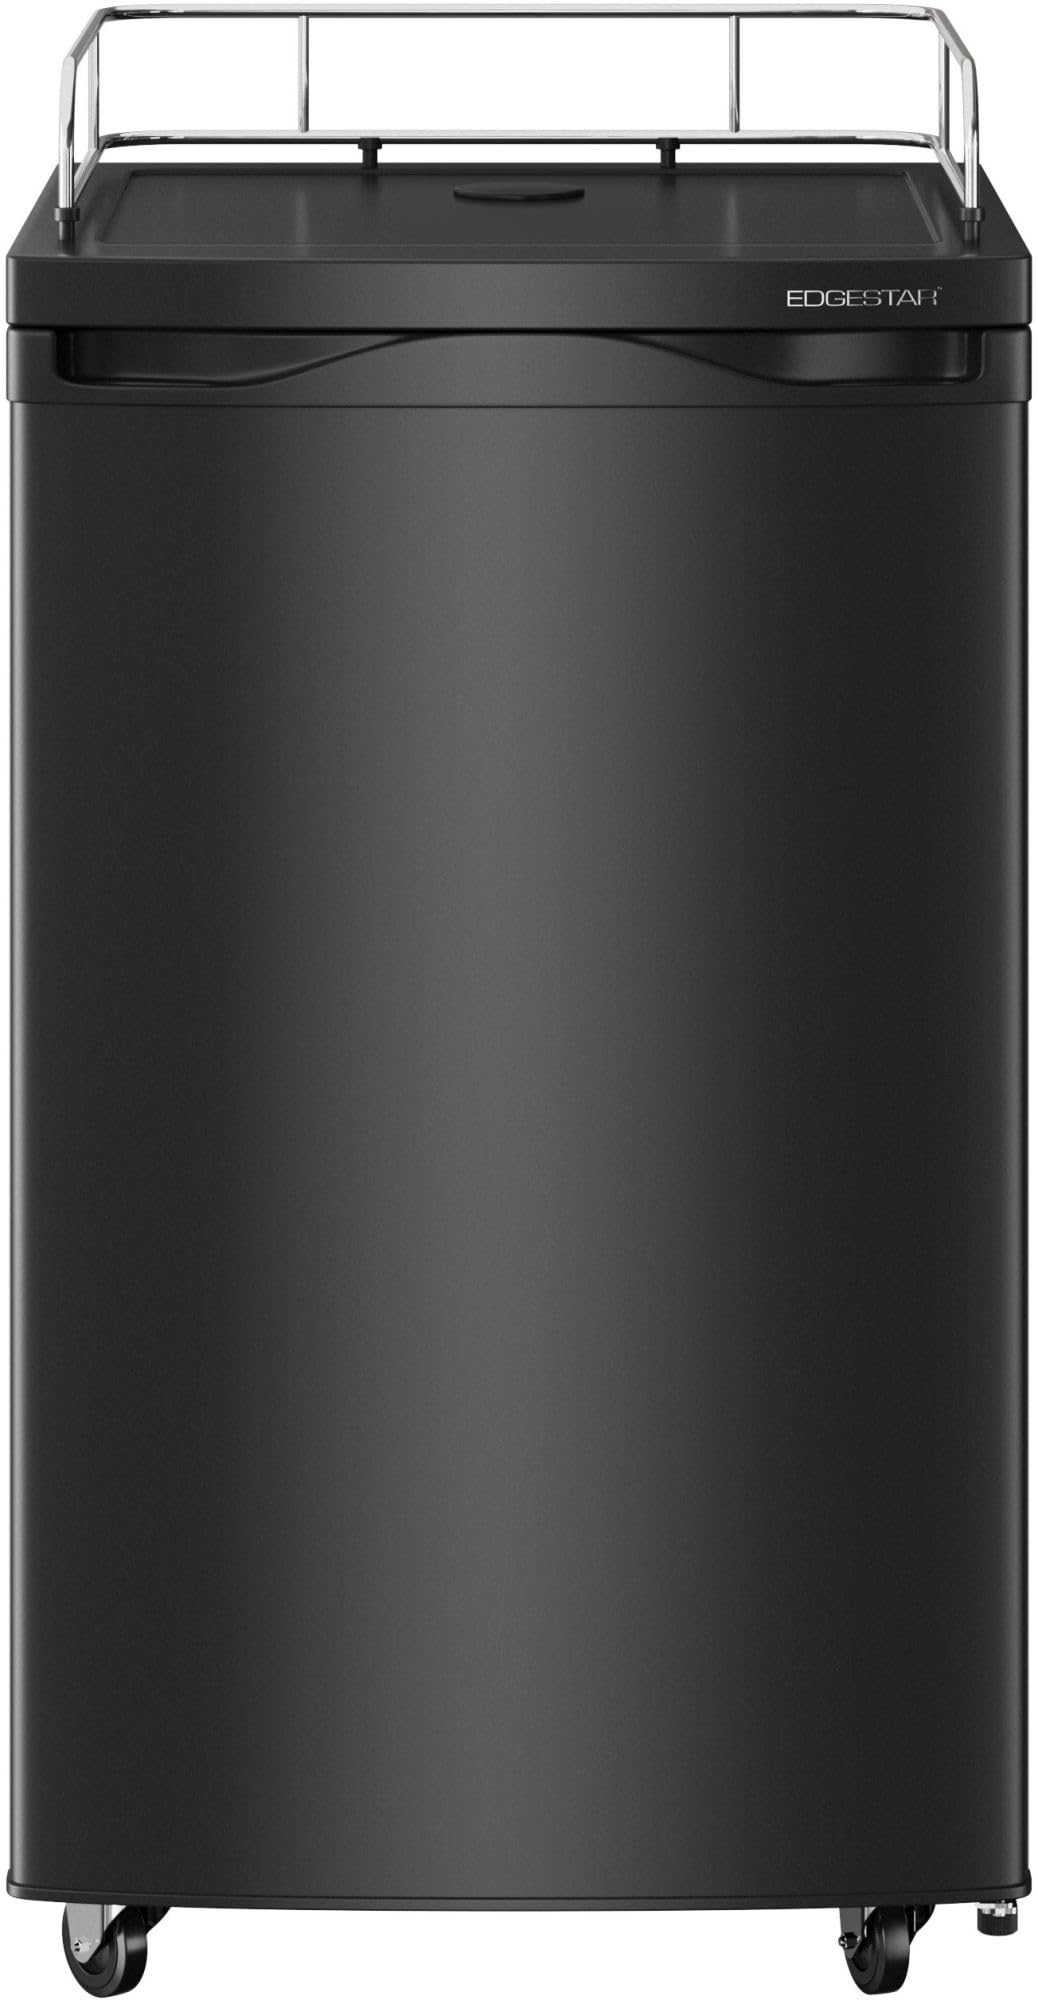
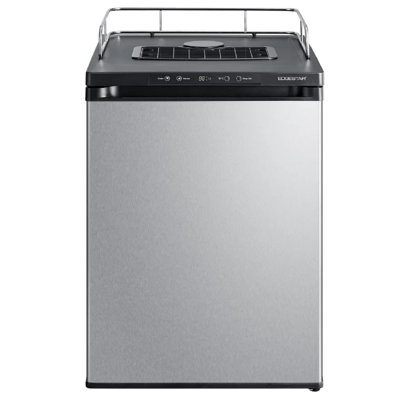
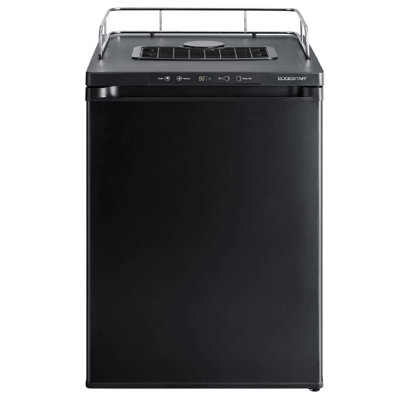
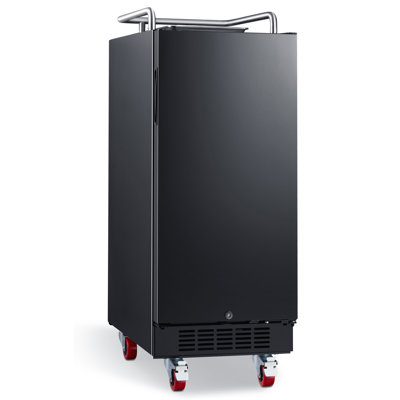
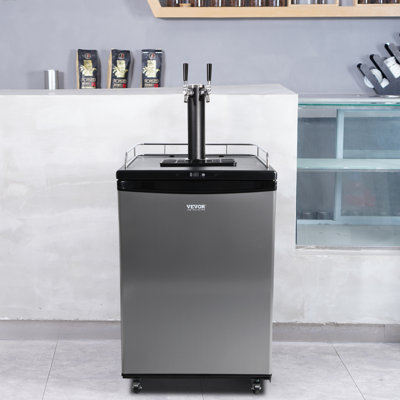
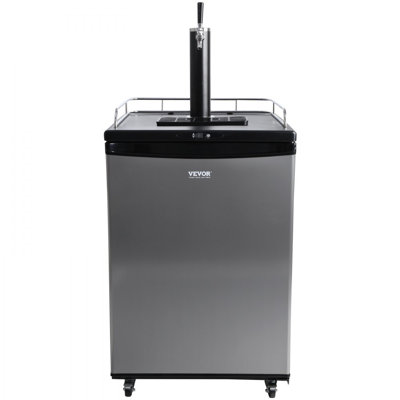
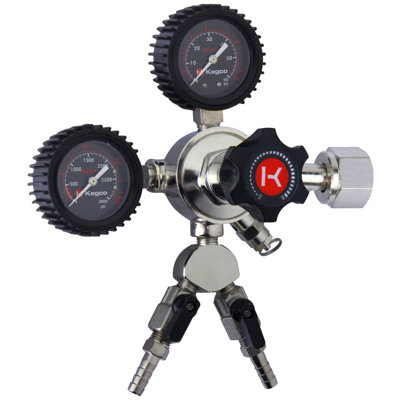
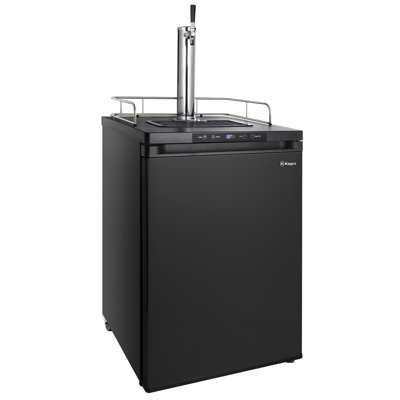
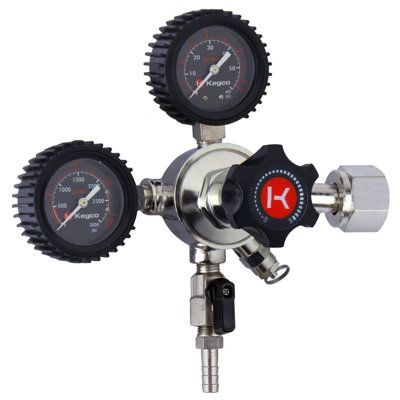
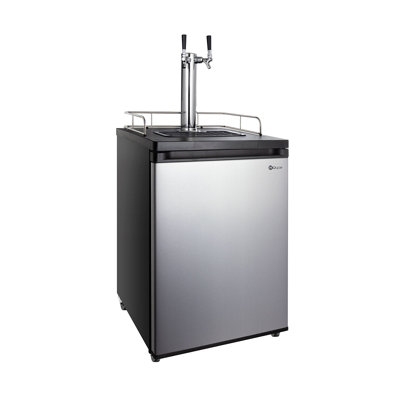
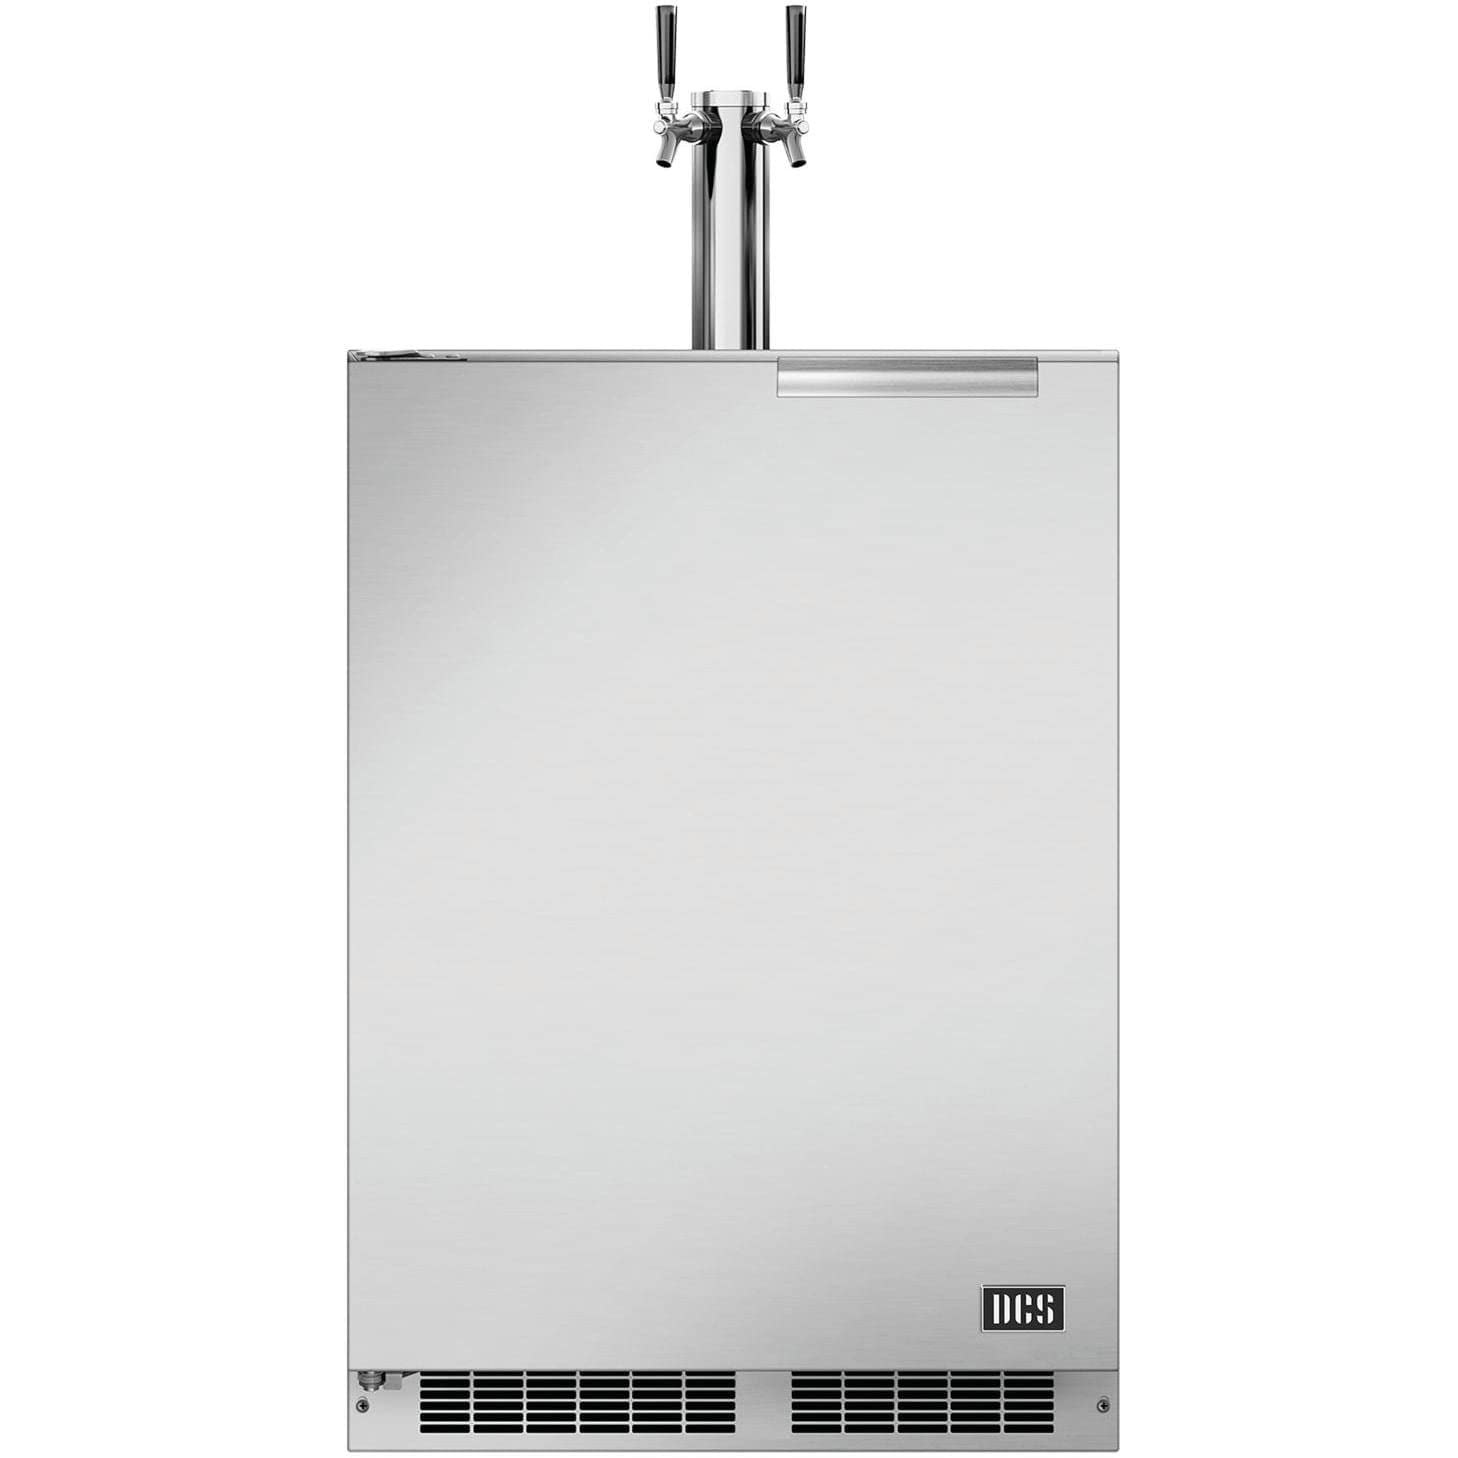
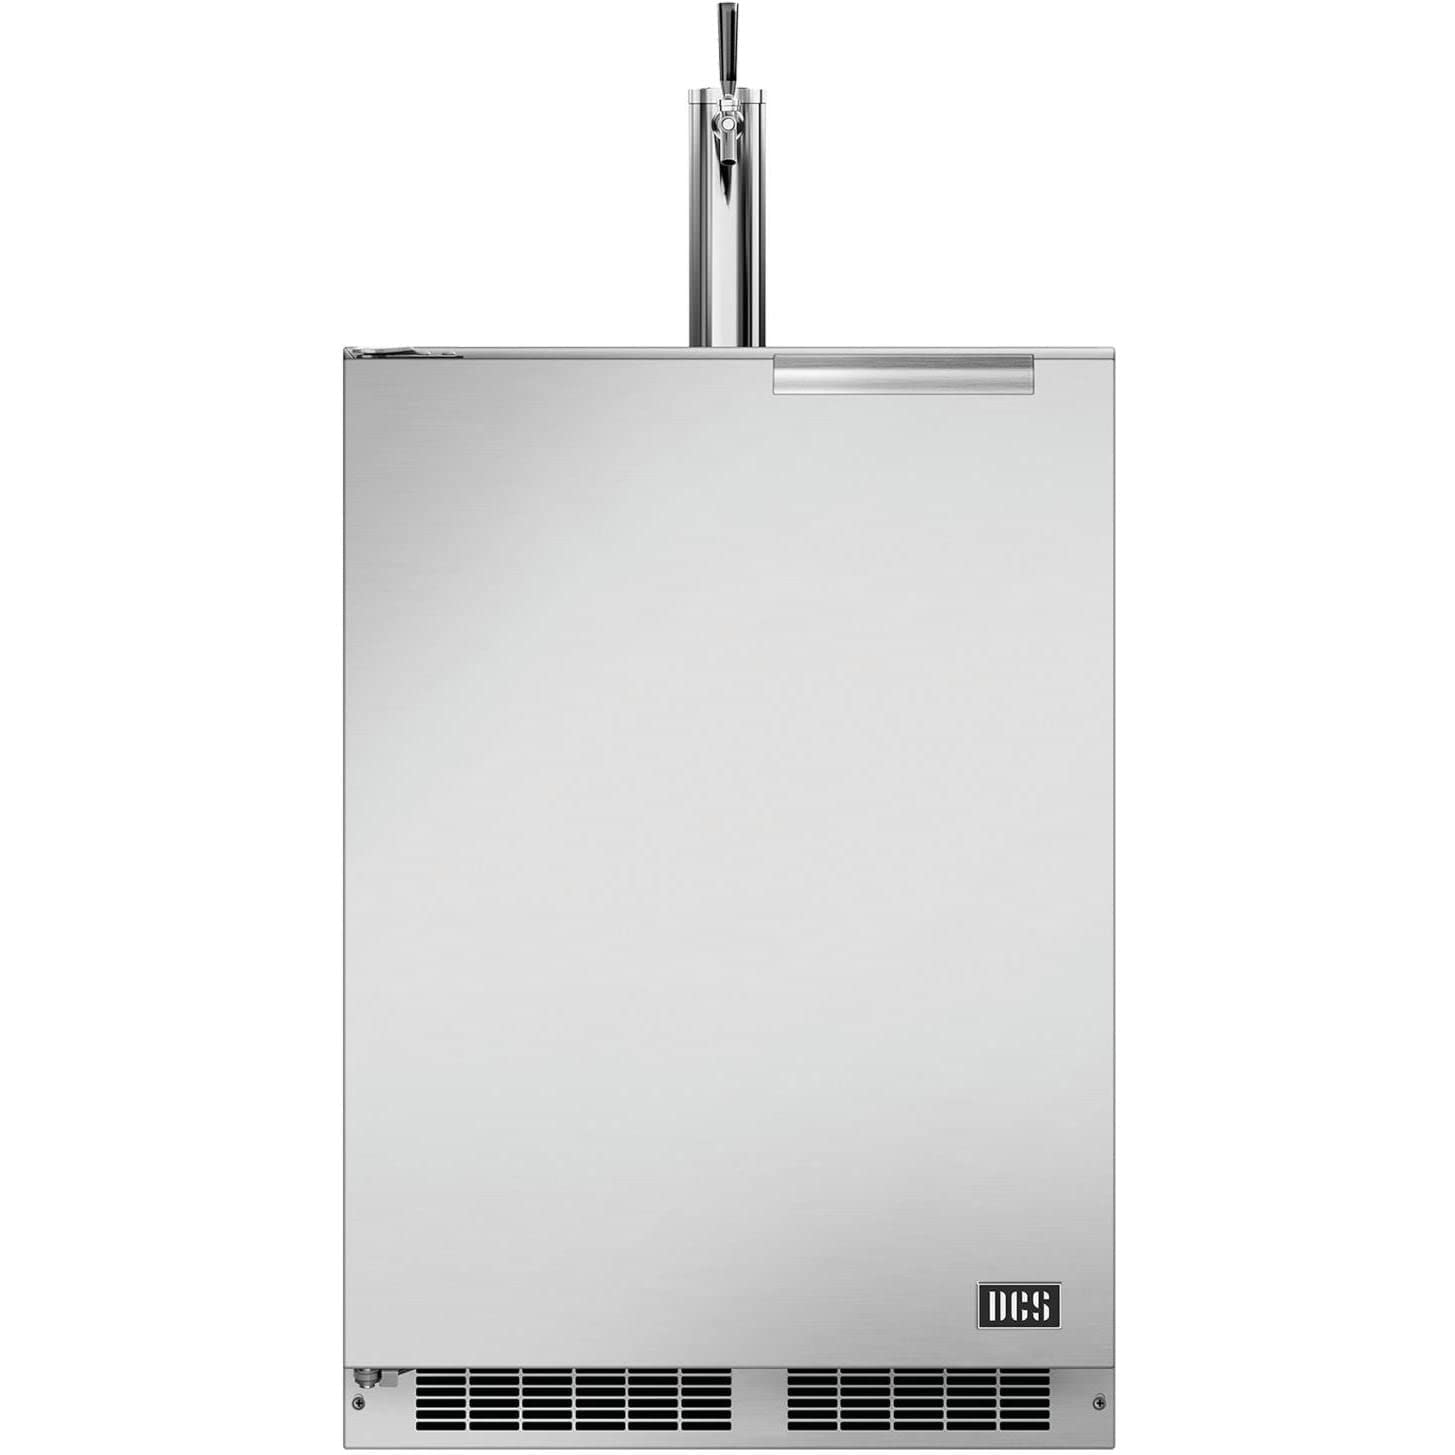
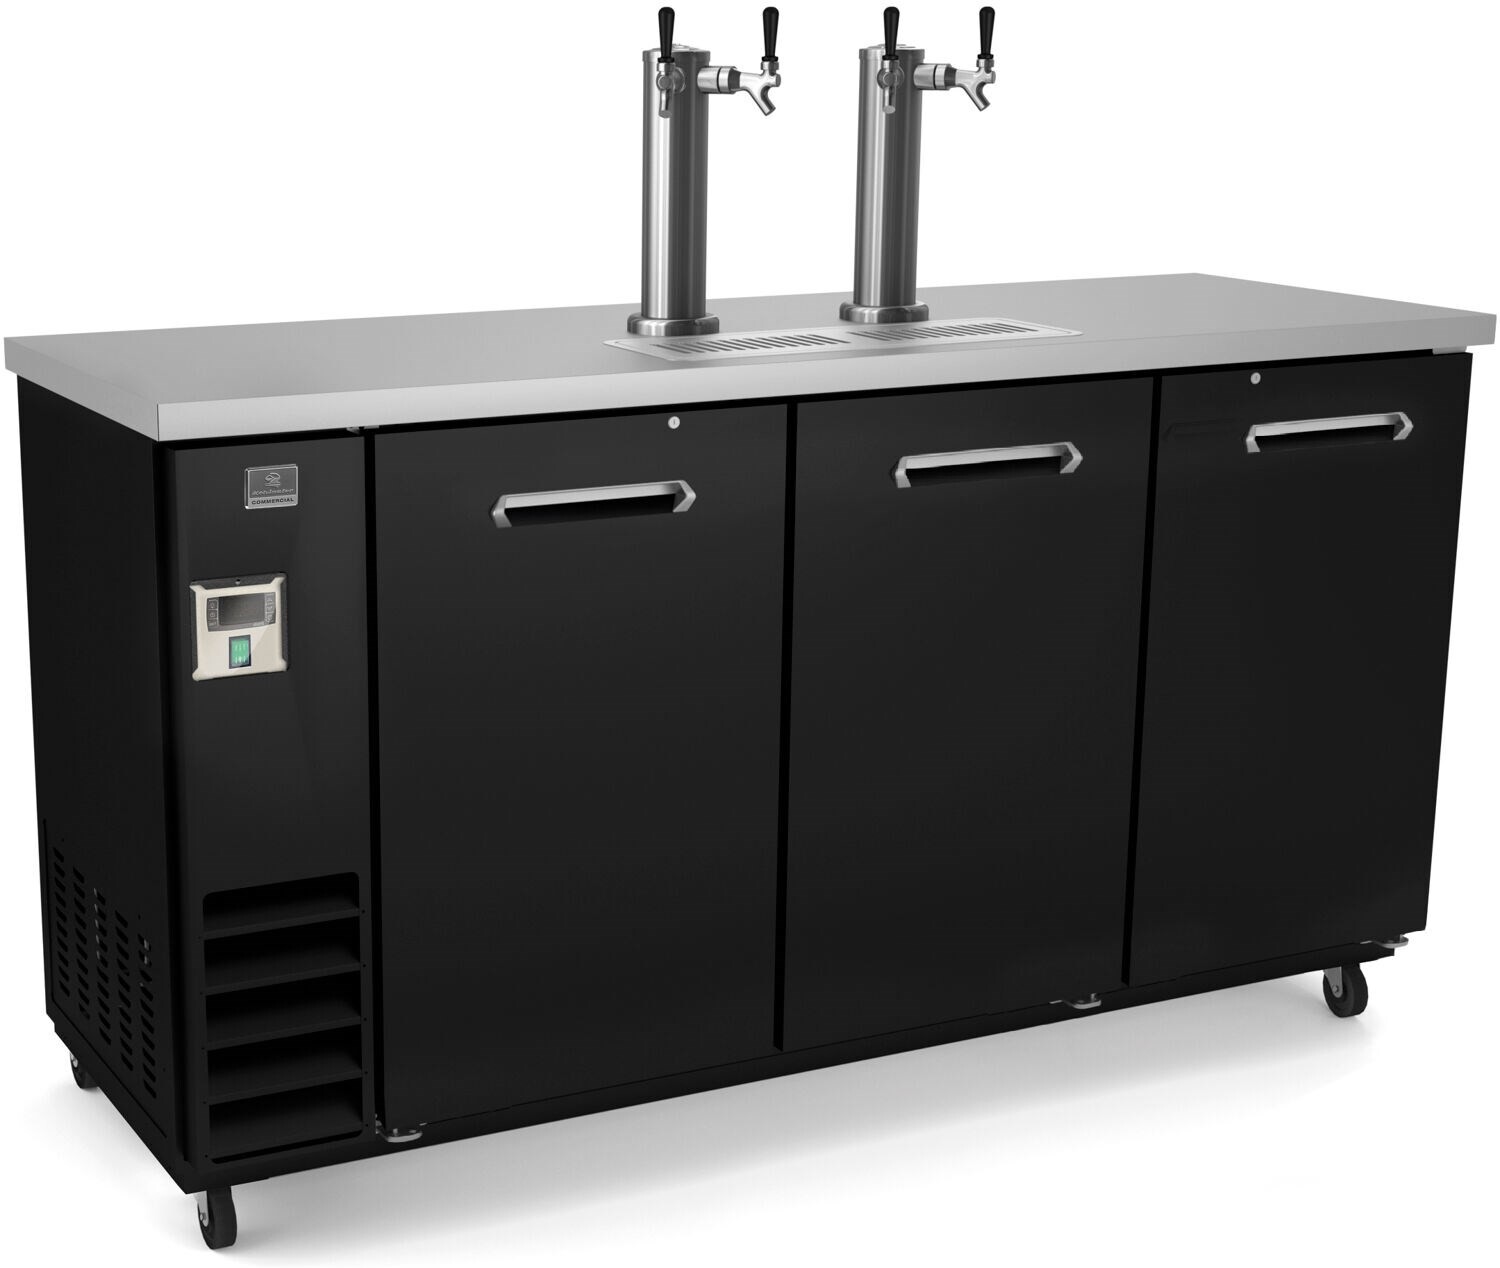
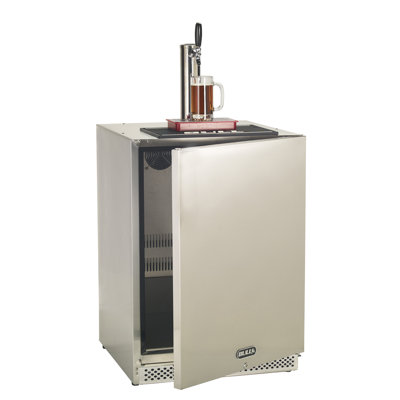
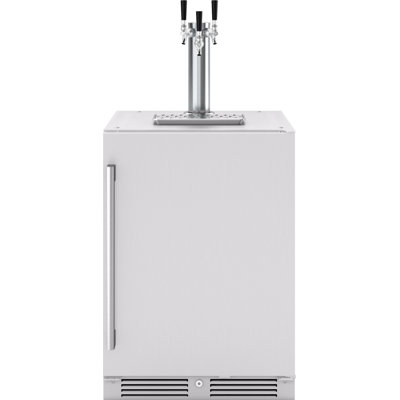
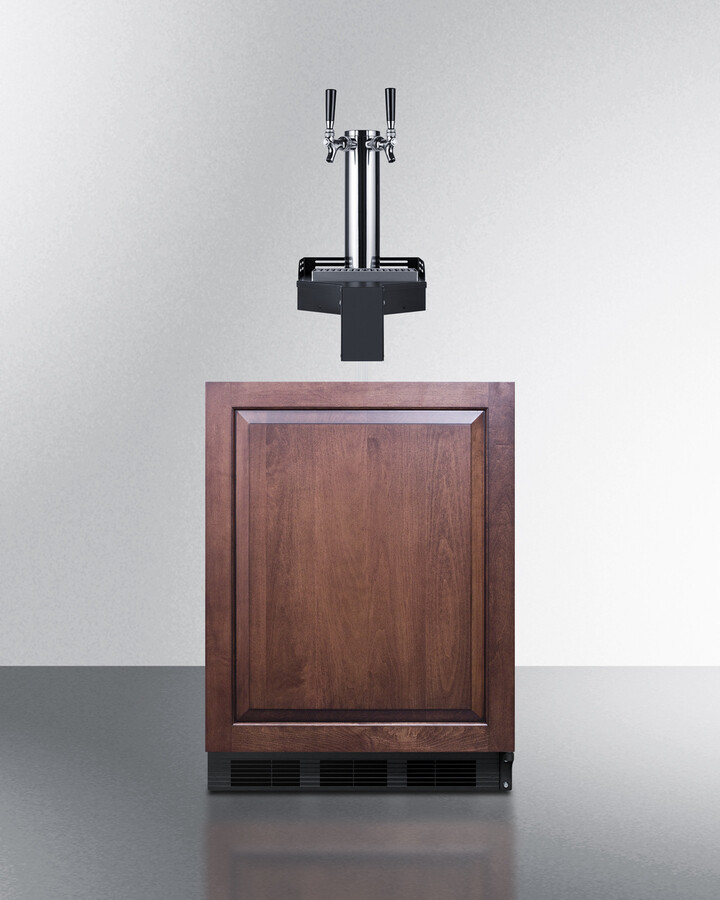
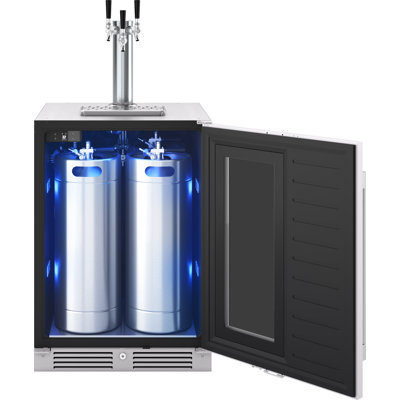
So, you've heard of a kegerator and you're wondering what it’s all about, huh? Imagine a refrigerator, but way cooler and focused on one mission—keeping your beloved beer super fresh and ready to flow. Think of it as your personal bartender right at home, ensuring your brew is just as tasty as that night you found 'the perfect pint' at your local bar. If kicking back with a cold one from your tap sounds like bliss, a kegerator might just be your new best friend.
Benefits of Having a Kegerator in Your Home
Now, let's talk perks! Why's a kegerator a game-changer, you ask? Check these out:
Saves You Bucks: Picking up a keg often beats buying bottles or cans in terms of cash. More savings means more beer!
Keeps It Fresh: Your beer's snug in there, shielded from that annoying air which steals its freshness.
Super Handy: Quit lugging around those bulky boxes. Just pour yourself a glass straight from the tap—easy peasy.
Beverage Bonanza: Whether you're a lager lover, a stout supporter, or even a kombucha convert, a kegerator's ready to deliver.
Your Choice, On Tap: Always have your faves lined up, perfect for when friends drool over your top selections.
Here's a snapshot of what you'll get with a kegerator:
Benefit
What It Brings to the Table
Saves You Bucks
Cheaper than buying bottles/cans
Keeps It Fresh
Locks in flavor, stays crisp longer
Super Handy
No more heavy lifting, simple serving
Beverage Bonanza
Numerous drinks only a tap pull away
Your Choice, On Tap
Fill it with what you love, whenever you want
Seriously, a kegerator's not just for beer enthusiasts, but for anyone who likes spicing things up at home, making gatherings unforgettable, and turning their space into the coolest hangout spot around. Imagine having one during a big game or a chill weekend—pure magic, right? So, consider this: will a kegerator become a staple in your paradise?
Thinking about getting a kegerator, huh? Before making a decision, there's a mix of stuff you'll wanna mull over to find the perfect fit for your place. Let’s break it down!
Space and Size Requirements
First things first: where are you gonna put this bad boy? Kegerators have all sorts of shapes and sizes, so you gotta make sure it’ll fit your spot. Grab a tape measure before diving in, and jot down both the height and width of the space you're eyeing.
Kegerator Size Options
Dimensions (inches)
Suggested Space (inches)
Compact Kegerator
30" H x 18" W
34" H x 21" W
Smaller Home Kegerator
36" H x 20" W
40" H x 24" W
Full-Size Kegerator
48" H x 24" W
52" H x 28" W
Types of Beer You Enjoy
Let's talk beer! The kinds you love to sip will steer your kegerator choice. Different models juggle various keg sizes and styles. Here's the scoop:
Beer Type
Keg Size
Common Examples
Standard Keg
15.5 gallons
Ales, Lagers
Slim Keg
13.2 gallons
Craft Brews
Mini Keg
5 liters (1.32 gallons)
Specialty Brews
Figuring out your fave beer types will help you pick the kegerator that vibes with your taste.
Maintenance and Installation
Onto the nitty-gritty: maintenance and getting the thing up and running. Some kegerators might need a pro to set up, but others are as simple as a piece of cake. Look for ones that are easy to clean and maintain because a well-kept kegerator means more cheers and less hassle.
When you're on the hunt for a kegerator, knowing the different types can save you a world of hassle. Let's dive into the big three: commercial, home, and outdoor kegerators.
Commercial Kegerators
Commercial kegerators are for bars, restaurants, and venues—any place where beer flows like water at a fountain. They're built tough and ready for action, always game for a busy night. Here’s what sets them apart:
Feature
Description
Capacity
Can juggle up to 4 full-sized kegs, give or take.
Cooling System
Has a fancy refrigeration setup for those perfect chilled pours.
Durability
Stainless steel vibes make them tough as nails.
Size
Big honkers designed to store tons of beer goodness.
Ideal for social butterflies who entertain the masses or own a bar, these kegerators won't let you down.
Home Kegerators
For beer lovers who enjoy hosting at home, home kegerators are your trusty companions. They're crafted for personal use and pack a punch with versatility. Here’s what's in store:
Feature
Description
Capacity
Typically embraces a single full-sized keg or few small ones, like corny kegs.
Size
Lean, compact models to chill in home spaces.
Temperature Range
Adjustable to ensure your brew's always served at the right chill.
Portability
Light and often roll with wheels for easy relocation.
These are perfect for your beer-loving get-togethers, adding a little flair to your weekend vibe.
Outdoor Kegerators
Designed for the wild - outdoor kegerators play nice on patios, backyards, or tailgate parties. They're rugged enough to brave the elements while keeping your beer icy. Here's the breakdown:
Feature
Description
Weather-Resistant Design
Built tough to beat rust and keep corrosion away.
Insulation
The cold stays cold, even when the sun's giving you a high five.
Size Options
Comes in all sorts of sizes, including ones you can drag around.
Additional Features
Some have cool built-in taps and spots to stash your beer tools.
For anyone who lives for chillin' outdoors with mates, these beauties make sure your beer's as cold as an Eskimo's toes.
Picking which type of kegerator fits your life is key—whether you're running a bar, boozin' with buds at home, or cracking open cold ones outside. Consider your space and thirst, then let the good times roll right from your own tap!
Getting your kegerator ready isn't rocket science, but it does take some thinking ahead and more than a bit of elbow grease. Here’s the scoop on where to stick it, how to set it up, and keeping things on the up and up.
Location and Placement Tips
Pickin' the right spot for your kegerator is as important as choosing the right pair of shoes for a long walk. Follow these nuggets of wisdom to make sure your beer dispenser has a happy home:
Proximity to Power Source: You'll need a plug nearby—extension cords are a no-go and could lead to troubles.
Ventilation Space: Give it some breathing room. Enough airflow keeps things running cool and smooth.
Level Surface: Find a flat and sturdy spot. This stops it from playing the leaning tower of beer-zza.
Accessibility: Make sure it's easy to get to, so you're not playing hopscotch every time you need a refill.
Avoid Direct Sunlight: Keep it in the shade. The sun’s hot finger can mess up your brew’s cool swagger.
Installation Process
Setting up your kegerator won't make you pull your hair out. Here’s the straightforward path to success:
Unpack the Kegerator
Rip off all that packaging. Check for any dings or dents.
Connect the CO2 Tank
Hook up the CO2 tank with the bits and bobs provided. Give it a good twist to secure.
Attach the Beer Line
Connect the beer line to the keg, then to the tap inside. Tight is right to stop leaks.
Set the Temperature
Dial in that sweet spot. Most brews are happy between 38°F and 42°F.
Allow for Cooling Time
Once it's all put together, let it chill out for a few hours before your first pour.
Installation Step
Details
Unpack
Inspect for damages and remove packaging
Connect CO2 Tank
Securely attach with provided fittings
Attach Beer Line
Tighten connections to prevent leaks
Set Temperature
Adjust between 38°F and 42°F
Allow Cooling Time
Let it chill for a few hours before use
Safety Measures to Follow
A few precautionary steps will keep your kegerator from turning into a party pooper:
Regular Inspections: Scope out the CO2 tank and beer lines on the regular for leaks or wear.
Avoid Overfilling: Don’t cram more than the manufacturer says it can handle.
Keep Clean: Cleanliness avoids funkiness. Follow guidelines on keeping those beer lines spotless; check out Fridge.com guide on how often do you clean beer lines in a kegerator.
Electrical Safety: Plug into a surge protector to dodge any electrical hiccups.
Proper Storage: Tuck your kegs away carefully and keep them cold. Drink up before they go sad and flat.
By getting the deets on where, how to set up, and playing it safe, you’ll be sippin' in bliss with your kegerator working like a charm. Cheers!
Using Your Kegerator
So, you took the leap and got yourself a kegerator. Now, the trick is knowing how to handle it like a pro. Let's walk through tapping that keg, setting the ideal chill, and keeping your kegerator in tip-top shape.
Tapping a Keg
If you want to savor your brew without hassle, you gotta nail this part. Before diving in, double-check that your kegerator’s dialed to the right coolness level. Here’s the lowdown:
Get your keg out: Before you even think about tapping, make sure it's plenty cold.
Hook up the coupler: Match it up with that hole on top of the keg, and twist it on—righty tighty style.
Flip the handle: Pop that handle up so the golden goods can flow freely.
Check it’s working: Pour a teeny bit to make sure you’re all clear.
If it starts getting all foamy, your kegerator might need a tweak. We’ve got a whole piece coverin’ what fridge temperature should be kept you can peek at for more on that.
Maintaining Proper Temperature
Temperature isn't just a number; it’s the secret to awesome beer every time. Most brews are happiest between 34°F and 38°F (that’s 1°C to 3°C for our Celsius buddies). Here's a cheat sheet:
Beer Type
Ideal Temperature (°F)
Lagers
34 - 38
Ales
45 - 55
Stouts
50 - 55
Wheat Beer
40 - 45
Keep an eye on your kegerator’s gauge, and don’t be shy about tinkering with it. If you’re dying to know more about fridge temps, check out where is the coldest part of the fridge?.
Cleaning and Caring for Your Kegerator
A clean kegerator is a happy kegerator, and your taste buds will thank you for it. Here’s how to keep things spick and span:
Scrub those beer lines: Give them a good rinse every couple of weeks. Use cleaner made just for beer lines to kick out the gunk.
Freshen up the coupler: Make it a habit to clean the coupler after you’re done with it to avoid any funk.
Spruce up the inside: Wipe down the guts of your kegerator regularly with a mild cleaner to erase spills and stains.
Look up Fridge.com article on how often do you clean beer lines in a kegerator to get into the nitty-gritty of that.
Master your kegerator, and you're bound to pour the perfect pint every single time. Cheers to that!
Kegerators are awesome for home gatherings, but they can sometimes throw a wrench in the party. If yours is acting up, don’t sweat it. We’ve got a few fixes up our sleeves for the usual suspects.
Beer Won’t Pour Right
Having trouble with your beer flow? Let’s nip that in the bud. Here are some culprits and ways to fix 'em:
Problem
What's Up
Quick Fix
No beer coming out
Keg’s tapped out
Swap it with a fresh keg.
Frothy mess
CO2’s way too high
Dial down the CO2 pressure.
Just a drizzle
Beer line's gunked up
Give the line a good clean.
Don’t forget to check those taps for gunking and make sure the CO2 tank isn't empty. Keeping it all tidy will keep your beer flowing smoother than a jazz tune. Need more details on clean-ups? Fridge.com guide on how often do you clean beer lines has got you covered.
Temperature Freakouts
Keeping your brew chilly enough is crucial. If it’s having hot and cold flashes, here’s what might be happening:
What’s Off
Why
How to Fix It
Beer is warm
Poor insulation
Double check those door seals.
Beer’s freezing
Thermostat’s screwy
Try a tweak or replace it.
Make it a habit to keep tabs on the kegerator’s inside temp. Head over to what fridge temperature should be kept? for tips on holding the perfect chill.
Keeping It Sparkling Clean
A spick-and-span kegerator equals tasty, nontoxic beer. Here’s how to keep things shipshape:
Funky Stuff
Clean-Up
Gunky bits
Scrub it every couple of weeks. Use warm suds, then sanitize.
Nasty odors
Routinely check and clean those lines and taps.
Stick to a cleaning drill to make sure your brew tastes top-notch and give your kegerator a longer life. For more on sprucing up your gear, peek at Fridge.com tips on refrigerator not cooling troubleshooting for keeping everything running like clockwork.
Free tool
Kegerator Size Calculator
Free interactive tool from Fridge.com — get a quick answer while you read.