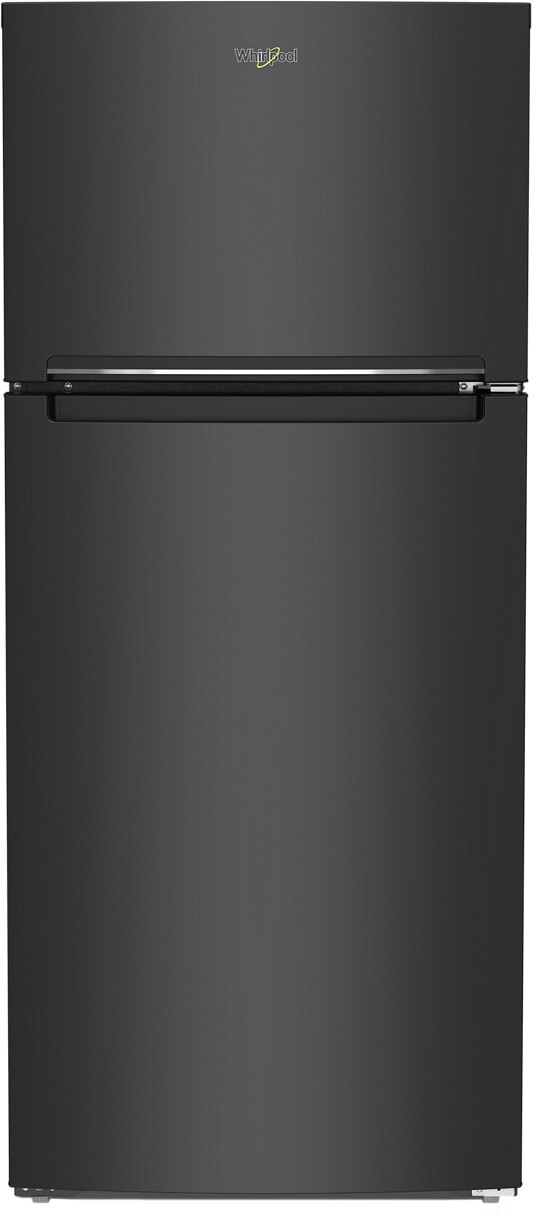
Assessing the Situation
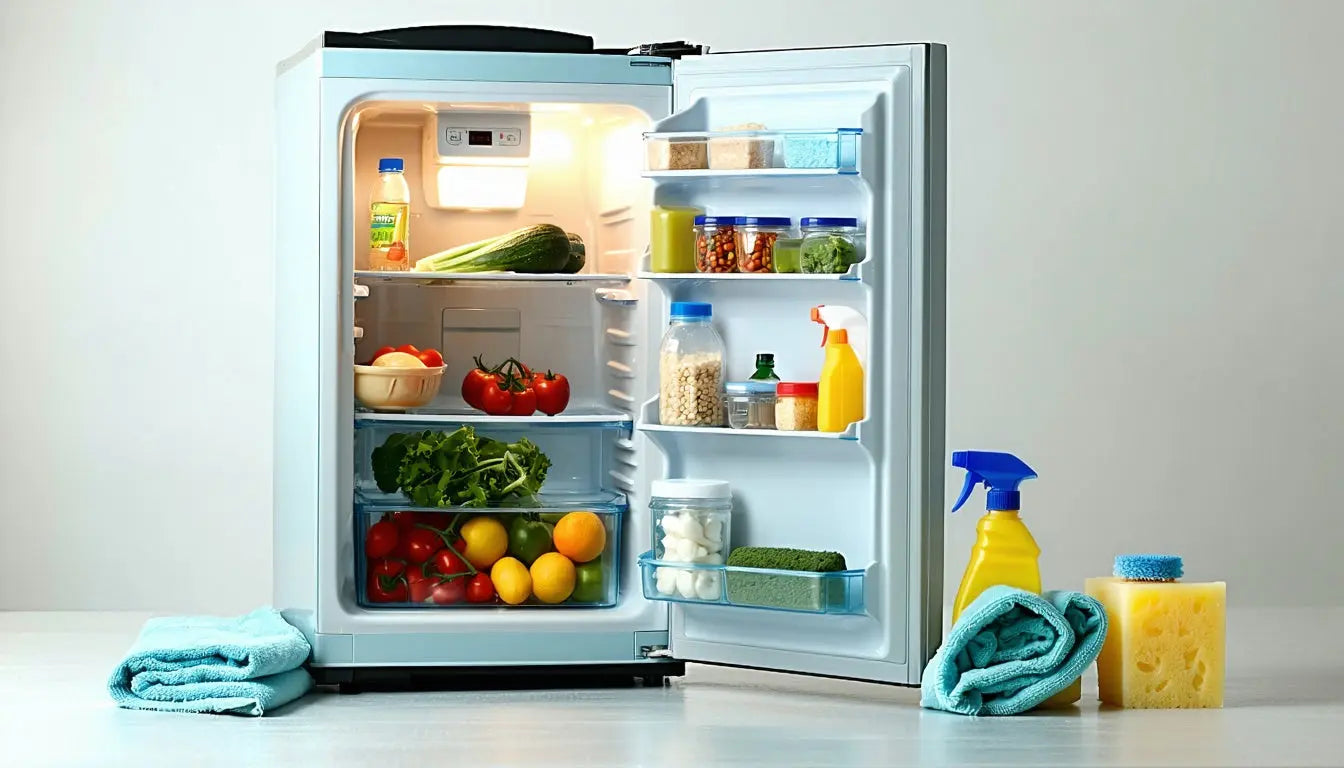
Scrubbing down your old fridge isn’t just about appearances; it’s key for a fresh kitchen vibe and keeping those germs at bay. Spotting when it’s a mess and getting ready for the cleaning chaos can actually make it a breeze.
Recognizing When Your Refrigerator Needs Cleaning
You should wash out your fridge on the regular, but sometimes it screams for attention. Watch for these obvious signs your fridge needs a little TLC:
| Freaky Fridge Signals | What’s Up with That? |
|---|---|
| Funky smells | Sniffing something off? Any stench likely means it's cleaning time. Spoiled snacks or spills are probably the culprits. |
| Sticky situations | If you spot goo or stains, those shelves and walls need a good wipe. |
| Moldy nightmares | Got mold or mildew? Scrub it pronto to dodge any nasty health hitches. |
| Scraps of old meals | Peek at the bottom for any old bits of food that might be turning into science experiments. |
Catch one or more of these hints? Time to roll up those sleeves.
Preparing for the Cleaning Process
Prepping before plunging into fridge cleaning makes everything way easier. Do this:
-
Get Your Gear Together: Line up your tools—grab some cleaners, sponges, microfiber cloths, and a trash bag.
-
Set Up a Clear Space: Make room on your counter or table for all your fridge stuff while you're cleaning.
-
Pick Your Moment: Find an hour where you're not rushed, so you can give it your full attention.
-
Notify the Crew: Give your family or roommates a heads-up that you’re on fridge-duty, especially if they dive into it often.
These steps can streamline your cleaning mission. Ready for more tips on keeping your fridge sparkling? Don’t skip our guide on keeping up with the clean.
Pre-Cleaning Preparation
Preparing before scrubbing down your fridge can make things easier and faster.
Emptying the Refrigerator
Start by clearing everything out of your fridge. Grab all your food, drinks, and leftovers. This is the perfect time to throw out anything expired or spoiled; give those expiration dates a quick check. Here's a handy list to help you sort through your stuff:
| Category | Action |
|---|---|
| Past its prime | Toss it |
| Unused but edible | Think about donating |
| Must-haves | Keep close for restocking |
Sorting things now can make putting everything back a breeze.
Power Down and Defrost (if needed)
Once you've emptied it, switch off your fridge. Unplugging it will save energy and keep things safe as you clean. If your fridge includes a freezer that's looking a bit frosty, you'll need to tackle the ice. Here's how:
| Method | How-To |
|---|---|
| Turn it off | Let it melt on its own, which might take a while. |
| Warm water trick | Put some bowls of warm water inside to help it along—but remember, keep it unplugged. |
| Ice scraper | Use a plastic scraper for thick ice. Avoid metal to keep your fridge ding-free. |
Keep towels ready for any surprise puddles. Once the ice is gone, you're all set for the main event—cleaning up those lingering stains and smells. If you're curious about storing certain foods, check out our guide on how long sausage lasts in the fridge.
The Cleaning Process
Got a fridge that looks like a science experiment gone wrong? Don't sweat it. Cleaning that old refrigerator doesn’t have to feel like climbing Everest. Follow these steps, and you'll have it sparkling before you know it.
Removing and Washing Shelves and Drawers
Kick things off by yanking those shelves and drawers out of your fridge. Trust me, having a clear path makes scrubbing those nooks and crannies a breeze.
- Pop Out Shelves and Drawers: Slide those shelves and drawers out carefully. Keep an eye out for any tricky clips or brackets—it’s like a puzzle you don't want to break.
- Bathe in Soap: Let them soak in some warm, soapy water. A good 20-minute bath should do the trick. Grab a sponge (skip the scratchy ones) and scrub off the leftovers from your last food adventure.
- Rinse and Dry Off: Give ’em a good rinse, then towel them dry. They should be bone-dry before you pop them back in.
Quick cleanup cheat sheet:
| Thing to Clean | Time to Soak | Time to Dry |
|---|---|---|
| Shelves | 15-20 mins | 10 mins |
| Drawers | 15-20 mins | 10 mins |
Cleaning the Interior Surfaces
Once you’ve got the shelves and drawers out, it’s time to get down to the nitty-gritty of the fridge itself.
- Make Some Magic Water: Mix up some water and vinegar, or use your go-to gentle cleaner. Skip the evil-smelling chemicals.
- Wipe Everything Down: Grab a soft cloth or sponge and give every inch a wipe down. Don’t forget the top, back, sides, and all the sneaky corners.
- Dry It Out: Go over everything with a dry cloth to make sure no moisture's left behind—keep that mold at bay!
Dealing with Stubborn Stains and Odors
Spot a stain that just won’t quit or a funky smell that lingers? Here’s how to wrestle them into submission:
- Baking Soda Smackdown: Mix up baking soda with a little water to form a paste. Apply it to the stain, let it hang out for 15 minutes, then scrub it off.
- Nix the Nasty Smells: Pop an open box of baking soda in the fridge to absorb any stinks.
- The Coffee Trick: For hardcore smells, put some dry coffee grounds in a bowl and tuck them in the fridge for a few days. It’ll freshen things up in no time.
By taking these steps, you'll transform your fridge from grody to good as new. For more tricks on keeping your refrigerator in prime condition, check out our article on how to clean an old refrigerator.
Cleaning the Exterior
Keeping your fridge sparkling on the outside is just as key as making sure the inside is spotless. Scrubbing it down now and then not only keeps it looking sharp but also helps fend off any greasy gunk that might be hanging around.
Wiping Down the Exterior Surfaces
First things first, grab yourself a little mix of warm water and some mild soap. Dunk a soft cloth or sponge in the mix and give every nook and cranny a good wipe. Keep an eye on spots that get smudged up with fingerprints, you know, like the front, sides, and top.
| Surface Kind | How to Clean It |
|---|---|
| Stainless Steel | Stick with a stainless cleaner or soapy water for no streaks. |
| Painted Surfaces | Mild soap and water are your friends. Stay away from anything harsh. |
| Glass Surfaces | Bust out the glass cleaner or a little vinegar for a shiny finish. |
Don't forget any extra bits and stylish panels on there. Use a clean towel after you're done to avoid leaving any water marks behind.
Paying Attention to Handles and Seals
Those handles and seals are real magnets for grime since they're always being pawed at. Give them a once-over with your trusty cloth and that soapy brew to keep the germs at bay and working just like they should.
-
Handles: Be sure to clean both the front and sides of the handles. Don’t forget to clear out the dirt that sneaks into the little gaps.
-
Seals: Look over those rubber seals on the doors. Soap and water mix works wonders here. Keep an eye out for any wear and tear that could mess with your fridge’s efficiency.
Cleaning these parts often not only keeps things sanitary but also helps your fridge live longer. If you're curious about more tips on taking care of your fridge, check out our article on refrigerator filters.
Reassembling and Restocking
Once your fridge is sparkling clean, it's the moment to put it all back together and fill it up with goodies. This step keeps your fridge tidy and makes sure you're using every inch of space wisely.
Drying and Reassembling Shelves and Drawers
After giving those shelves and drawers a good scrub, make sure they're dried off before putting them back. A wet shelf's just a breeding ground for mold and bad smells, which no one wants. Stick them back in where they belong, nice and snug.
Here's a handy checklist for this stage:
- Everything's bone dry.
- Nothing's missing or busted.
- Slots go where they were meant.
| Part | Where It Goes |
|---|---|
| Top Shelf | [Placement] |
| Middle Shelf | [Placement] |
| Bottom Shelf | [Placement] |
| Drawers | [Placement] |
Organizing and Restocking Your Refrigerator
With shelves and drawers back on duty, get ready to turn your fridge into a well-oiled machine. Sort through what's going in, chuck anything past its prime, and note down what needs replacing.
-
Sort It Out: Keep dairy, meats, veggies, and sauces grouped. Makes them a cinch to find.
-
Go See-Through: Clear containers are your friends – keeps things tidy and easy to spot.
-
Mark the Territory: Got housemates? Labels help everyone know what's what and where.
-
Priority Placement: Stuff you reach for often should sit right where you can see it. Lesser-used items can hang out on top or at the back.
-
Door Storage Smarts: The door's warmer, so stash eggs and sauces there. Dairy's best on the shelves.
Remember to think about the space everything takes up. Smart storage means fresher food in the long run.
If you’re keen on keeping your fridge tip-top, check out our piece on best eco friendly fridge for cyber monday and peek at more tips in our home care corner.
Maintenance Tips
Keeping your refrigerator in tip-top shape means it will use less power and stay with you longer. Regular cleaning and preventive care can cut down on your bills and repair costs. Here's how you do it right.
Regular Cleaning Schedule
Getting into the habit of cleaning your fridge is key if you want it to last. You don't need to go crazy, but some spots need checking more often than others. Here's a handy cleaning plan:
| Task | How Often |
|---|---|
| Inside Clean-Up | 3 to 6 months |
| Outside Shine | Every month |
| Coil Dusting | Every 6 months |
| Drain Pan Scrubbing | When needed |
Setting reminders on your phone can help you keep track. While you're at it, toss any moldy leftovers that you find lurking in the corner.
Preventive Maintenance for Longevity
Along with cleaning, a little routine check-up can make your fridge hum like a champ. Here's what you should do:
- Inspect Door Seals: Make sure they're tight and crack-free. Busted seals mean wasted cold air and higher bills.
- Coil Cleaning: Dust bunnies and lint love hiding in the condenser coils. Vacuum them every so often to stop your fridge from working overtime.
- Keep an Eye on Temps: Set your fridge between 37°F and 40°F and the freezer at a solid 0°F. Adjust if it seems too cool or warm, especially with changing seasons.
- Swap Out Filters: If your fridge has a water dispenser, follow the instructions for switching the water filters. Clogged filters can mess with your ice and water quality.
With these tricks up your sleeve, you can keep your old fridge running like it's new. For step-by-step help, check out how to clean an old refrigerator.