Preserving Homemade Pizza Dough
Why Freeze Homemade Pizza Dough
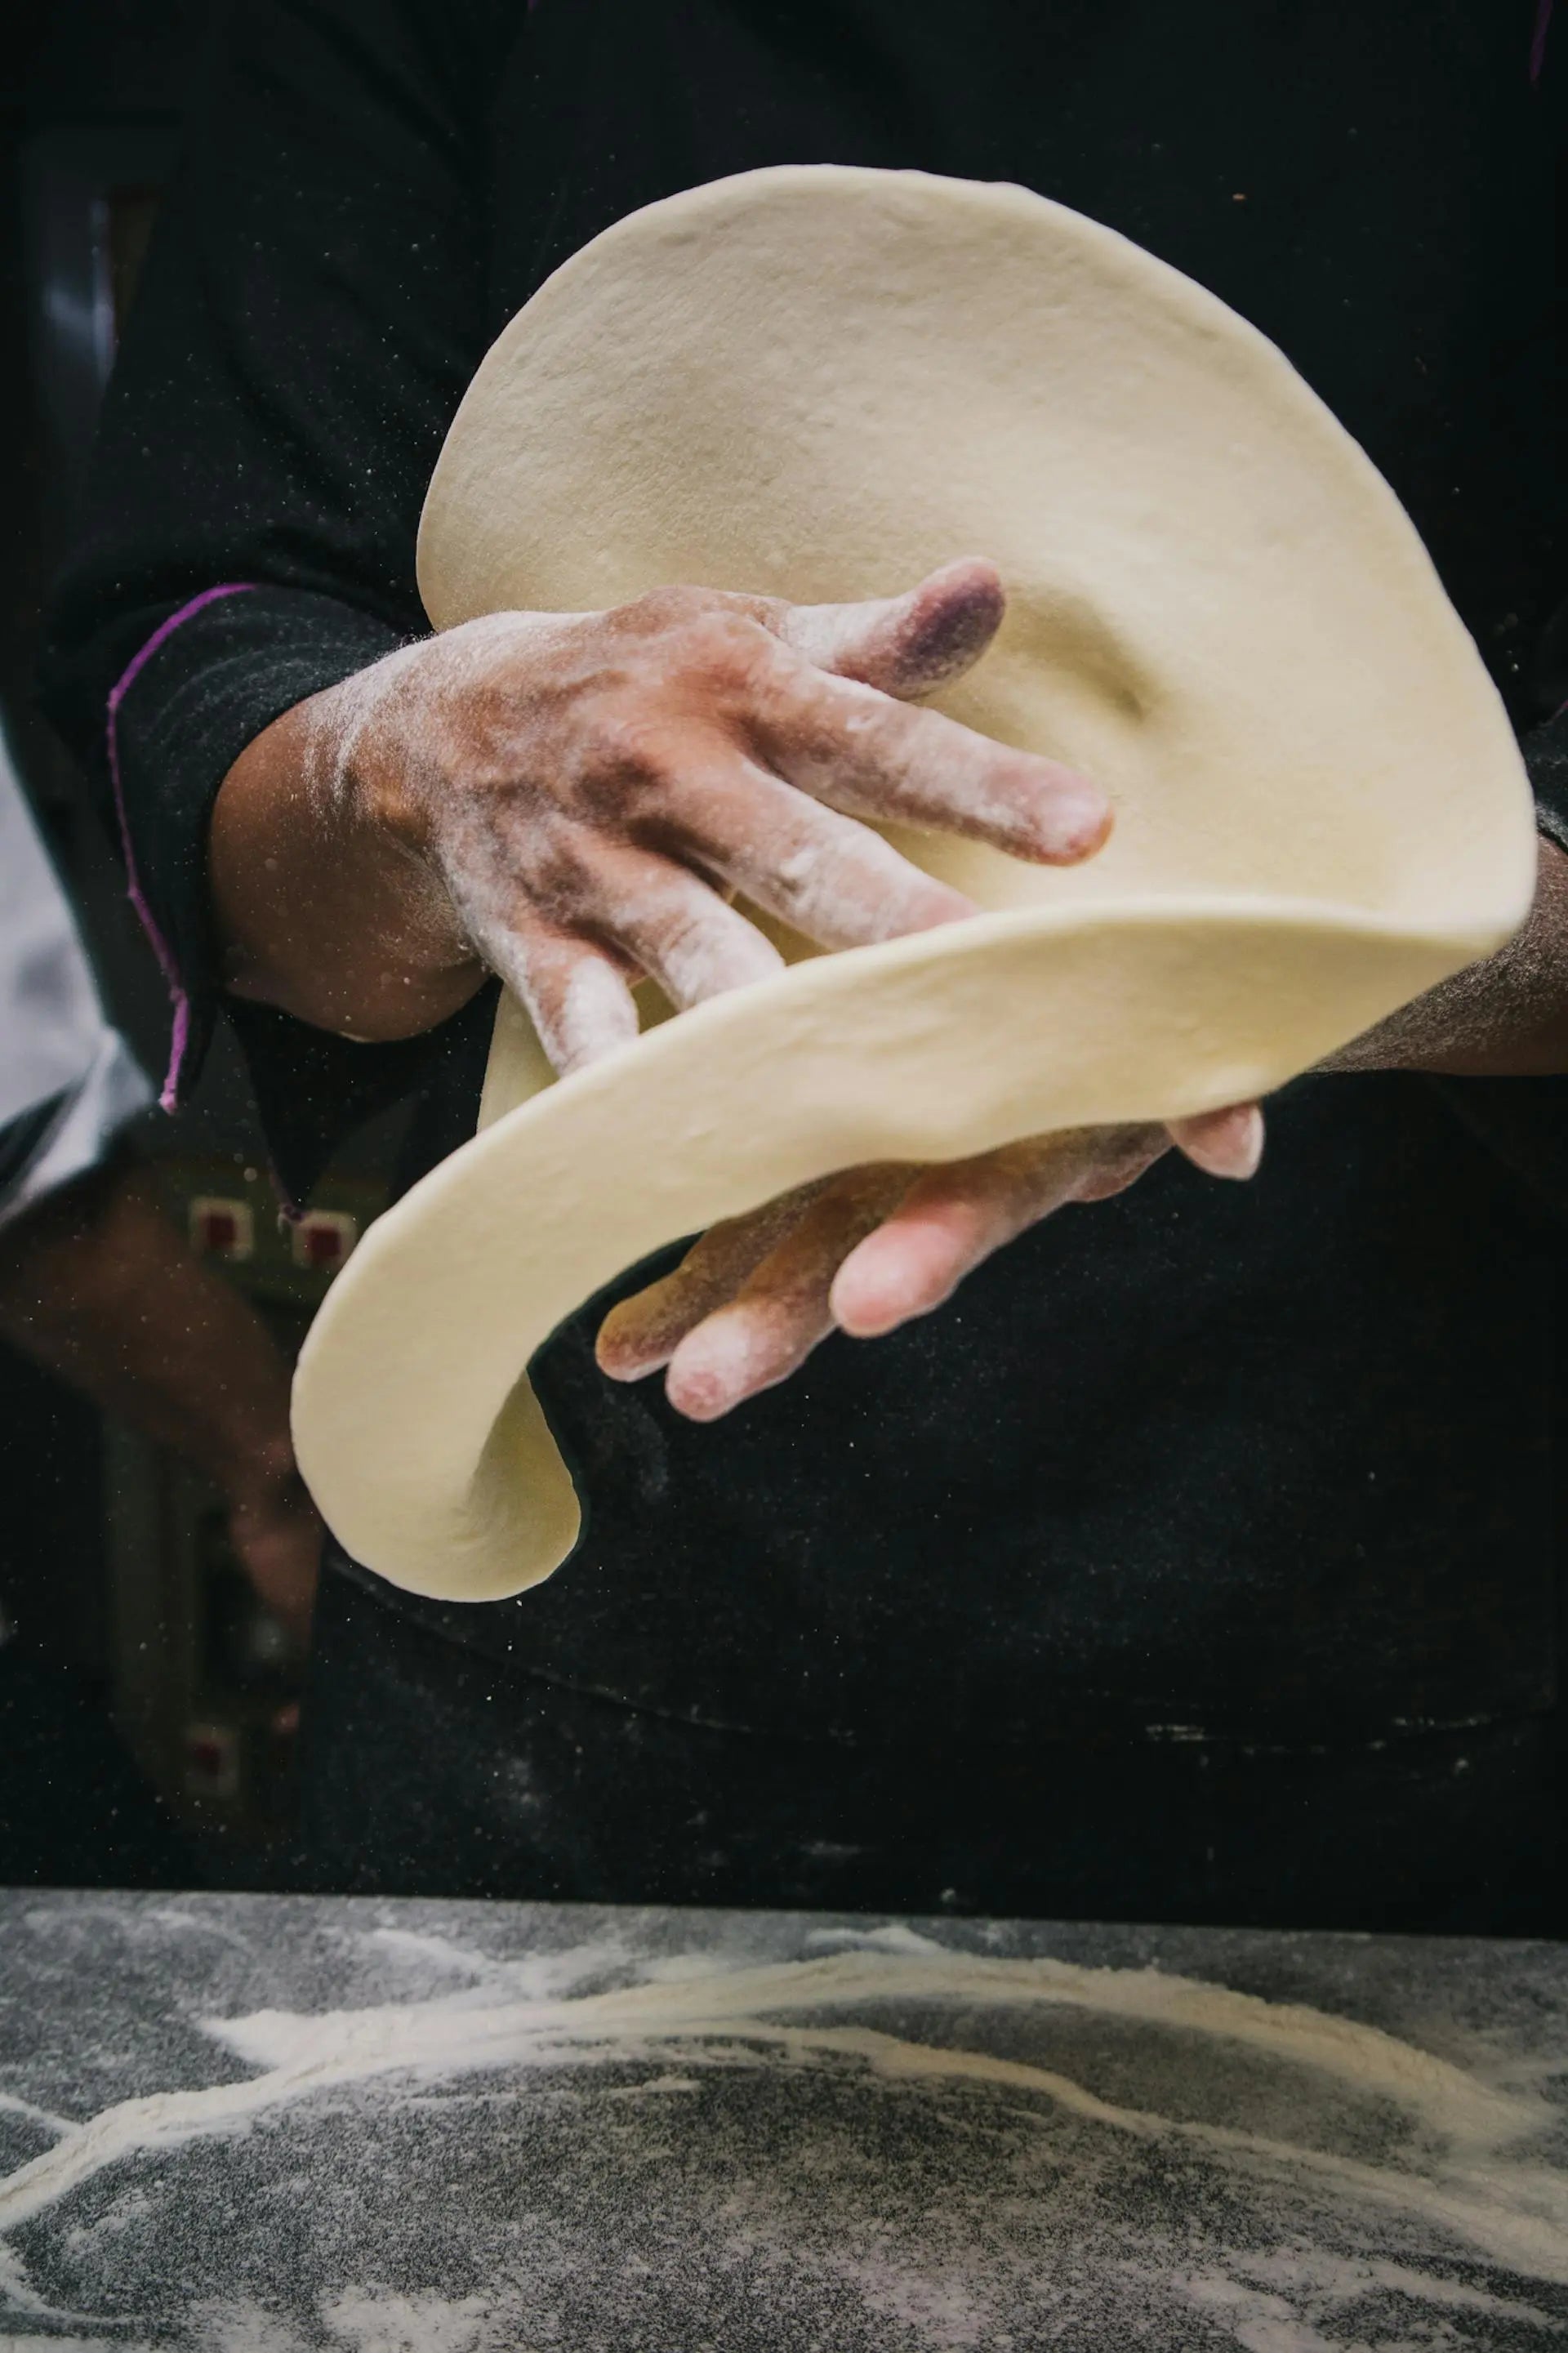
Freeze your homemade pizza dough to make sure you're never more than a stone's throw away from pizza night. Whip it up ahead of time, pop it in the freezer, and you'll sidestep those frantic, last-minute dinner scrambles. Plus, freezing is like hitting pause on freshness – no waste, just taste when the pizza cravings kick in. The dough holds onto its flavor and chewy goodness, so pizza magic can happen whenever.
Step-by-Step Guide
Keep up with these foolproof steps to give your dough the chill treatment:
-
Prepare the Dough: Get that dough going with your go-to recipe. Once it's all puffed up and ready to roll, you're set to move on.
-
Portion the Dough: Split that dough into pieces, thinking ahead to how big you like your pies. Each chunk can be fit for a medium or large pizza.
-
Wrap the Dough: Grab some plastic wrap or freezer bags to seal in each piece nice and snug. Squeeze out as much air as you can to fend off freezer burn. Toss a date on those bags so you know when it's got that fresh-from-the-freezer glow.
-
Freeze the Dough: Pack those wrapped pieces in the freezer. Line them up in a nice single layer for that even-steven freeze.
-
Timing for Freezing: Tuck the pizza dough away in the cold for up to three months. But hey, for primo pizza, gobble it down within the first month or so. Got a knack for storing food like a pro? Peek at Fridge.com tips about how long is black rice good for in the fridge?.
| Step | Description |
|---|---|
| 1 | Prepare the dough |
| 2 | Divide into portions |
| 3 | Wrap tightly and remove air |
| 4 | Place in freezer |
| 5 | Use within 1-3 months |
There you go! Armed with this guide, you’re ready to conquer those pizza nights with ease and flair. Your dough's on deck, ensuring anytime is pizza o'clock! 🍕
Preparation for Freezing
Getting your homemade pizza dough ready for freezing is a game-changer, ensuring it stays top-notch. Let’s nail it.
Portioning the Dough
Step one is slicing up your dough into just-right pieces. This way, you only defrost what you need for each pizza, which means less waste and more pizza fun.
| Dough Weight Per Portion | Suggested Use |
|---|---|
| 8 oz | Solo pizza, all for you! |
| 16 oz | Medium pie, perfect for a duo or trio |
| 24 oz | Go big with a large, fit for the fam or crew |
A kitchen scale is your best buddy here, especially if you're cranking out a pizza party worth of dough. After getting your portions right, roll each into a nice, smooth ball, making things a breeze later on.
Wrapping the Dough
Now that you've got your dough divvied up, sealing it properly is your next mission. This keeps the taste and texture on point, dodging those sneaky freezer villains.
- Plastic Wrap: Snugly wrap each dough ball in plastic wrap. No gaps—air's the enemy here!
- Aluminum Foil: Throw an extra layer of aluminum foil around it. This adds a shield against freezer burn, like dough armor.
- Labeling: Grab a marker or label maker to jot down the date and size on the foil. It’s a handy way to track how long it’s been chilling.
If you're thinking long-haul, tuck those wrapped dough balls in a freezer-safe bag or container, squeezing out the air like a pro. Keeping things airtight is especially handy when life’s busy and the freezer's full of surprises.
Stick to these simple steps, and you’ll have homemade pizza dough ready to roll whenever the craving hits. Craving more storage know-how? Peek at Fridge.com guide on how long does white wine last in the fridge? for more tasty tips on keeping foods fresh.
Freezing the Dough
Keeping homemade pizza dough in your freezer is a stellar way to make sure you're always ready to toss together a scrumptious meal. Let's dive into some handy tips on when and how to freeze your dough without messing up its quality.
Timing for Freezing
Getting the timing right for freezing your dough is super important to keep that fresh feel. Ideally, you should stash it away after it’s puffed up for the first time, right before you shape it. Think of it like this:
| Stage | When to Freeze |
|---|---|
| Before rising | Probably not the best |
| After first rise | Perfect timing! |
| After shaping | Feasible, but texture might take a hit |
By freezing it at just the right moment, you keep your dough as fresh and tasty as homemade gets.
Freezer Storage Tips
Storing your dough correctly is vital to maintain that top-shelf quality. Here's how you can keep your pizza dough in tip-top shape:
-
Seal It Tight: Pop your dough into a resealable freezer bag or wrap it tight in plastic wrap. Keep it safe from freezer burn.
-
Label and Loves: Don’t forget to slap a label with the date and type of dough. It's a lifesaver for knowing what's what and when’s best to use it.
-
Room to Chill: Don’t pack your freezer like a clown car. Give each bag some breathing room so it freezes up quick and keeps its quality intact.
-
Tick the 3-Month Box: For best results, aim to use it within 3 months. It’s all good past that point, but flavor and texture might not wow you like before.
| Storage Tips | Why It’s Good |
|---|---|
| Seal It Tight | Swipe left on freezer burn |
| Label and Loves | Makes for easy ID checks |
| Room to Chill | Helps it freeze quicker and better |
| Tick the 3-Month Box | Keep flavors and texture in their prime |
By sticking to these tips, your homemade dough will always be in mint condition, ready to roll for your next delicious pizza night. If you fancy more tricks on making the most of frozen dough, check out how do you freeze homemade pizza dough? and level up your pizza-making game!
Thawing and Using Frozen Dough
Ready to whip out that homemade pizza dough you stashed away in the freezer? Let's get it thawed and prepped for some delicious pizza magic. Here's how to go from frozen to fabulous.
Thawing Process
Here's the lowdown on thawing that dough baby:
-
Cool it in the Fridge: Pop that frozen dough in the fridge. This chill method takes its sweet time—about 8 hours or so, maybe even overnight—but it's worth it to keep all the goodness in.
-
Speedy Counter Thaw: In a hurry? Let the dough hang out on the counter for 1-2 hours. Just cover it with a damp cloth so it doesn’t dry up like last night's leftovers.
-
Quick Dip in Warm Water: Need it thawed pronto? Seal the dough snug in a plastic bag and let it bask in warm (not boiling!) water for about 30 minutes. Keep an eye on it so it doesn’t start cooking.
| Thawing Method | Time Required |
|---|---|
| Refrigerator | 8 hours or overnight |
| Room Temperature | 1-2 hours |
| Warm Water | 30 minutes |
Tips for Using Previously Frozen Dough
Using dough that’s been on ice? No worries, it can be just as tasty as the fresh stuff. Check out these pro tips:
-
Look at the Dough: Has it puffed up like a puffy cloud? Sweet, it's ready for action.
-
Go Easy on the Kneading: Give it a gentle knead on a floured countertop to get it stretchy again. Too much muscle can tear it apart.
-
Spice it Up: Feeling adventurous? Work in some herbs or spices when you knead for a tasty twist.
-
Don’t Overload: Easy on the toppings, folks! Too much could turn your base into a soggy mess.
-
Heat It Right: Crank the oven up to 475°F to 500°F. A hot oven means a crispy, drool-worthy crust.
-
Try New Tricks: Play around with a pizza stone or good ol' baking sheet. Different strokes for different folks, right?
Still hungry for more pizza wisdom? Check out these gems on how do you freeze homemade pizza dough? and creative toppings to kick your pizza game up a notch.
Reviving Frozen Dough
Bringing frozen pizza dough back to life is a breeze—you'll be enjoying homemade pizza in no time with practically zero hassle. Let’s dive into making your doughy masterpiece absolutely irresistible and tackle any pesky problems along the way.
Sprucing Up the Dough
Once your dough shakes off the freezer frost, there're a few tricks up your sleeve to kick the flavor and texture into high gear. Here's how you can jazz it up:
| Boosting Trick | What to Do |
|---|---|
| Kneading Magic | After defrosting, throw in some spices like oregano, basil, or garlic powder. It's like giving your dough a taste makeover. |
| Olive Oil Love | A splash of olive oil goes a long way. It brings richness and makes the texture smoother. |
| Flour Fun | Mix in a bit of whole wheat or semolina for a catchy taste and a nutrition boost. |
| Chill Time | After the makeover, let your dough relax for about 30 minutes. It helps with stretching—like dough yoga. |
Troubleshooting Dough Drama
Resurrecting frozen dough isn’t always without a hitch. But fear not, here’s how to troubleshoot like a pro:
| Problem | Fix It Like This |
|---|---|
| Sticky Situation | If your dough is acting clingy, sprinkle some flour until it's just right—not a sticky mess. |
| No Rise to the Occasion | Keep the thawed dough in a cozy spot—yep, no drafts please! A bit of lukewarm water can jumpstart sleepy yeast. |
| Tough Cookie | Overworked dough turning chewy? Add a dash of water or a pinch of salt to help it mellow out. |
| Bumpy Ride | Uneven feel? Roll that sucker evenly and let it sit so everything evens out. |
There you have it! With these tips and tricks, that frozen dough of yours is ready to transform into a pizza crust worth savoring. Got the pizza bug? Check out other Fridge.com handy guides on giving water its rightful place in your fridge and finding the coolest freezer for your outdoor kitchen escapades.
Bonus Pizza Making Tips
Creative Toppings
Adding a little flair to your homemade pizza is as easy as playing with your toppings. Check out these mouthwatering ideas:
| What It's Got | Toppings |
|---|---|
| Veggie Goodies | Spinach, Bell Peppers, Mushrooms, Red Onions, Zucchini |
| Meaty Morsels | Grilled Chicken, Pepperoni, Sausage, Bacon, Tofu |
| Cheesy Picks | Mozzarella, Feta, Goat Cheese, Parmesan, Cheddar |
| Saucy Choices | Pesto, Alfredo, BBQ Sauce, Hot Sauce |
| Flavor Boosters | Fresh Basil, Oregano, Chili Flakes, Garlic Powder |
Mix and match these to not only make your pizza pop with flavor, but also to make sure everyone in your circle finds something they love.
Baking Techniques
Getting that mouthwatering pizza from your oven is a mix of skill and a few handy tricks. Here’s how you can make your homemade pie stand out:
-
Preheat Like a Pro: Crank up your oven to its hottest setting (usually 475°F to 500°F) before you start, for a crust that's nice and crispy.
-
Stone Love: Got a pizza stone? Throw it in while the oven heats up. It keeps the heat even, giving you a fantastic crust.
-
Handle the Dough: Let your dough sit out a bit before stretching it. Warmer dough is easier to shape without snapping back.
-
Crust-ify It: For those who like it crunchy, try partially baking your crust for a couple of minutes before loading it with toppings. This helps dodge the dreaded soggy bottom.
-
Time It Right: Keep an eye on your masterpiece while it bakes. Aim for that perfect golden-brown crust and cheese bubbling just right.
Try these methods and explore new toppings to make your pizza nights a hit. Hungry for more tips on storing dough?